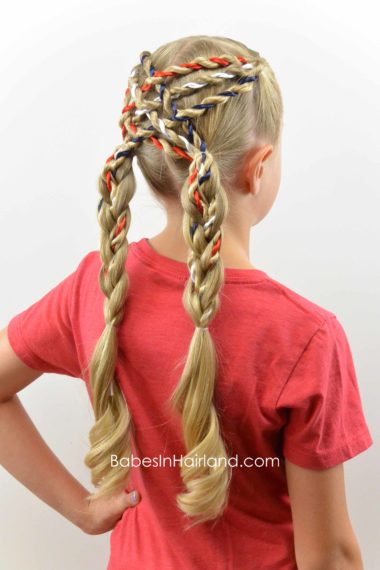
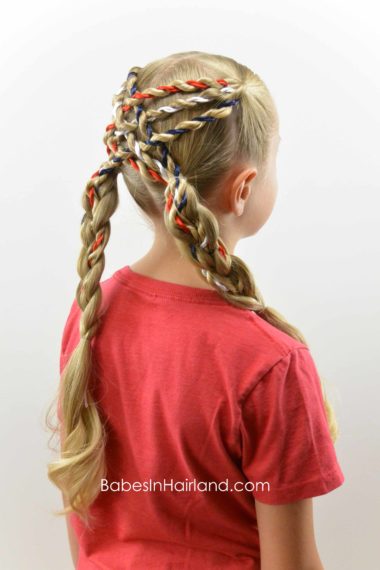
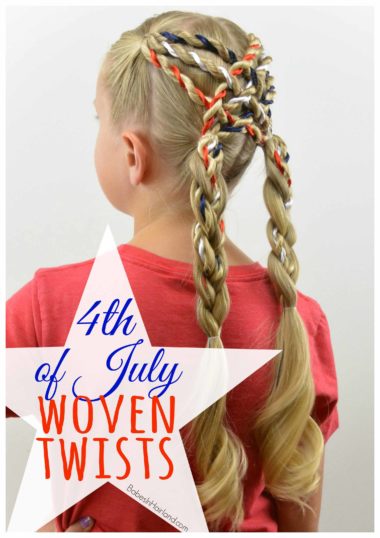
I can’t believe June is almost over, and the 4th of July is just next week! So we thought it’d be fun to add another festive red, white, and blue style to our hairstyle collection! This fun and festive style is a spin off of our Woven Braids & Twists we posted last year around this time, so we hope you like this one! 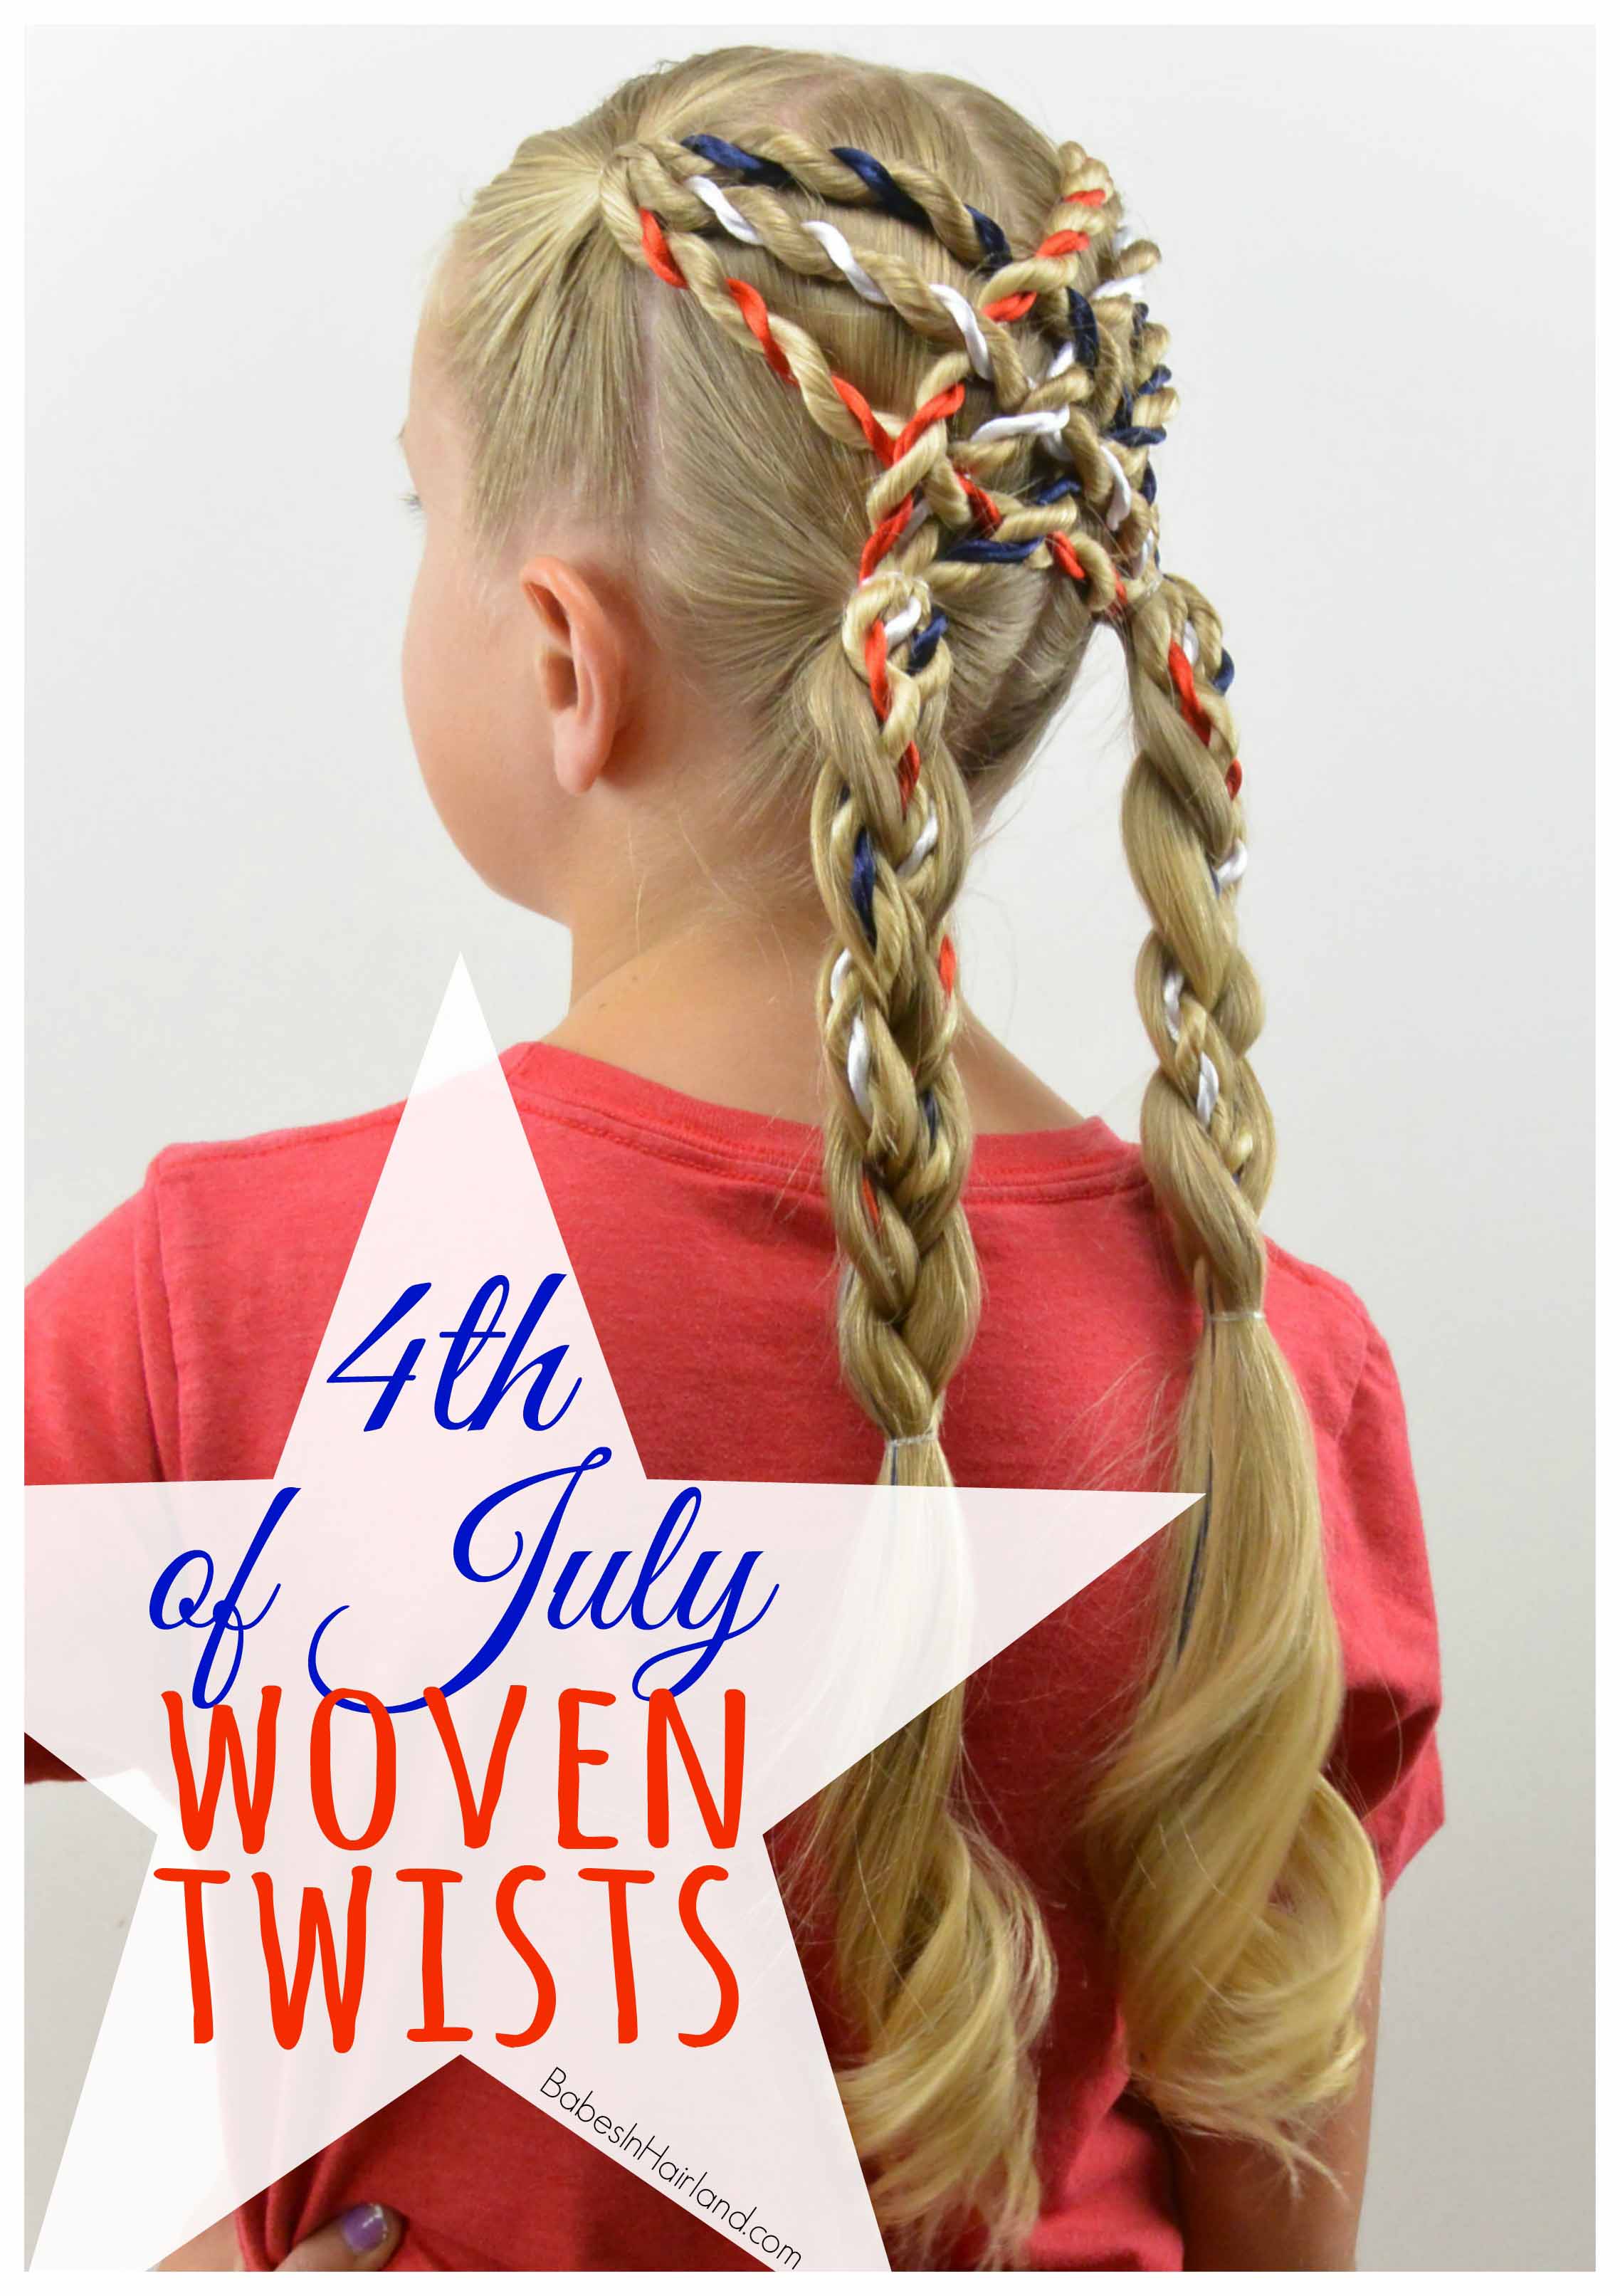
There are so many ways you could actually do this hairstyle once you’ve got the twists done, but watch our video to see how it’s done and check out the final pictures after the step-by-step instructions.
Remember you will need red, white, and blue ribbon or round cord/piping for this. I used 1/8″ polyester trim or piping because it is round. I find it works better than ribbon when I am making a rope braid. Ribbon twists funny and the look doesn’t stay uniform when being twisted so I prefer this cord. I bought it on little spools at Wal-Mart for $1/roll in their fabric/craft section, but for whatever reason can’t find anything online to link for you. Sorry about that!
Step 1 – Make a center part from the forehead back to the nape of the neck
Step 2 – Make a 2nd part going from ear to ear over the top of the head
Step 3 – Secure each section into a tight ponytail with a clear elastic
Step 4 – Cut your ribbon/round cord twice as long as the ponytails you will be adding them to. You will need 2 of each color.
Step 5 – Starting on the right side, add a red, white, and blue ribbon to the elastic underneath the ponytail
Step 6 – Divide the ponytail on the right into 3 even sections
Step 7 – Starting with the middle section, create a rope twist/braid using the hair as one side of the twist, and the white ribbon (it is doubled so you will have 2 pieces) as the other side of the twist.
Here’s our tutorial on How to Make a rope twist/braid if you aren’t sure how. But instead of using 2 pieces of hair, one will be the ribbon, and the other is hair.
Step 8 – Twist until you run out of hair and secure the end with a clear elastic
Step 9 – Create twists with the other sections of hair, one having the red ribbon, the other with the blue ribbon. Secure the end of each twist with a clear elastic.
Step 10 – Repeat the process on the ponytail on the left above the ear
Once you are done with all the twists, you will have 3 on each side, for a total of 6 twists.
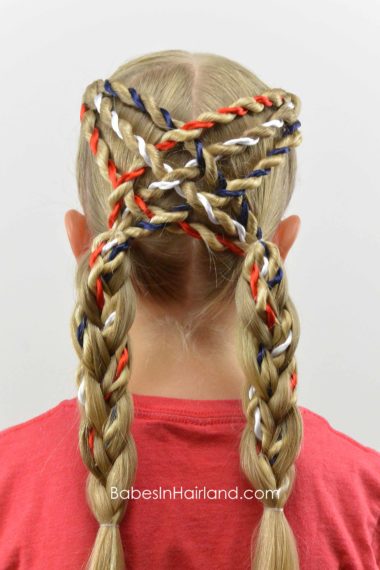
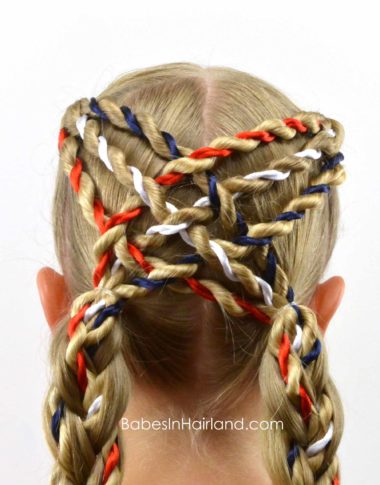
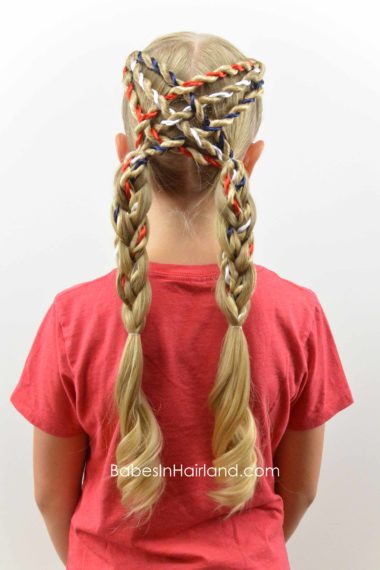
Step 11 – Draw all 3 twists from the left side, over to the right ponytail near the nape of the neck. Secure the twists to the ponytail with another clear elastic so they are diagonal across the back of the head.
Step 12 – Draw the red twist from the right side diagonally over to the left side, weaving it over the blue twist, under the white twist, and over the red twist.
Step 13 – Draw the white twist from the right side under the blue twist, over the white twist, and under the red twist
Step 14 – Draw the blue twist from the right side over the blue twist, under the white twist, and over the red twist
Step 15 – Secure all 3 twists from the right side to the ponytail on the left side near the nape of the neck
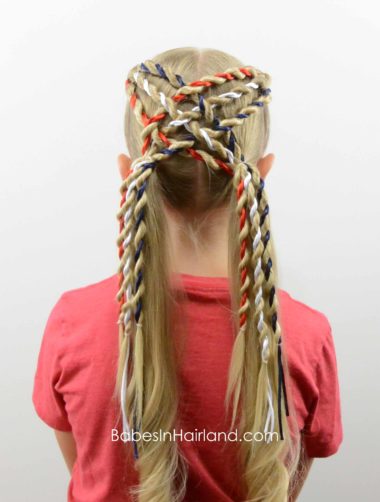
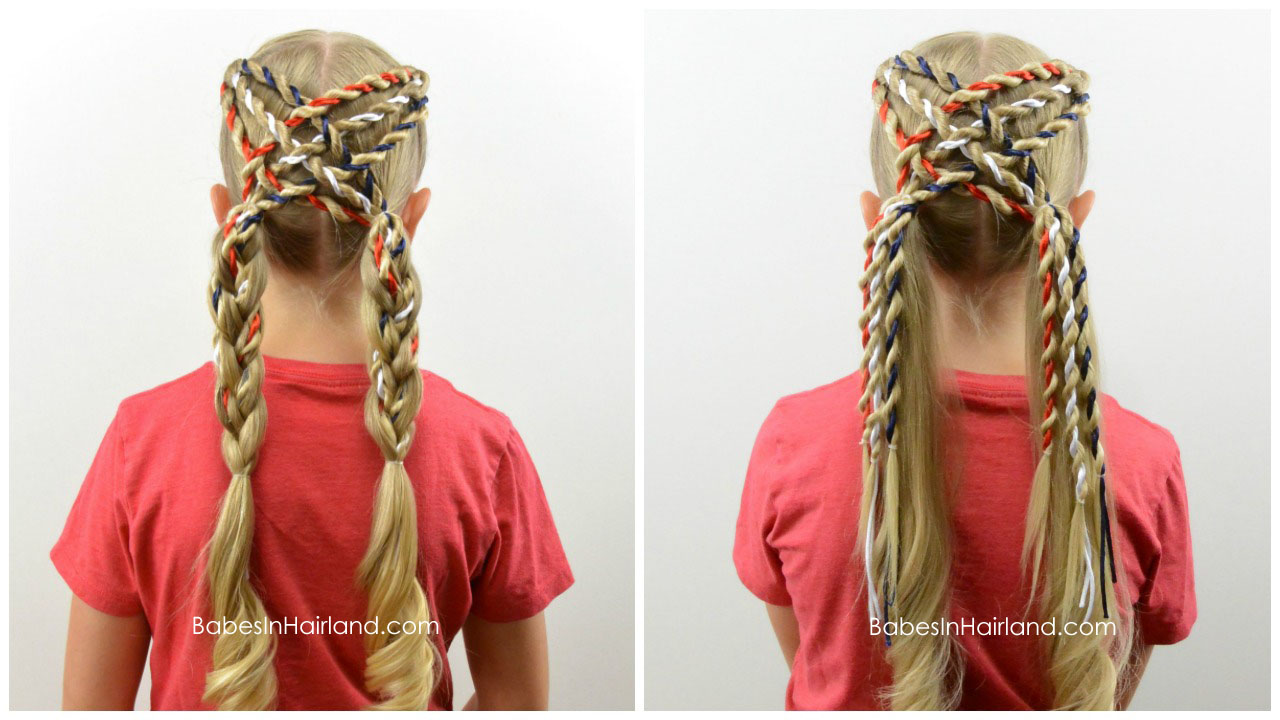
Your hairstyle should look similar to this now. You can be done with the style now, or finish it off in any way you like. You could add buns, braids, or any number of things to finish the style off. She didn’t want to leave the twists hanging on top of the ponytails like you see below, she wanted braids.
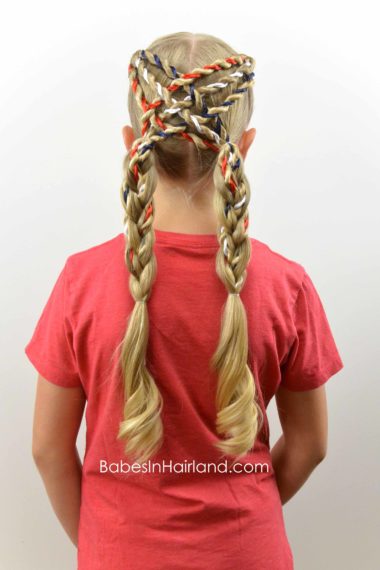
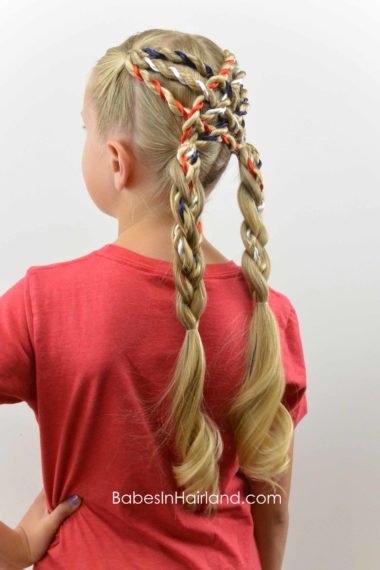
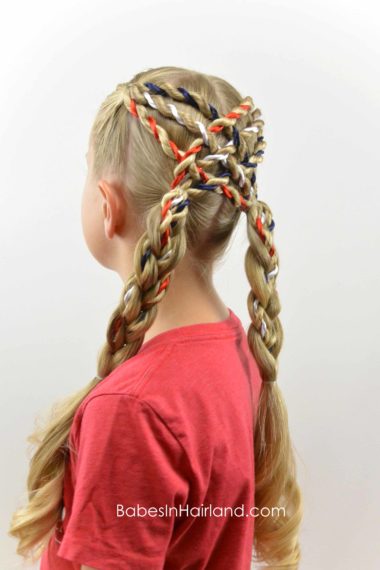
Step 16 – Create regular 3 strand braids to each ponytail in back. Use one color twist for each section of the braid & secure the ends with elastics.
FINISHED!
Here’s a look at them side by side, with the braids on the left, and the twists just hanging on top of the ponytails. Which do you prefer?
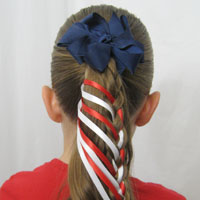
 We’ve got other 4th of July styles as well, so be sure to check them all out HERE!
