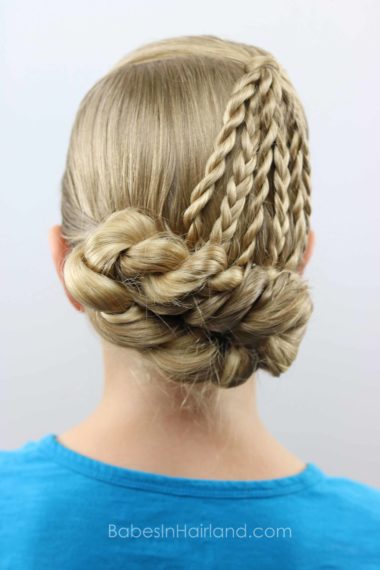
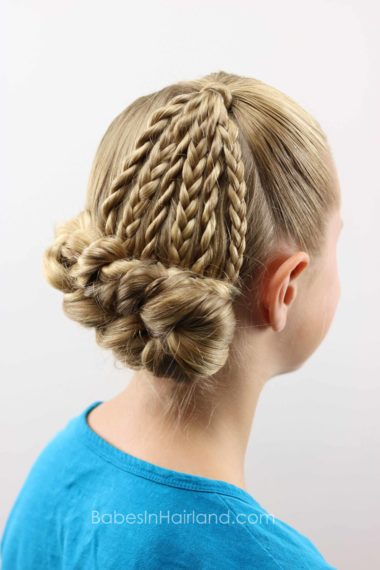
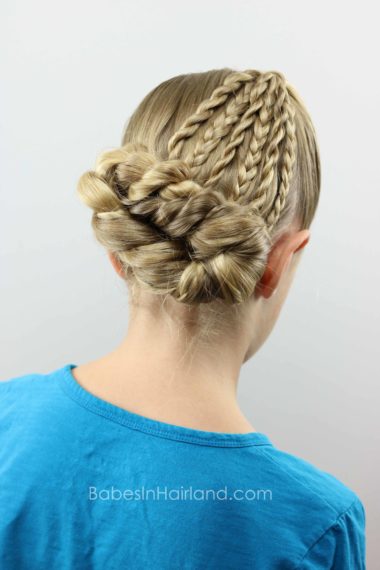
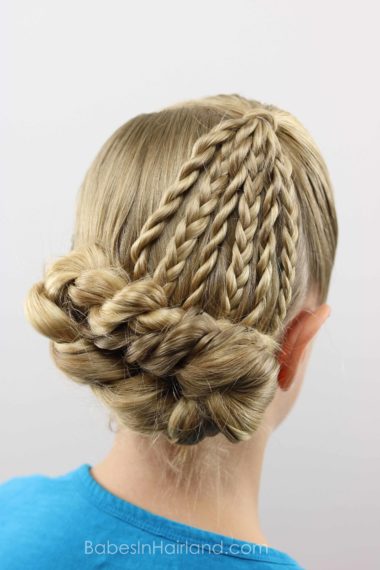
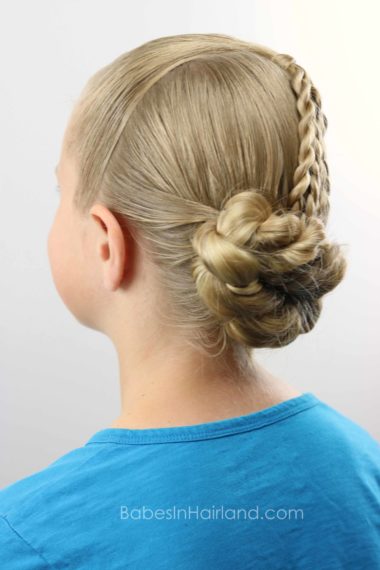
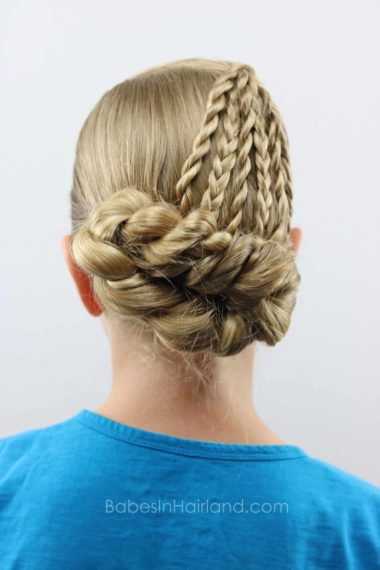
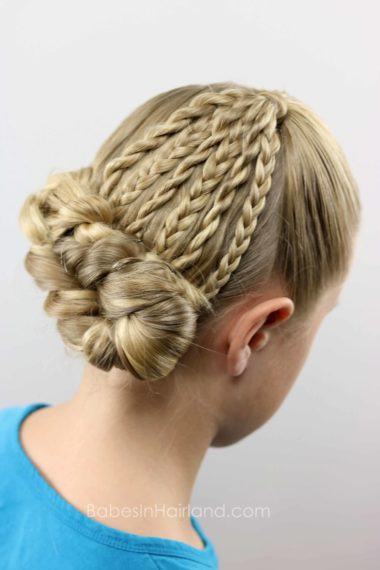
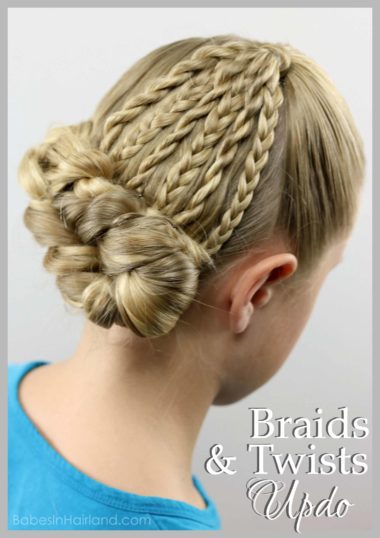
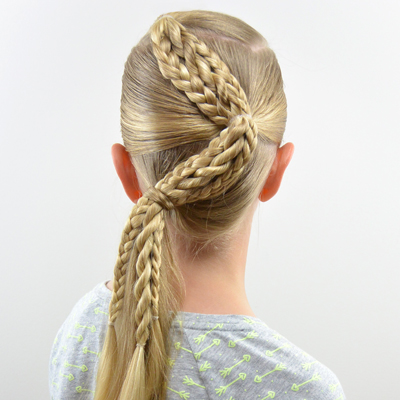
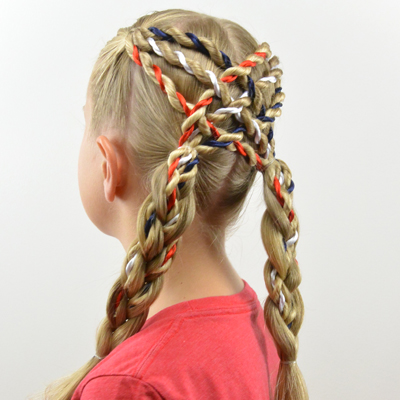
With the temps still soaring high this summer, hair up off the neck and out of the way is pretty much required! For today’s tutorial, there are no parts that need sunscreen, so that’s an added bonus! This would also be a great hairstyle for school too. This hairstyle isn’t overly complicated. But depending on how fast you braid or do rope twists/braids will determine how long it takes. This Braids and Twists Updo is inspired by Mimia Massari from Instagram. However, I think I saw it on Pinterest a long time back.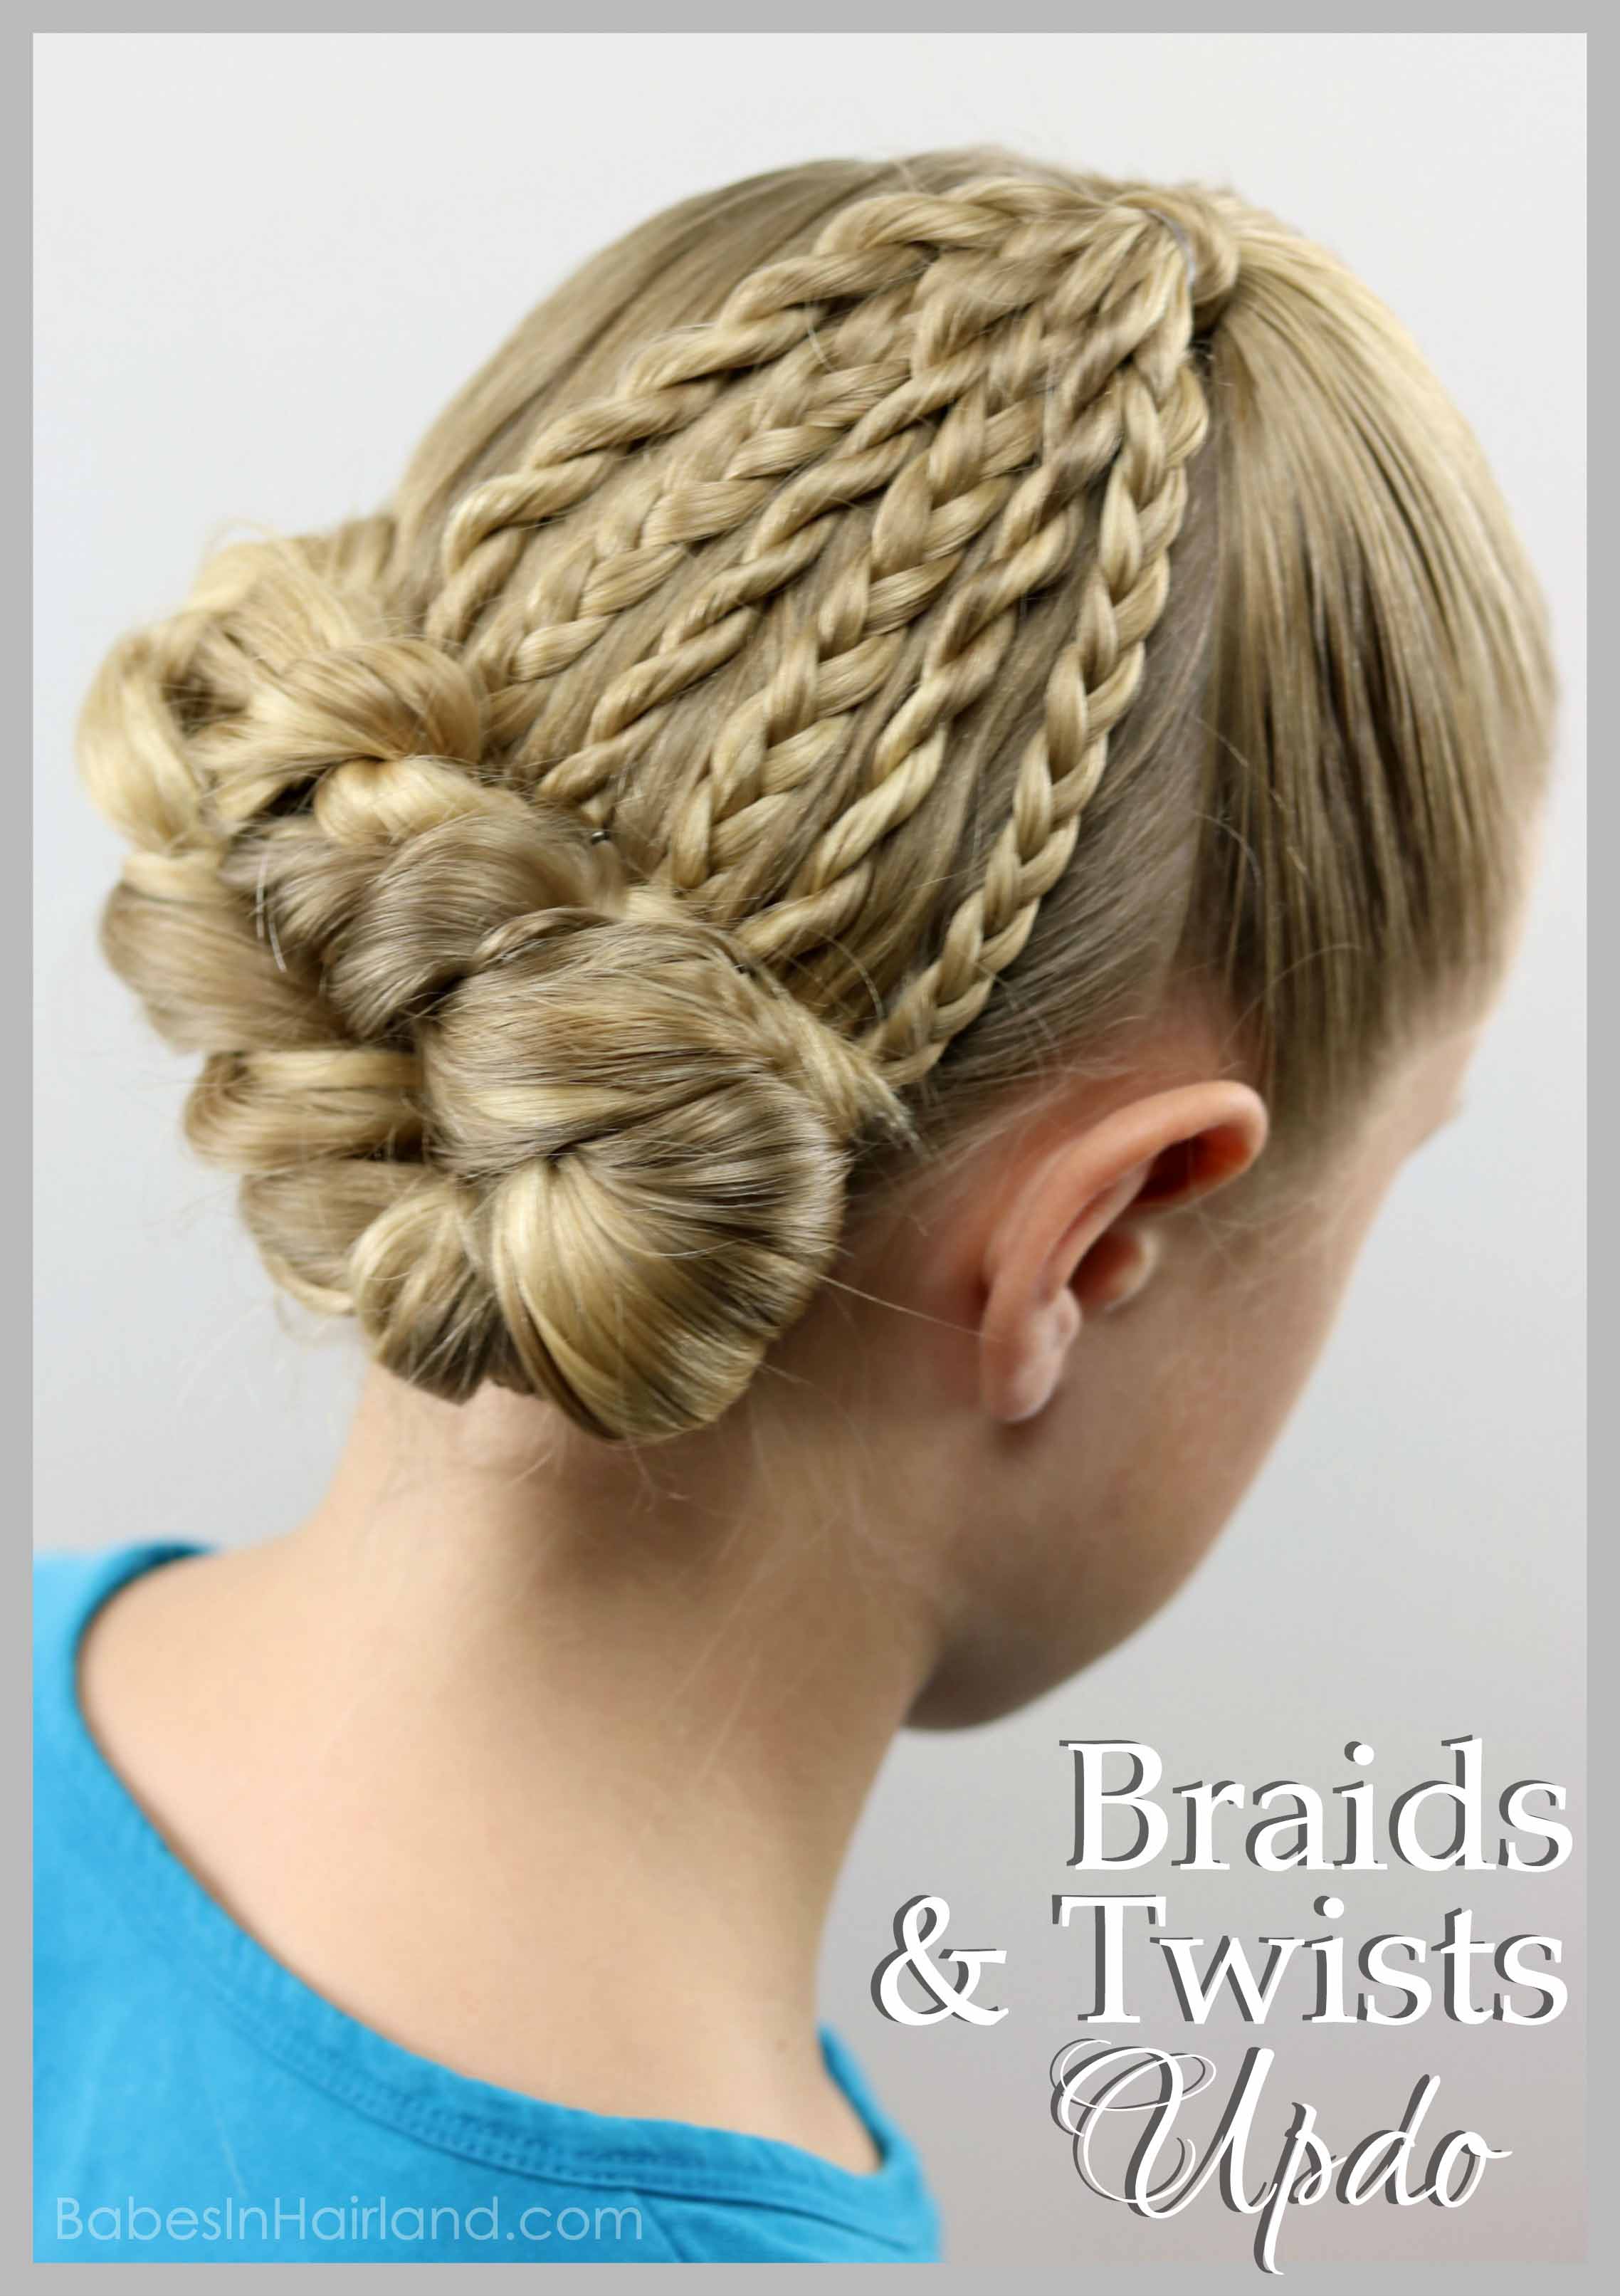
Enjoy our video showing how to create this beautiful updo, but if you have trouble viewing it, go HERE to watch it on our YT Channel.
1 – Part the hair from ear to ear and make a ponytail off-center on the right of the head.
2 – If desired, wrap the elastic with hair to hide it.
Watch our video & we’ll show you how to wrap the base of your ponytail with hair to hide it.
3 – With the hair in the ponytail divide it into 6 even sections.
4 – Make braids and/or twists with these 6 sections of hair. We alternated every other one, starting on the left with a twist, then a braid, etc.
You can do all twists or all braids with these sections. Or you can do your favorite type of braid, or change the order of the braids and twists. You can really make this to look how you want. It just depends on what you do with these 6 sections of hair.
5 – Temporarily secure the ends of all these braids or twists.
6 – With all remaining hair down in back, you will be making a French rope twist
For the basic idea on how to make a rope twist into a “French” rope twist, watch our video in THIS post for our French Twisted Updo.
7 – Start behind the left ear and divide out a small section of hair. Divide it into 2 pieces and pass the bottom or left section up and over the top right section so they trade places.
8 – Now draw the first twist from up above down to the twist you are now working with behind the left ear. Add it to the bottom section of hair. Then add a small amount of hair from the nape of the neck to the piece that is in the bottom position.
9 – Cross the bottom section over the top so they trade places.
10 – Next draw the first braid across the back of the head to add into the bottom section of your French rope twist. Grab a little hair from the nape of the neck and add to this hair as well. Now cross all of this hair up so the 2 sections of hair trade places again.
11 – Repeat this process of taking a twist or braid from above, and add it to the French rope twist bottom section. Then a little hair to it all, and pass it over so it creates a twist along the neckline.
12 – Once you run out of hair to add near the right ear, just twist the rest of the hair clear to the very end. Secure the rope twist with a clear elastic.
13 – Last you will be winding this twist back underneath itself. Secure it to the head with bobby pins as needed.
This isn’t wrapped into a bun, though you certainly could do that. This ends out being an elongated oval twist that runs across the back of the neck and allows the braids and twists from above to still be seen.
FINISHED BRAIDS & TWIST UPDO
I just love styles with twists in them, especially French Rope Twists. This one is one of my favorites where it starts as a French rope twist, and then changes into a braid. Click HERE for our French Rope Twist and Braid tutorial.