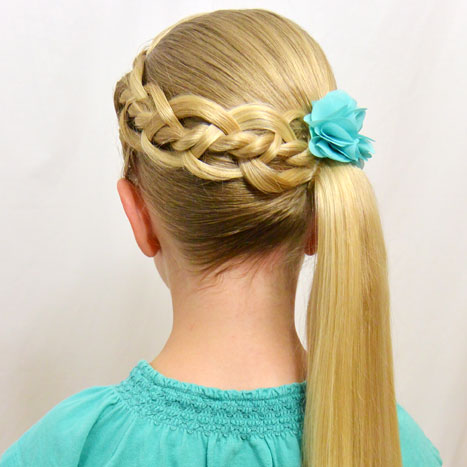
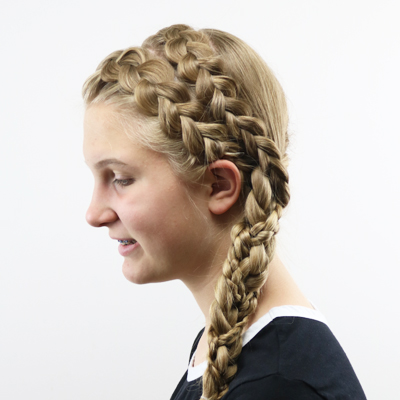
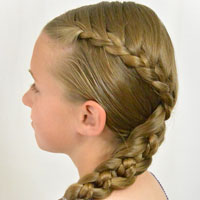
 If you’re one of the few that have been following us from the beginning days of our blog, you’ll know that I didn’t even know how to French braid when I started sharing hairstyles. And it was quite a while into our journey before I even felt comfortable enough to share pictures of my attempts at French braids! That being said, I know there are others out there that have the same struggles, and if you struggle with French braids, anything with more than 3 strands you don’t even attempt. So if you fit into that category (and even if you don’t), I hope you’ll try our Cheater 4 Strand Dutch Braid. We’ve also created several other “cheater” versions or “hair hacks” for braids and techniques over the years, so be sure to check them all out HERE.
Here’s our quick video, and below you’ll find more pictures along with the step-by-step instructions.
Step 1 – Divide out a section of hair from the temples back to the crown and create a rope twist
Step 2 – Twist all the way down until you run out of hair, and secure the end with a clear elastic
Step 3 – Like you would if you were making a French braid, take a small amount of hair from the right side of the head and draw it back toward the twist
Step 4 – Place the index and middle fingers from your left hand through the 1st twisted section at the top of your rope twist/braid
Step 5 – Pull the straight hair that you sectioned out in Step 3 through that section of the twist out onto the left side of the twist
Step 6 – On the left side, take a small amount of hair near the temple on the left side and draw it back toward the twist
Step 7 – Place the index and middle fingers from your right hand through that same 1st twisted section at the top of your rope twist/braid, and pull that straight hair from the left side through the twist out onto the right side of the twist. It’s basically making an X through the center of the twist
Step 8 – Next, temporarily take both tails of the sections you just pulled through the twist and clip them up and out of the way
Step 9 – Repeat sectioning hair out on each side of the head and pass it through the 2nd section down on the twist
Step 10 – Drop the hair back down that you’d clipped up out of the way in Step 8. Take the right section and pass it through the 2nd section of the twist that you just worked with in Step 9. Take the left section and pass it through that same spot on the twist.
Be sure you are only passing hair through the twist that you just brought down from the clip. Don’t pass any other hair through or you will undo things from earlier steps.
Step 11- Gather all 4 of these sections of hair together, cinch them in if needed, and temporarily clip all of them up out of the way
Step 12- Repeat again, sectioning hair out from each side of the head and pass it through the 3rd section down on your twist
Step 13- Drop all the hair back down that you’d clipped out of the way in Step 11. Pass the right section (which will be a bit thicker now) through the 3rd section of the twist that you were just working with in Step 12. Take the left section and pass it through the same spot on the twist.
**Note – Don’t be alarmed if things don’t look so much like a French 4 strand braid until you are almost done with this process. It will look amazing when you’re done though!
Step 14 – Repeat the above steps until you run out of hair to pass through the center of the twist, or your twist ends.
Step 15 – Gently pull on the edges of the hair you’d been passing through the center of the twist to make it flat and wider.
If you leave out this step, it will be a bit harder to tell it’s a Dutch 4 Strand Braid. By pancaking the braid, it defines that middle strand (or twist) that shows up in 4 strand braids that make them look so awesome!
Step 16- Combine all the remaining hair at the bottom with another elastic.
FINISHED!
Be sure to check out our Faux / Cheater 5 Strand Braid
And recently we shared my daughter’s way of doing a “Cheater” Waterfall Braid. Go HERE for that tutorial.
And as always, we’d love if you shared our tutorial from today! Pin and share!
