Really quick, don’t forget– today is the last day to enter to win the fun Gimme Glam Kit that has that awesome i-rock tool in it. Seriously, you can bling just about anything with this thing. Wow – how’s that for rhyming?! It’s not just for hair stuff, so if you are a scrapbooker or crafty type person … or even if you tend to not be so brave with stuff like that, it’s a fun & easy “tool” to use – so click HERE to go enter before it’s too late!
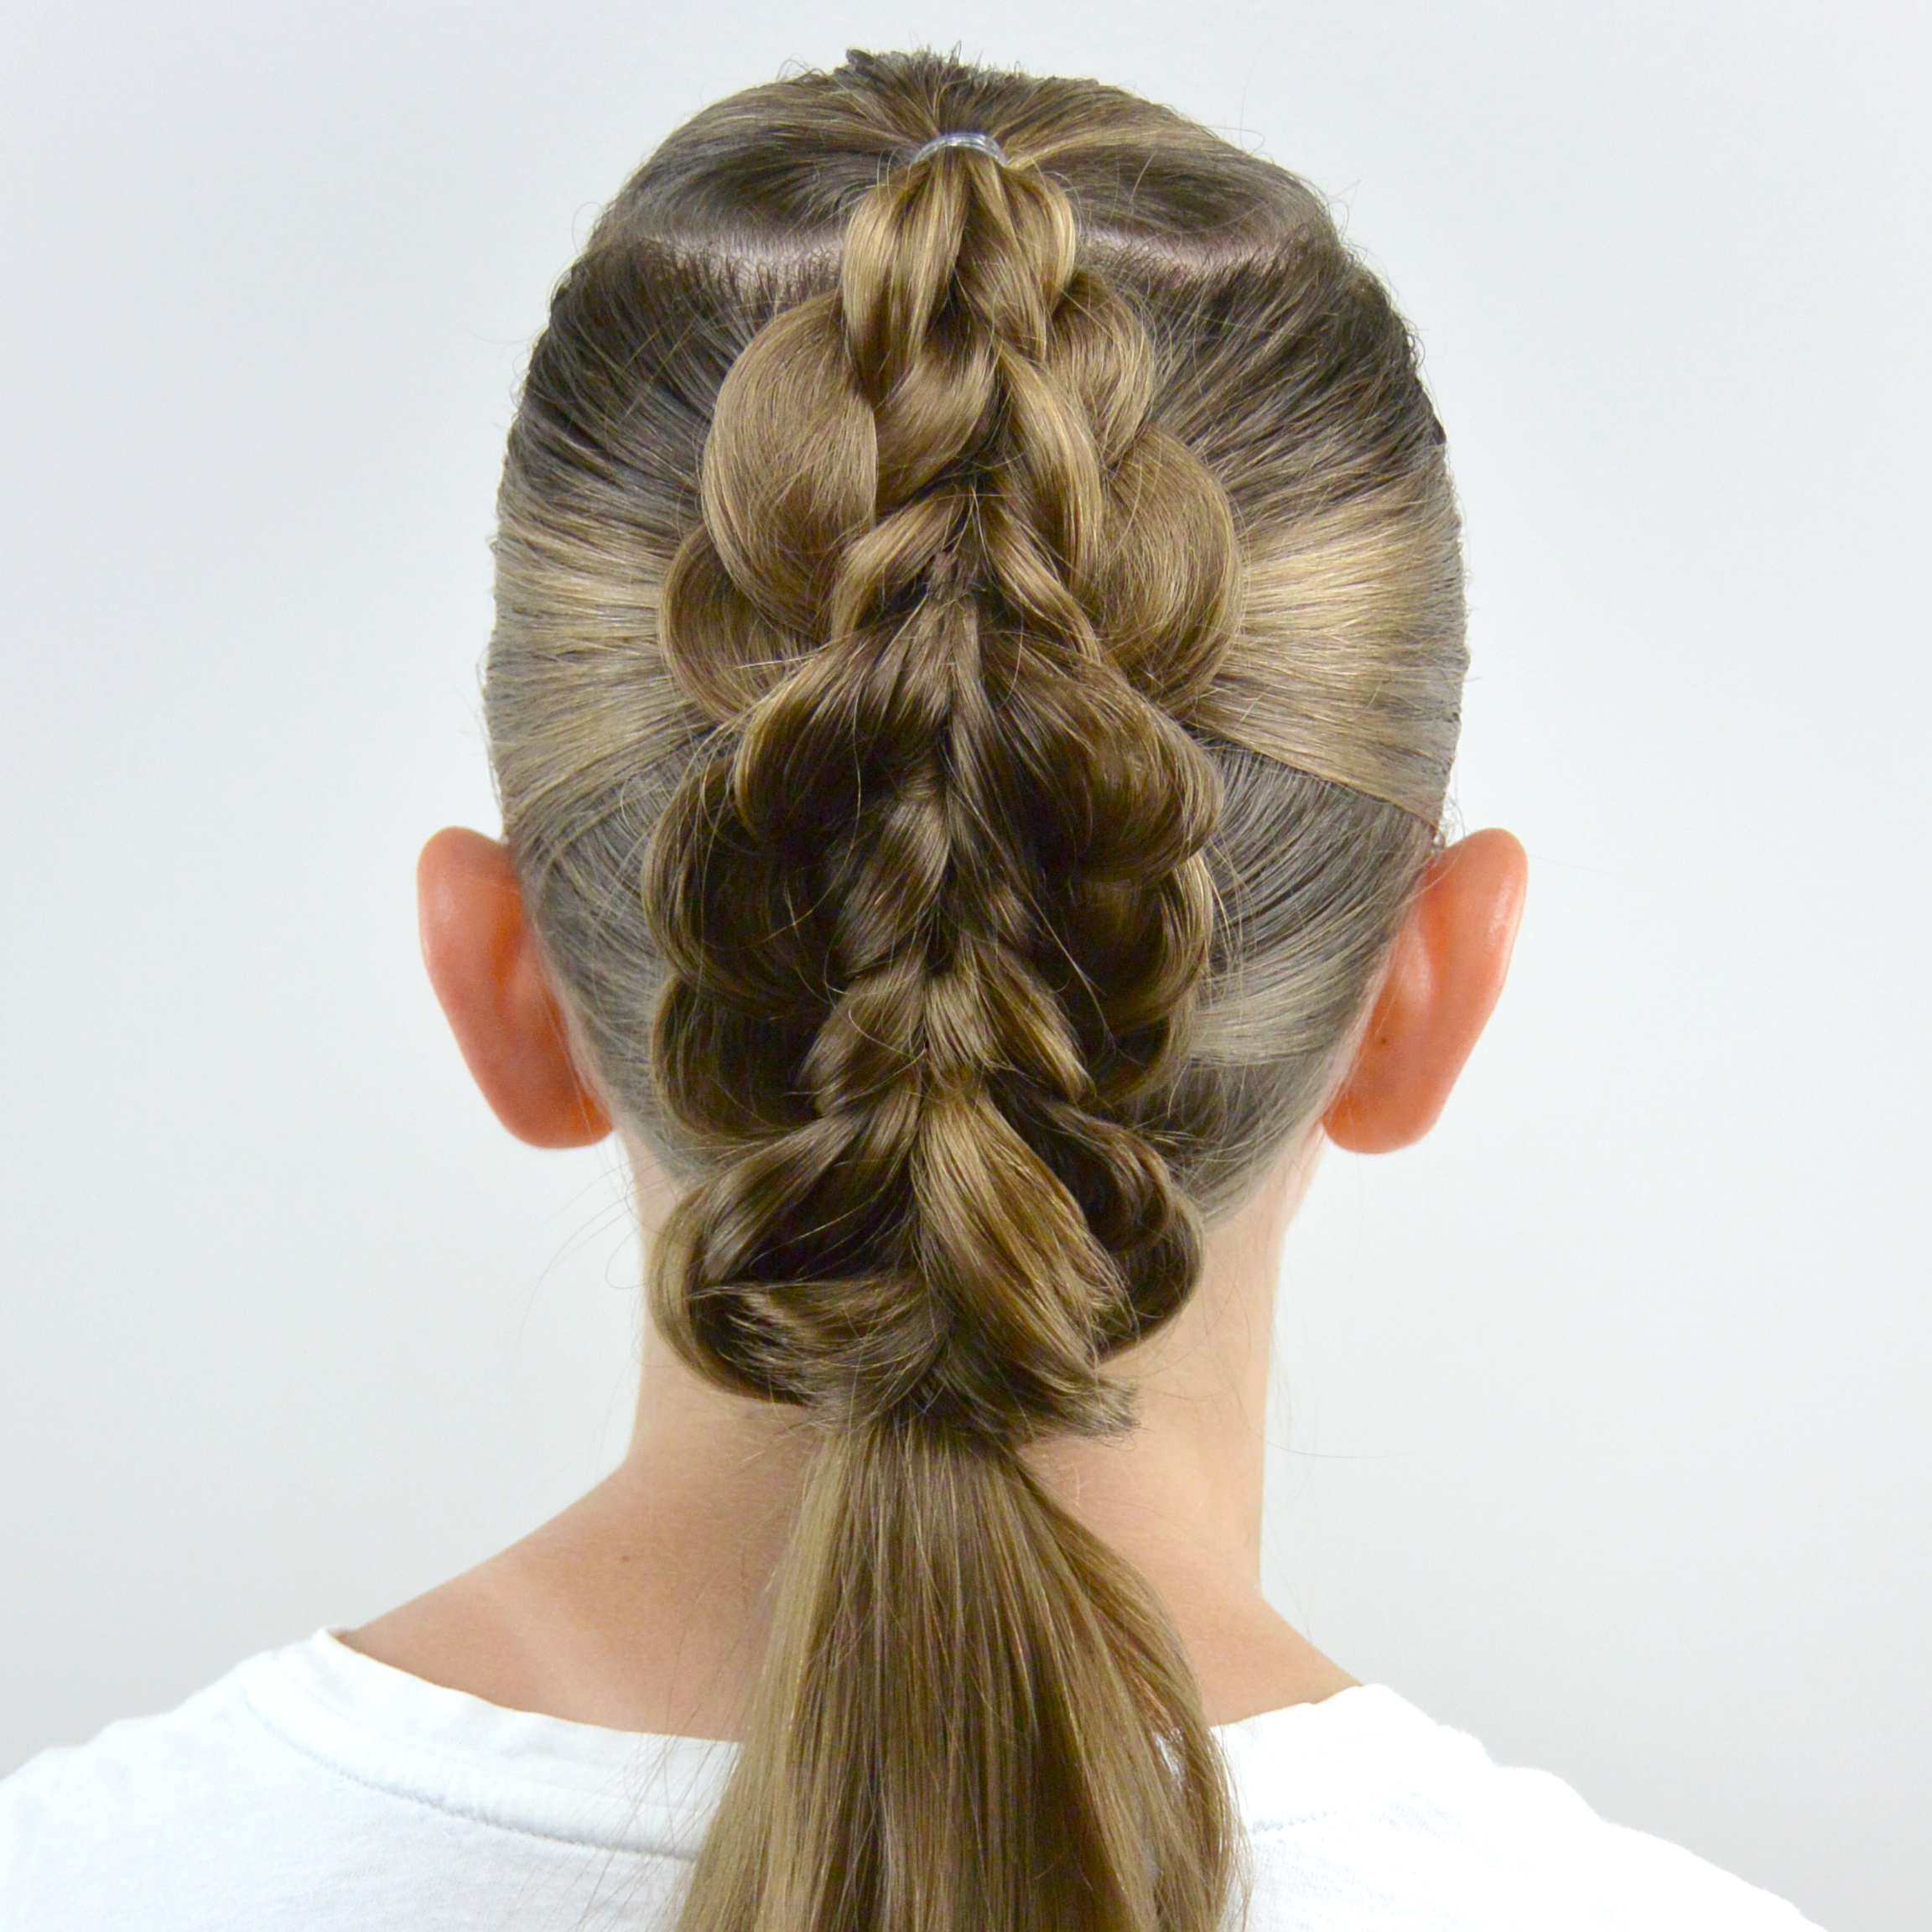
I just love doing “chains” in the girls hair (go HERE if you don’t know what I’m talking about!), but with Bee’s hair, I’ve found she still has some whispy hair, especially up front so they don’t work as well in her hair yet. So needless to say I was kind of excited when I did this by accident a few weeks ago. I was doing this hairdo recently and I accidentally did a step twice and it changed the whole thing … so if you remember that hairdo, or tried it, these first few steps are the same…. So on with the hairdo …
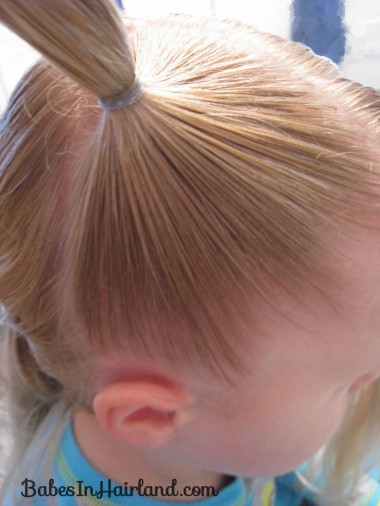
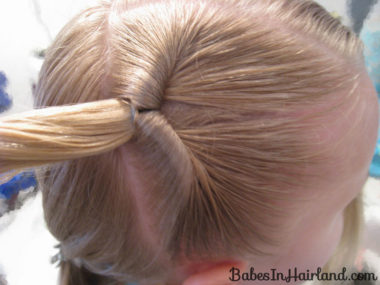
Part the hair from ear to ear over the top of the crown of the head. Then I made an off center part so I had a small pony on each side up front. Make a pony but don’t put the rubber band too close to the head.
Make a pull through. If you don’t have a Topsy Tail– you can see my video HERE how to do it without one.
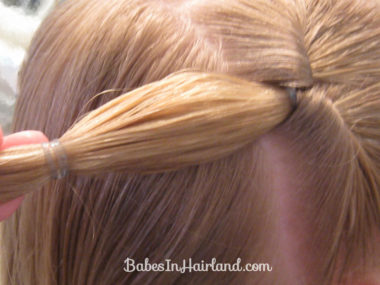
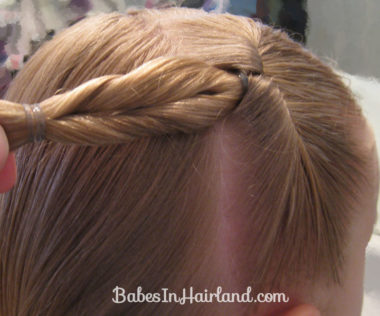
Once you’ve done a pull through up front on the main pony tail, take another rubber band and wrap it around the ponytail a few inches down. It helps if the hair is damp for this to prevent fly aways.
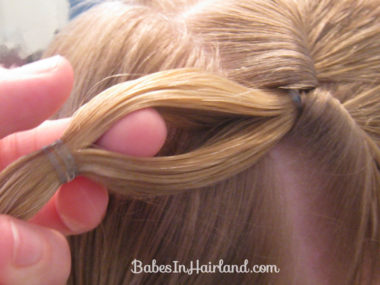
Divide the hair in half between the 2 rubber bands.
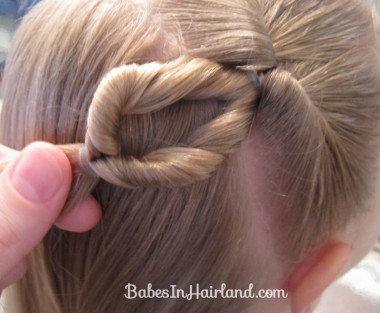
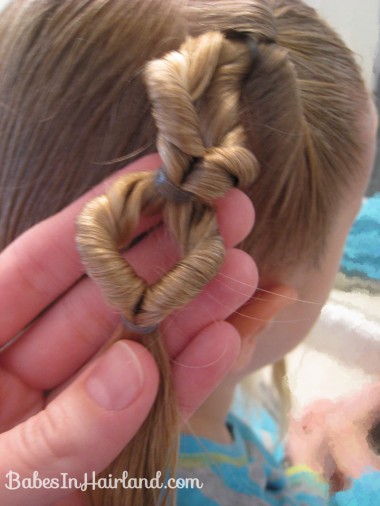
Flip the hair through that hole.
It’s going to look like the fake fishbone from the previous mentioned post.
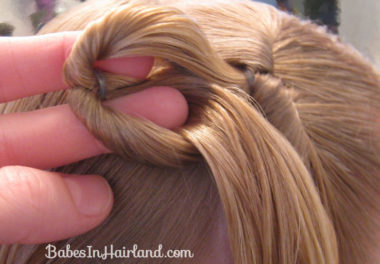
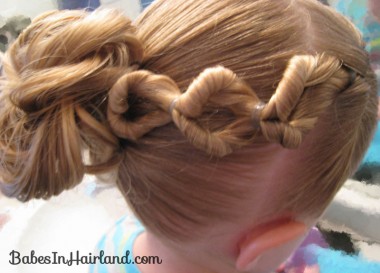
Here’s where it gets fun …. pass the tail of the ponytail back through the “hole” 1 more time. So basically you are flipping the hair through the hole 2x. By doing that – you get a bit of a circle or or at least it stays open and isn’t closed in the middle like the fake-fishbone looked.
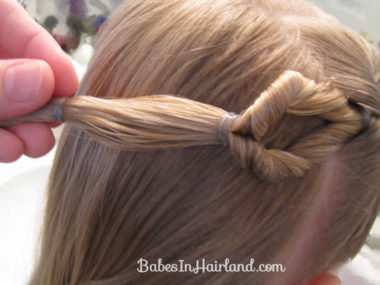
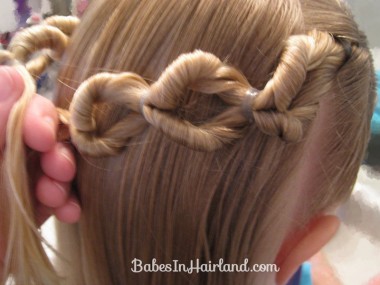
Once you’ve got the first one finished, add another rubber band to the ponytail and repeat the process.
Be sure to put the rubber bands close enough together or the chains won’t look as circular.
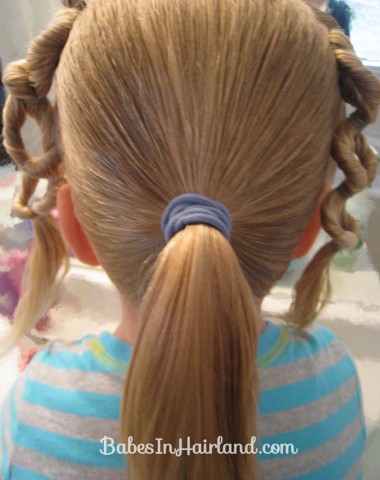
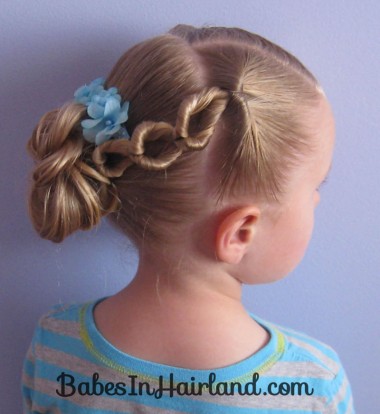
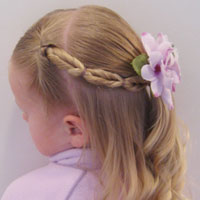
I did 3 of these on each side, so it looked like a “chunky chain” to me.
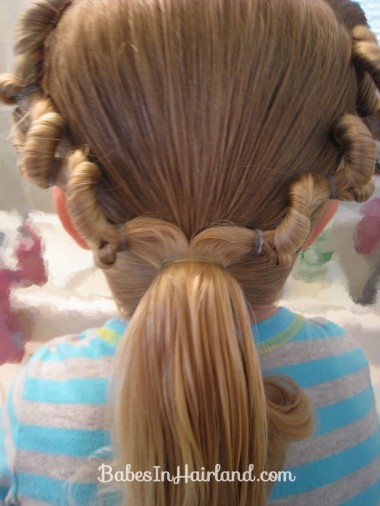
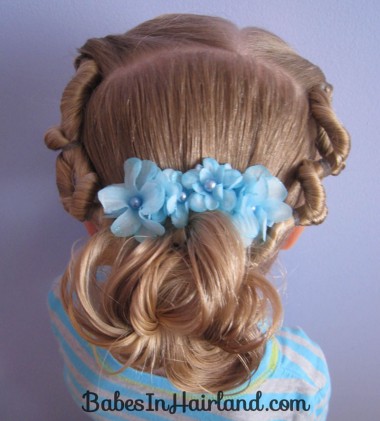
Once you’ve got the chunky chains on both sides, take the remaining hair in back & put it into a ponytail. *You also could simply leave the hair down in back and pull each side of chains to into the back & secure them together in the middle & be done with the hairstyle!
Then take your chains and with another little rubber band secure the chains to the base of your ponytail.
Then make your bun of choice. We did a a messy bun – you can go HERE for our messy bun video. Although this just looks like a regular messy bun – our regular one even, it’s a new one that we came up with, so be sure to check it out!
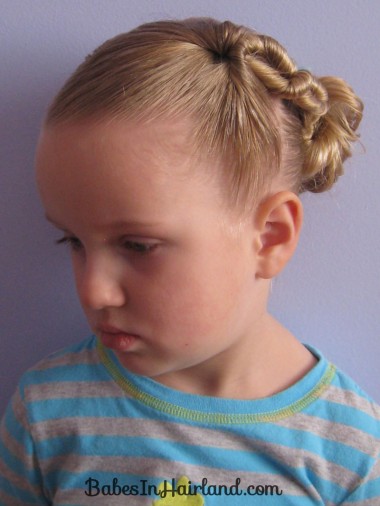
I’m not sure what Bee’s deal was the day I did this. She didn’t want to look at the camera or give me any kind of happy look, although she was completely cooperative with everything else. I think she’s having a hard time adjusting to being 4 or something! 🙂
We added these some darling clips from Gimme Clips on top of the messy bun & it just made it look so cute. They fit together perfectly and it almost looked like it was one pretty flower across the top of her bun. These chains obviously stay in a lot better than the other ones would because they are held in with the rubber bands. They looked awesome & lots of people commented on her hair when were out. Bee just liked the flowers!
That’s it. Not too hard, right? I’d love to know if you try this one & how it turns out. Have a great weekend everyone.

