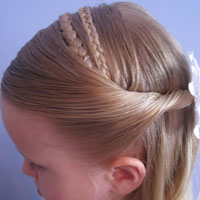
I actually shot this tutorial clear back in May 2009, less than a year after I’d started this blog. I was going back through old photo files a couple weeks ago and stumbled up on all these pictures. I must have uploaded them into my family picture files instead of into my hairstyle files and it just got lost in the thousands of pictures I’ve taken over the years! I must have done this right on the heals of one of our all time favorite styles Wrap Around with Little Braids.
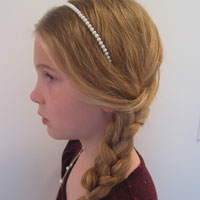
So there’s nothing like a trip back in time when Bug was not even 5 years old yet! She still had quite chubby little cheeks and her hair still was growing and we were years away from her haircut for Locks of Love. And I love how her hair is almost a reverse ombré. I can’t believe how light the ends of her hair were. Her hair certainly has darkened up as she’s gotten older! I also must apologize for some of these pictures because they are a bit blurry. I was still new at all this stuff back then!
Ok – enough of my trip down memory lane! On with the hair tutorial!
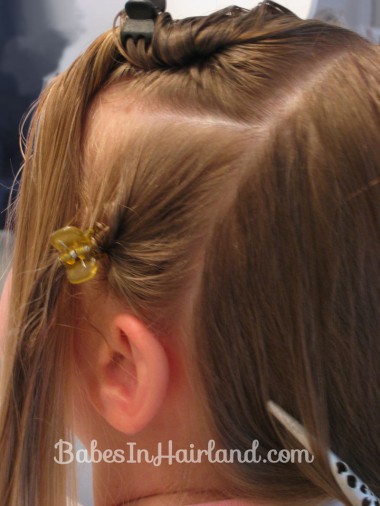
Step 1 – Part the hair from ear to ear
Step 2 – Divide the hair into 4 sections
On the top middle part I actually made a zig-zag part. Feel free to make them all straight. Secure them all temporarily with claw clips because you won’t work with every section at once. I also secured the all the hair down in back with another clip to keep it out of the way.
You’ll basically have 2 on the left side & 2 on the right side of the head.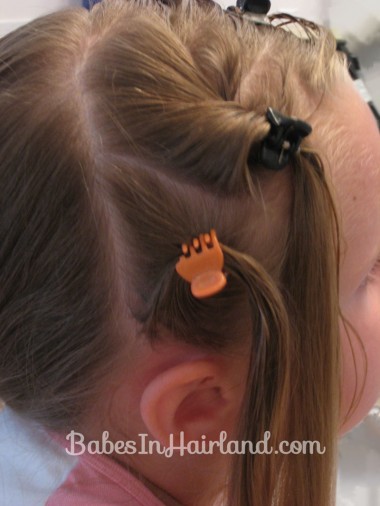
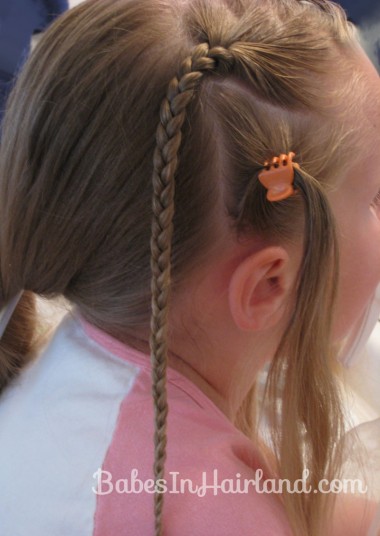
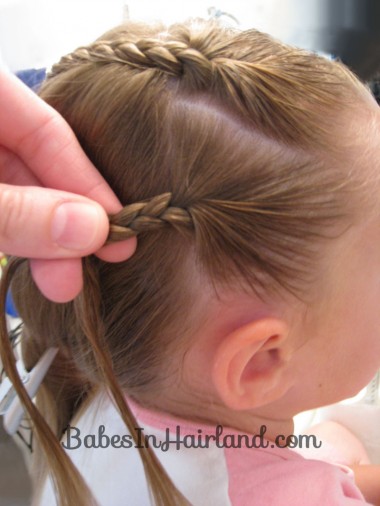
Step 3 – Braid the top right section of hair
Braid all the way down & secure the end with a little clip for now.
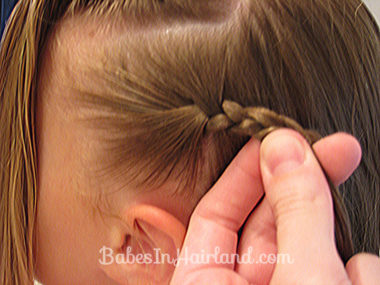
Step 4 – Start a braid on the bottom left section
Keep in mind this is on the left side of the head now. Start braiding but don’t braid too far.
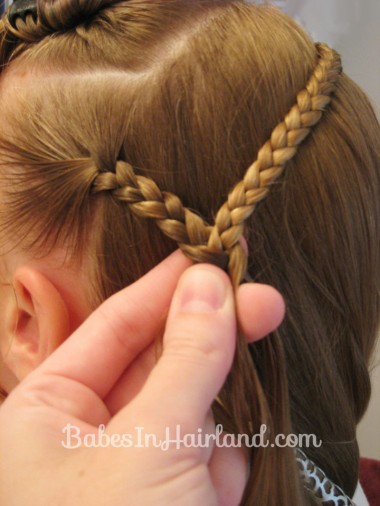
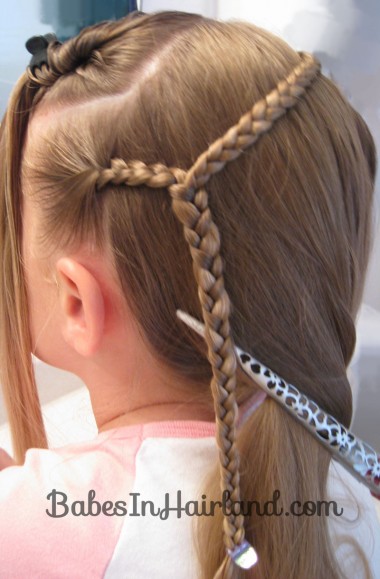
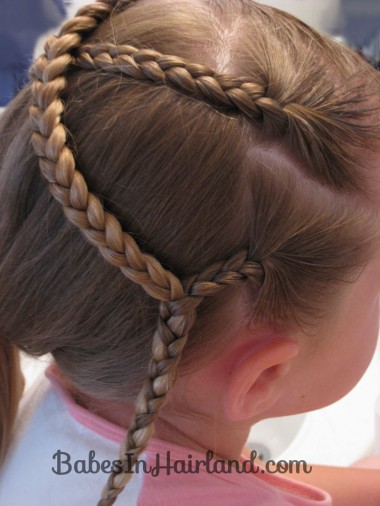
Step 5 – Add right braid into the left braid
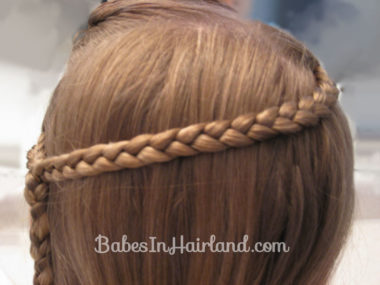
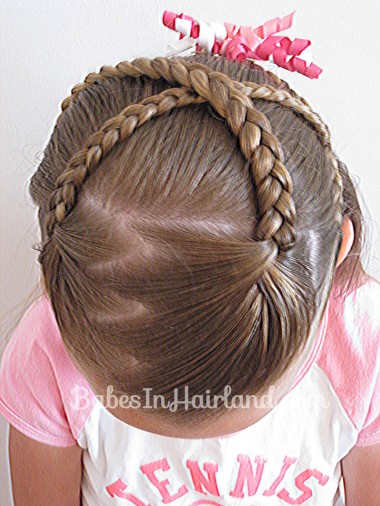
As you start to make another plait with that lower left braid, incorporate the braid from the right side into it. That braid from the right will wrap across the back of the head. If I remember correctly (Once I’d wrapped the braid over the back of the head and saw how much braid I needed, I unbraided the “excess” right braid so it was straight hair that was incorporated into that left braid.) Hopefully that makes sense.
Braid all the way down until you run out of hair. Secure the end temporarily.
So this is what you have up to this point!
Step 6- Braid the top left section
Step 7 – Start braiding the bottom right section
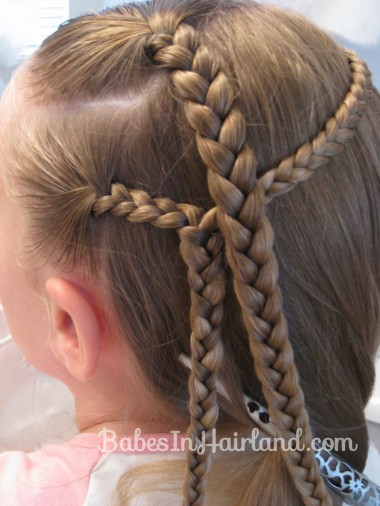
Step 8 – Repeat step 5 on the right side
Once again – join the 2 braids together & braid all the way down.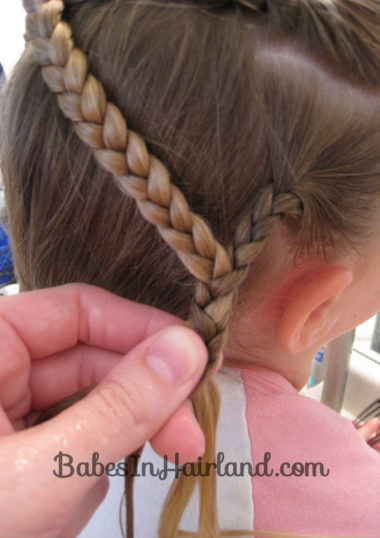
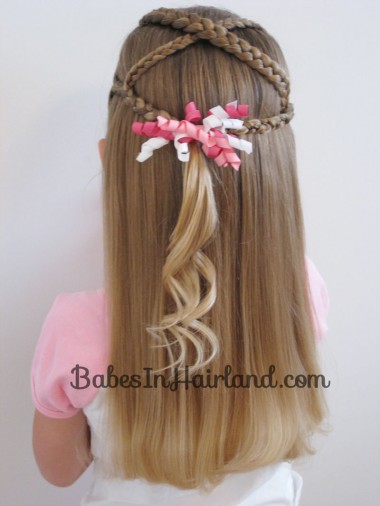
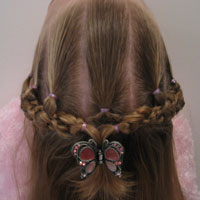
It should look like this from behind once you’ve got both braids crossing over.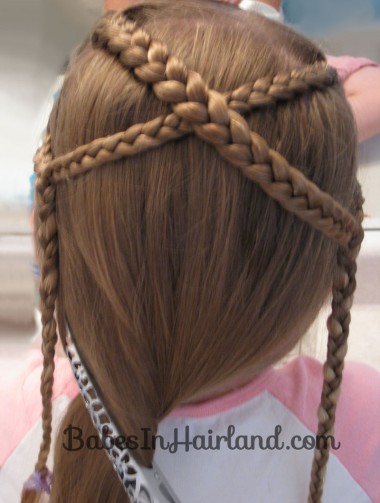
Step 9 – Join the braids together
With the braids hanging down on the sides, bring them together in the middle & secure with a rubber band.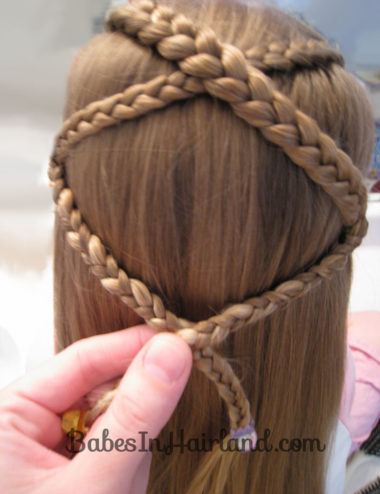
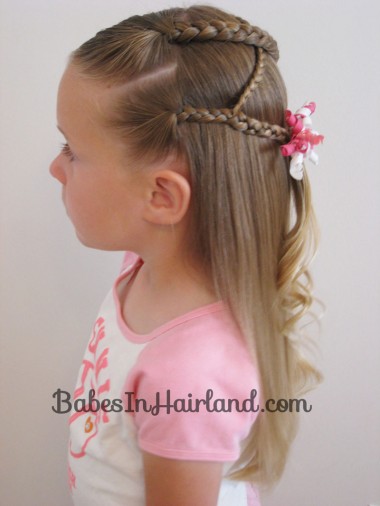
Step 10 (optional) – Curl & add a bow
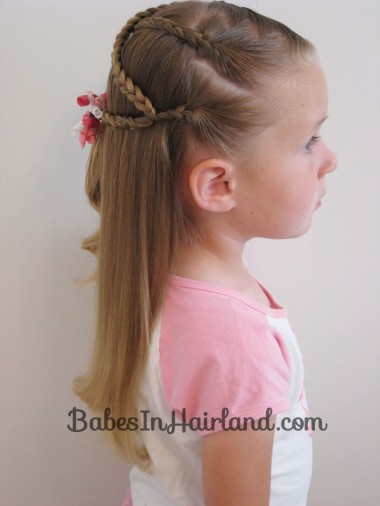
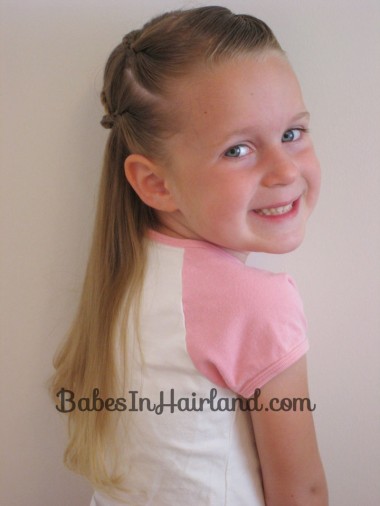
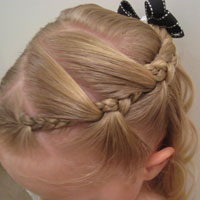
FINISHED!
See what I mean? She’s so tiny! Oh, how fast time flies!
Hope you like this one! If you’ve got enough hair to pull from one side of the head to the other, this should work for you. It’s really cute and pretty simple. Great for school or church!
Don’t forget – if you’re looking for fun ideas for St. Patrick’s Day to see all the fun hair accessory ideas we rounded up for you HERE.
How fun to find that after all this time!!! I am glad you found it! This is the cutest ‘do’. I can’t wait to try it on my daughter!
I’m glad I found this one too! Was so cute & can’t believe I forgot about it!
Oh this is so cute! My daughter has really long hair and I really don’t know what to do with it. I can’t wait to try this out!
I appreciate that Summer! So glad you found us. I’m going to have to come check out your blog too!