I hope everyone had a wonderful Christmas and that you’re enjoying this holiday season. I know we did – but now I’m trapped in the bathroom again with my not-so-little Bee at a 2nd attempt at potty training. Yes, the first attempt several months back turned out to be a bomb, so we’re at it again. What a great way to spend my week when the girls are off school eh? Not! Anyway, things are going a bit smoother this time it seems, but that means my time here again on the computer is limited. As I write, the “potty timer” is ticking away, so I’m typing in a furry! It’s frustrating to have so many do’s and no time to post them.
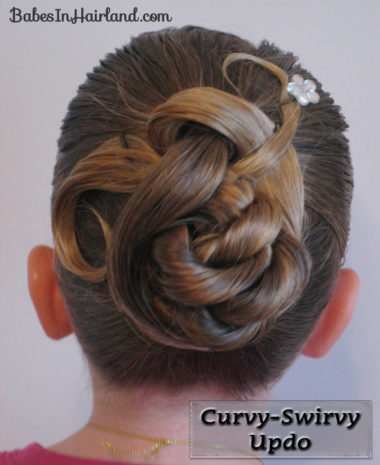
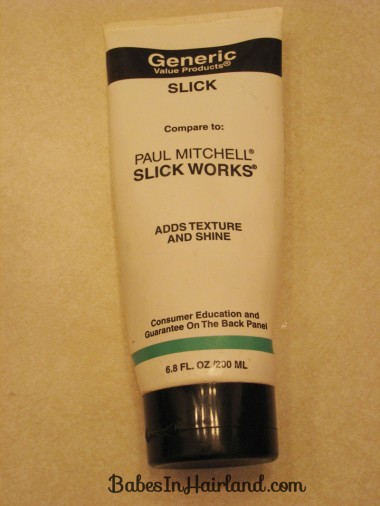
This one I did on Bug months ago, but thought it might be a good one if you are headed to a fancy-schmancy party & need an updo. I’ll admit, it’s a bit funky, but it really looked cool! You’ll need some sort of pom-made or “goop” for this. I have the “black & white” generic brand from Sally’s and is the equivalent of “Slick Works” by Paul Mitchell. See, I’m cheap! Love this stuff though – I use it daily in my own hair.
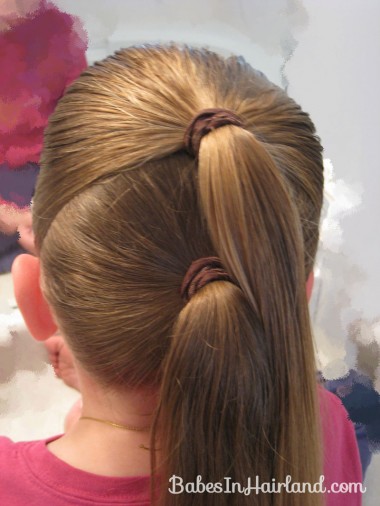
Start by parting the hair from ear to ear and making a 2 ponytails. I also parted the hair off center in front, like I always do. I don’t do too many hairdo’s where I just pull the hair straight back – slick like. I prefer some sort of part. Try pull the ponytail on top down a bit so you don’t see the part you made that goes ear to ear. Secure each with a rubber band.
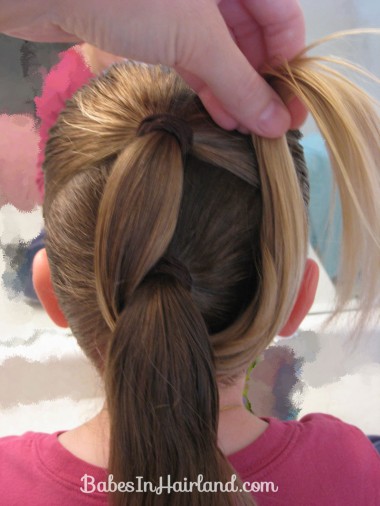
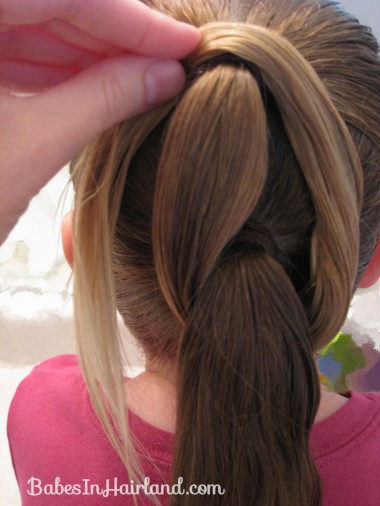
Having the hair pretty damp helps in this do. And be sure to run a bit of “goop” down the ponytail (which I forgot to do) to help with fly aways. Take the top ponytail and wrap it on the left side of the bottom ponytail. Then bring it up underneath the bottom ponytail on the right side.
Continue to bring the ends of the ponytail up, and over the rubber band of the top ponytail. Secure it with a bobby pin on the right side of the head so it doesn’t fall back down.
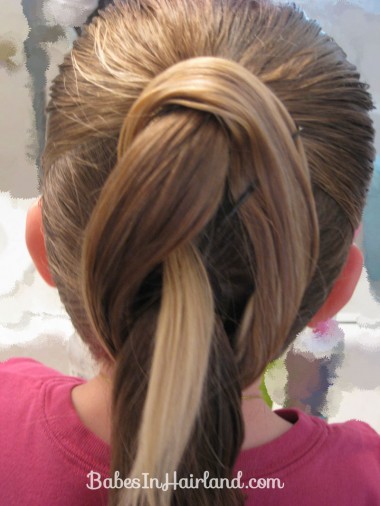
Once you’ve secured it with the bobby pin, take the ends of the ponytail and tuck them underneath itself. You’ve basically made an oval with that top ponytail. The ends of the top ponytail will be covering the rubber band of the bottom ponytail at this point.
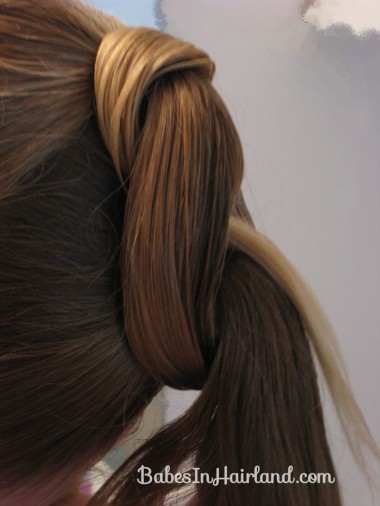
Here’s a view from the left side.
Get out your “goop” and put a bit on the ends of the top ponytail that are sticking out right now.
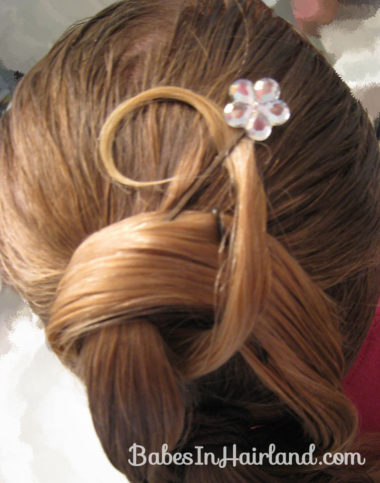
Once you’ve put your goop on the ends, take the ends of the top ponytail and bring them back up and towards the front of the head. Form a little “hook” or semi-loop with the ends and secure with a fancy bobby pin. I’d loaned most of mine to a neighbor, so this ‘do is lacking in the accessory department, but I found this one in the back of my drawer! These “loops” won’t hold very well unless you’ve got some kind of product in it – or you use hairspray and spray the heck out of it!
Take the bottom ponytail and make a rope/twist braid. Secure the end with a rubber band.
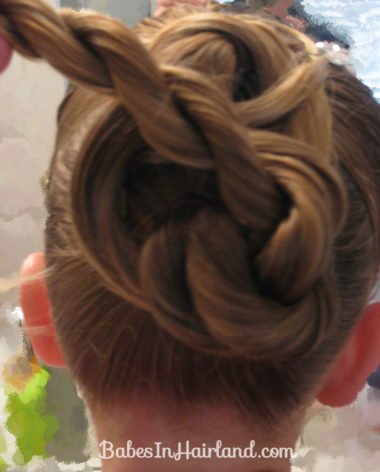
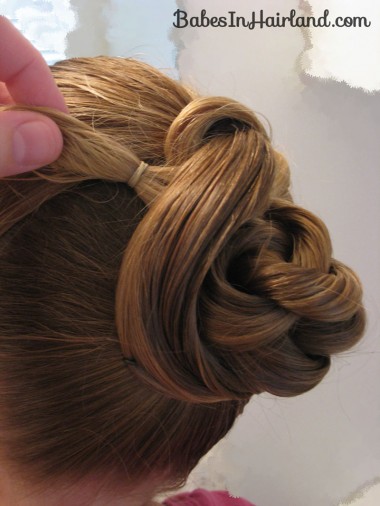
Wrap the twist braid around like you’re going to make a bun.
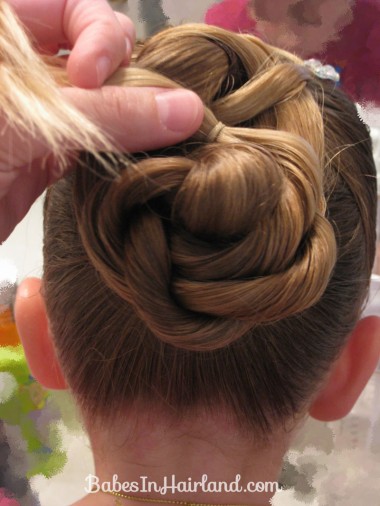
Wrap it tight – or loose – whatever will make you end up on the top of the bun with the ends of your twist. Secure the bun with a bobby pin or two.
Take the ends and tuck it under the straight part of the top ponytail and pull it out the other side – as shown. Don’t pull it out too far, because you can hide the rubberband nicely under the other hair this way. I just pulled it out so you could see what I was doing!
Once again, apply some product to the straight ends of your twist. Curl it with your fingers to make it look like a loop or a #6. Secure it wherever you want on the head with a fancy bobby pin. (I know mine isn’t- but pretend!) Add plenty of hairspray or whatever you think you need to hold those little curves in place!
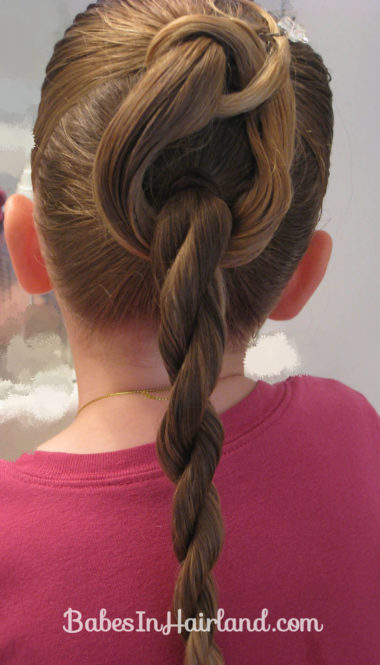
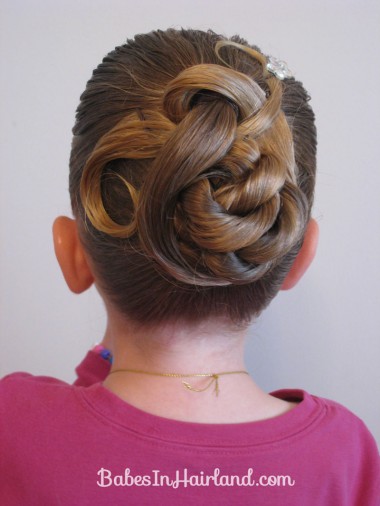
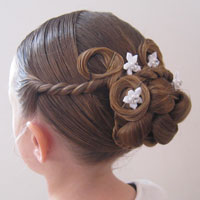
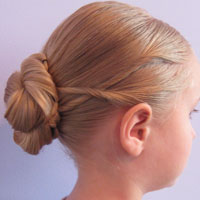
And here’s your finished curvy-swirvy updo from the back. Any type of shiny bling you could stick around on this would dress it up even more. Or even if you had tiny little flowers or something to pin around. Oh, so pretty.
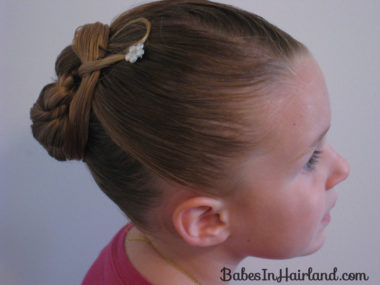
View from the right side. By pulling that top ponytail down a bit, you can’t see the part you made from ear to ear very much.
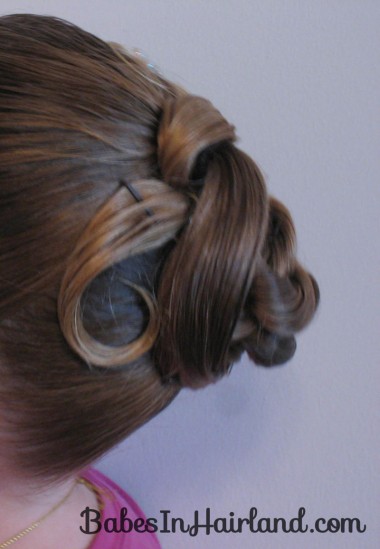
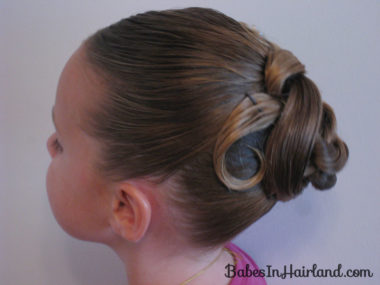
And view from the left side.
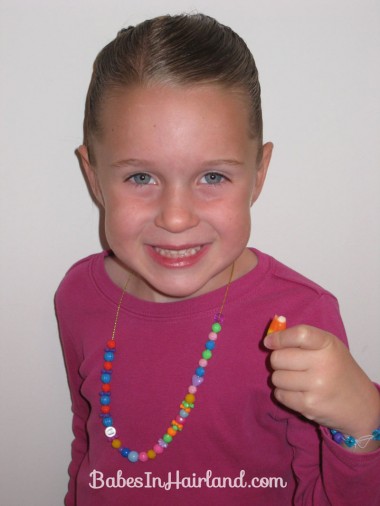
Add some half eaten candy-corn, some home made bling around the neck and wrist, and a big smile, and you are all set to go to your hoppin’ New Year’s Eve party! LOL 🙂
I hope everyone has a wonderful NEW YEAR’S! Make sure in those New Year’s resolutions you might be making – that you include trying more fun hairdo’s on someone – or yourself! 🙂
It is beautiful, but I wish you would show a video for all of your hairstyles. It is hard to tell what you are doing on step #9 with the twisted section. Videos are a bit easier to follow. Do you perhaps have a youtube video or a video somewhere on your site that I have missed? Thanks, Elizabeth.
This is so pretty!