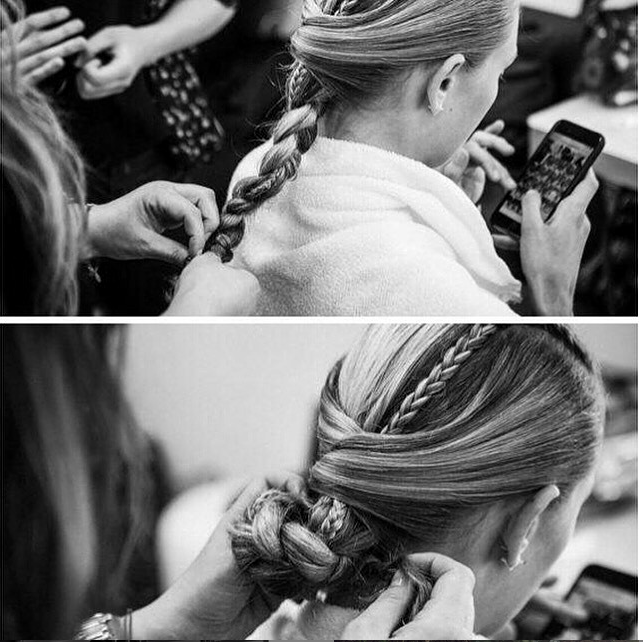
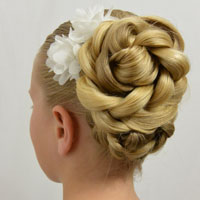
Today’s beautiful, yet simple style was inspired by the below picture we saw a couple months back on Instagram posted by @Pronovias during their Pronovias Fashion Show. And while their picture didn’t show the finished style or views from other angles, I really liked the direction the hairstyle was going. Our version of this style is a bit different. We added another braid (at least I think so since you can’t see the other side of her hair in the picture below) and fastened the hair in the center a bit differently, along with off-setting the bun, but I love how it turned out!
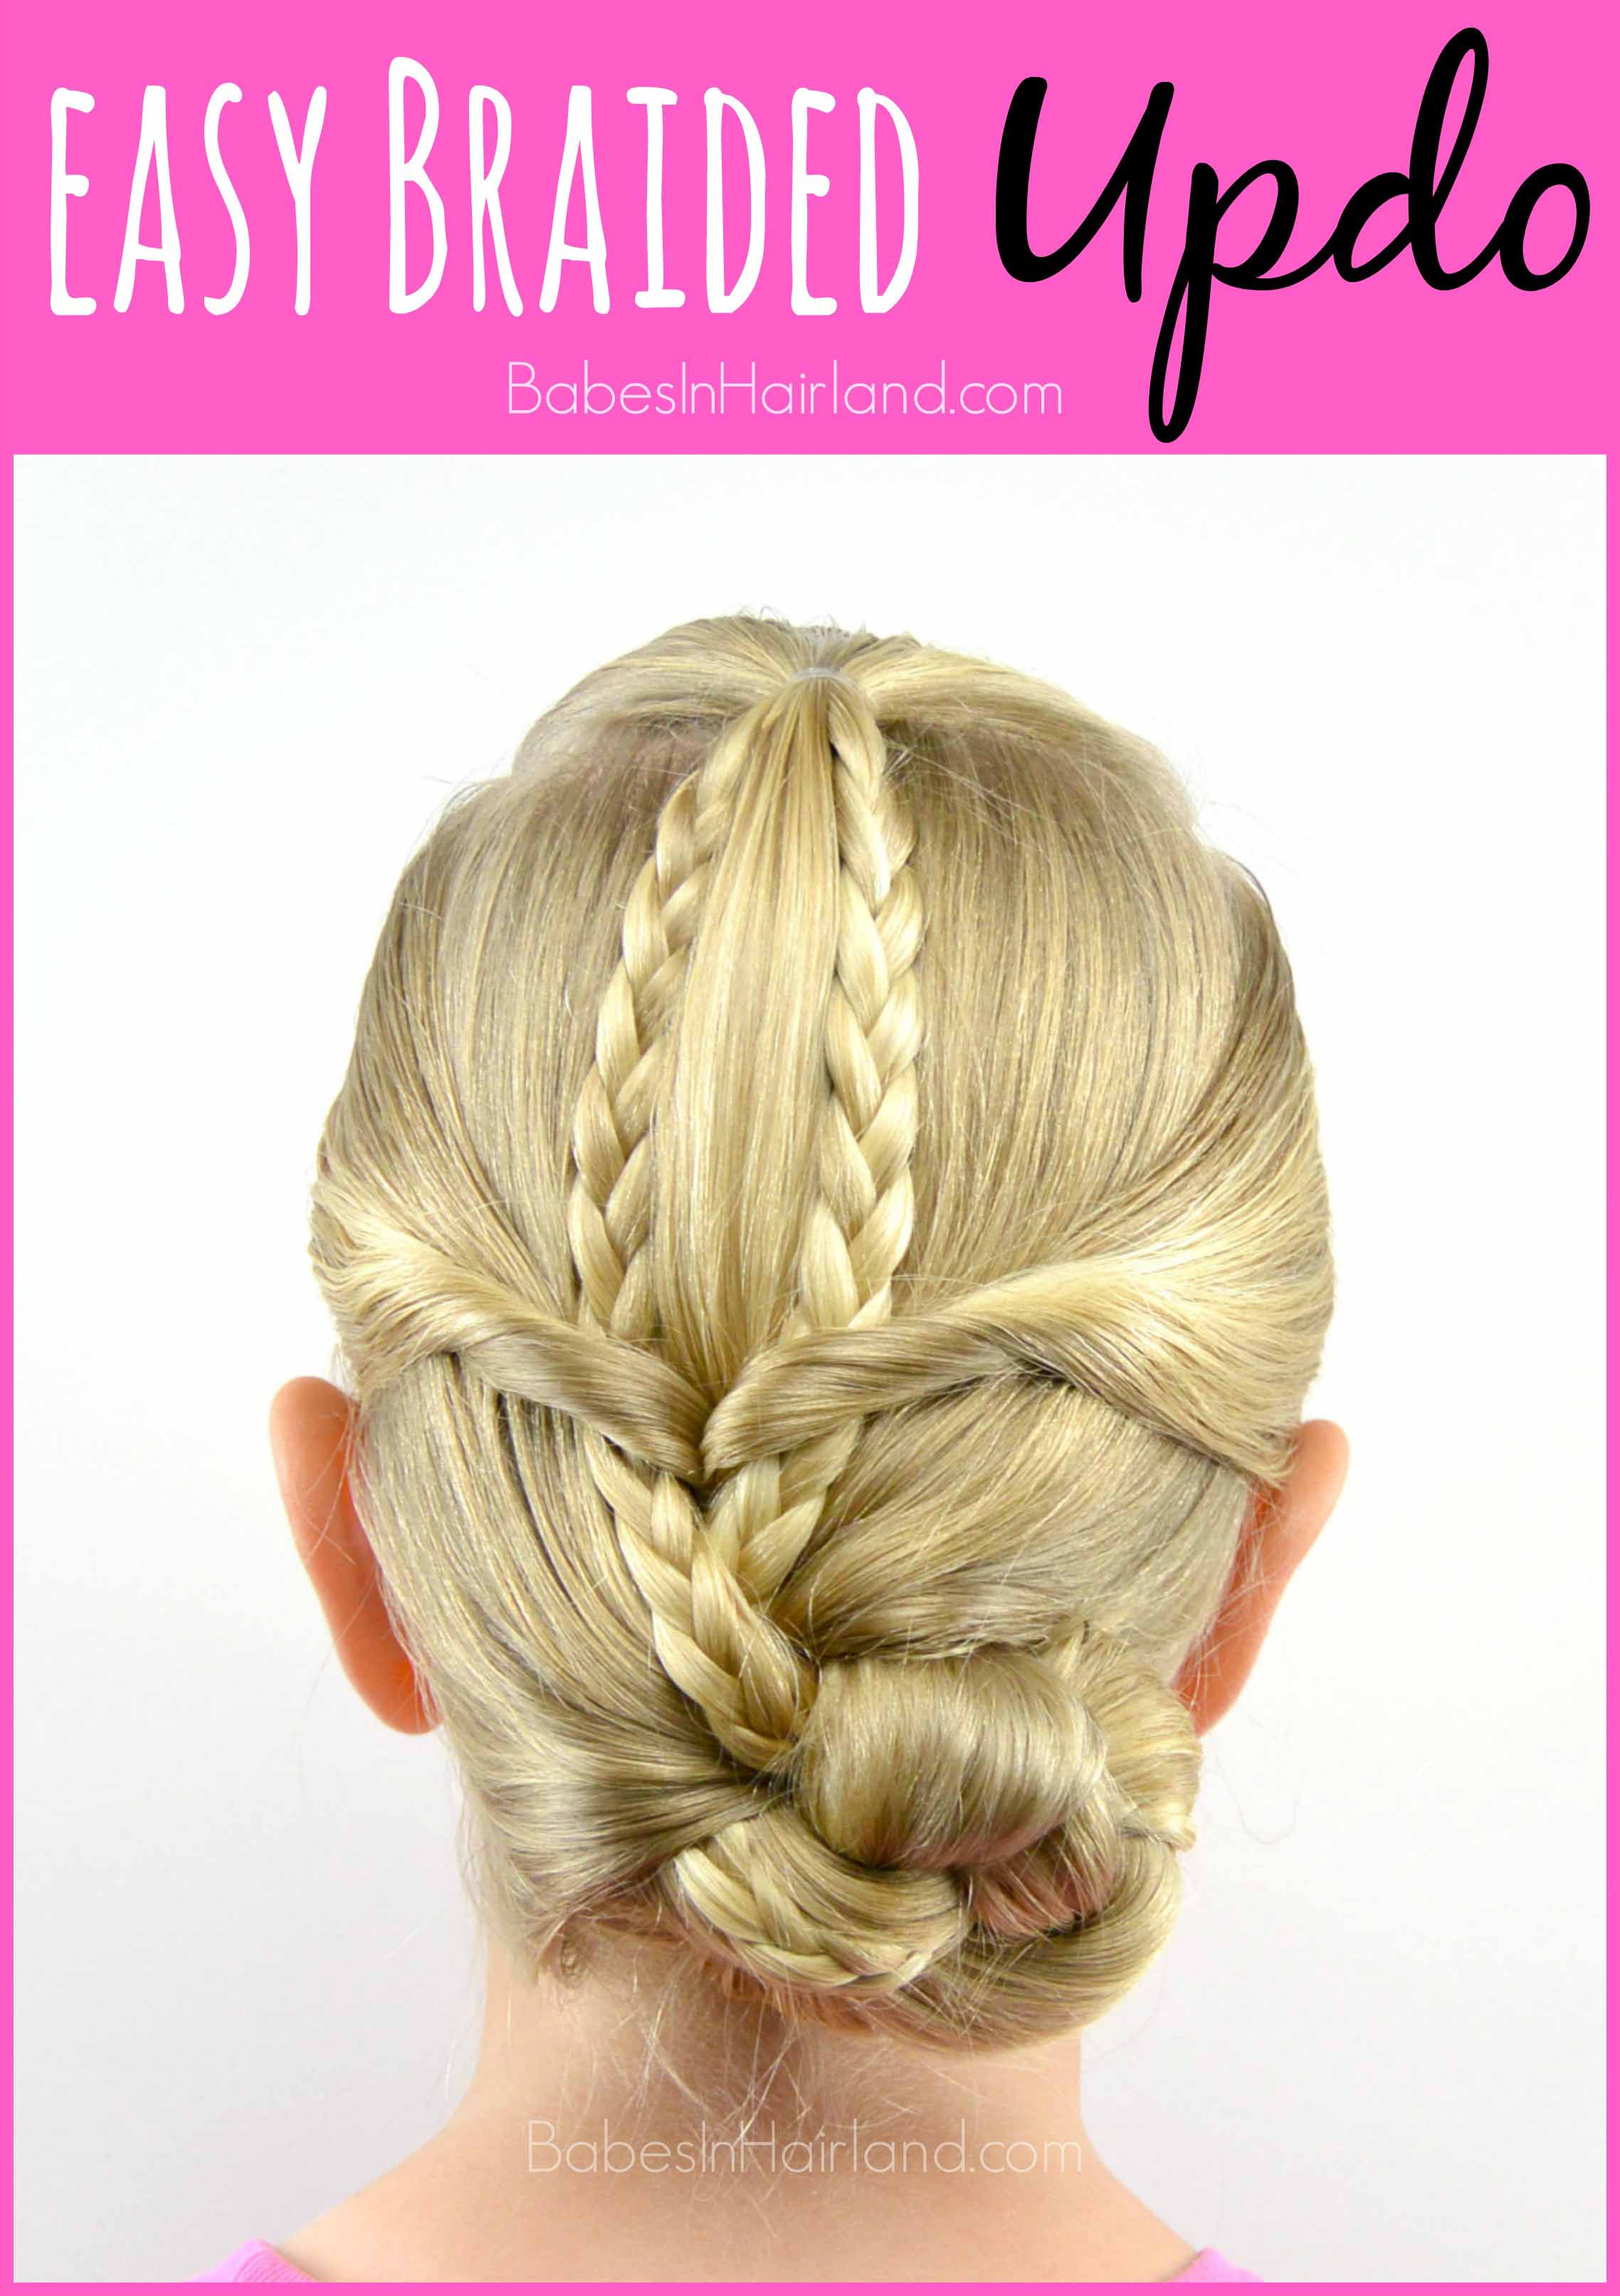
So this is our version/take on the style.
Step 1 – Part the hair from the temples back to the crown making a rectangular section of hair
Step 2 – Secure that section of hair with an elastic to make a ponytail that sits at the crown
We use THESE Goody Elastics when we do styles like this. They hold up the best that I’ve found over the years.
Step 3 – Take a small section from the right side of the ponytail and create a regular 3 strand braid & secure the end with an elastic
Step 4- Take a small section of hair from the left side of the ponytail creating another 3 strand braid & secure with an elastic
Once you’ve finished this braid, you should have straight hair running down the middle between the two small braids.
Step 5 – On the left & right sides of the head, part hair out from the crown down to the ears
Step 6 – Draw the hair from each side backward to the center of the back of the head
Depending on the age of the girl you are doing the style on, you can make this a looser, messier style if you like. I wanted to keep things a bit tighter and neat as shown in the picture from Pronovias. In their picture, they turned the hair inward and likely secured it with a bobby pin, but we opted to change things a little.
Step 7 – Join the hair from each side into a ponytail and secure with a clear elastic
Step 8 – Flip this ponytail up and over and back down behind the elastic so it slightly twists & tightens the hair
Step 9 – Gather all remaining hair down in back toward the nape of the neck, excluding the braids
Step 10 – Divide the hair into 3 even sections to begin a regular 3 strand braid
Step 11 – Cross the right section over the middle section, then lay the braid from the right on top of it
Step 12 – Cross the left section of hair over the middle section, then lay the braid from the left on top of it
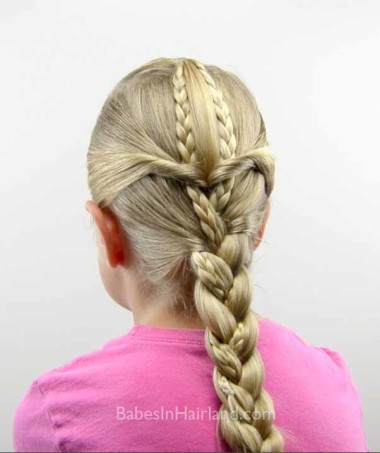
Step 13 – Continue the braiding process down the ends of the hair but be sure to keep those little braids on top of the straight hair so they can still be seen as you braid.
If you wanted, you could stop here, as this creates a pretty style all on its own. This is just a screen shot from the video – so it’s not the best picture, but you get the idea!
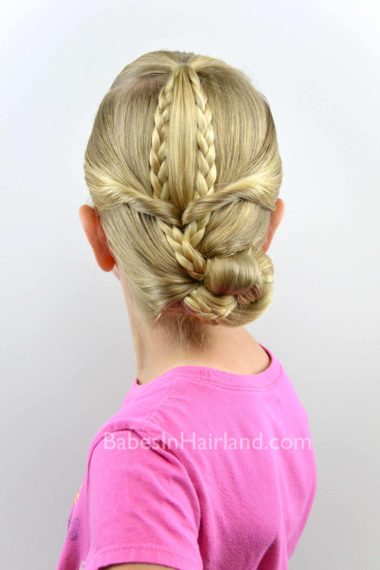
Step 14 – Wind the braid up into a low bun or chignon that sits right at the nape of the neck and secure with bobby pins
Because her hair is a bit harder to wind up into a bun at this length, I rolled it under into itself so the tail of the braid was hidden easier. Then I secured it a bit off to the right side with bobby pins.
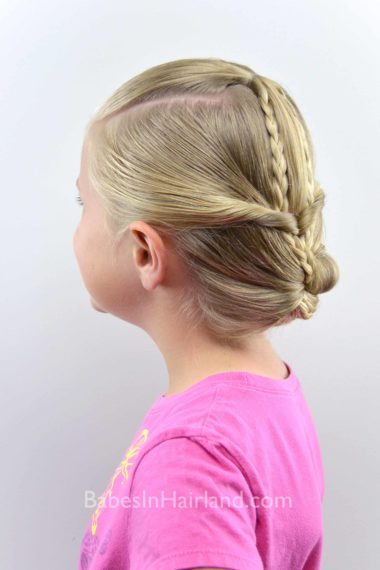
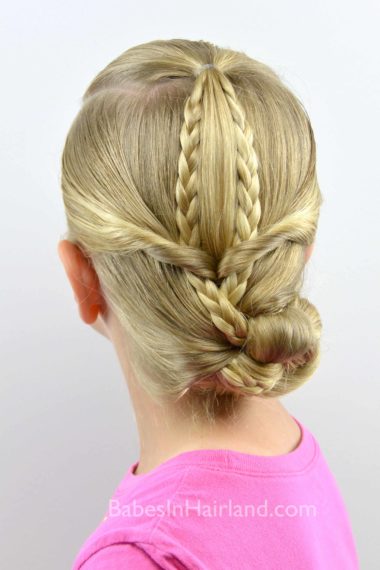
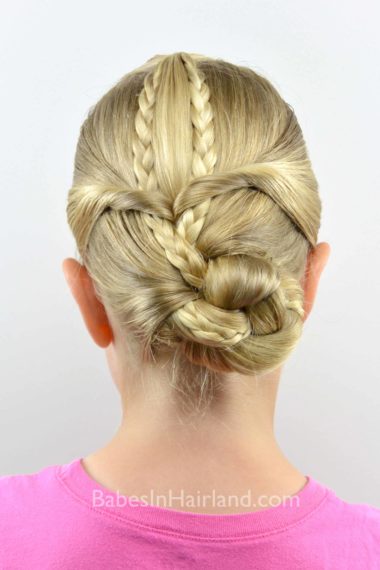
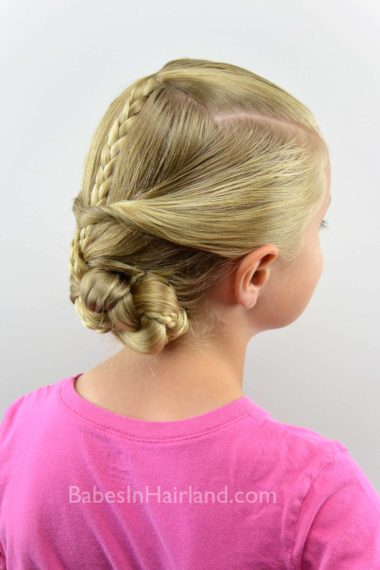
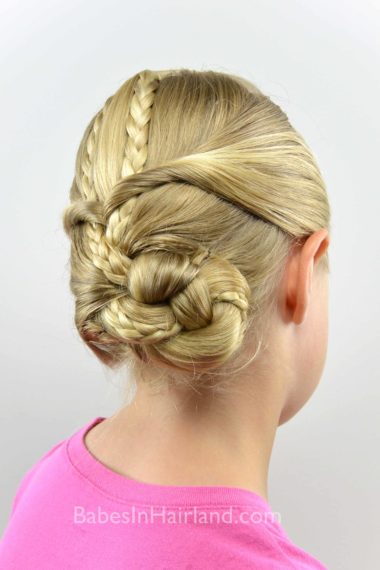
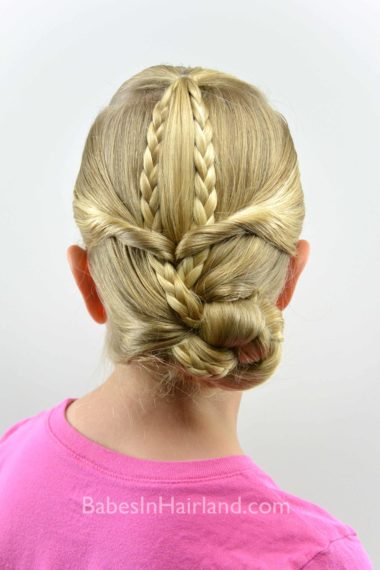
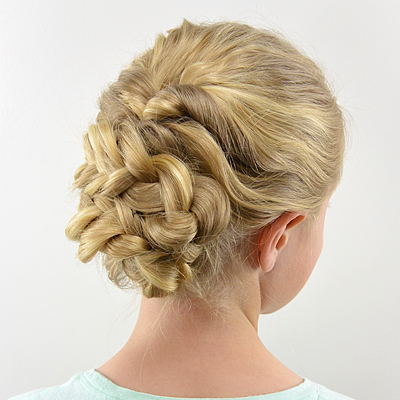
FINISHED!
By keeping those small braids floating on top of the straight hair, they peek out nicely once the braid is wrapped up into a bun.
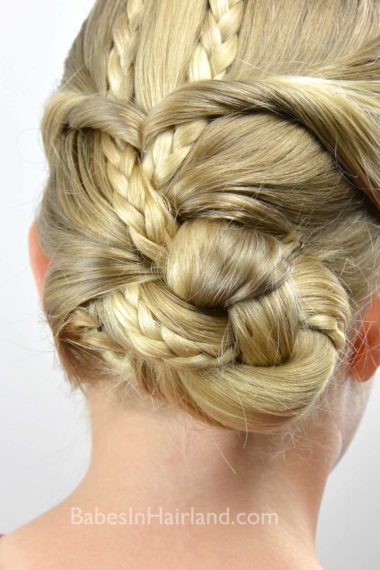
Here’s an even closer look at things and how the little braids show throughout. It just adds a bit more texture & dimension to the updo I think.
There you have it! Comment and let us know what you like about this style. We’d love if you shared it or pinned it for later! This one is definitely one for you “special occasion arsenal!”
This hairstyle is so cute!!! Do you think I could leave it in a ponytail instead of turning it into a bun?
I like it but do you think that you could make a hairstyle for thin short hair?