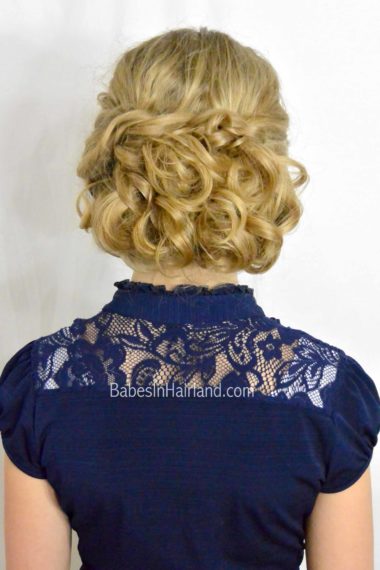
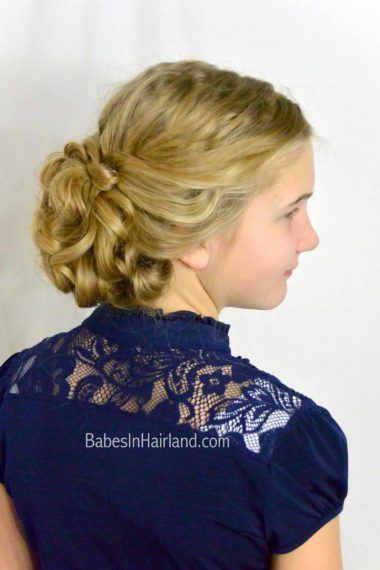
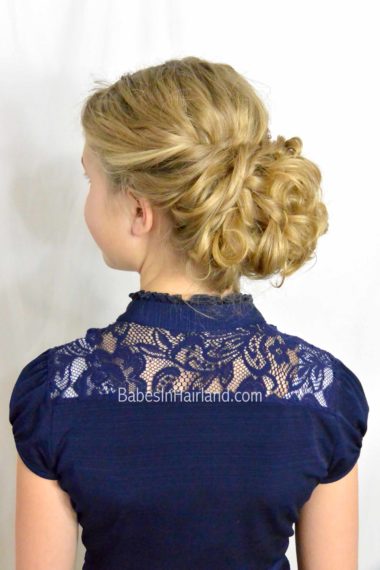
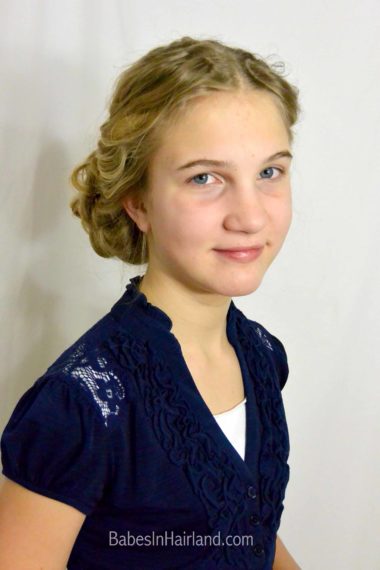
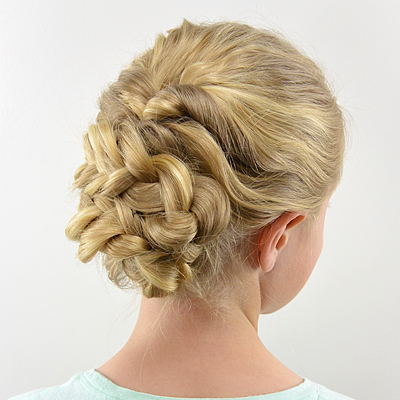
I hope you had a wonderful Christmas and New Year’s. I can’t believe how time flies and we’re already a week into January. It’s been a while since I did a “fancy” hairstyle, and I’ve been itching to do an updo lately, so what better way to start off the new year, but with a gorgeous AND EASY updo! Seriously, this one looks all intricate, but if you can make a regular braid and have a way to make a bit of curl, you can do this!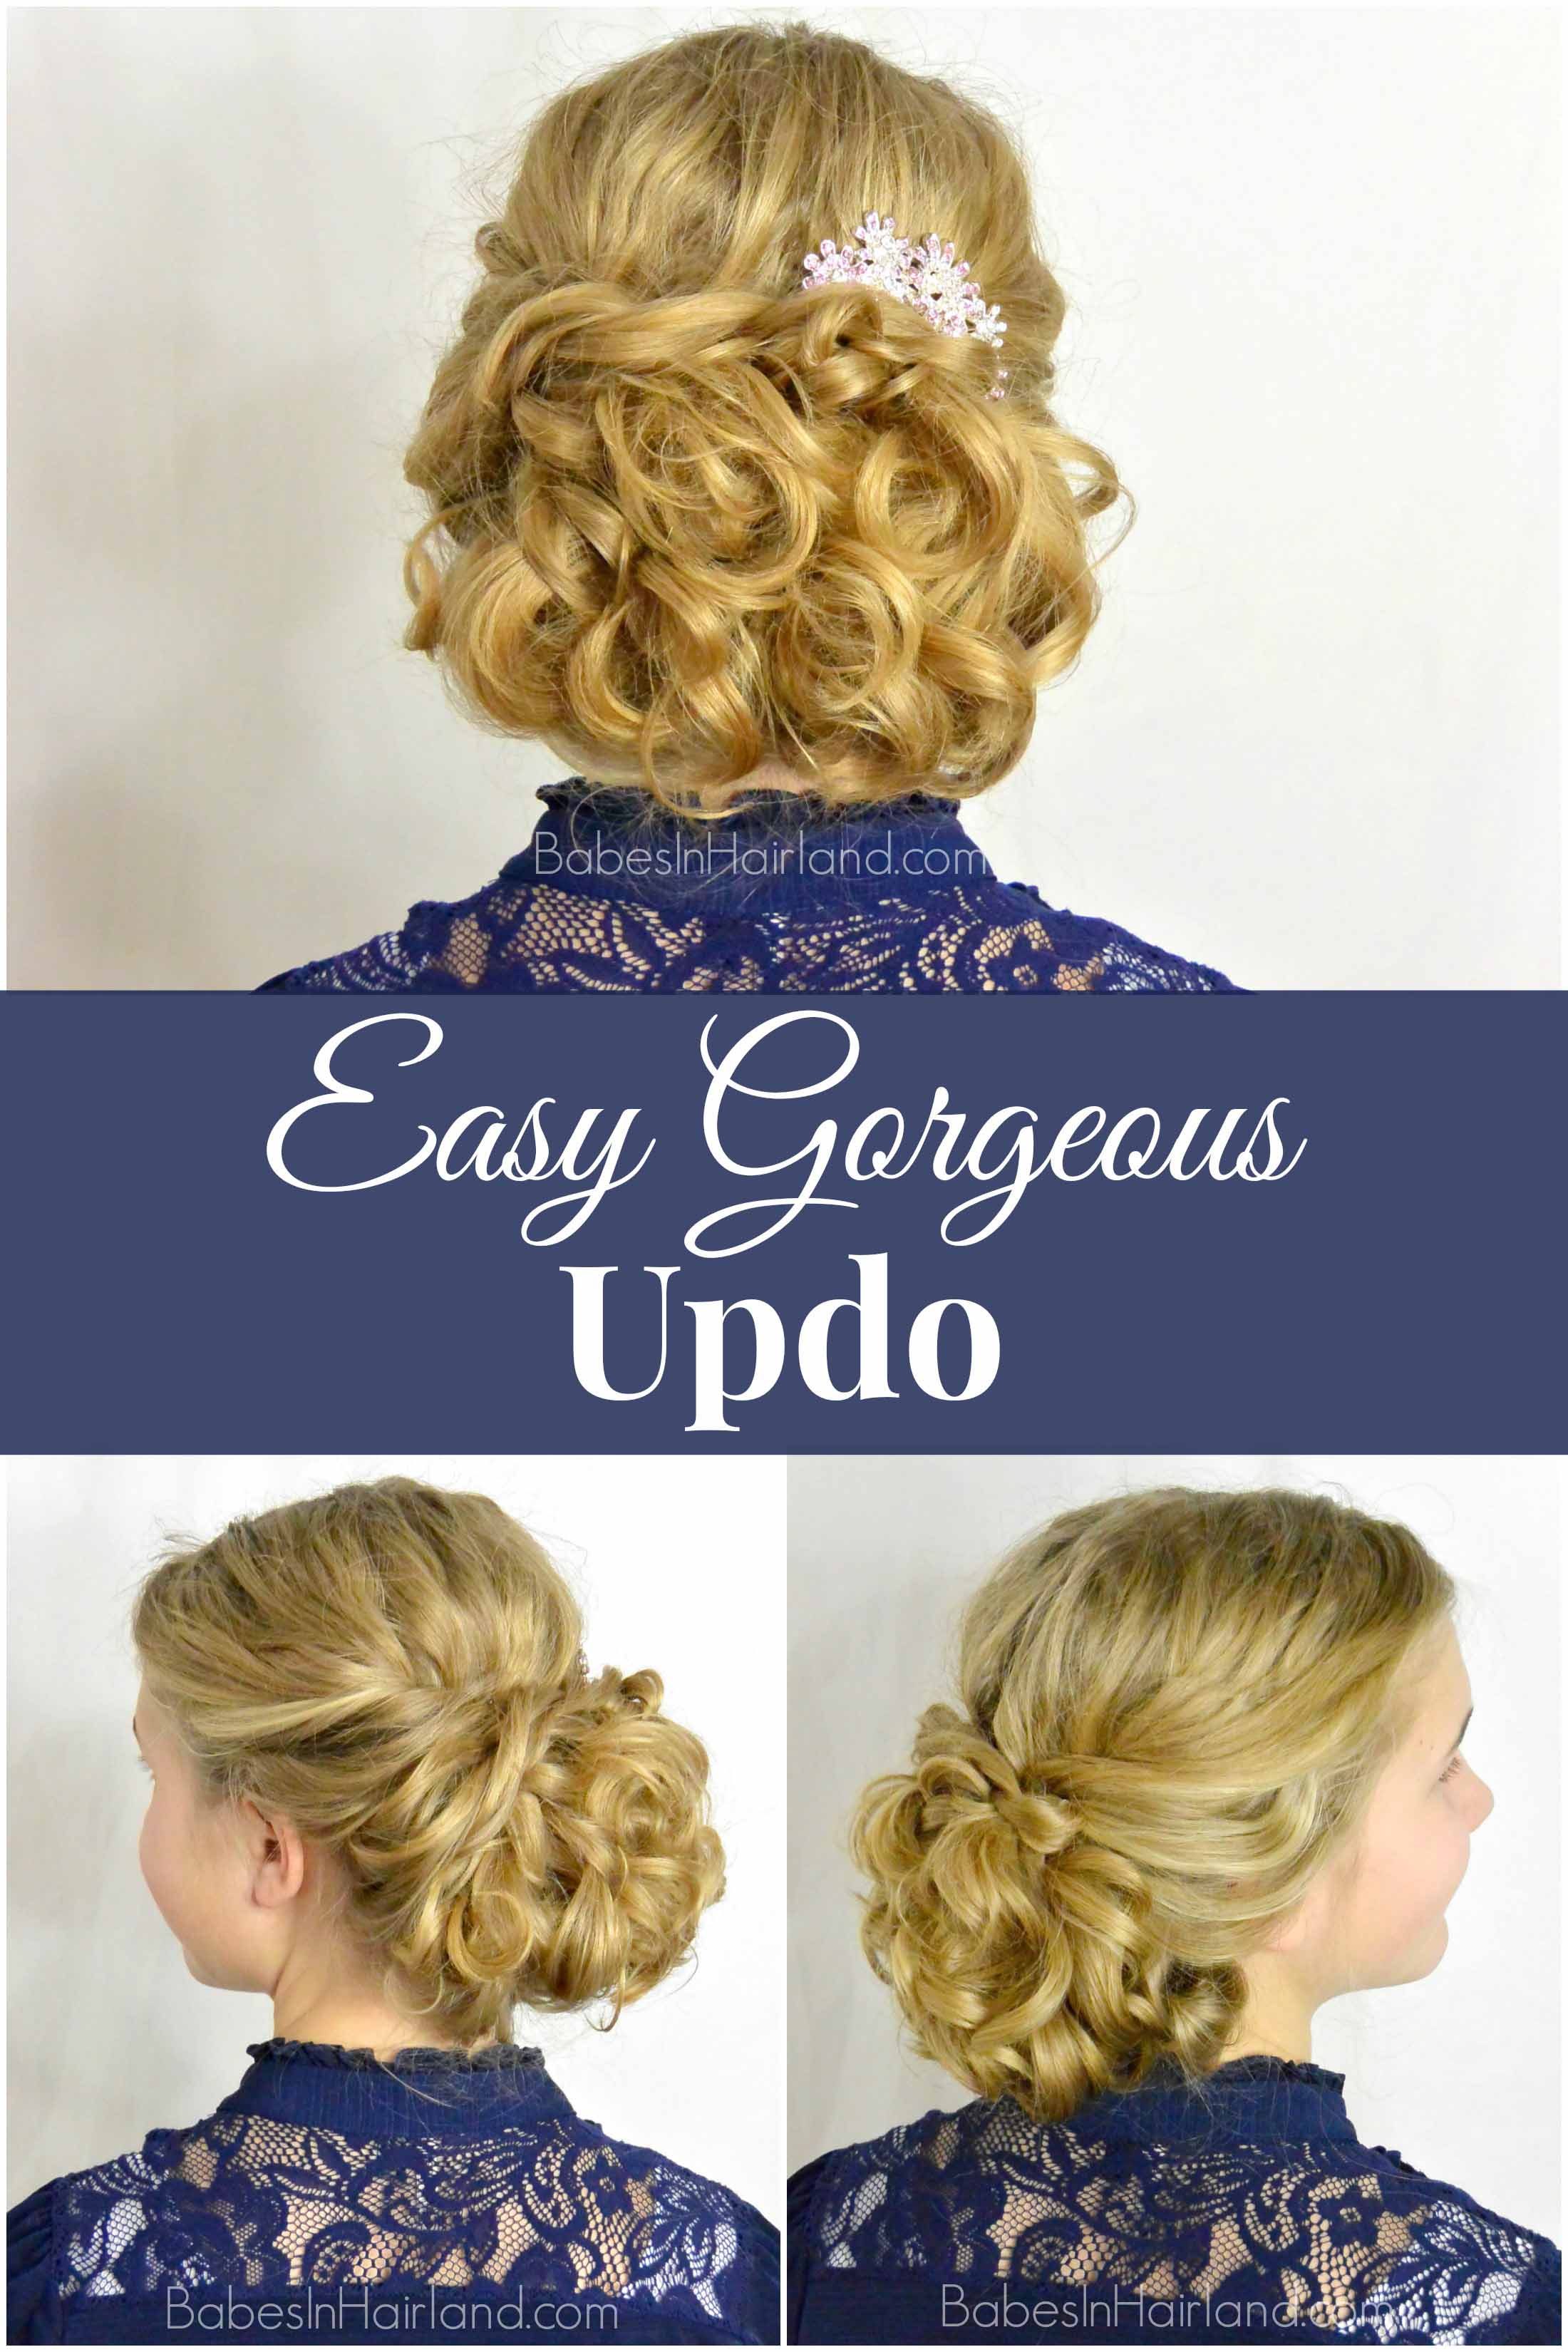
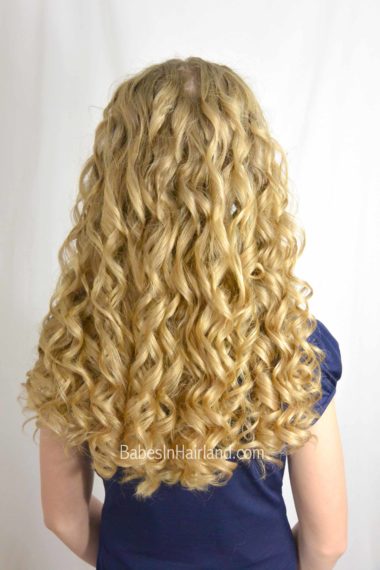
Just a little background on this style first. Goose had had curls from Curlformers (go HERE for more styles and info on Curlformers) the day before we did this. The curls looked like the picture below. If you don’t have Curlformers, check out our sock curls tutorial to get curls the day before so you have curls in the end of your hair (which is basically what you need for this style.)
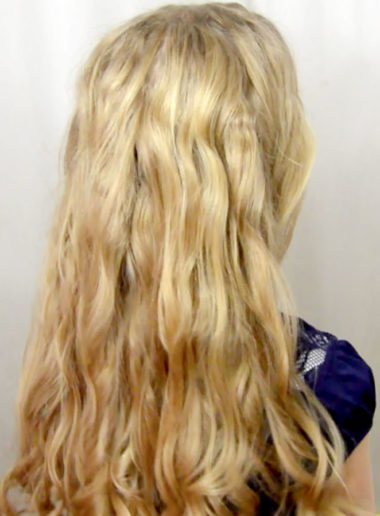
And since I forgot to take a picture, this is just a screen shot from the video – but we did this the next day & were basically working with just a bit of wave on top and the remaining curl was mainly underneath and on the ends – which you can’t see in this picture. So don’t be alarmed that you need fabulous curl in your hair to make this work. You don’t. The key is to have a bit of curl on the ends, which you technically can do half way through this style.
So watch our video to see what I’m talking about – but I just wanted to give a bit of info on the style before starting! Not including curl time, this style took me just over 10 minutes (for reals!), but I sped things up in the video so it isn’t quite that long!
Step 1 – Part hair down the middle on top of the head
Step 2 – On the right side near the temple, gently twist hair inward toward the head
Step 3 – Twist hair until it reaches the middle of the back of the head & secure with bobby pins
Step 4 – Repeat on the left side, twisting the hair until it meets the hair from Step 3 in the middle. Secure with bobby pins.
Step 5 – At this point it will help if you curl all the hair remaining down in back. You don’t have to curl everything – mainly the ends and lower parts of the hair.
Step 6 – With remaining hair in back make 5 loose & messy braids & secure with elastics
Do not braid all the way to the end. Leave several inches below the elastic so the curly ends are free. Pancake and stretch the braids as desired. You don’t want these neat and tidy!
Step 7 – Start on the right side and draw the far right braid up toward the bobby pins in Step 4. Secure with bobby pins but leave the ends free.
Step 8 – Draw the next braid to the left upward and secure next to the last braid. Leave the curly tails loose.
Step 9 – Repeat with the next 2 braids on the left
Step 10 – Draw the far left braid up and over the top of all the braids so it lays on top of the twists from Step 4. Secure with bobby pins.
Step 11 – Hide elastics and pin curly ends as needed
This is the part with the updo that is not exact. Depending on how much hair you are working with will change the outcome of the style, and you will need to secure things as you desire, which can also change how it looks! Sorry that updo’s aren’t an exact science! 🙂
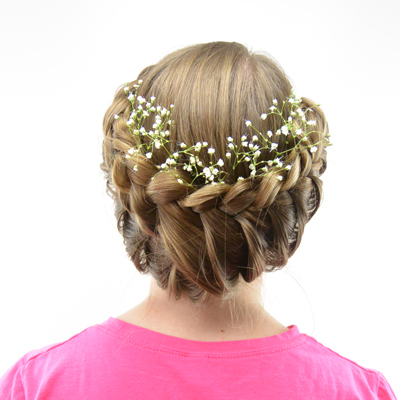
Step 12 – Spray with hairspray & if desired, add an accessory
FINISHED!
While I didn’t love the actual comb/”bling” that we added, I definitely think it needs a bit of something, whether you have a decorative comb, or pretty hair pins to stick throughout the style, I think it dresses it up nicely!
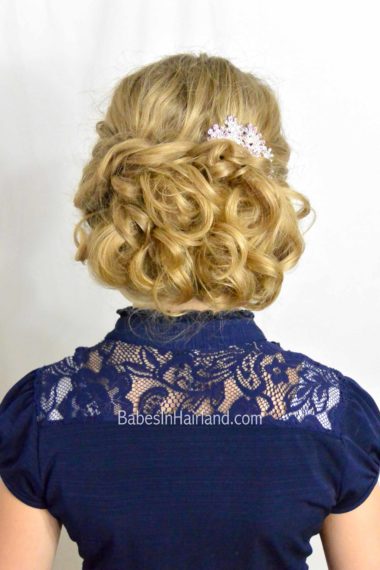 What do you think? Could you do this one? Like I said, braids and a bit of curl is all you need! Not too bad, right?! Don’t forget to share this by using the social media buttons below! Or Pin it for later for those special occasions! If you love updos, be sure to check out more of our updo tutorials here. We also have several gorgeous & elegant updos in our book that you won’t find anywhere else, so if you don’t have it yet, click here to buy our book Amazing Hairstyles: From Easy to Elegant
.
I LOVE this! My niece’s prom is coming up in a few weeks and she asked me to do her hair and my hubby to take the groups pictures so I’m going to try this. Fingers crossed I can get it to look this good!
I love this hairstyle! I was just wondering how do you get Bobby pins to stay in? I’ve tried crossing them over but they always seem to slide out. I have quite thick hair, but I struggle to get enough hair in the Bobby pin to secure the hairstyle and not over stretch them! What do you suggest? Any help would be greatly appreciated