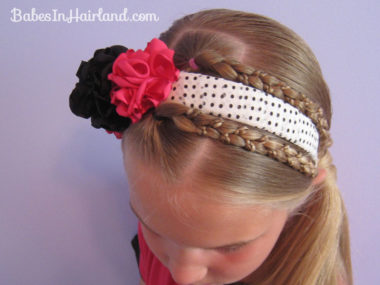
If you’ve been checking a few of the other hair blogs lately, you know that Jen from All Things Ribbon sent us some of her beautiful flower clips she calls “Vintage Mums” and so we’ve kind of had “The Mum Challenge” going on! First off, I’ve got to say that Jen of all the things I’ve gotten from Jen, these satin Mums are by far my FAV! The names she gives them make them sound yummy (like Raspberries & Cream or English Toffee), but when you see them in real life, they truly are divine! 🙂 I’d planned on getting this posted sooner, but my computer and Photoshop haven’t liked me much lately, so I’m sorry for the delay.
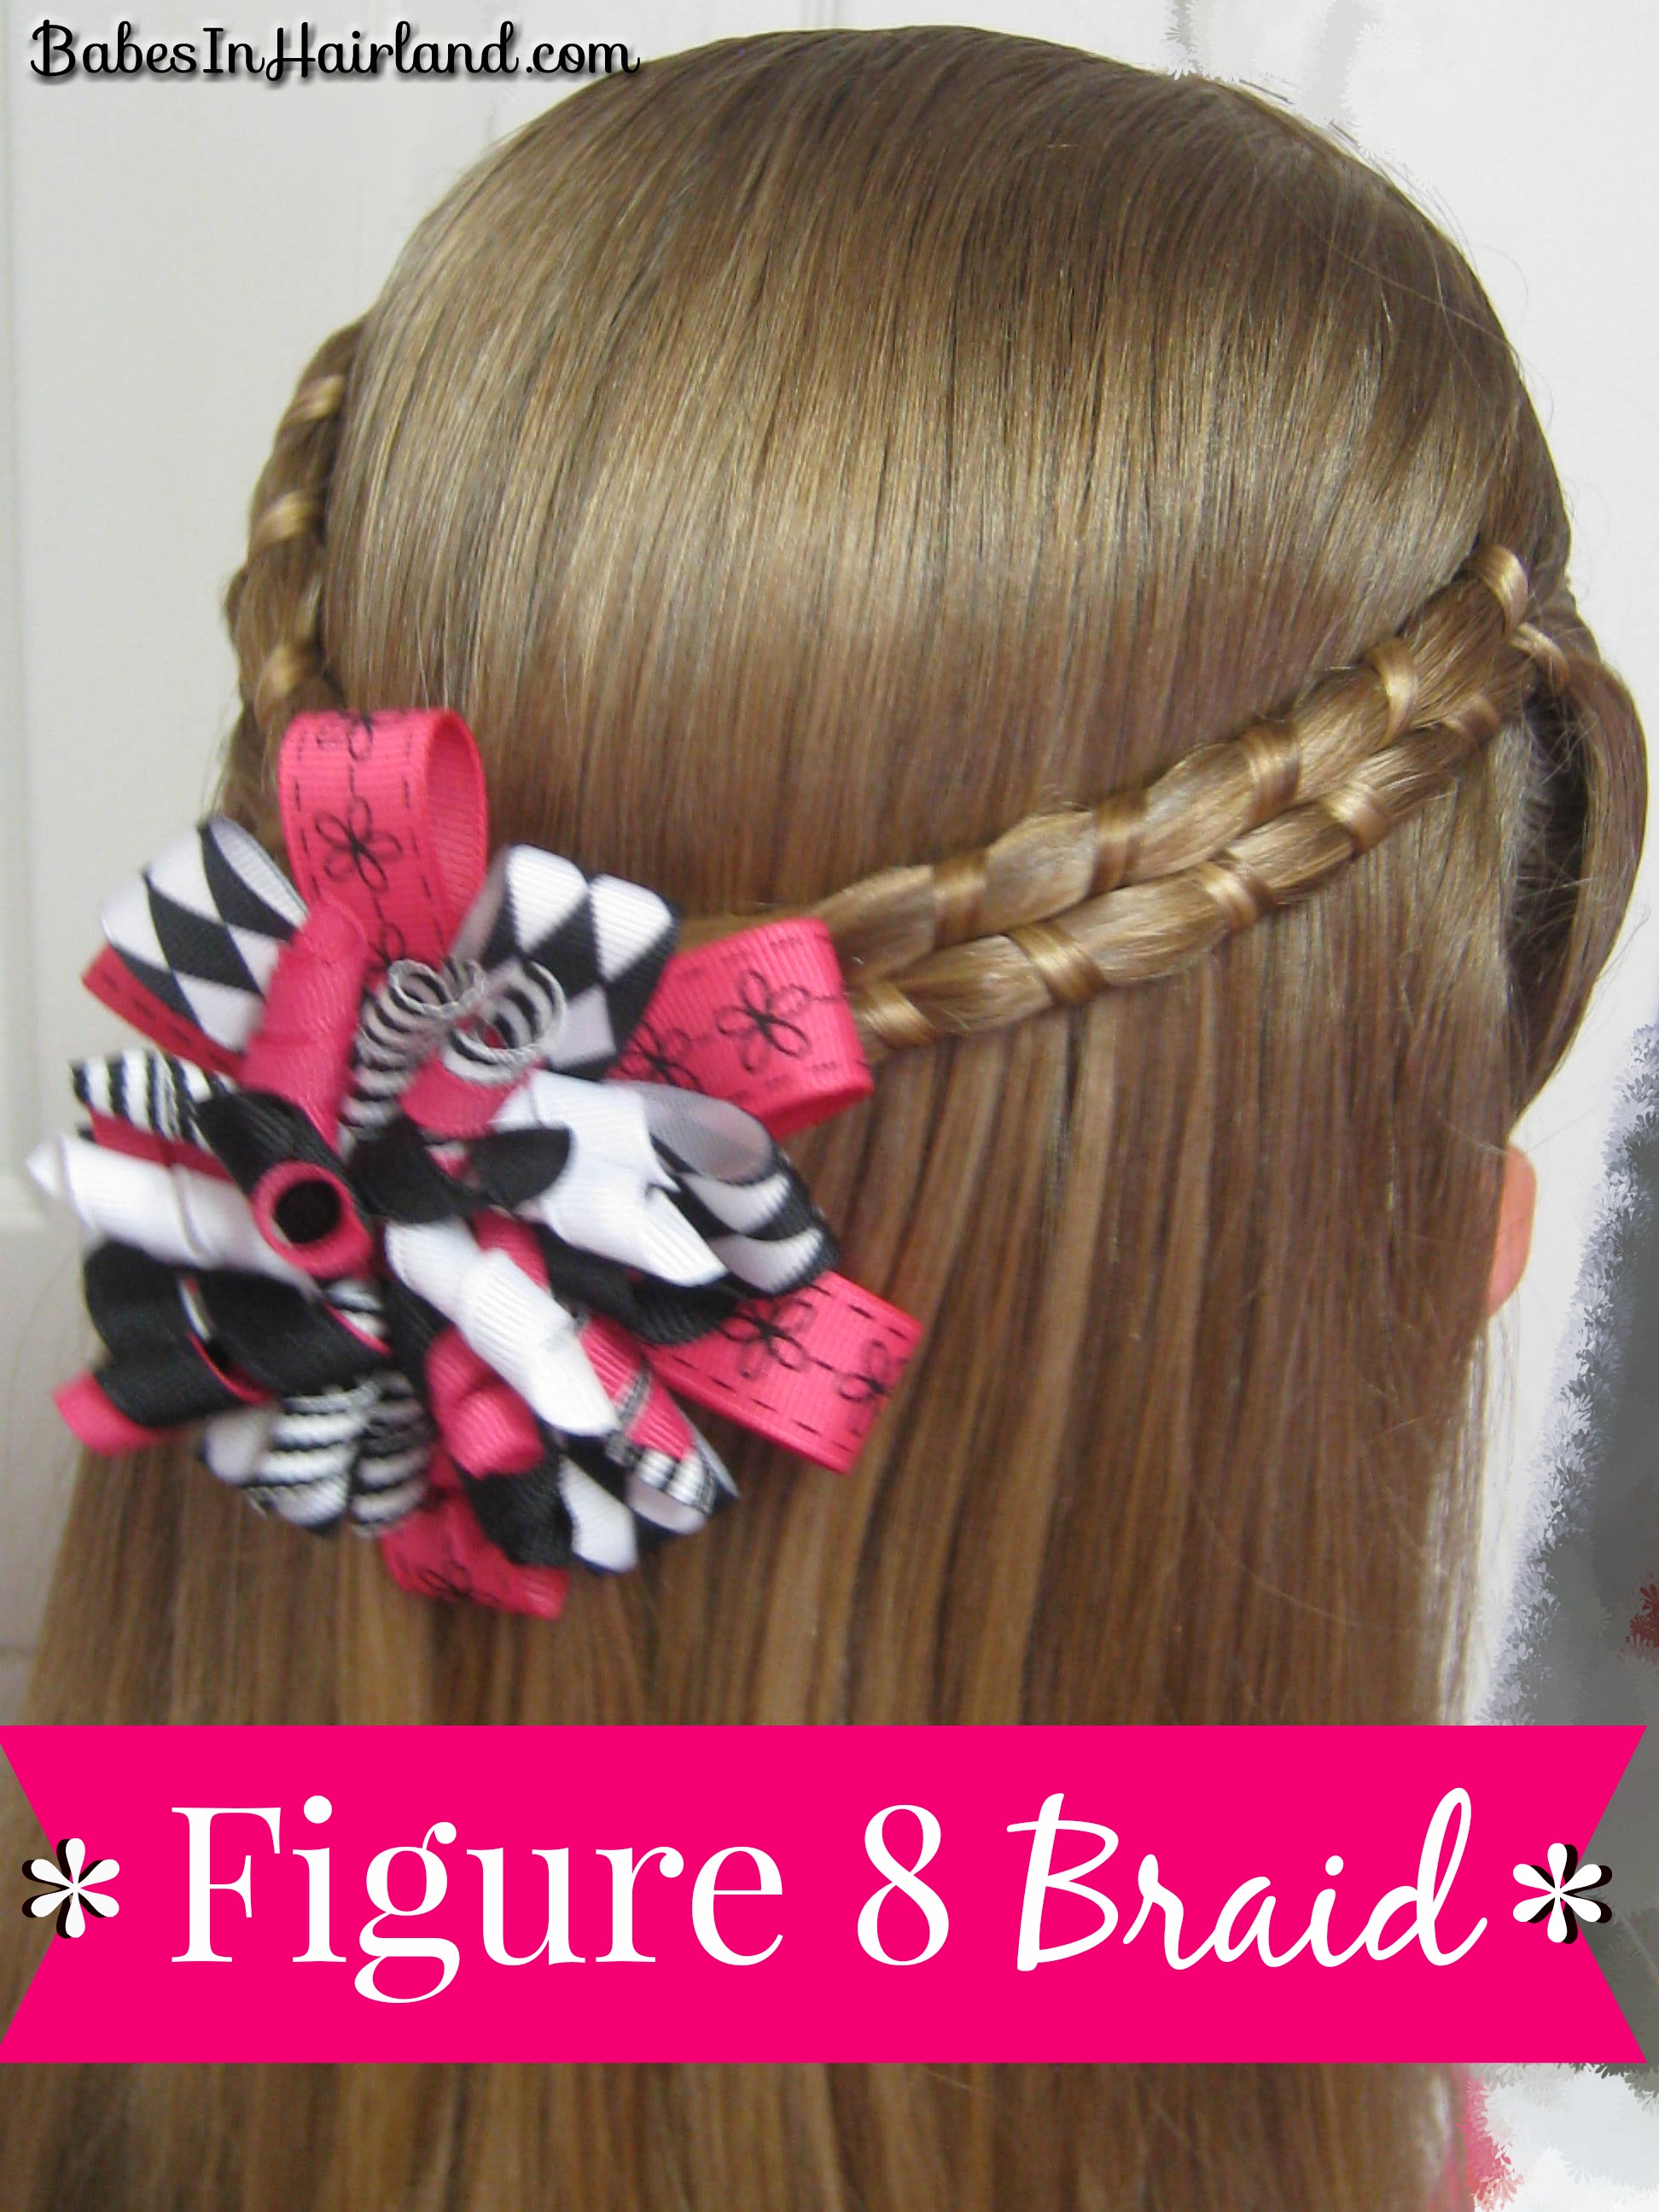
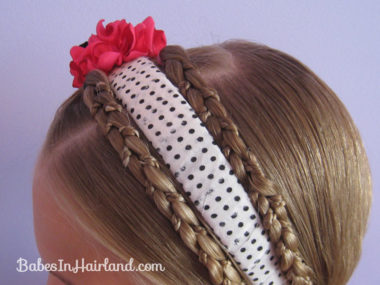
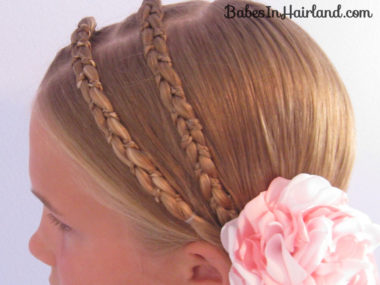
If you remember my recent post where I introduced our Figure 8 braid – well this is a second way to do it. One of my subscribers on YouTube suggested it & we gave it a try & loved it. We hope you do too! The pictures don’t do it justice because they sort of make it look like a braid with 1 strand braided, but it’s totally not! We’ve gotten so many compliments & people stopping us with this one!
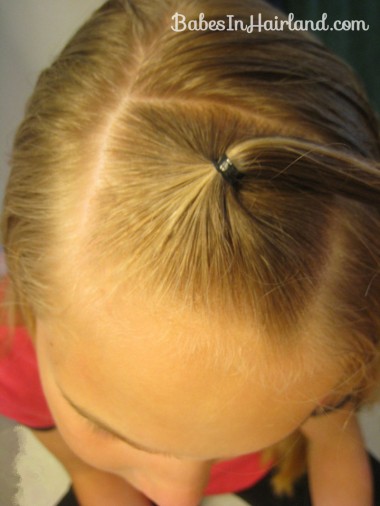
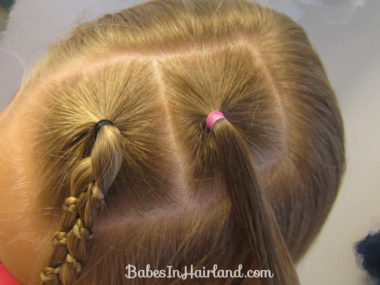
First we made a side part – fairly far off on the right & then parted out a square of hair on top of the head. Make a small pony tail with that section of hair.
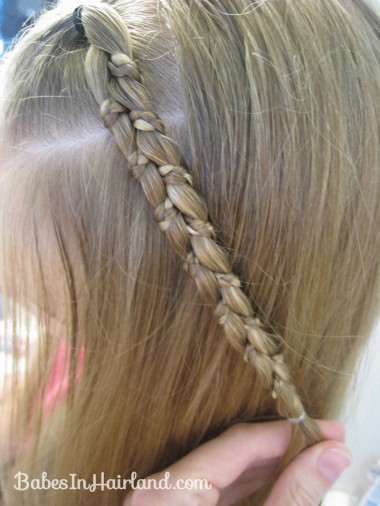
Then for the technique on how to achieve this I’ve made a video to show you. But basically it’s the same idea as the Figure 8 braid, but instead of leaving the strand of hair straight that you wrap in a “figure 8” fashion around the hair – you braid it first.
So here’s the video:
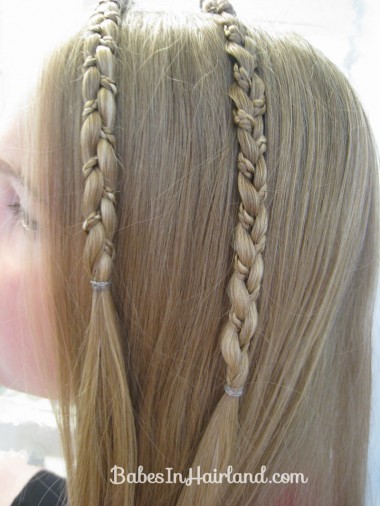
With that first ponytail make a Figure 8 Braid #2 (with the wrapping braid) and wrap it as far as you can & secure it with a rubber band.
Part out another square of hair behind the first one. I was planning on putting a headband between these two, so I wanted the ponytail (the one w/the pink rubber band) closer to the front.
Repeat the process & make another Figure 8 Braid & tie off with a rubber band.
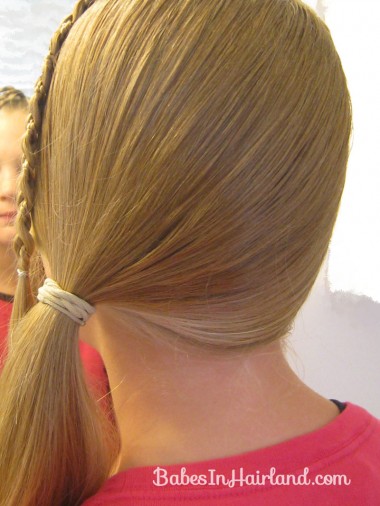
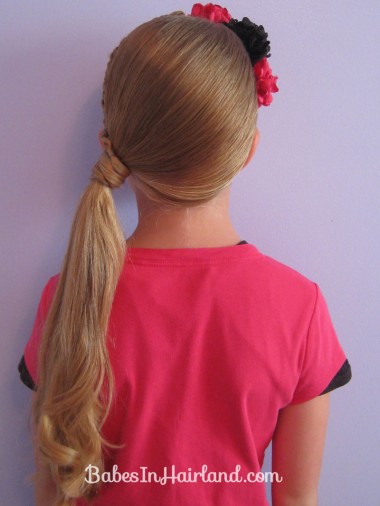
Take the remaining hair and bring to the left side of the head & make a loose side pony by the left ear.
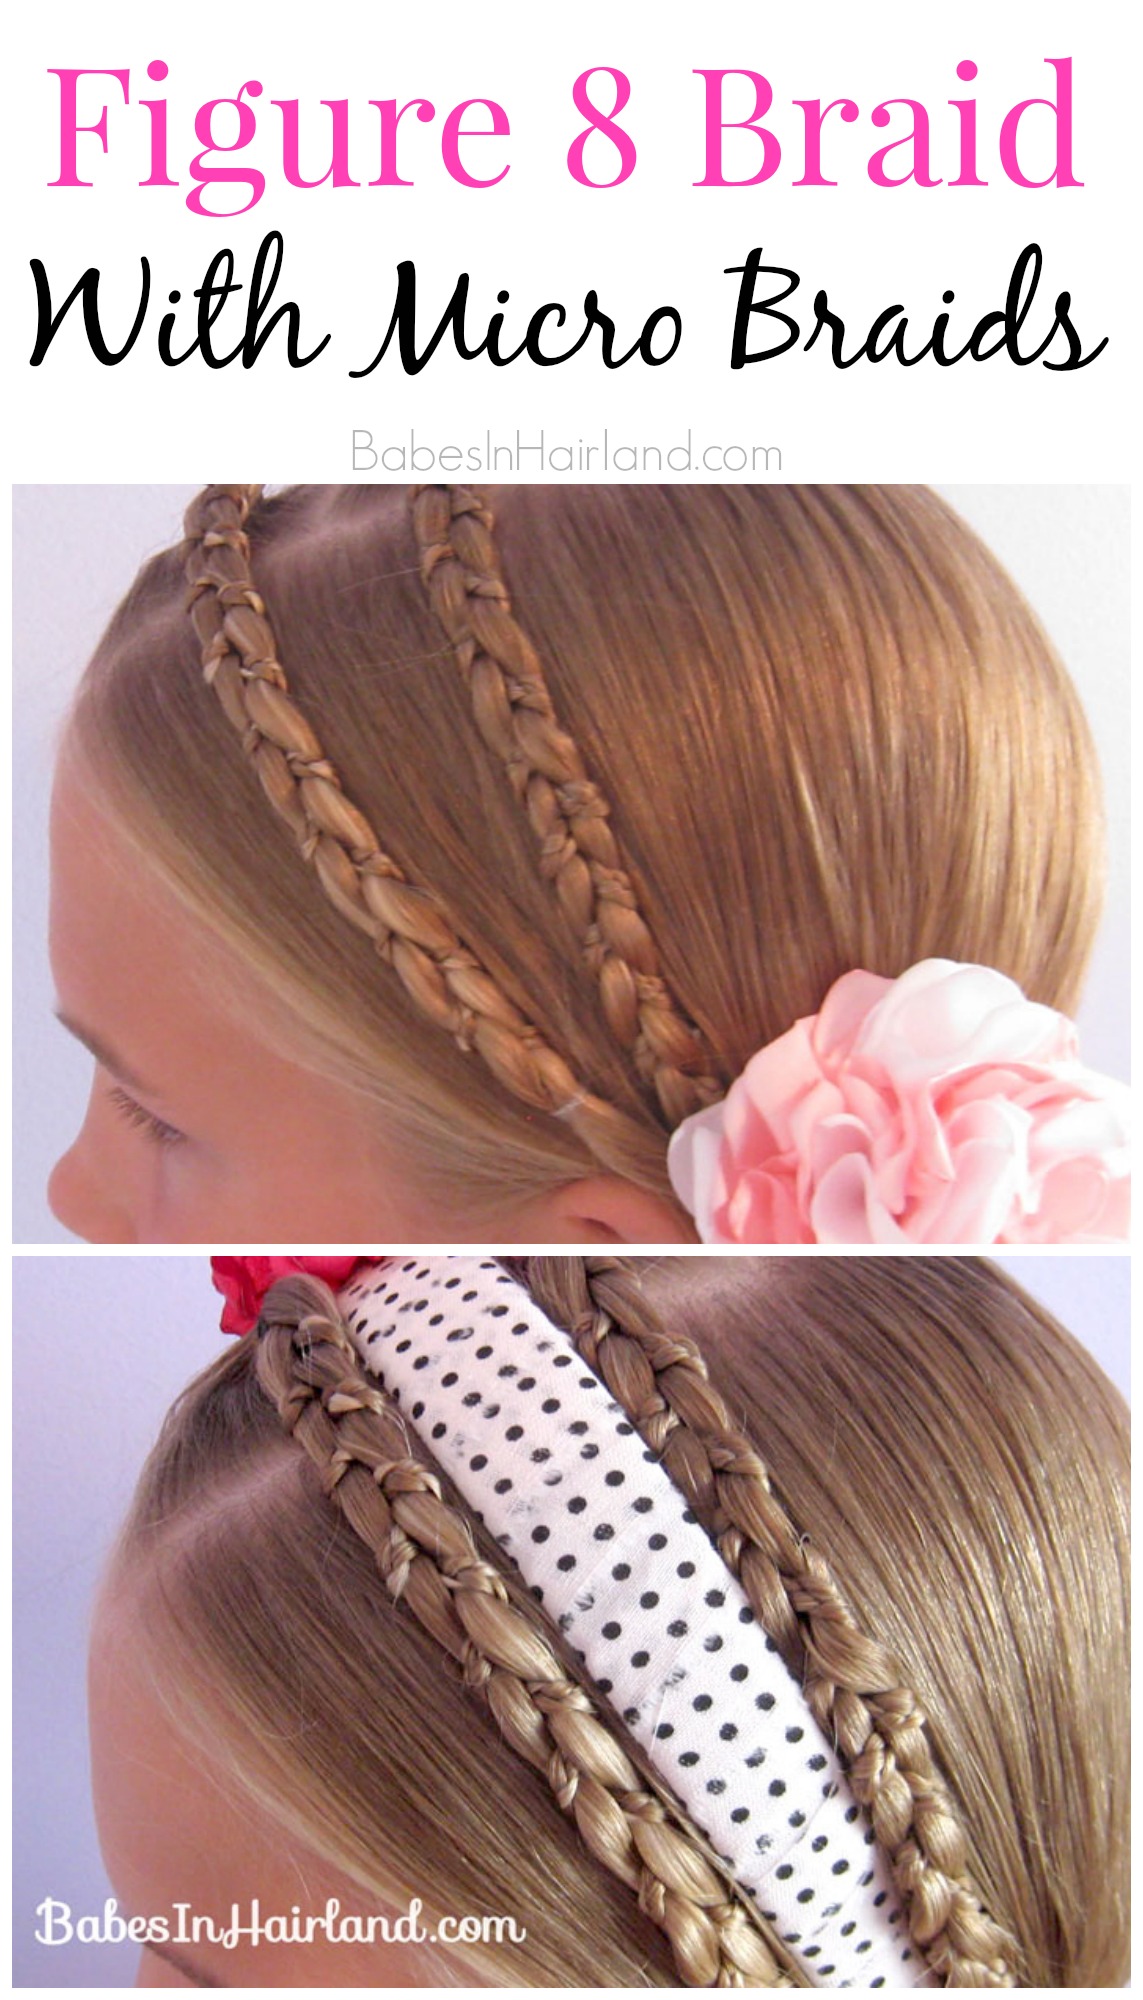
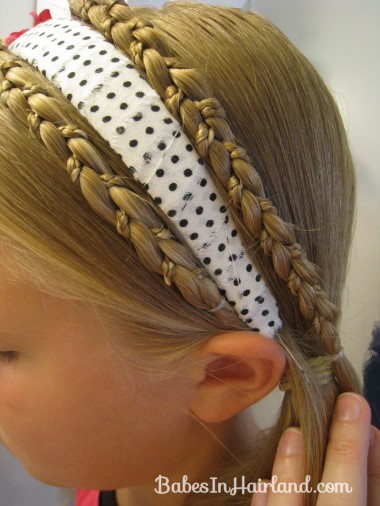
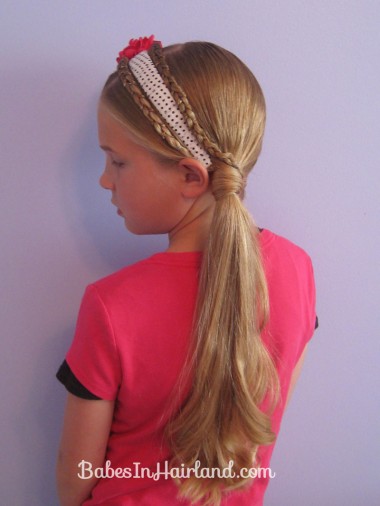
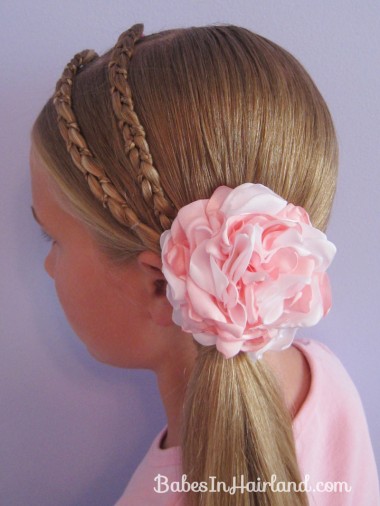
Then I took our darling headband from All Things Ribbon and positioned it between our braids. I should have braided down just a little further on our front braid! Pull the front one underneath the headband and back toward the ponytail.
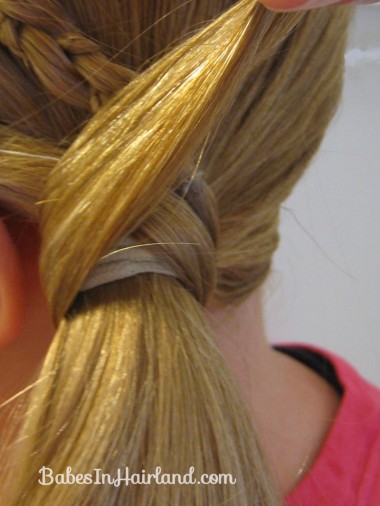
I forgot a picture of this step – but secure the 2 braids to the base of your ponytail. Then start wrapping the tails of your 2 braids around the base to cover your rubber band.
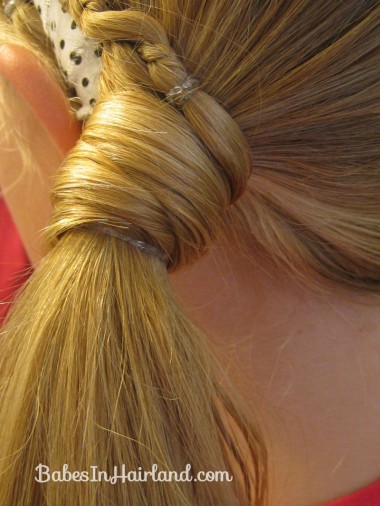
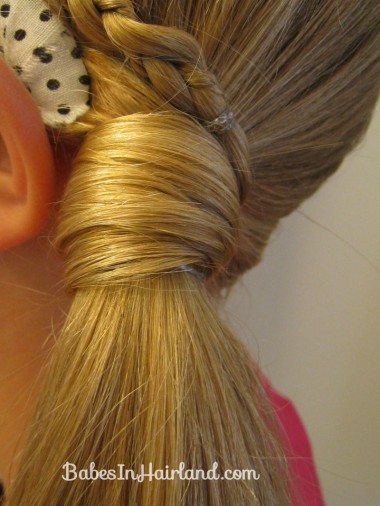
Mist the hair with a little water if you feel like it’s not smooth enough & then gently comb through it. Once you’ve wrapped it a few times, take a clear rubber band and secure the tails to the rest of the ponytail & cinch the rubber band up so it hides inside the wrapped hair.
Here I’ve cinched it up & you can’t really see the rubber band underneath the wrapped hair:
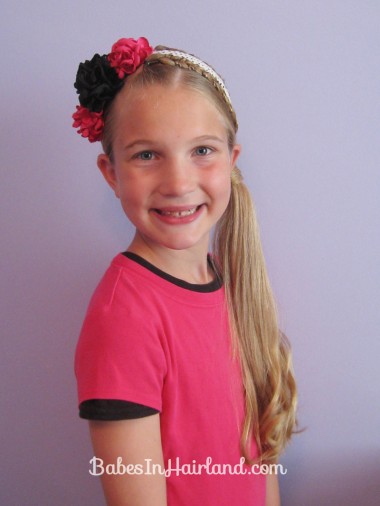
We added a few curls to the end of her pony tail & that was it. These Mum’s are simply delish!
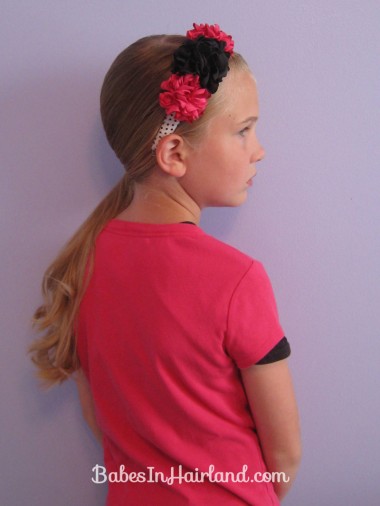
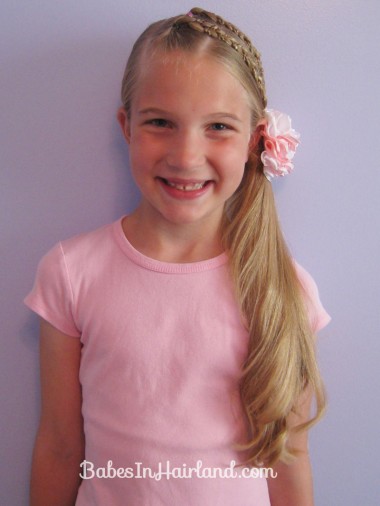
The best part about this do was Goose wore it for a couple days. We just re-did the side pony each day. I just loved how her summer highlights came through in the little braid that wrapped around the other strands. It looked so cool! Here she is without the headband and wearing another one of All Things Ribbon’s Mums. Again – simply beautiful. She wore this to the dentist the other day & all the hygienists were totally gaga over it!
Oh, and I almost forgot… to see the other “Mum Challenge” do’s – head over here to see Girly Do’s awesome Triangle Curls & the cute Sideways Fishtale Braid from The Story of a Princess & Her Hair. Now you’ve got 3 fabulous ways to use Jen’s beautiful mum’s!
So when it comes to this hairstyle & especially to these flowers from All Things Ribbon — “MUM is most definitely NOT the word!” Be sure to “like” her on Facebook HERE – she’s always adding new things & visit her site at All Things Ribbon.com. Thanks so much Jen for letting us be part of this fun challenge & for the beautiful flowers. We love them & look forward to using them for years to come!
LIKE THIS BRAID?
CHECK OUT OUR OTHER FIGURE 8 BRAIDS!
Regular Figure 8 Braid click HERE