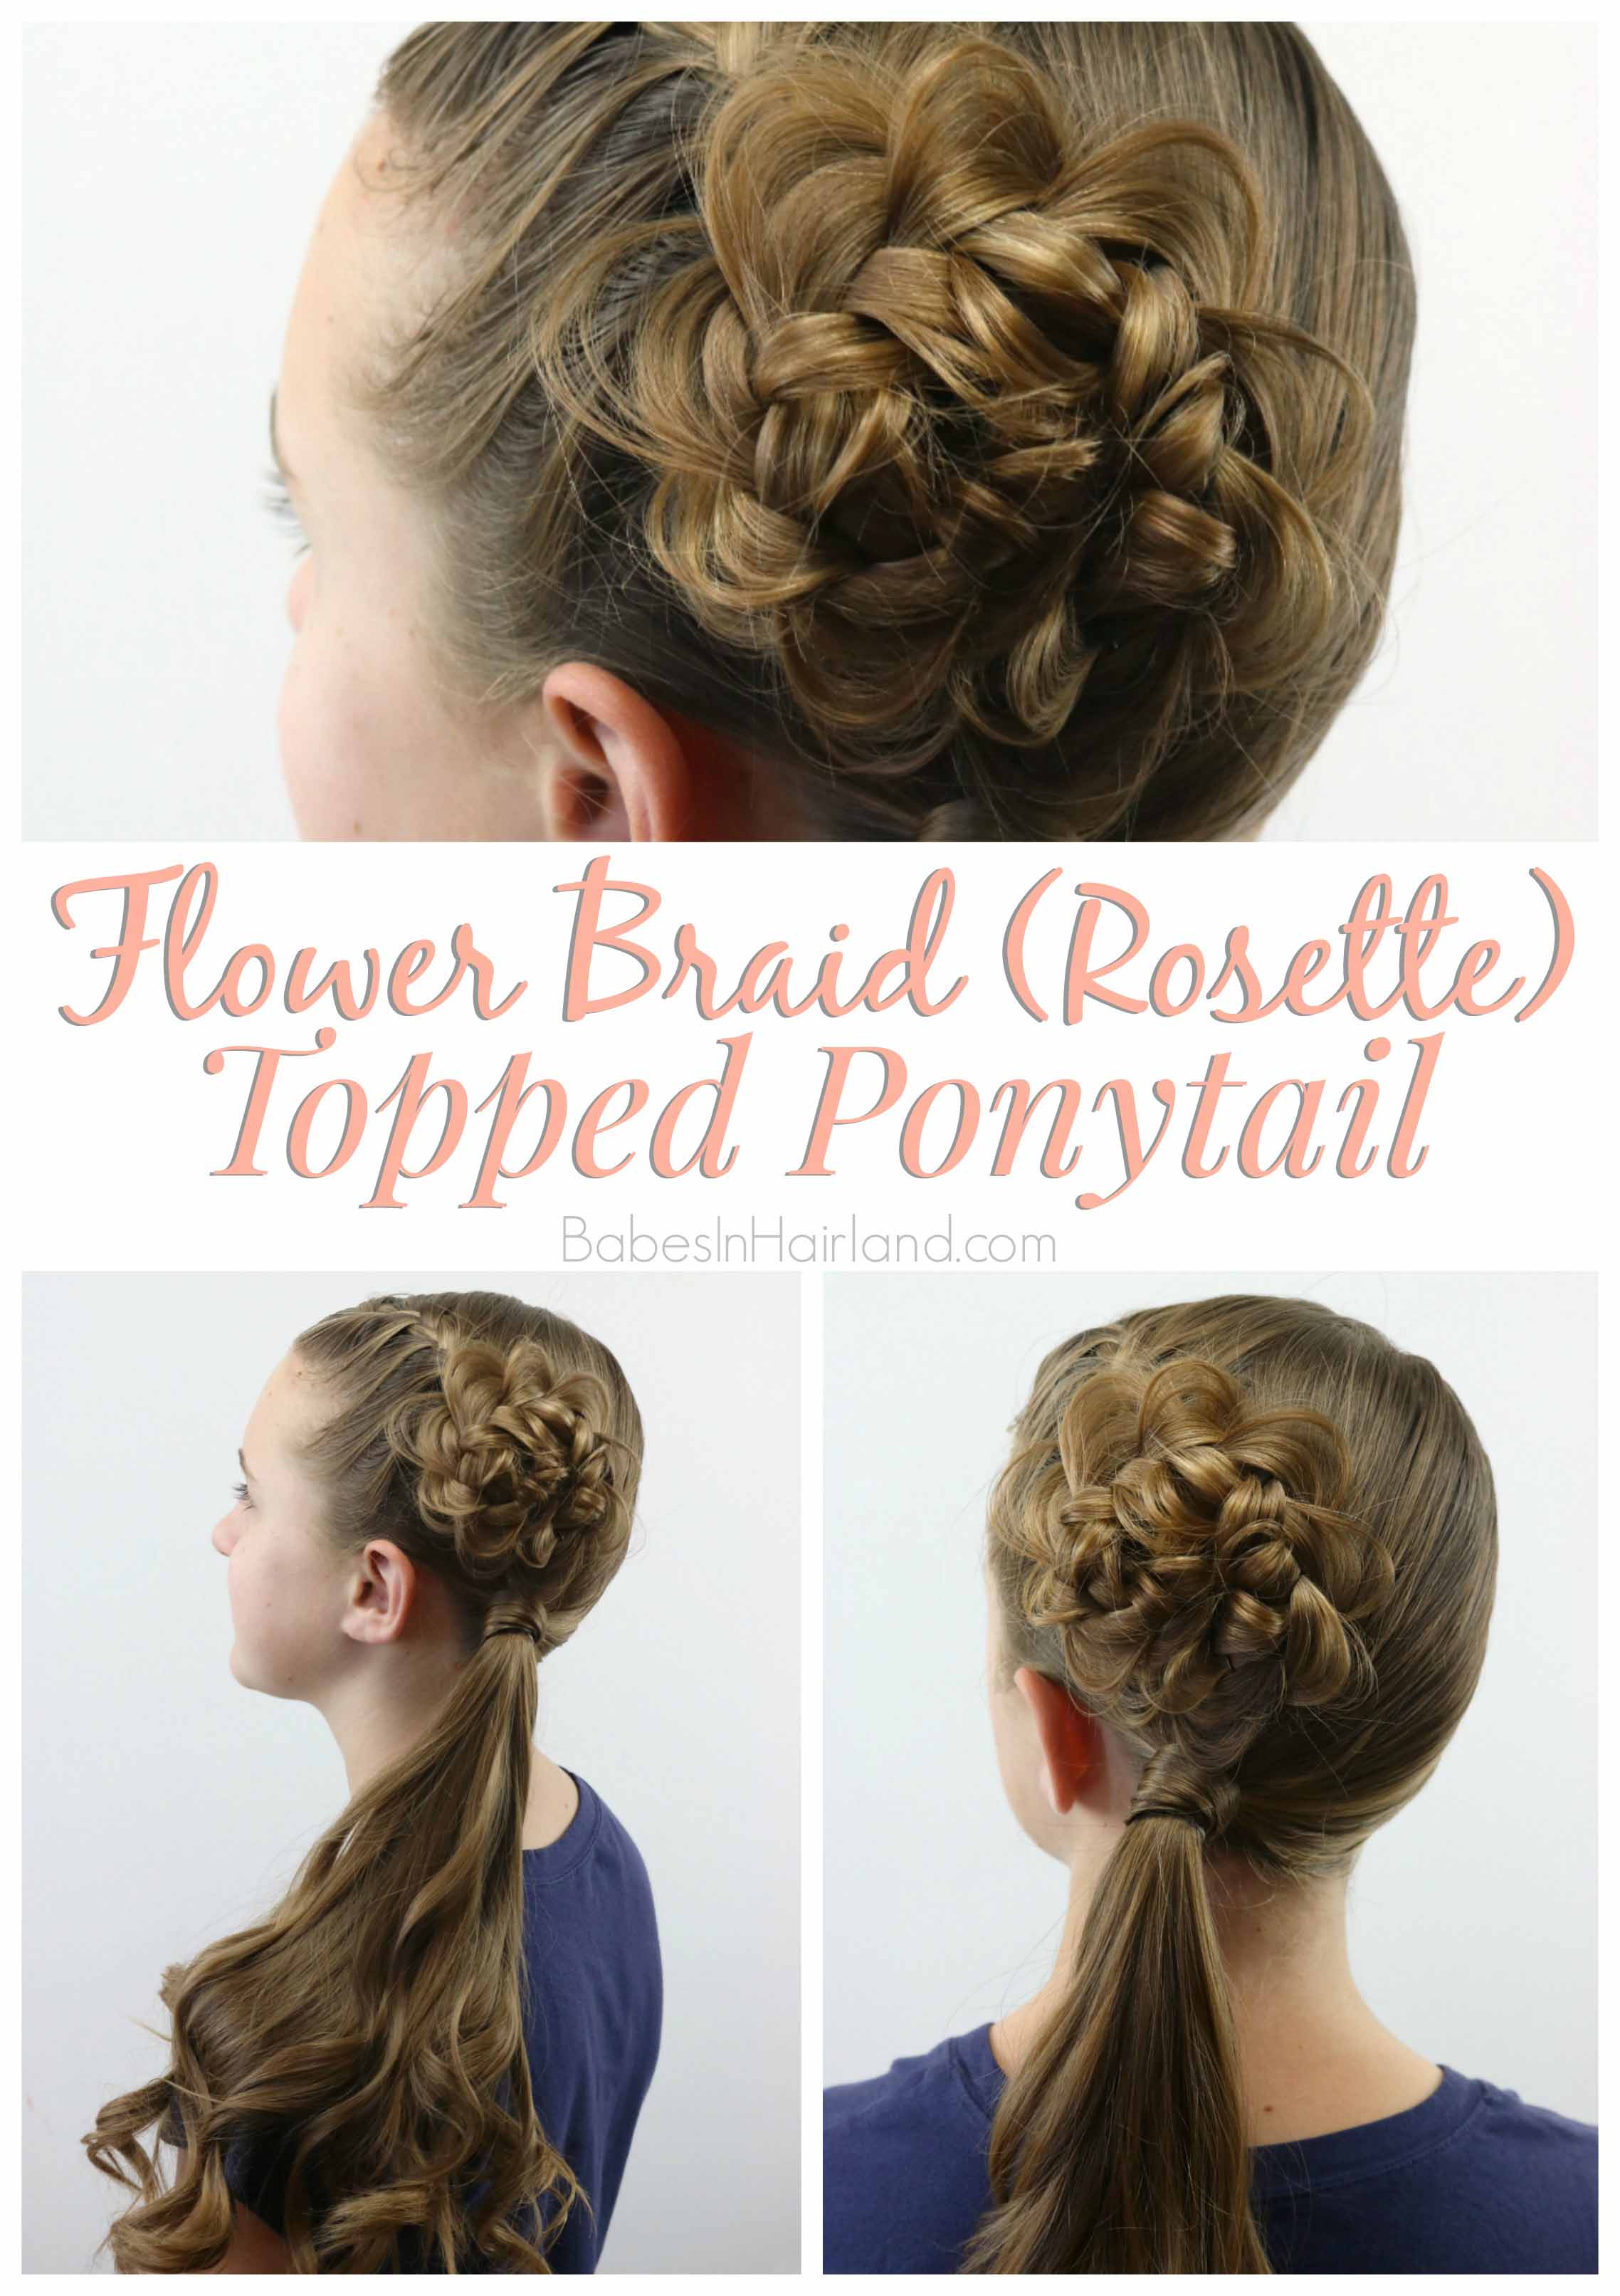
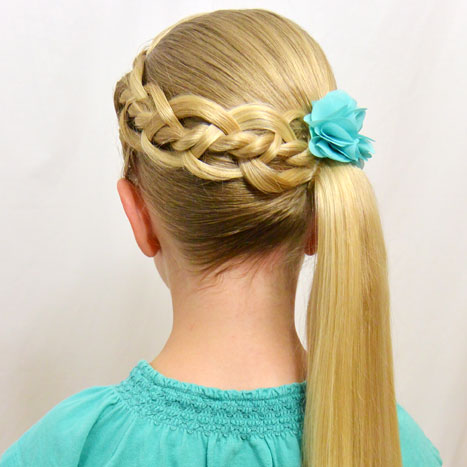
 Several months back we did a similar style on my youngest and it held up great after a day of school and play, so we’ve recreated the style as a tutorial for you today.
Watch our short video and be sure to keep scrolling to see more pictures of the finished product. We love how this turned out!
Step 1 – Make an off-center part toward the right side of the head
Step 2 – Near the forehead on the left side, begin a French braid
If you need help with your French braiding skills, watch our How to French Braid video HERE. You can also make this a Dutch Braid (aka Inside Out French Braid) or simply being a regular 3 strand braid here if you like. But I like having the definition of the French braid before the flower starts.
Step 3 – Braid back until your French braid is just past the left ear
Step 4 – Stop adding hair and begin a regular 3 strand braid
Step 5 – As you braid, gently pull on a few pieces of hair from the edges of the braid. Don’t pancake and make the braid flat though.
Only pull out a few pieces of hair so the edges of the braid have a “lace” or “scalloped” edge look to them.
Step 6 – Braid clear to the end, pulling on the edges as you go. Secure the end with a clear elastic.
Step 7 – Carefully wind the braid upward in a circular shape until you reach where the French braid stopped
Step 8 – Secure the flower braid to the head with bobby pins, so it covers the point where the French braid stopped
Step 9 – Gather the remaining hair down in back to the left side
Step 10 – Secure all remaining hair into a low ponytail with an elastic just underneath the flower braid
Step 11 – Wrap the base of the ponytail with a small amount of hair to cover the elastic
Watch our video on How to Wrap a Ponytail, if you’re unsure how to get the hair to stay in place.
Step 12 – Optional – Curl the ponytail
We used our CHI PRO G2 Ceramic Flat Iron to add the curls in her ponytail. I love the curls we get with our CHI. It’s so much more than just a straightener! Click HERE to buy your CHI today!
FINISHED!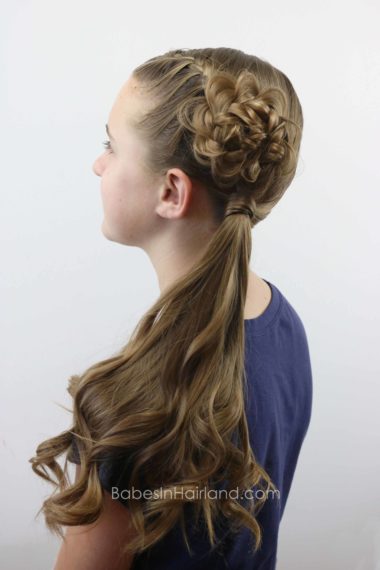
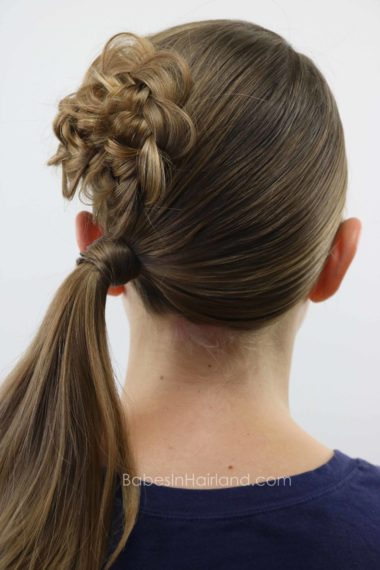
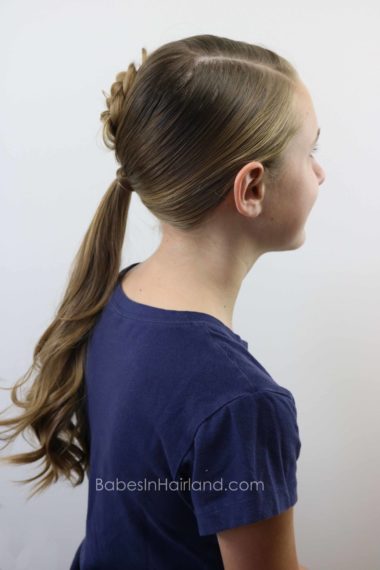
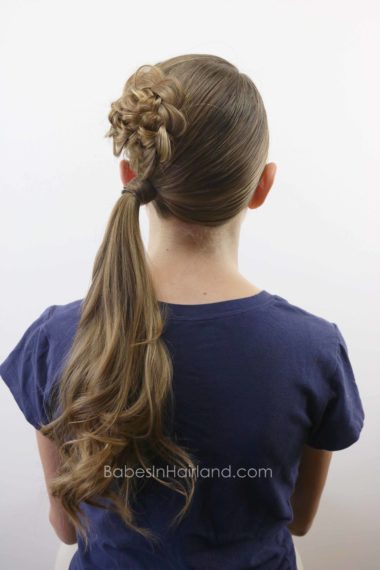
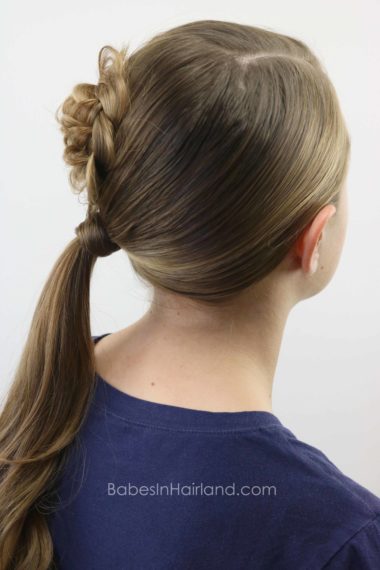
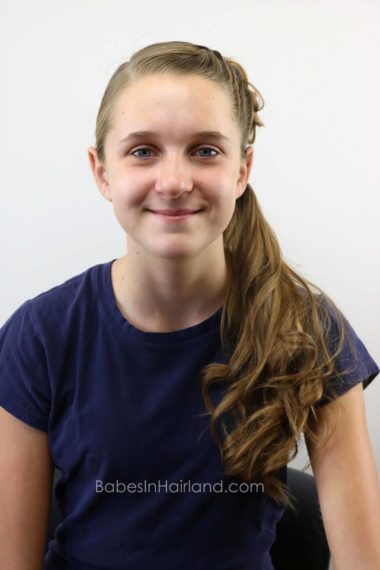
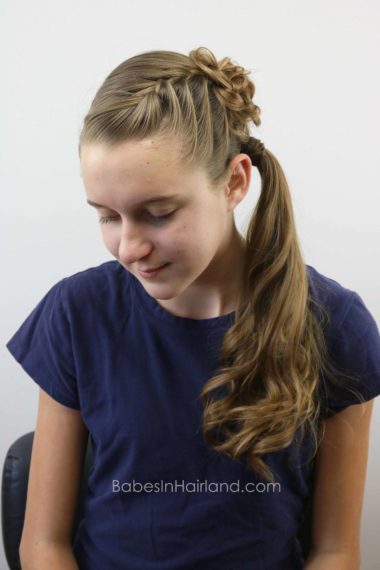
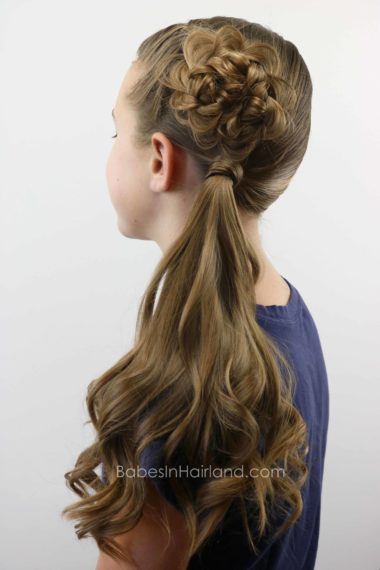
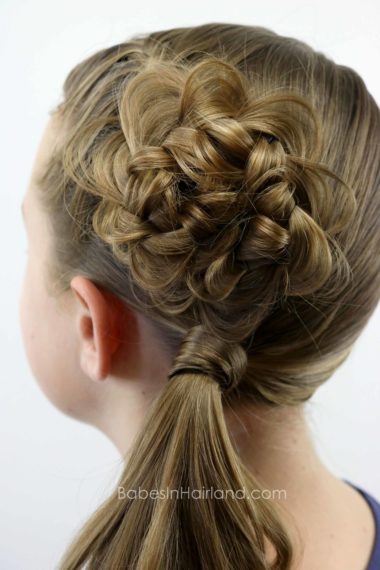
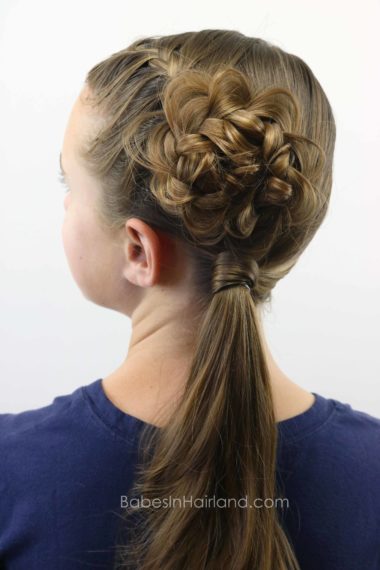
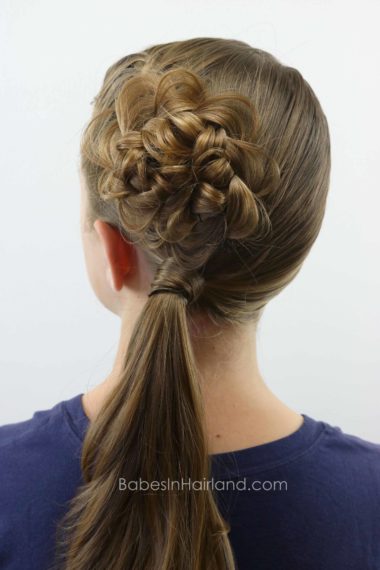
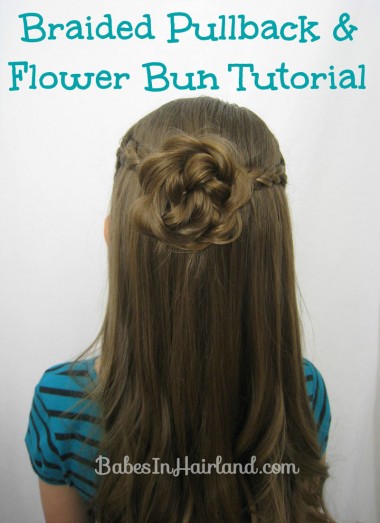
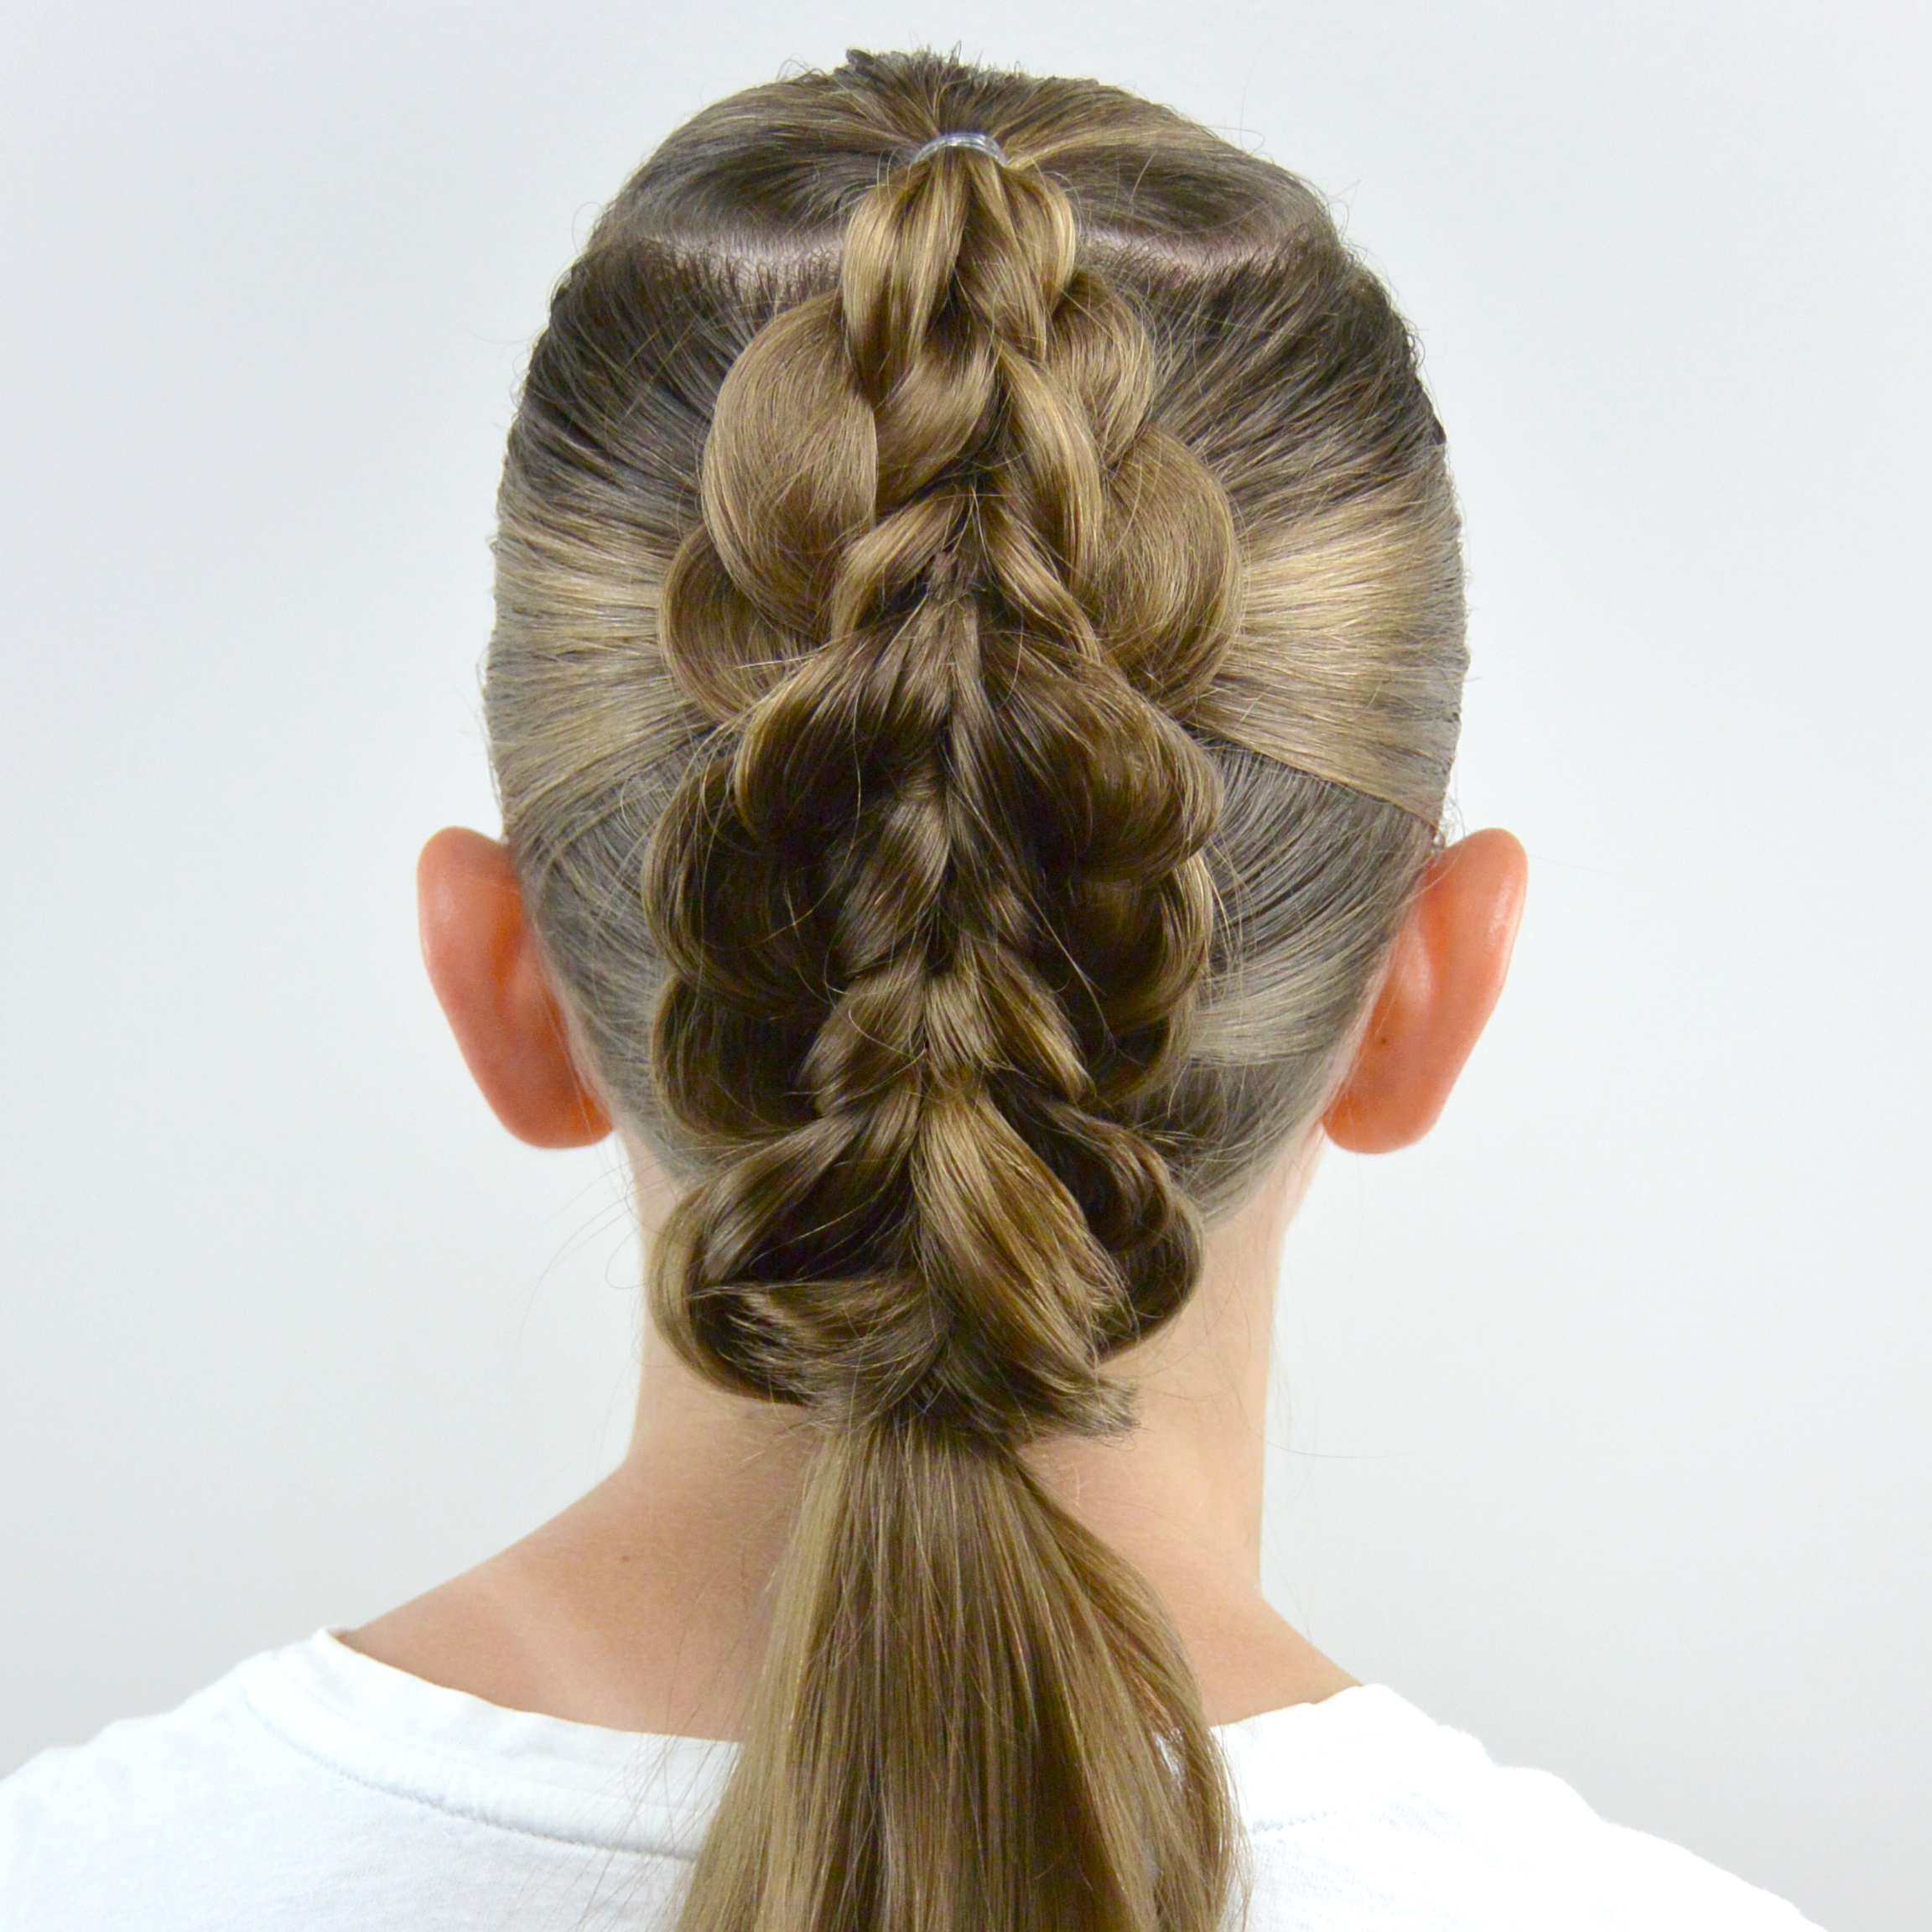
If you love flower braids, we’ve done a few other styles using them too, so be sure to check them out as well!
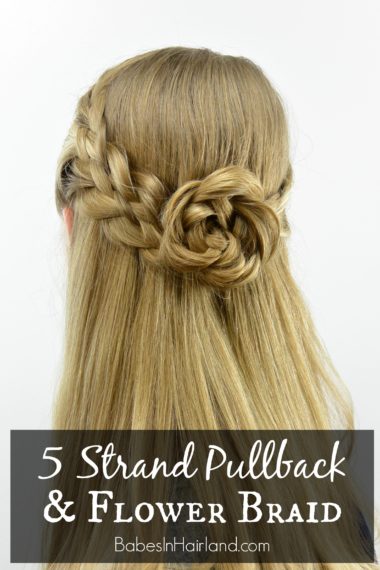
5 Strand Pullback & Flower Braid
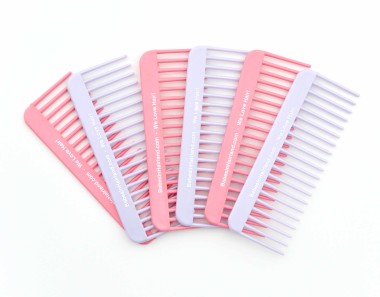
And of course, today’s pretty one: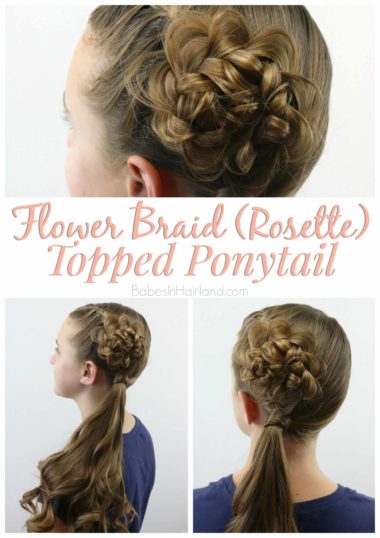 And if you are actually reading this post and have made it this far, if you are the first person to comment (since no one seems to do that these days!) I’ll send you a free BabesInHairland.com comb (your choice of pink or purple) just for commenting and letting us know what you think of this style and what color comb you’d like.
Hello, I love getting your emails every week! Thanks for the fun!!!!
Sorry for my slow reply. I’ve been down with a cold this last week. Thanks for subscribing and getting our posts in your e-mail! Please send me an e-mail (or click through the “Contact/Advertise” tab) with your name and address & let me know what color comb you wanted so I be sure to get it right! Thanks again.
So beautiful!!! I am going to try this on my daughter this week! Thanks for all that you do! 🙂
So beautiful!!! I can’t wait to try this on my daughter this week! Thanks so much for all that you do! 🙂
P.S. A purple comb would fun!
Hey! Sorry for my slow reply. I’ve been down with a cold this last week. Thank you so much for your kind words! We’d love to send you a comb too, so please send me an e-mail (or click through the “Contact/Advertise” tab) with your name and address & remind me in the e-mail what color comb you wanted so I be sure to get it right! Thanks again!
This is an awesome hairstyle! I am always looking for school-proof hairstyles for my girls. I also love the purple comb you use. Thank you!!!
Sorry for my slow reply. I’ve been down with a cold this last week. Thanks so much for commenting and so glad you like the style! Please send me an e-mail (or click through the “Contact/Adveritse” tab) with your name and address & remind me in the e-mail what color comb you wanted so I be sure to get it right!