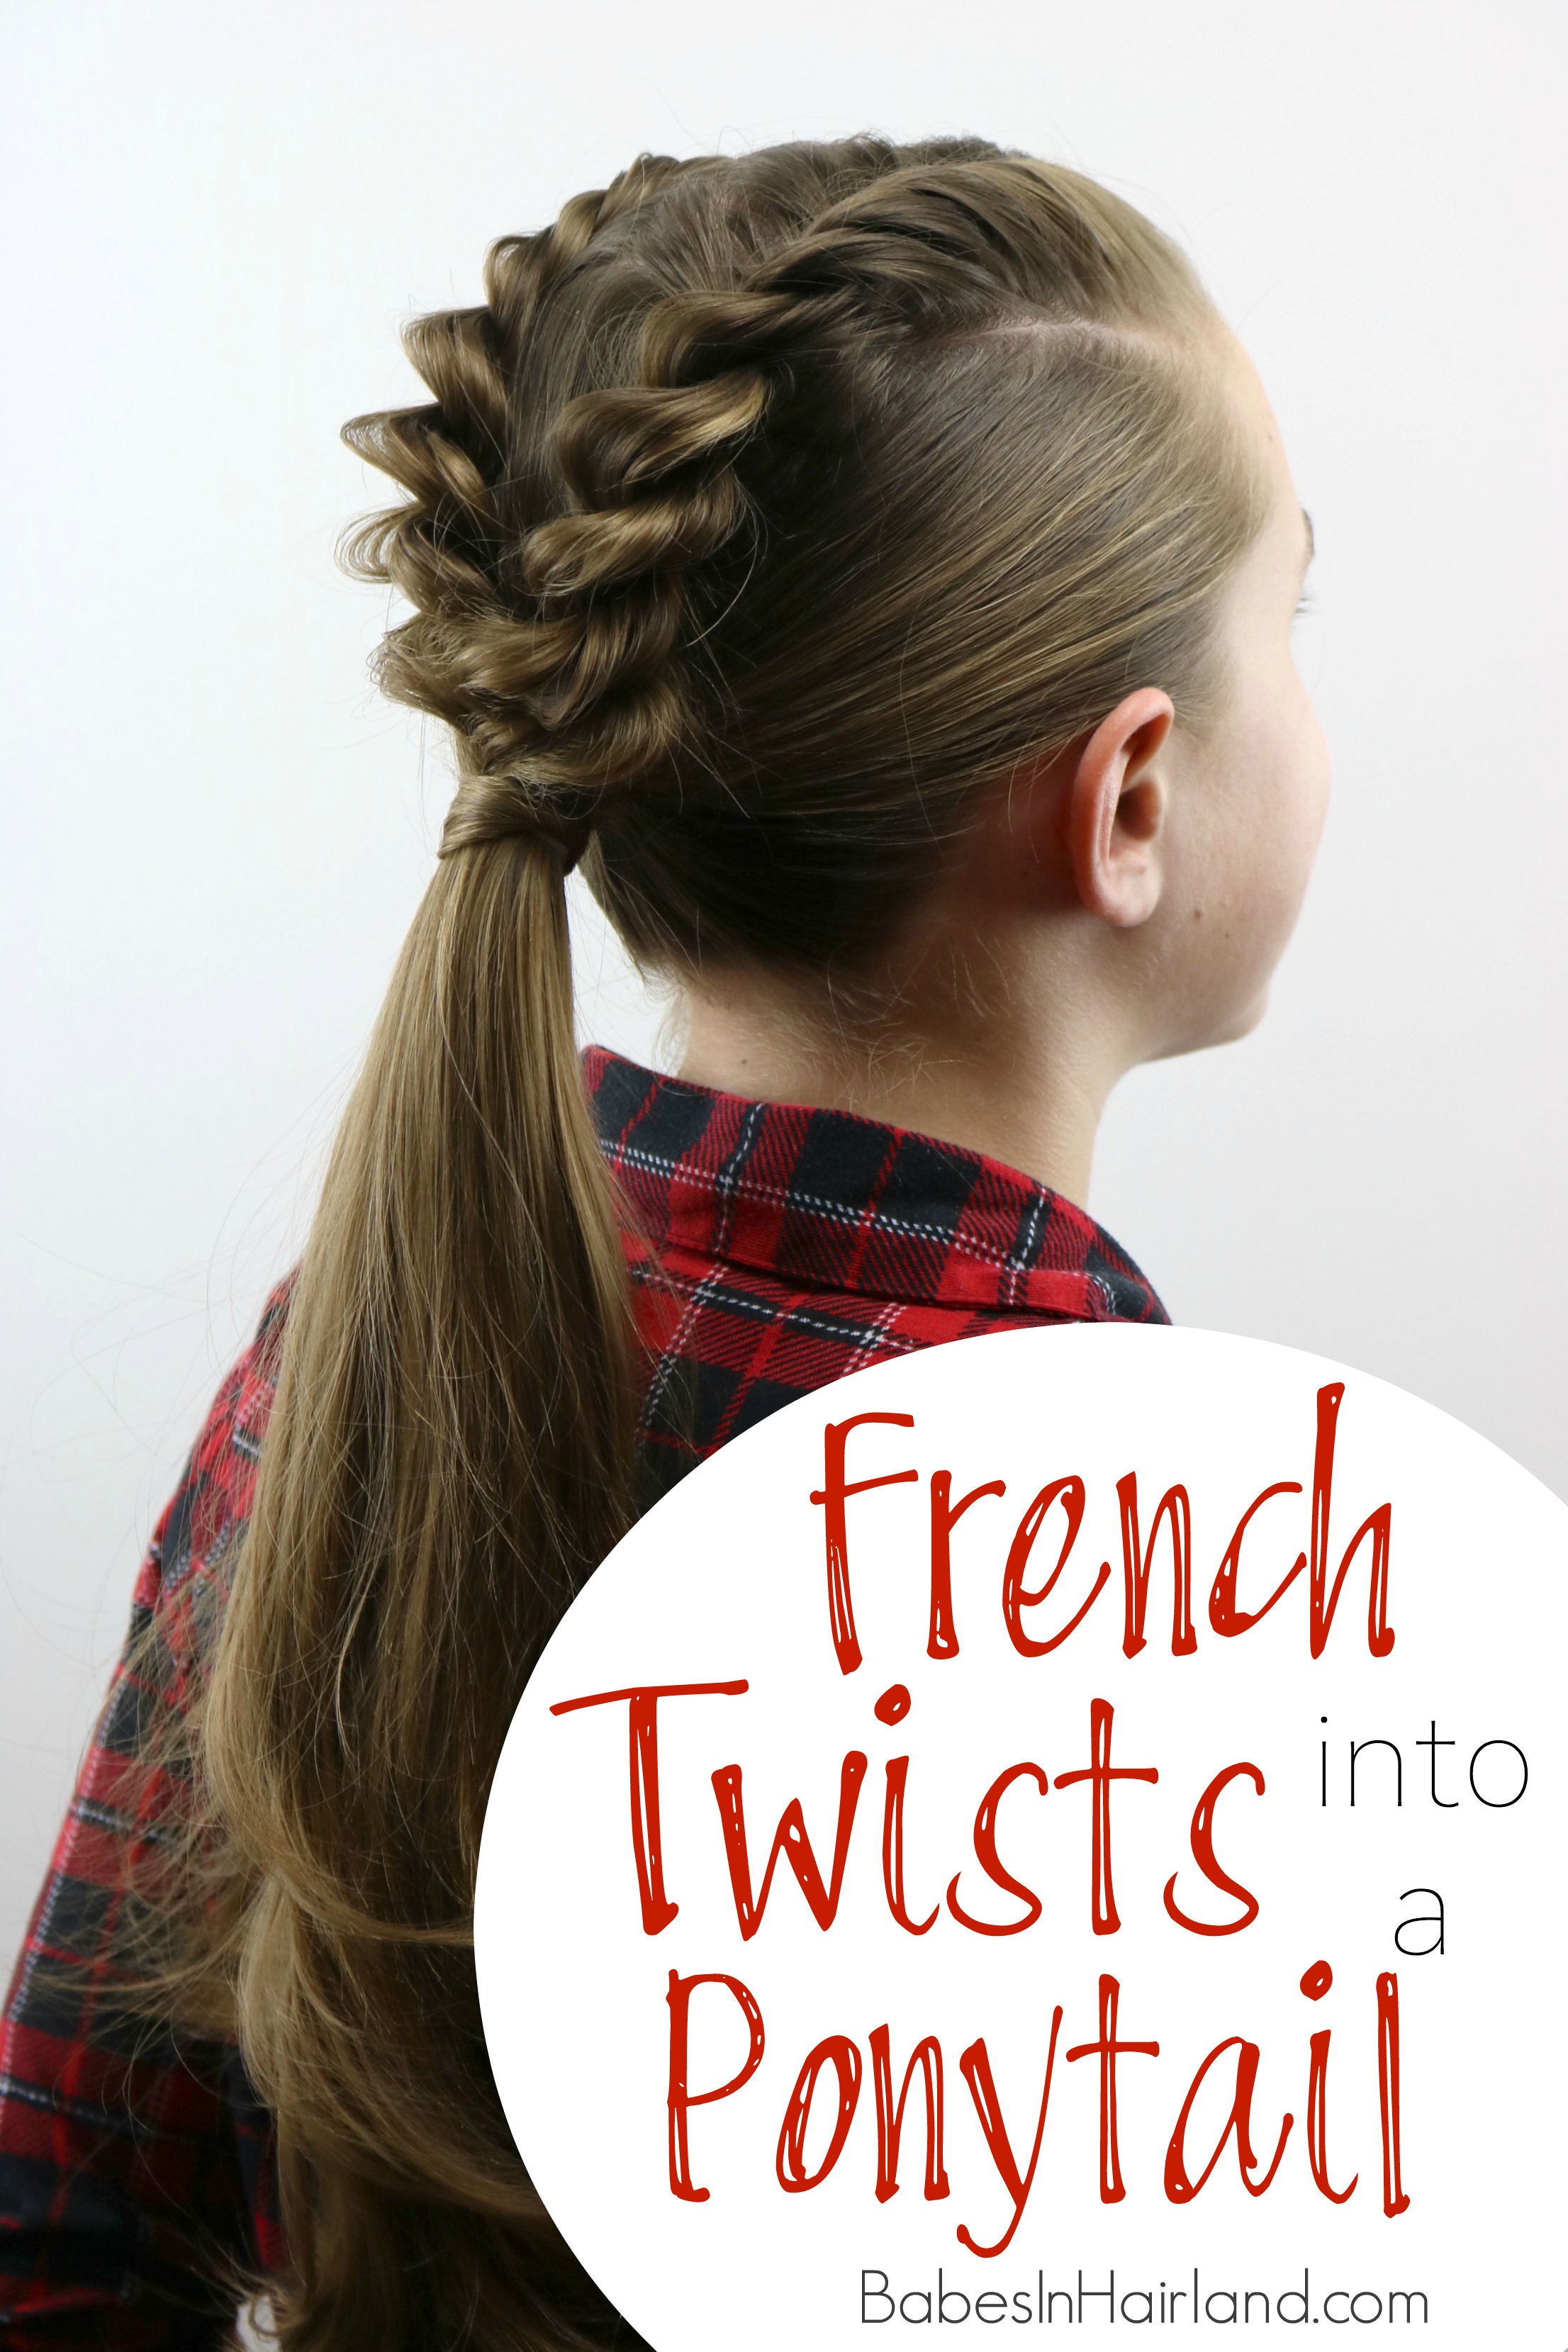
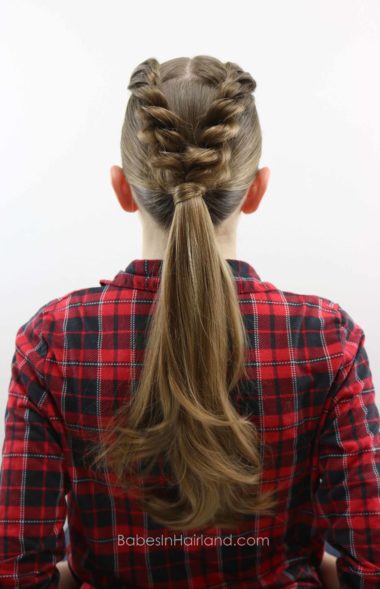
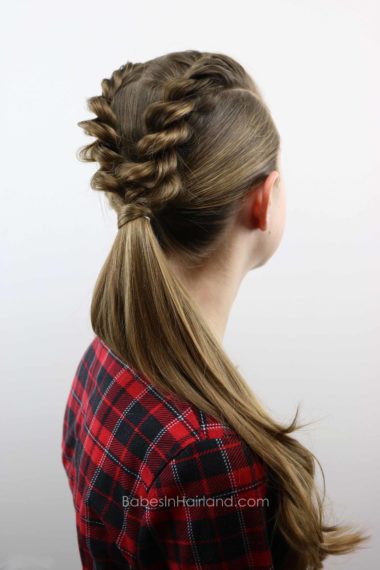
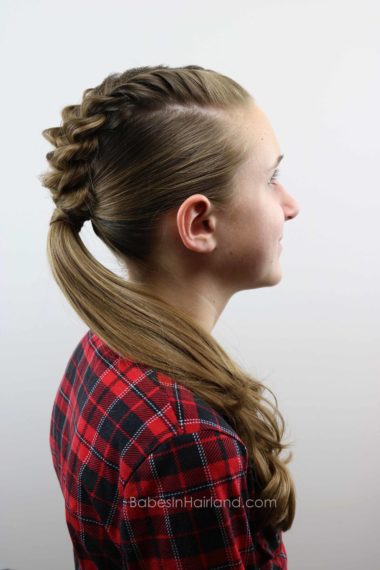
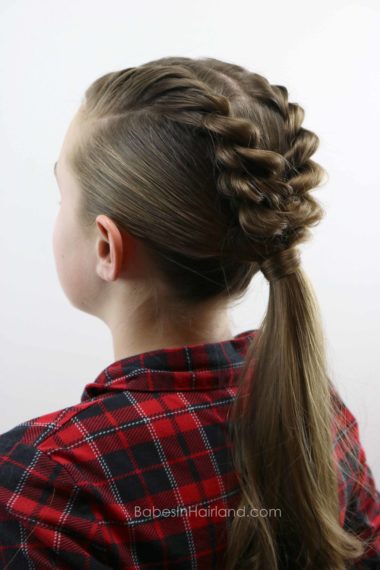
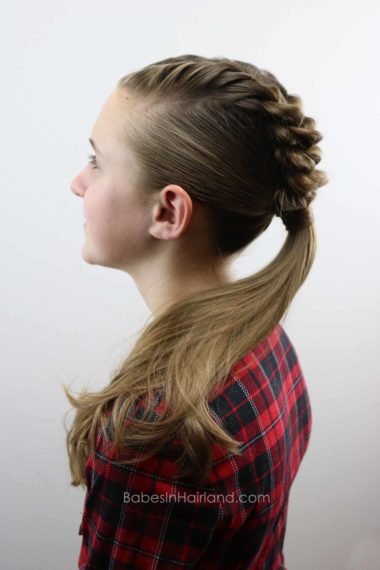
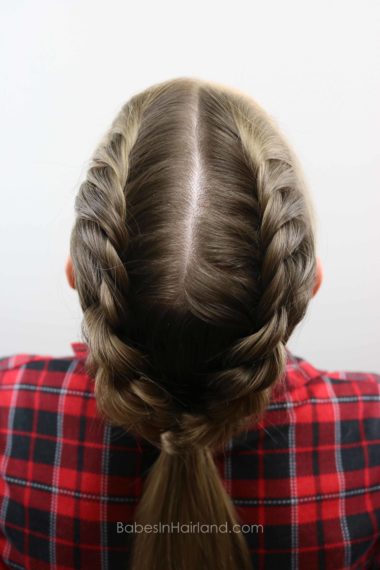
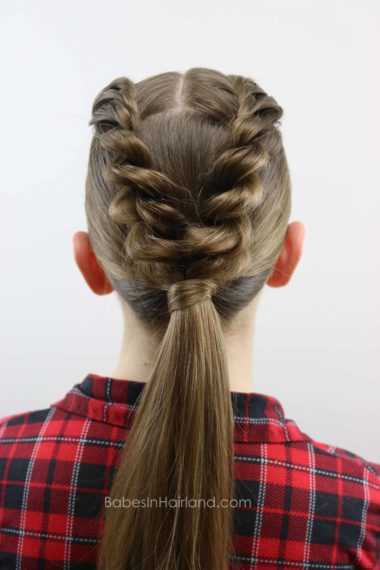
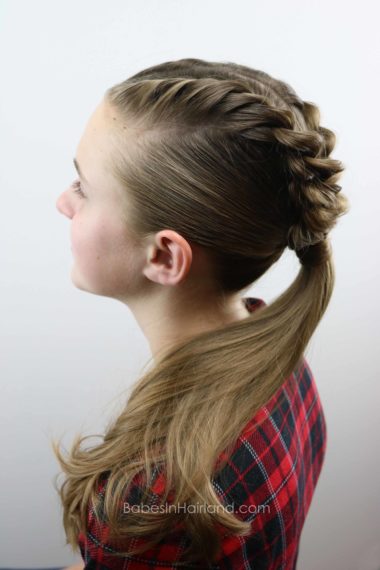
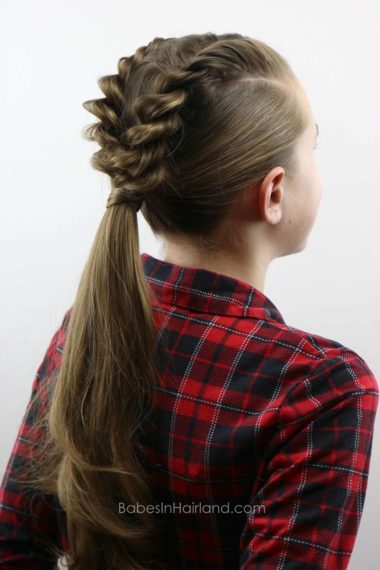
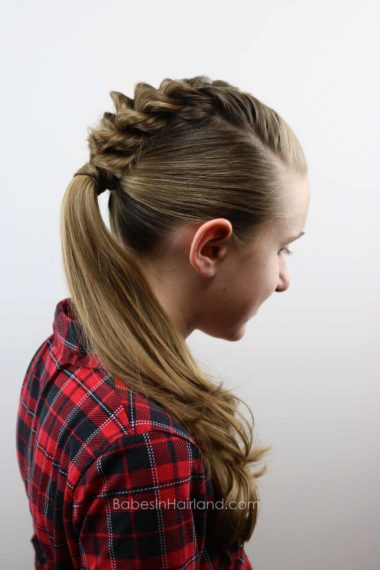
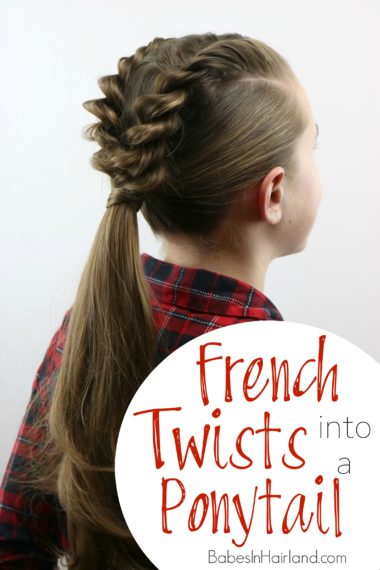
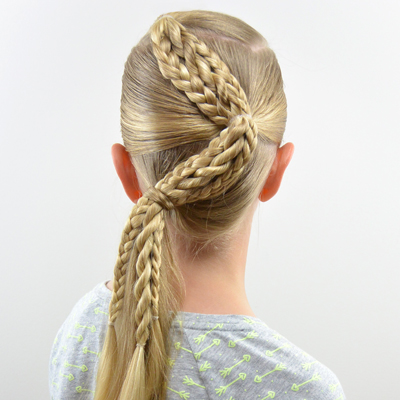
 Depending on the angle you look at this, this fun & funky style actually reminds me of a dinosaur or dragon head the way the twists come back over the top of her head. And technically a French Twist is a classic updo, but since these are twists that you add hair to, we’ll call them French Twists or French Rope Twists! But regardless of what it’s called or what I think it looks like, this style is a great one for a blustery winter day because it keeps the hair all contained and will go great under a hat too.
But quickly before we get to the tutorial, we have picked a winner for the $50 Amazon Gift Card giveaway we had last week. Just a reminder, if you are looking for gift ideas for those hair lovers in your life (or for yourself;)), be sure to check out our 15+ Gifts for Hair Lovers from last week, as well as Gift Ideas for Teenage Girls and Hair Lovers.
So Congratulations to Rosie – you are our winner! Please e-mail us asap and we’ll get you your gift card right away! Thanks again to everyone who entered.
So here is our video & below are more pictures and step-by-step instructions too!
Step 1 – Part out 2 rectangular sections of hair on top of the head and temporarily secure with clips
Part down the center of the hair back to the crown, and then from each temple back across the crown to create rectangular sections of hair.
Step 2 – Gather all remaining hair in back into a lower ponytail near the neck with an elastic
Step 3 – With the right section of hair, starting near the forehead, divide out a small amount of hair
Step 4 – Divide that small amount of hair into 2 sections and cross the right section over the left section
Step 5 – Grab a small amount of hair from the free hair and add it into the section that is now on the right
Step 6 – Combine these 2 sections and pass it up and over so it trades places and is now in the left position of your twist
Step 7 – Grab another small amount of hair from the free hair and add it to the section on the right
Step 8 – Combine these 2 sections and pass it up and over so it trades places and is now in the left position of your twist
Step 9 – Continue the same pattern until you no longer can add hair to the twist
Step 10 – Make a regular rope braid/twist with the remaining hair until it will reach the ponytail
Step 11 – Pull on the edges of the rope braid/twist to make it messier, and wider
Step 12 – Temporarily clip the twist to the base of the ponytail
Step 13- Repeat Steps 3-12 on the left side of the head
Step 14 – Secure both twists to the base of your ponytail with another elastic
Step 15 – Optional – Wrap the base of your ponytail with hair & curl your ponytail
We’ve used this technique often, but in case you need help, watch our quick video how we Wrap a Ponytail with Hair.
FINISHED!
And remember if you’re looking for fun gift ideas for Christmas don’t forget these! 15+ Gift Ideas for Hair Lovers & Teenage Girls and 15+ Gifts for Hair Lovers.


Hi! I sent you an email (actually two!) yesterday!!! Thank you!!!
I’m so glad you left a comment, because I haven’t received an e-mail. I’m not sure what e-mail address you sent them to, but I checked my spam and didn’t find anything there either. Perhaps try through my “contact/advertise” tab on the top right of our blog. That way I can get the right info from you and get your gift card to you!
Beautiful!
I have been away for awhile (long while) and I am trying to get myself back into blogging. It’s been harder the older my daughter got lol. Glad to see you’re still creating beautiful styles!
Brianna
GirlsCurlsHair.com
Aw, thanks! Ya, time is scarce the older they are getting, but we still have fun with it! Hope you guys are doing well!
Doing good thanks and yes it does lol.
ok, I just did that. Thank you for getting back to me. I’ve had some problems with yahoo lately so I used my google mail.