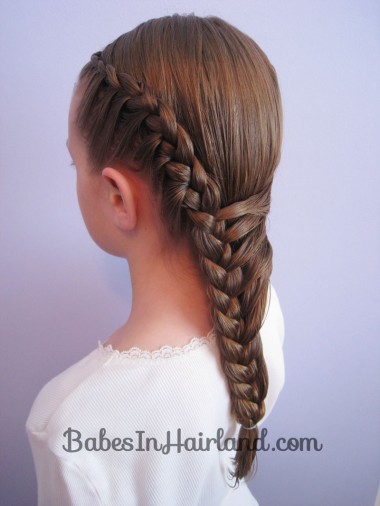
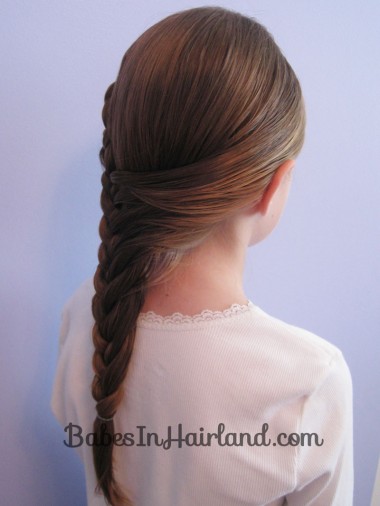
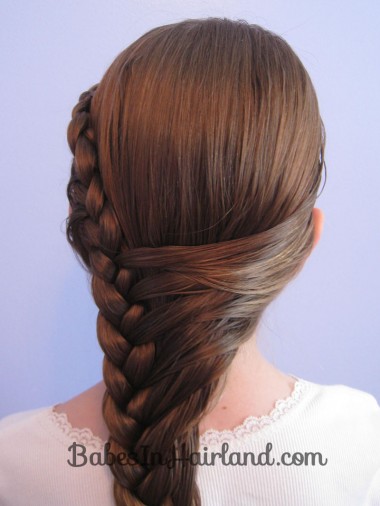
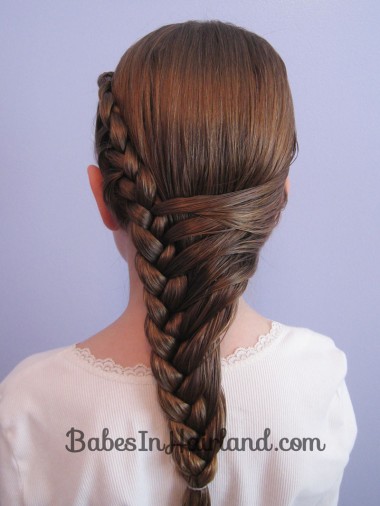
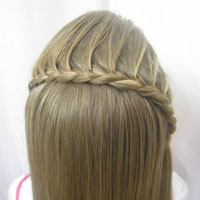
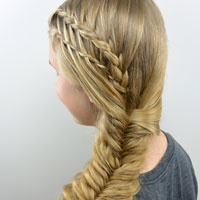
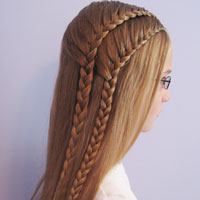
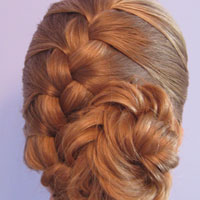
I’ve seen similar things to this style out there, so I am not claiming this to be my own creation. I do claim it to be pretty & so we wanted to share our tutorial with you! For those of you that struggle with full French braids, doing them “one-sided” or half-way tends to be a little easier I think. This whole style is made up of half-French braids, you just change to which side you are adding the hair half way through.
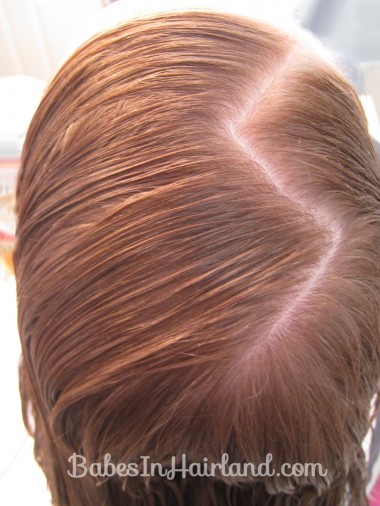
Step 1 – Make a part on top of the head
We opted for a bit of a zig zag part. And now that I look at it, it reminds me of Harry Potter’s scar! hehe You just need some sort of off-center part to begin. **As a side note – she had fairly damp hair from just taking a bath.
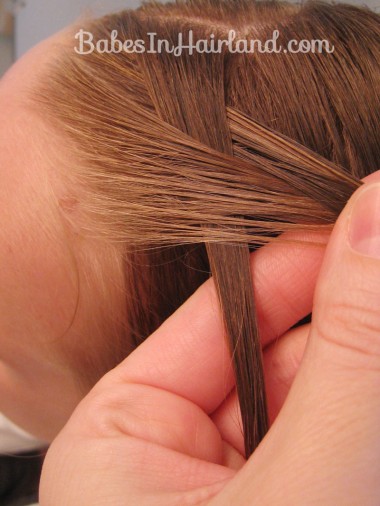
Step 2 – Start a braid
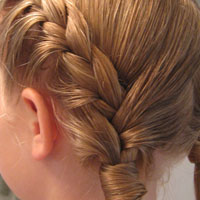
I always part out a small triangular section of hair to start plaiting my braids at this angle. I did this starting on the left side of the head. Do one full plait before adding hair. If you need help with making a half-French braid, you can watch our half-French braid video here.
Step 3 – Add hair into braid
Only add to the left side (or bottom) of your braid.
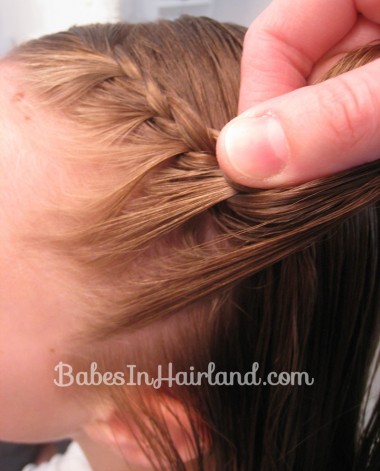
Step 4 – Stop adding hair to the left side
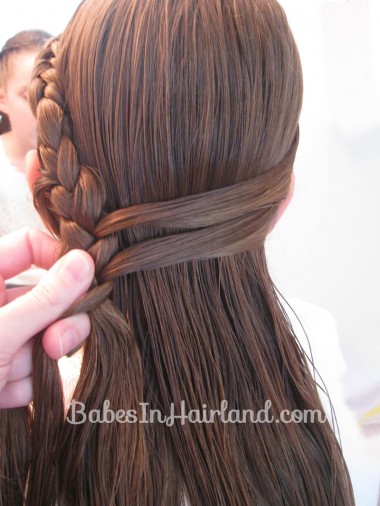
Once you’ve braided just past the left ear, you will stop adding hair to the left side of your braid. I almost braided a little too far down – so just barely pass the ear!
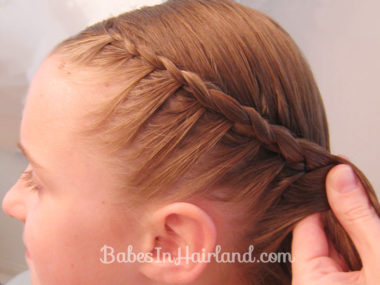
Step 5 – Add hair to braid from the right side
Now you will no longer add hair from the left side of the head. Section out a small amount of hair from the right side of the head and bring it back and add it into your braid. You’ll want to make sure the hair hanging down in back is smooth as you drape this section of hair across.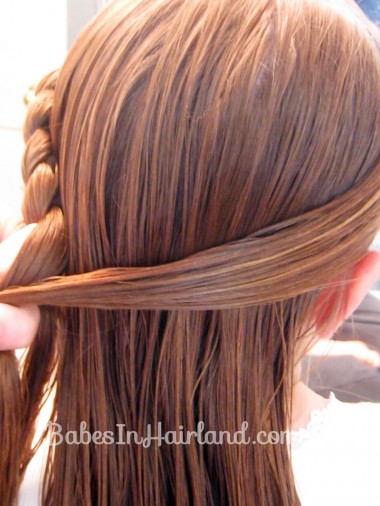
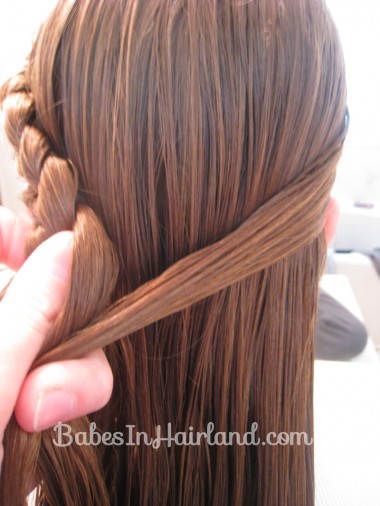 Ste p 6 – Continuing adding hair to your braid
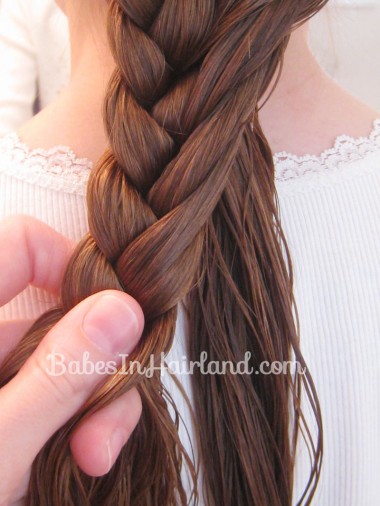
You will keep adding hair from the right side of the head until you run out of hair. Make sure you work your way down around the right side of the face so those strands of hair are crossing over the back of the head. This part is similar to making a ladder braid, except the hair isn’t in a ponytail.
Keep working your way down braiding and adding hair only to the right side.
Step 7 – Secure the braid
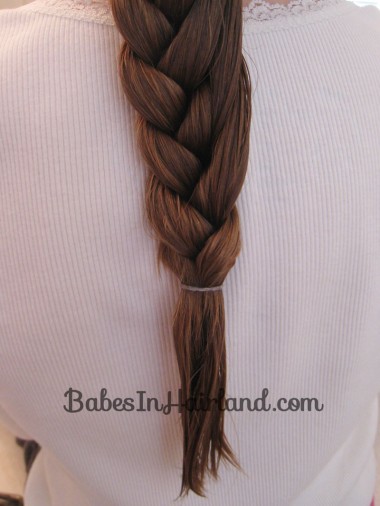
Once you run out of hair to add into the right side of your braid, secure the end with a rubber band.
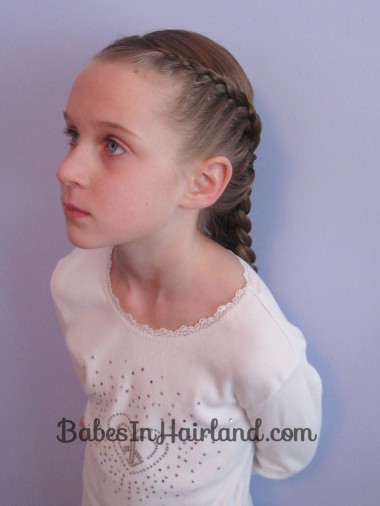
FINISHED!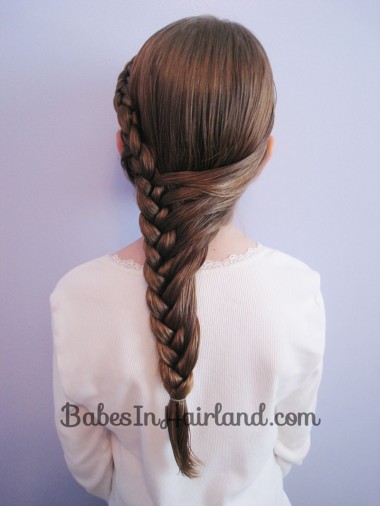
And as always – you can tug on the braid a bit to loosen things up & give it a messier look. But with her damp hair from her bath, we opted to leave it nice and tight.
This style held up great despite her wearing her hat out in the cold on a snowy school day! Be sure to share this on Facebook, Pinterest, etc!
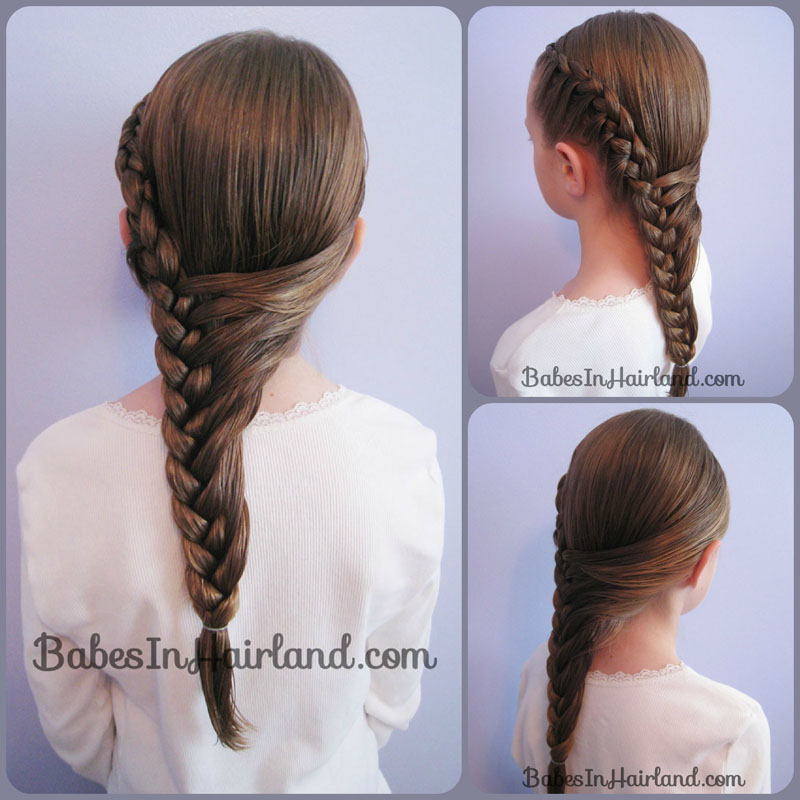
Bug’s hair is sure getting long.How long was it ago that bug cut her hair?
I know huh? So crazy how time flies. I believe it’s just barely been 2 years since we cut it. I love that it’s getting a bit more length to it.
Yeah i like her length
Her hair has gotten darker hasn’t it
I did this on my daughter’s extremely long, curly hair and it looks great! Can’t wait to try more.
Awesome! So glad it worked for you. Thanks for taking the time to comment & let me know! 🙂
Awesome Hair
This is so awesome, just pinned it. Thanks so much 🙂
So glad you liked this style. It’s one of our favorites! Thanks for pinning it too!
Hello: We used a Dutch variation for our July 4th picnic. I’ll send a picture. Thank you!
Hi there! So happy you liked this style. And yes, I’d love to see your recreation! 🙂