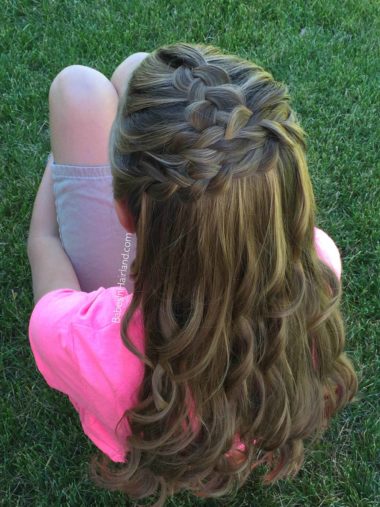
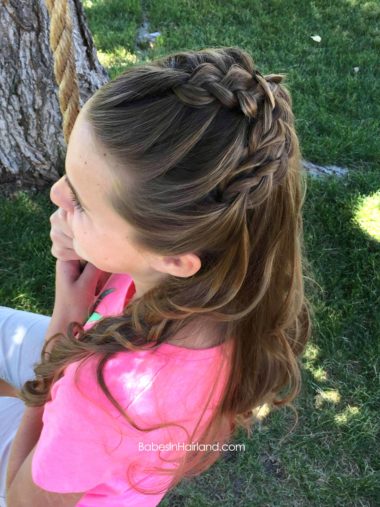
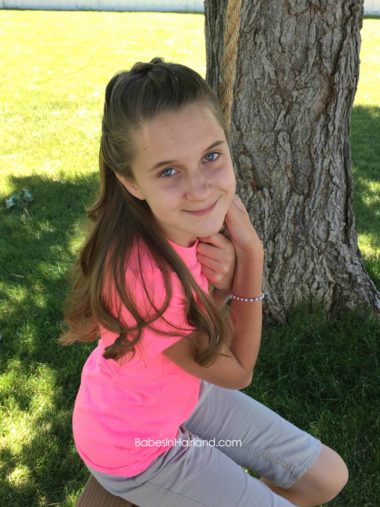
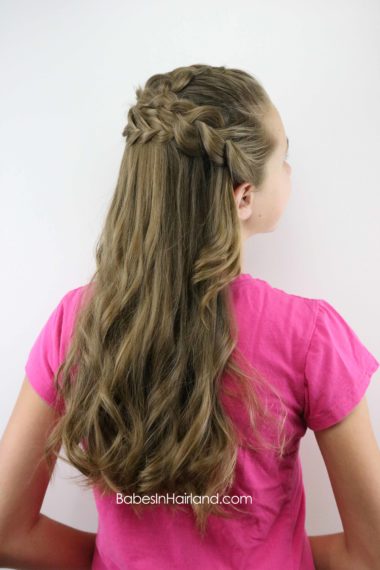
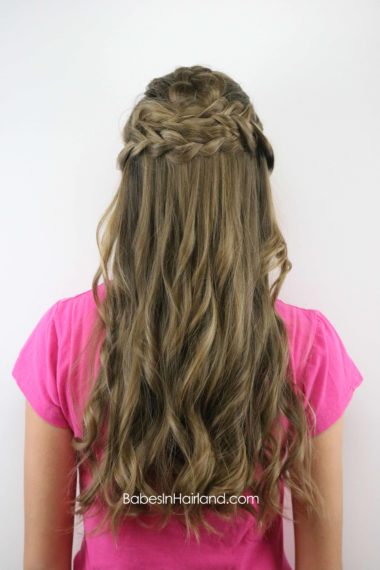
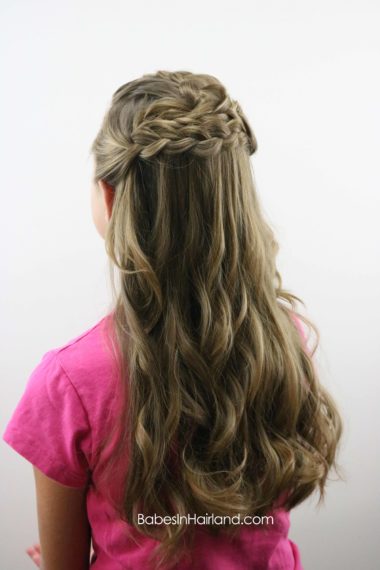
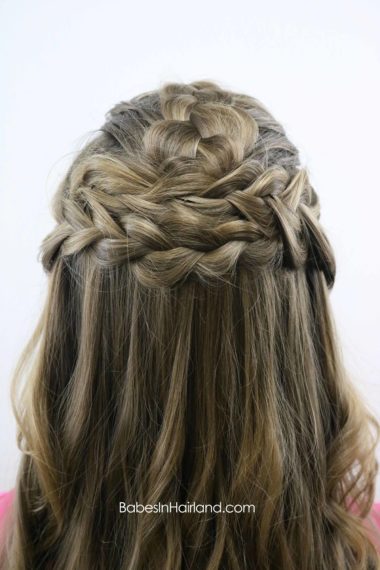
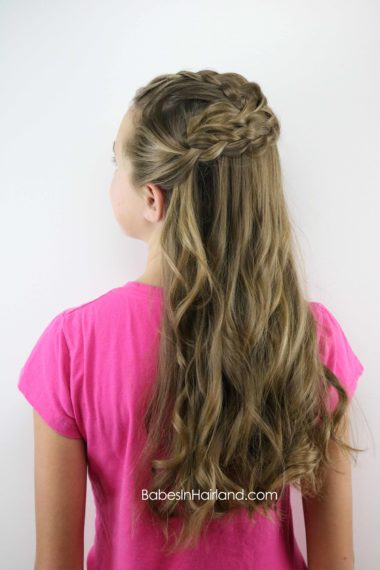
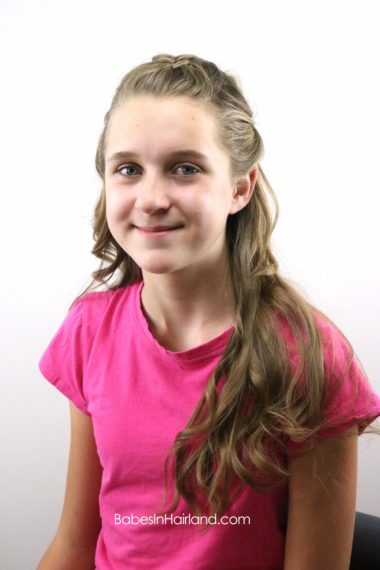
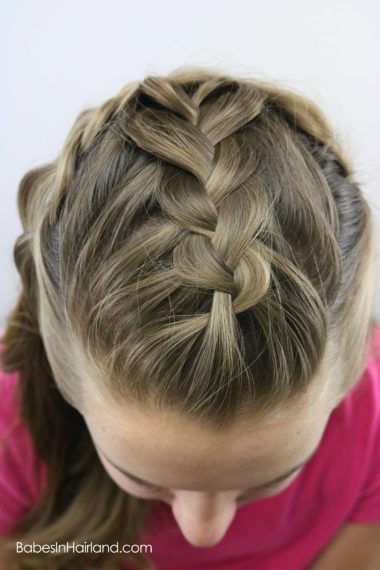
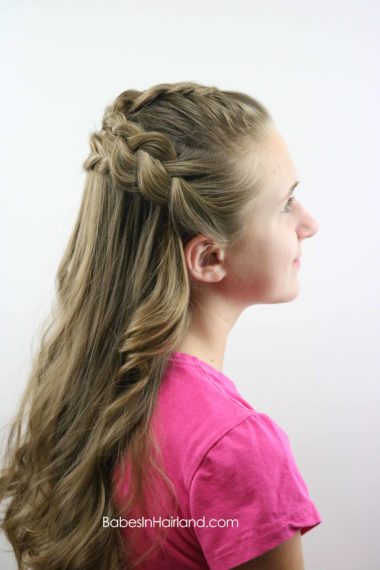
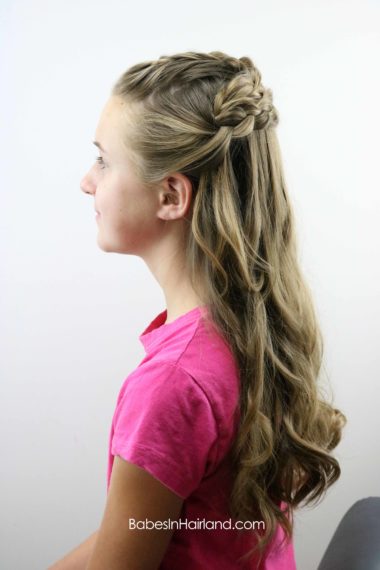
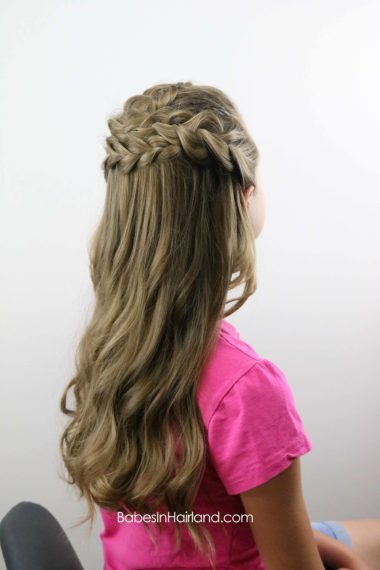
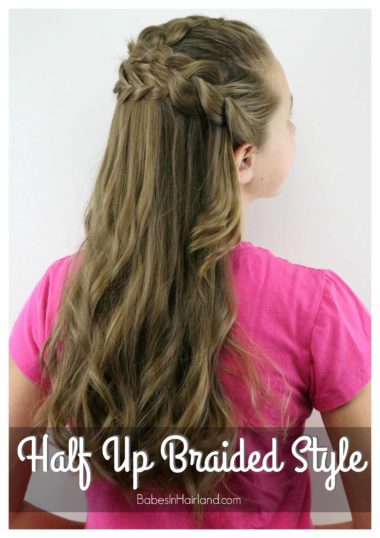
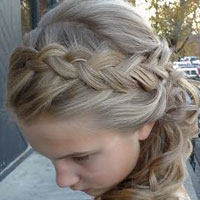
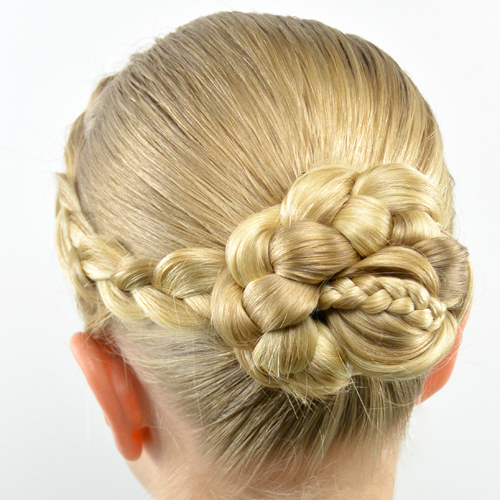
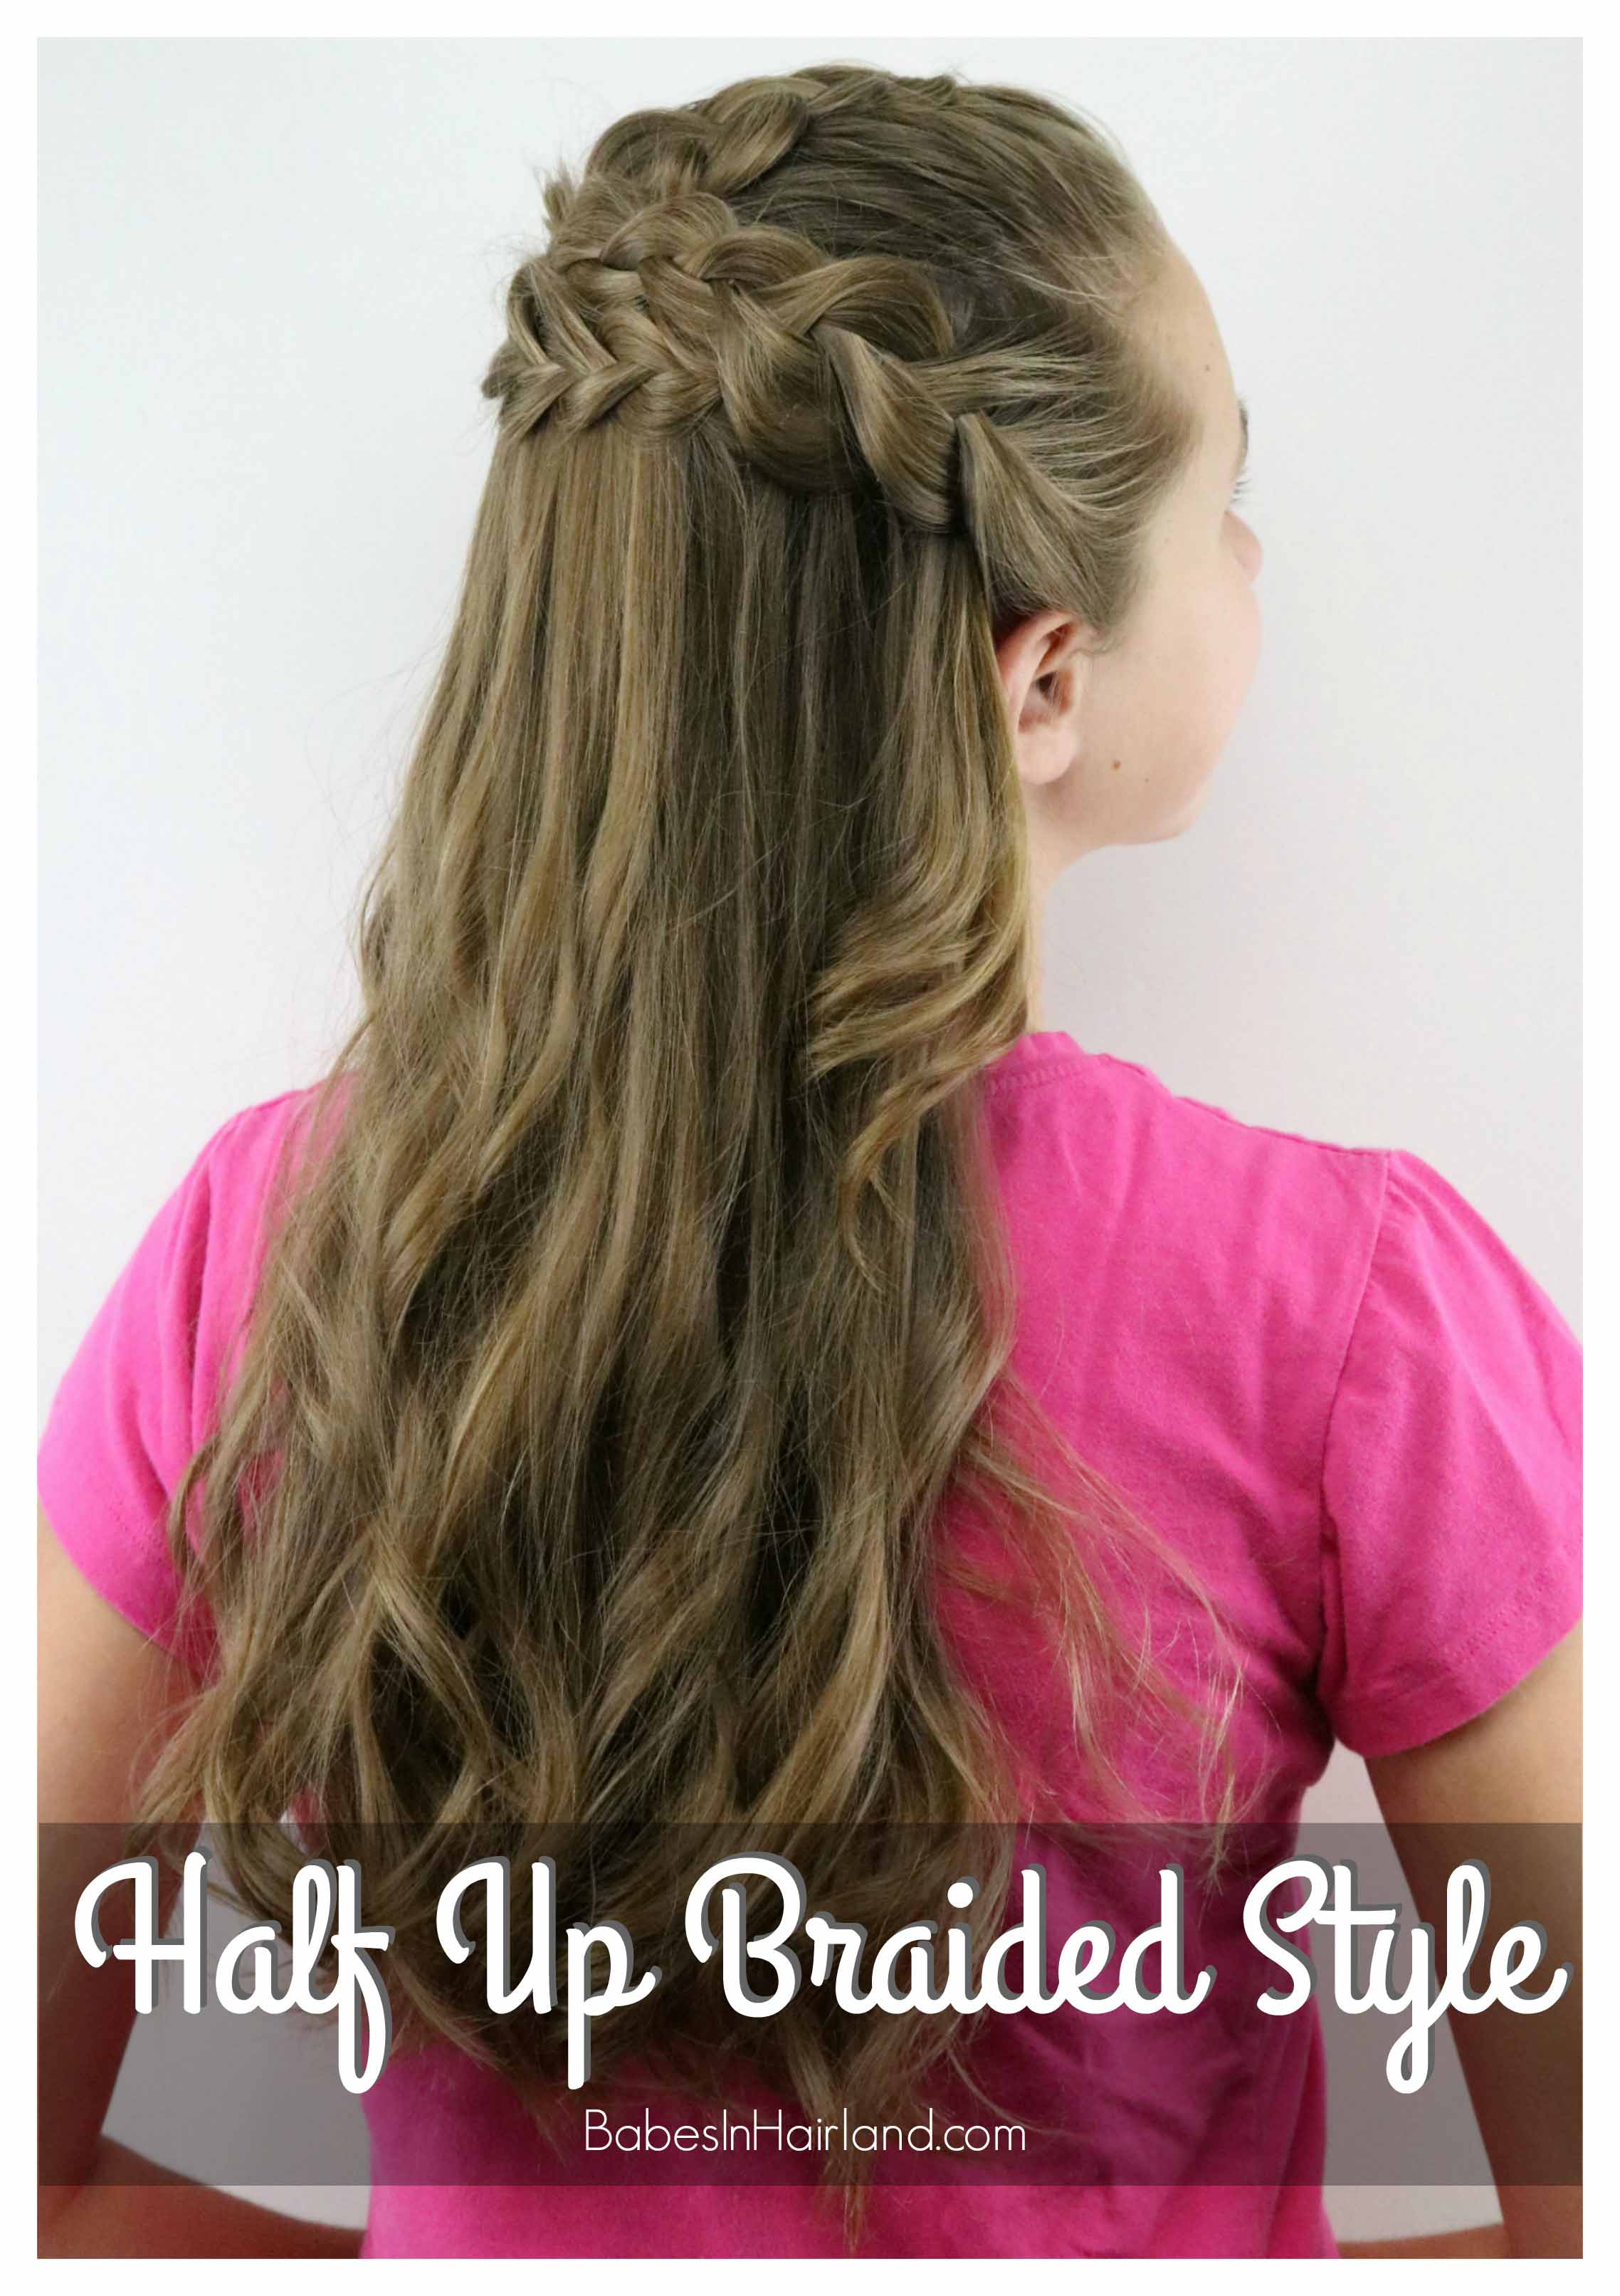
 Recently my middle daughter, who we call “Bug” had a birthday and she is now 12 years old. For her birthday she asked for a pretty style, but one that wasn’t hard and wouldn’t take too long. This was the style we came up with and it turned out so pretty we recreated it for you guys today!
Here’s a few pix that we took on her birthday of the style, but have no fear, we didn’t shoot the tutorial on her birthday! 🙂
She’s got some pretty highlights that show up when she’s outside. Love that summer sun!
So here’s our video, and keep scrolling for step-by-step instructions and more pictures.
Step 1 – Take a small amount of hair near the hairline close to the forehead and divide it into 3 even sections
Step 2 – Begin making a Dutch French braid (aka inside out French braid)
To do a Dutch French braid, pass the strands of hair under each other instead of over the top like a regular French braid.
Step 3 – Add hair to the Dutch braid until you reach the crown of the head
Don’t grab hair too far out off the top center of the head, you just want the Dutch braid to be right on the top of the head. You will need the hair near the temples and ears for other braids, so don’t use that hair in this braid.
Step 4 – Once you have braided to the crown, secure the end of the braid with a few bobby pins. Making an X with the bobby pins secures it nicely!
We use “Supreme Bobby Pins by Mariana” and they are fabulous. All bobby pins are not created equal, and these hold wonderfully. We’ve used them for years and won’t use any other kind. They come in a box with a ton of them in, but you can never have too many bobby pins, right? Click HERE to buy some Supreme Bobby Pins.
Step 5 – With the hair on the left side from the ear forward, make a regular 3 strand braid
Step 6 – Make the braid long enough so it will reach past the bobby pins in Step 4
Step 7 – Gently pull on the edges of the braid to flatten it and make it wider
Step 8 – Draw the braid across the back of the head over to the right side so it covers the bobby pins from Step 4
Step 9 – With a few bobby pins secure the end of the braid on the right of the bobby pins from Step 4
Step 9 – On the right side of the head, with the hair from the ear forward, make another regular 3 strand braid
Step 10 – Make the braid long enough so it can be draped across the back of the head & reach the left side
Step 11 – Gently pull on the edges of the braid to flatten it and make it wider
Step 12 – Draw the braid across the back of the head toward the left side. Lay the braid so it sits above the braid from the left side.
Step 13 – Using a Topsy Tail, stick the ends of this braid through the loop of the Topsy Tail, and stick the pointed end of the Topsy Tail down behind the braid on the left side.
Need a Topsy Tail? Click HERE to buy a Topsy Tail. You won’t regret buying it! We use ours all the time! 😉
Step 14 – Gently pull the Topsy Tail down so that the tails from the braid are pulled underneath the braid that started on the left side.
Step 15 – Secure braids as needed with bobby pins, carefully placing them so they are well hidden in the hair.
Step 16 – Optional – Curl remaining hair down in back
We used our CHI G2 Digital 1″ Titanium Infused Ceramic Flat Iron to get her pretty curls. They say all flat irons are the same, but I beg to differ! I really love my CHI. Click HERE to snag your CHI today!
