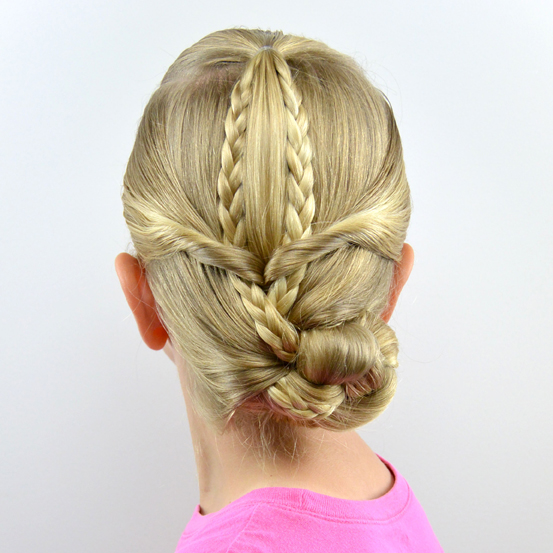
This is another quick n’ easy one that we’ve done lately. Bug will give me the line of “I just want a plain braid today” and because there are days when I want her to have more than just a “plain braid” this is what I’ve started doing. I’ve seen the braid tucked up and under before, but I changed it up a bit and put it on top rather than underneath.
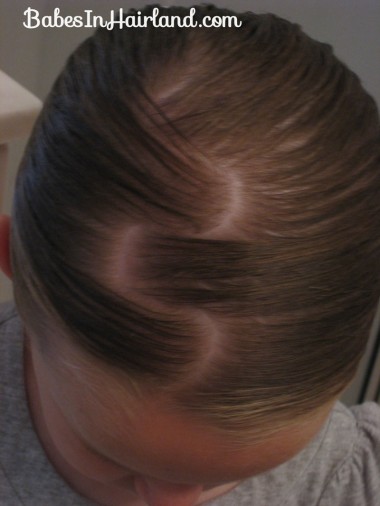
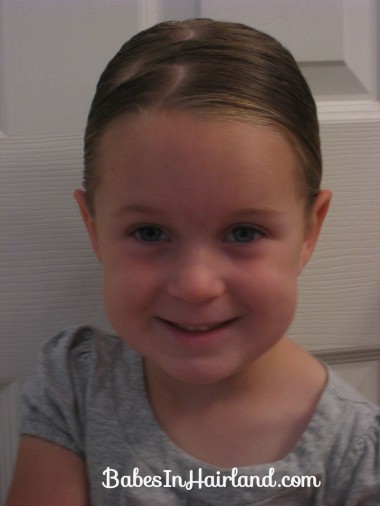
I started by parting it. I’ve done it w/every kind of part there is. But these pix have my curvy part — set off to the side. I read somewhere that a side part vs. a part in the middle makes the nose look more slender! Not that Bug needs to worry about something like that at this point in her life, but for all of us with big noses I guess that’s something to keep in mind … hmmm! 🙂
Then I made sure the hair was nice and damp and did a “plain braid.” I also have done this with a French braid that I start in the middle of the back of her head, instead of clear up top like often is done.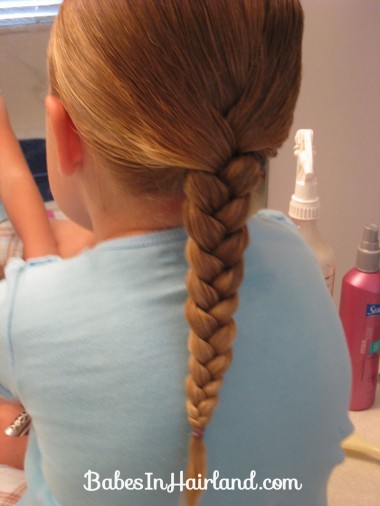
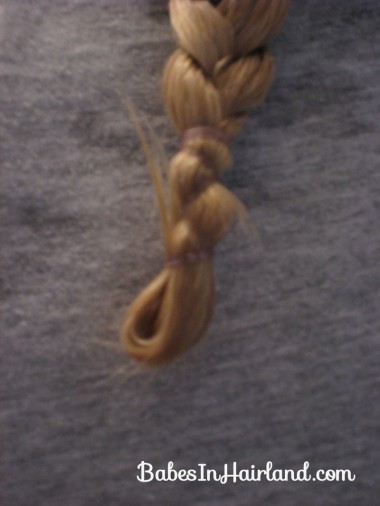
Braid to the end and wrapping the rubber band clear around the end of the hair as I’ve shown in previous posts.
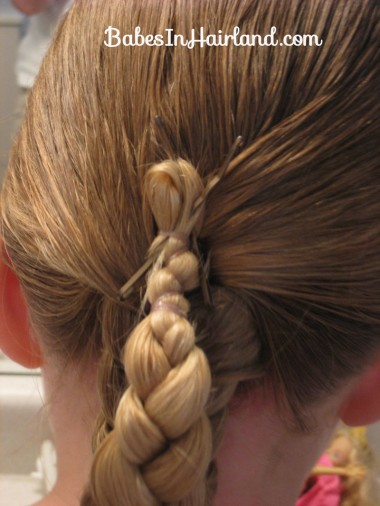
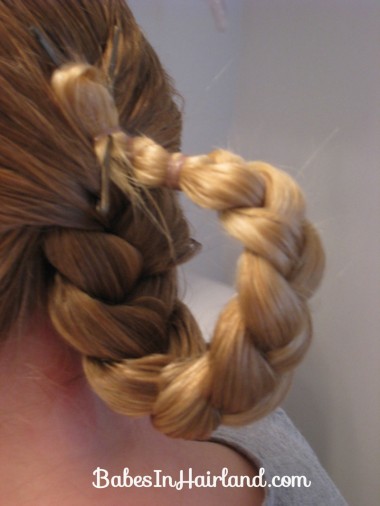
Bring the tip of the braid up – making a loop with the braid. Secure the tip of the braid to the head using 2 bobby pins – making an X. I slipped the tip of one of the pins through the rubber band to ensure the braid was fastened securely to her head.
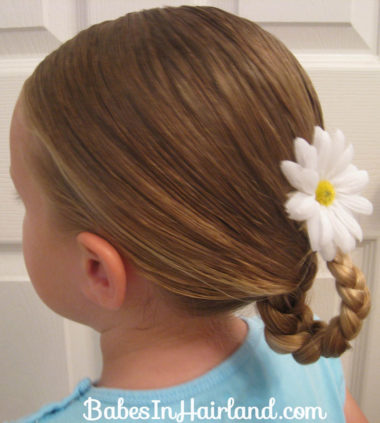
Here’s a view from the side & the loop that you should make. The braid is stiff enough that you should be able to form it into the shape you want – whether you want it more of an open loop, or more of a tear drop shape is up to you.
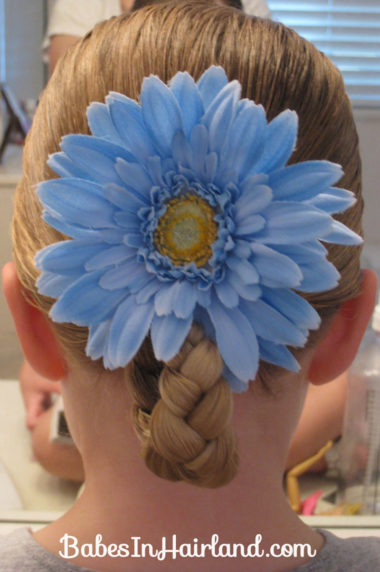
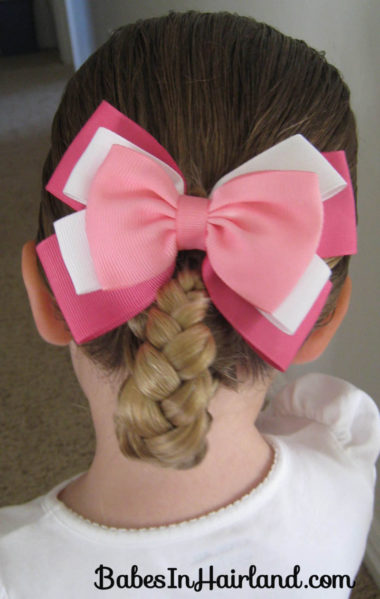
Cover the bobby pinned section with a nice big flower (Bug thinks the braid looks like the stem of the flower whenever we put these types of clips in) …
Then you have one happy kiddo – cuz she got her plain braid, and you did something just a little bit fancier with it!
