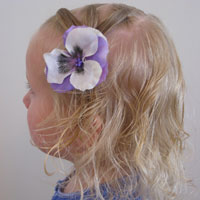
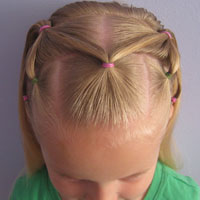
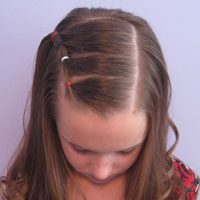
 So, this hair style isn’t necessarily one to write home about – it was more one of necessity — for a couple reasons. I’m hoping I’m not the only one out there that either –
A – Has a favorite bow or flower – but only has ONE;
B – Had a set of bows or flowers, and now 1 is lost or gone who knows where- in the mounds of Barbies, dress-up and toy boxes (please say I’m not alone in this!);
So the above reasons are one reason for this hair style. The 2nd reason is due to the length of Bee’s hair. You may wonder what I mean, because most people say she has fairly long hair for a 2 year old. Well, that’s mainly in the back – but her sides are shorter than the back and she still has fine whispy baby hair by her ears and up around her temples.
So to simply pull her hair back into a half pony (parted from ear to ear & pulled into a ponytail up on top) still isn’t much of an option for us because once nap time is over both sides of her hair are basically no longer where they should be and it’s a huge mess — leaving just a bit of hair left in the rubberband on top. I really try not to plaster her too much with hair spray, etc. so hair coming out is a problem at this point.
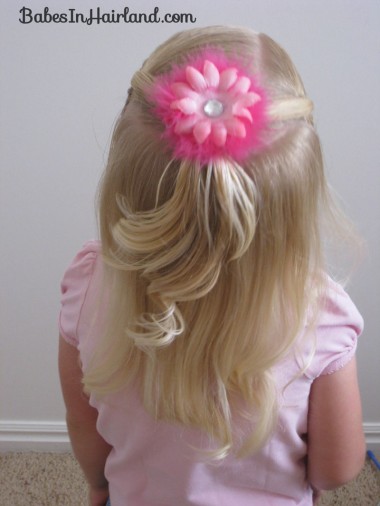
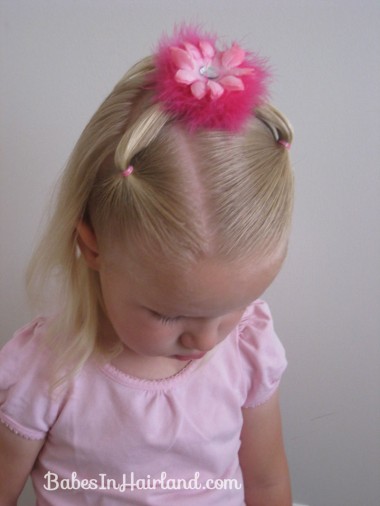
So this hairdo was my solution for the 3 problems – either only have 1 bow cuz that’s all I got, one is lost, and because her hair is too short to just pull it up into a half pony or full ponytail. This was also a great one when her hair was just barely long enough for the 2 ponytails to touch in back. I would make a 3rd little pony in back so it seemed like she had “more” hair! So here is your simple do for the day:
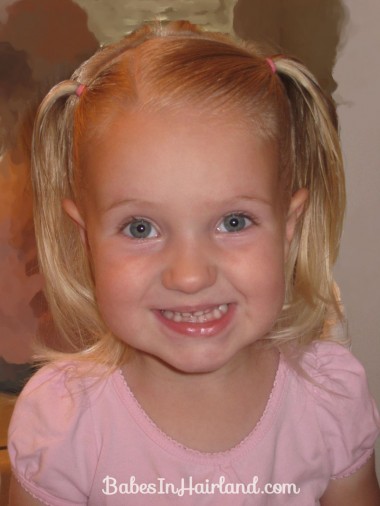
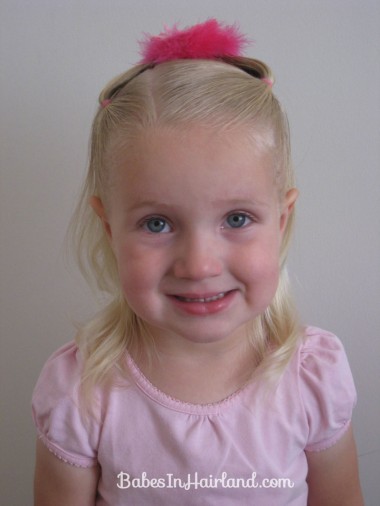
Part the hair from ear to ear – like you are going to make a 1/2 pony. But then also part it in the middle – or off to the side. As always, I prefer a part set off to the side. She wouldn’t let me take a pic from behind at this point! Then make 2 ponytails. Now, see – this is the simple do anyone can do – 2 ponytails – cute and done, right? WRONG! I don’t always have 2 bows or flowers that I want to use – and it would be ghastly for me to NOT put in a hair accessory right?! Ha! Well, for this exercise – yes! (And on a side note – I’ve just got to say how much I love this picture! I can’t believe how big she’s getting!)
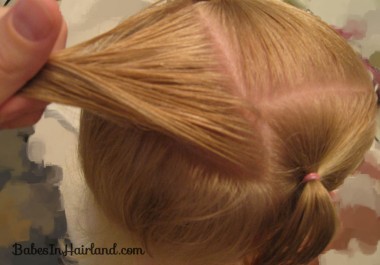
So once you have 2 ponytails secured w/rubber bands, part of another section of hair in a triangular fashion. I start from behind each rubberband and go backwards at an angle until my parts meet up.
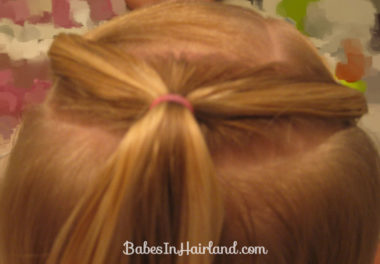
Once you’ve got the hair divided out – add the 2 pony tails from the front, comb it smooth, then secure with a rubber band.
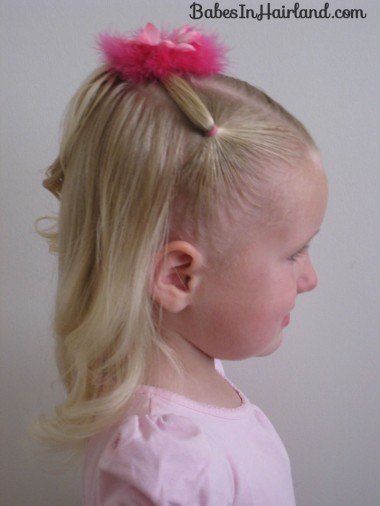
Then just add your 1 lonely accessory & you’re done. This one happens to be a fav of ours & it comes from Every Little Detail . All my girls love this one because of the soft fuzziness of it! You can also make that pony in the back further back on the head if you feel like the bow/flower is sitting too far on top of her head.
I know, it looks off center – it’s because of the part – and I actually like the non-symmetry of the whole thing! So you do what suits you best! You can also do pull-through’s in the front instead of plain old piggys if you want too. Change it up & have fun w/it.
And her “I’m ready to be done” smile! (notice the difference in her smile here than her first front smiling shot!!!)
Anyway – that’s it. Simple, but serves a double purpose for us — keeps her hair looking tidy and in order and solves the problem of the 1 bow/flower issue!! Hope it helps a few of you!
