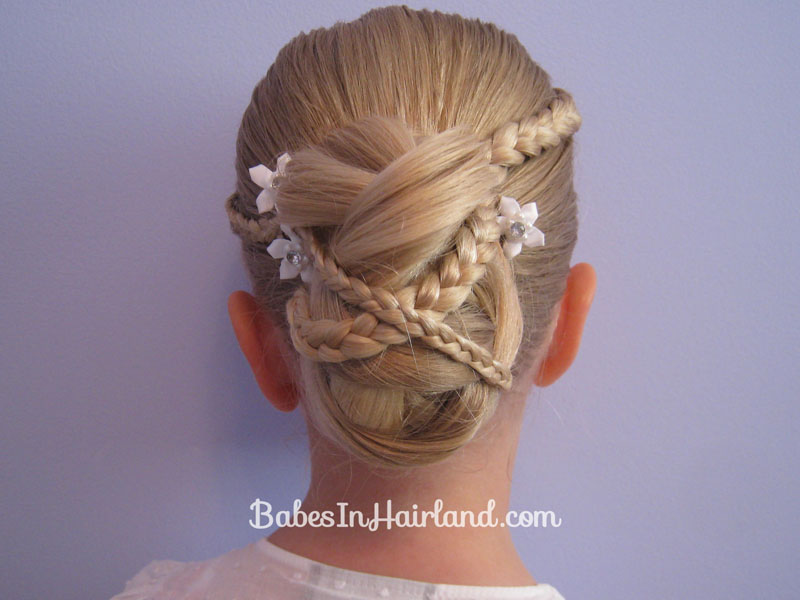
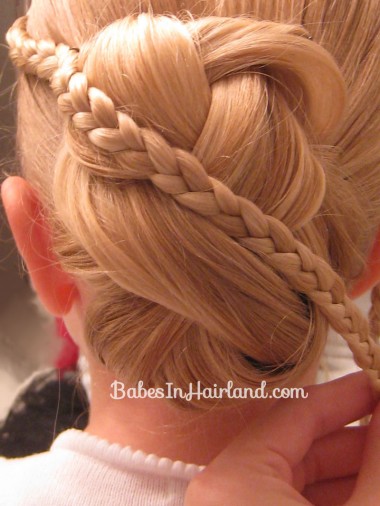
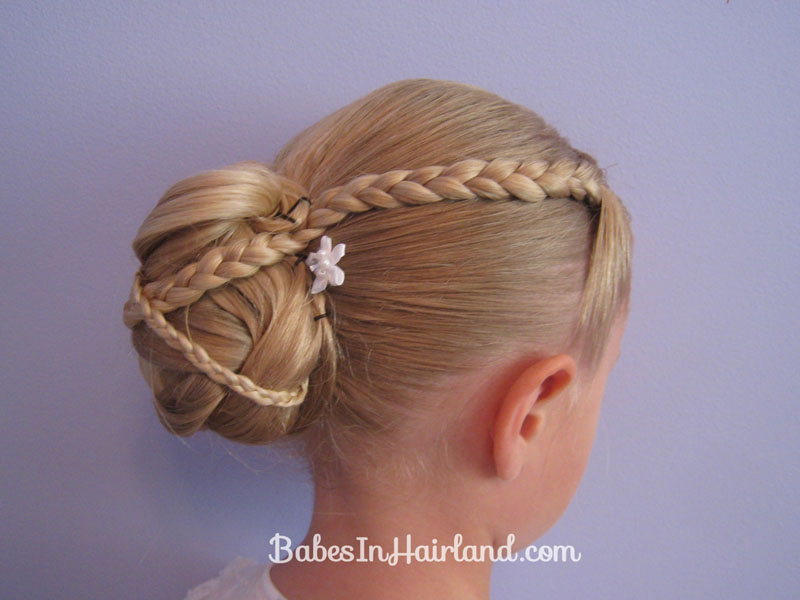
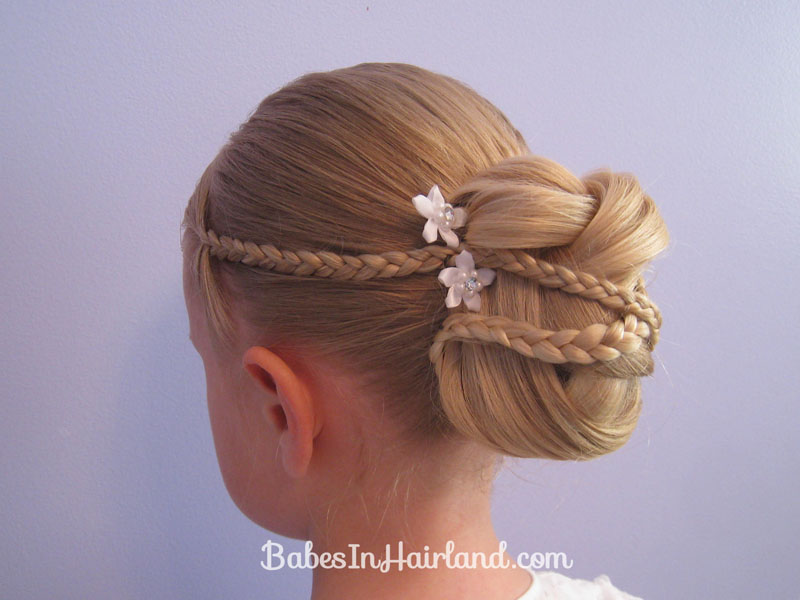
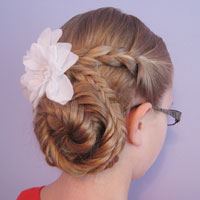
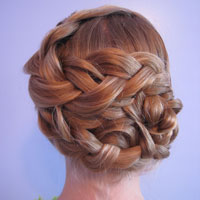
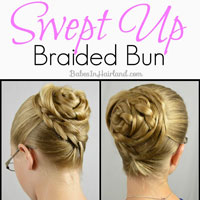
I seriously have a crush on this beautiful updo! It’s probably one of my favorites ever! I did this updo on Bee clear last May and as often happens, I’ll try something and love how it turns out (and have finished product pictures) — but have no step-by-step pictures for you. So finally after all these months I did this as a holiday style in December and took pictures along the way. It turned slightly different – but you’ll get the idea. And in the end, how you wrap the micro braids is completely up to you.
Step 1 – Make an off-center part
Don’t part too far back on the top of the head. It will just go back 2 inches or so.
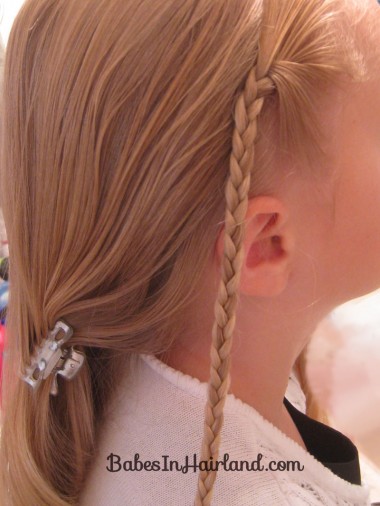
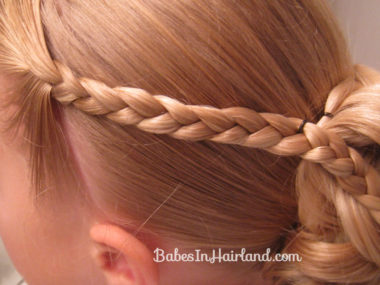
Step 2 – Part off small section down to ear and braid
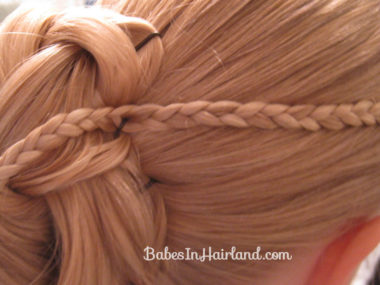
On the right side make a small micro braid with that section of hair. Don’t part the hair off behind the ear — you want a bit smaller amount of hair for these braids. Secure the end of your micro braid with a rubber band.
Step 3 – Repeat step 2 on right side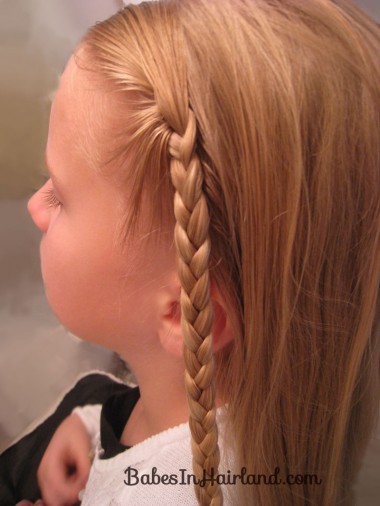
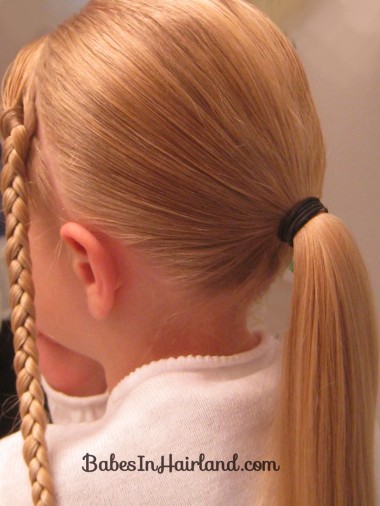
Step 4 – Make a low ponytail
This step is sort of optional – but I wanted things to be a bit more secure – but you technically could just make a braid and forget the ponytail. You’ll want this fairly low by the nape of the neck.
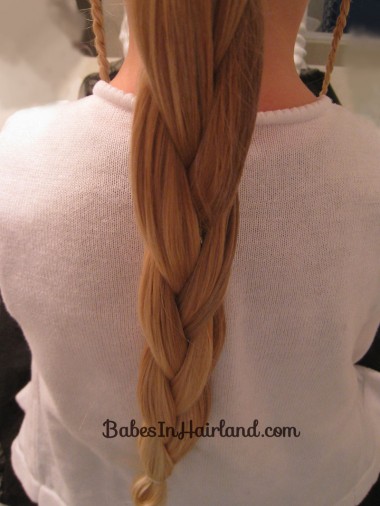
Step 5 – Make a loose braid
In your low ponytail make a loose braid and secure the end with a rubber band. You want this loose so you can spread it out a bit easier in the next steps.
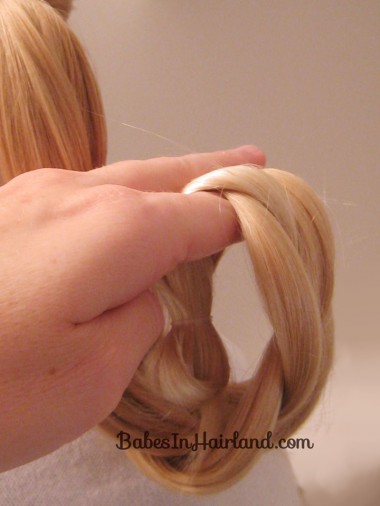
Step 6 – Roll up the braid
As we’ve done in past rolled braids styles, you want to roll the end of the braid into the middle and basically roll it up on itself until you’re covering the base of your ponytail.
Step 7 – Secure rolled braid with bobby pins
Secure with bobby pins as needed. Then I sort of pulled on the braid a bit to loosen it up once it was secured. I didn’t want you to totally be able to tell that it was a braid when all was said and done! Maybe you can, maybe not!
Step 8 – Secure micro braids
Pull one of the micro braids back and secure with a hair pin on the top edge of the rolled up braid. (I prefer hair pins not bobby pins for things like this – but a bobby pin will work.)
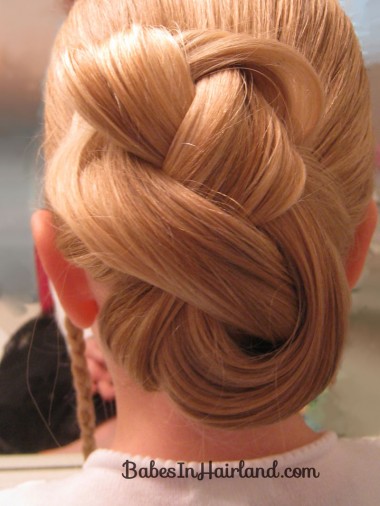
Step 9 – Drape micro braid over rolled up braid
Bring that micro braid over the top of the rolled up braid on an angle. You want the end of the micro braid to be at the bottom right side (if draping the left braid) of the rolled up braid.
Repeat Step 9 on the other side
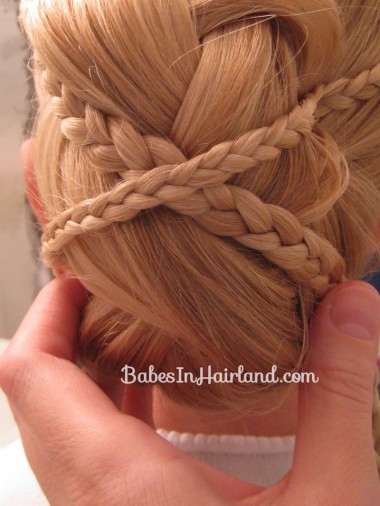
Step 10 – Secure micro braids at the bottom
Try get the micro braids to cross toward the middle or bottom of the rolled up braid. You’ll want to secure each micro braid toward the base of the rolled up braid with hair pins or bobby pins. If you can tuck the tails of your braids in and hide them even better. You just want these to sort of disappear into the rolled up braid & look like they are floating on top of it!
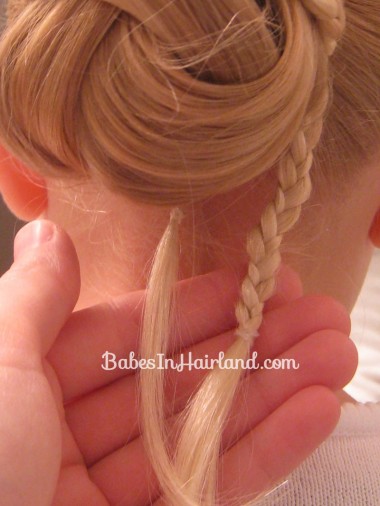
Her hair is long enough that the tails of the micro braids stick out, so I just tucked them up and hid them under everything and secured them with bobby pins!
Add accessories if so desired and FINISHED!
Be sure to share this on Facebook, Pinterest, etc. using the buttons below! This is such a pretty one and fabulous for any special occasion! Linking up to SNAP’s Show & Tell too!
This is gorgeous!!!! Great job Mom!!!
Thanks Weinda! Ee leev oo! 😉
This is so pretty!
Thank you! We loved this one too!
How long did this take?super pretty!!!!!
I guess it depends on how fast you can braid! That’s really the part that takes the longest. I didn’t time myself, but I’d say about 15-20 minutes just to get everything pinned in place how I liked it.
I am so glad I found your blog. I too am teacher/blogger/mother of twin girls and a mormon. 🙂 We sure do stay busy don’t we. I have enjoyed your blog so much. I did a cute new style on my girls for church this morning. I also am thinking of ordering the curlformers, they look cool!
Question for you…maybe it is on here and I just haven’t found it yet, how do you tame the tangles. My on daughter’s hair is so fine and gets tangled so easily. Also, any tips on shampoo and conditioner… my girls’ hair feel so dry sometimes. Thanks! I will be checking in more often.
Tawnya
I’m so glad you found us too! The biggest help that I’ve found is when the girls are in the bath we use a wide-toothed comb and after we put conditioner in their hair we comb it out really well before rinsing the conditioner out. I also don’t “brush” their hair very much. We use combs. Always a large tooth comb before I start doing anything with their hair. If you need try a detangler spray or a leave in conditioner maybe. Currently we use Tre Semme products and love how they work in the girls’ hair. If you search under my “tips & tricks” sections I talk about other things as well. hth.
Hello Becky, I’m amazed at these incredible hairstyles & these darling little girls. Wow. I saw you at BYB & I’m just popping by your beautiful blog for a visit. It was great to meet you!
Warmly, Michelle
Faith, Trust & Pixie Dust
Hello Mom!
What incredibly beautiful hairstyles. I just love this one and can’t wait for my little three year old daughter to grow longer hair!
Thank you very much for posting these inspirational hairstyles!
Astrid from Holland
Thanks Astrid. Thank you for taking the time to comment & we’re glad you like our hairstyles. We love hearing from our readers – especially when they are so far away! 🙂