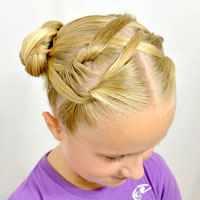
Happy 24th of July to all my local readers! Hope you have a fun filled day! I’ve recently been put in charge of the menu & purchasing of all the food, for a camping trip/pioneer trek that our youth at church are going on. Buying food for 350 people means a lot of trips to the store! I spotted this hairstyle on a girl a couple weeks ago while I was out shopping. I didn’t get a total up close look – so she might have had corn rows up front – but either way it was kind of a fun style and so I’m sharing it with you!
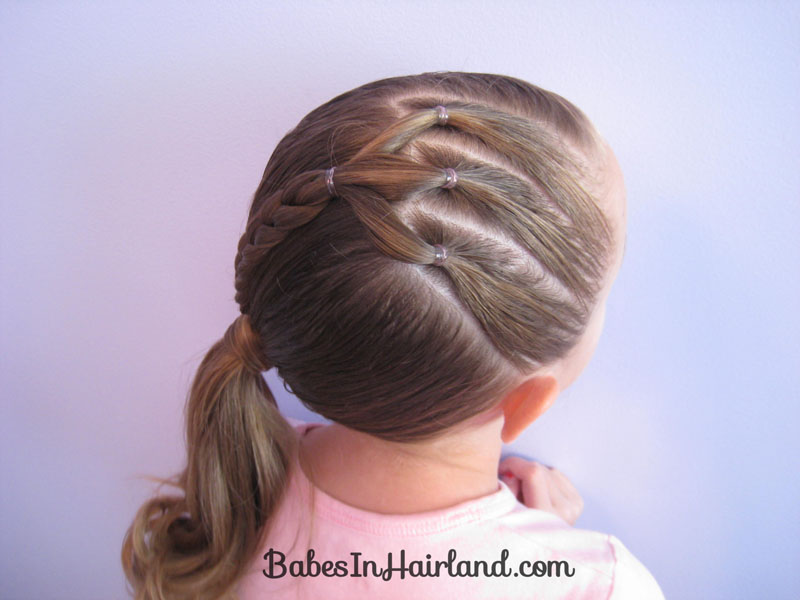
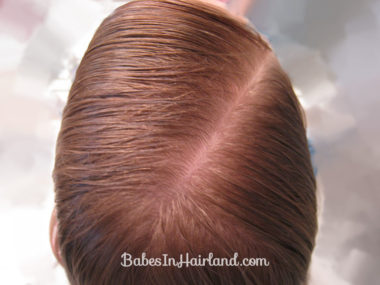
Step 1 – Make a diagonal part
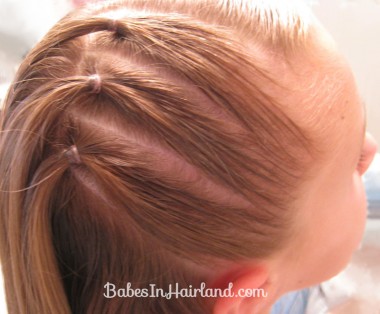
On the right side of the head, make a deep side part from the temple back to the middle of the head.
Step 2 – Make another diagonal part & a ponytail
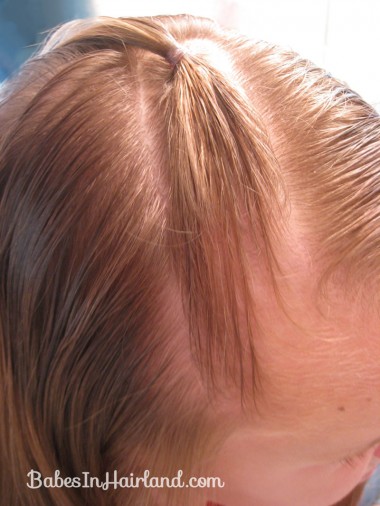
Section out a small rectanglar section (on an angle) and make a little ponytail. Secure it with a rubber band. This is where I’m not sure if the girl I saw had just ponytails or corn rows. You can do either!
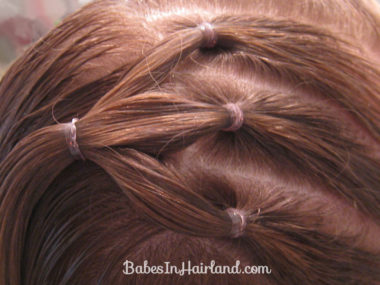
Step 3 – Make 2 more small ponytails
Step 4 – Combine 3 little ponytails
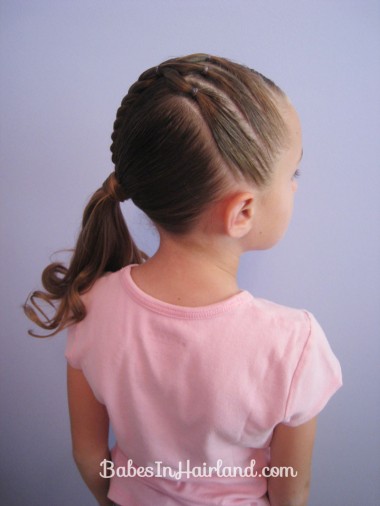
Join all 3 little ponytails together to form a small “W.” Secure with another rubber band.
Step 5 – Make a braid
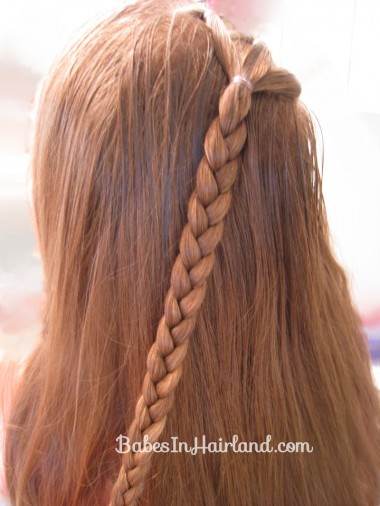
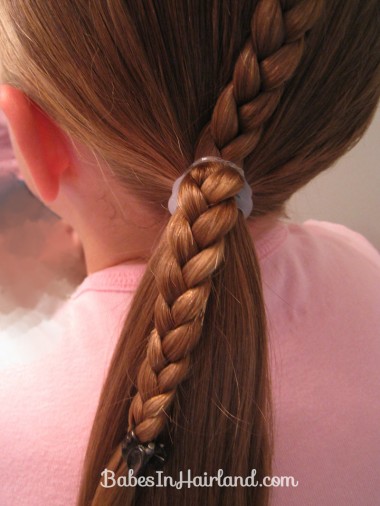
With the hair below the “W,” make a regular 3 strand braid. Secure temporarily with a clip. You could mix things up and make an uneven 3 strand braid if you want.
Step 6 – Make a side ponytail
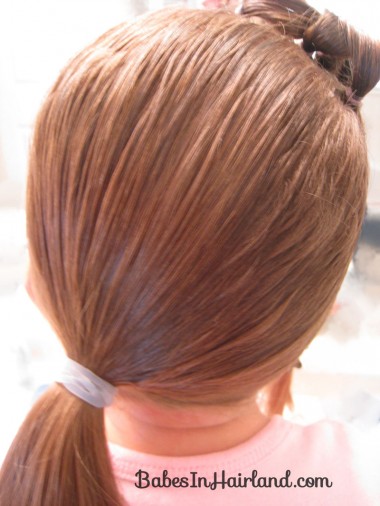
Flip your braided hair up out of the way, and with the remaining hair, make a low side ponytail off to the left side of the head.
Step 7 – Add braid to ponytail
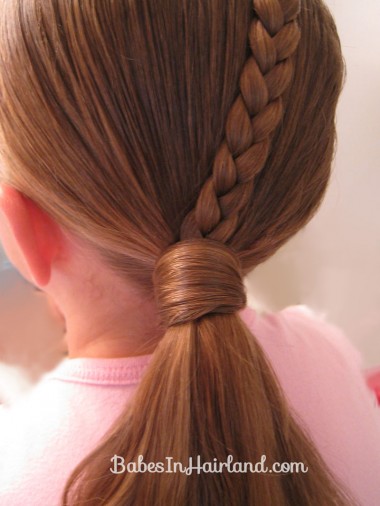
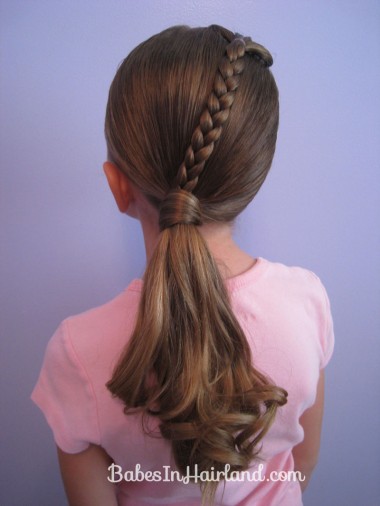
You can combine the braid up in step 6 if you want, but I prefer to do it this way to ensure the braid is where I want it. The braid should come across the back of the head on an angle.
Step 8 – Wrap the ponytail
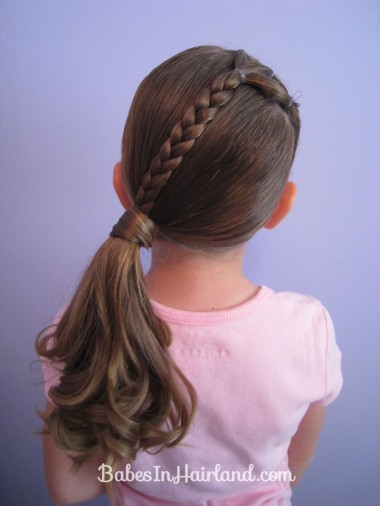
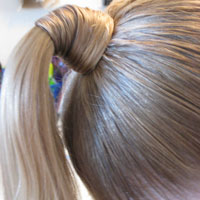
This is technically an optional step, but I love wrapped ponytails. If you are unsure how to wrap a ponytail, check out our post & video HERE. Also, an optional step is to curl the ponytail – which we did.
Finished!
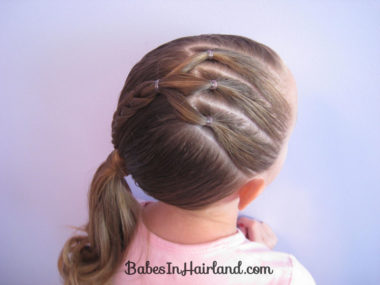
This was a hard one to take pictures of since it’s on both sides of the head and no shot straight on captured it all! Hopefully you get the idea!
 We’d love it if you share our styles with your friends on Facebook and Pinterest – or simply click on the little buttons below!
I LOVE IT I LOVE IT I LOVE IT!!!! Haven’t checked your new stuff for a while and my daughter wants me to do this one for school tomorrow. You are awesome! Thanks for sharing all your ideas and for your detailed description. It helps a lot! =D
Thank you so much for this tutorial – I had my son’s two friends over and they both had a variation of this style – and are both feeling gorgeous and happy with their look 😀
I did this on my 3 year old today for her first day in primary. It was easy even for me as a mom who is not so talented at doing hair. She loved it and she loved that she matched the picture of your daughter, she wanted to be in the same primary class as her 🙂 Thanks for helping give her some cute hair for her first day of Sunbeams
Oh, that made my day! So happy she could have extra cute hair for her first day of “big kid” primary! So exciting when they get out of nursery, isn’t it?! 🙂
Oh, just did this on my 4 year old’s hair…came out awesome…I definately have a couple of hairstyles I’ve tried recently to share with you… that you inspired…Thank you!!
Thank you Erin. Glad you keep finding ideas to try! It’s so fun experimenting and trying new things huh?!
Oh, it’s great!! I love it…you also inspire me to try my own thing, too…which is great!!