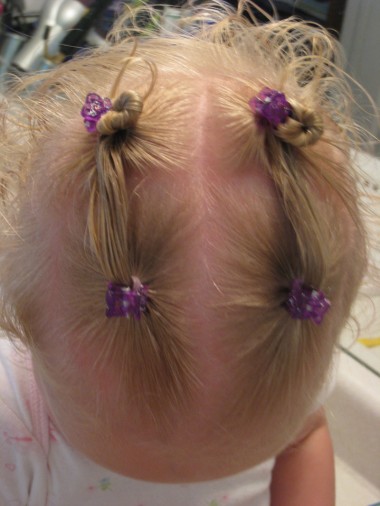
 With all the chaos from trying to figure out an updo for my friends wedding, I’ve been going back through all my hair pics and realized I’d forgotten to post this one of Bee. So taking a step back to a more simpler do — this one isn’t rocket science, but I thought I’d share it anyway.
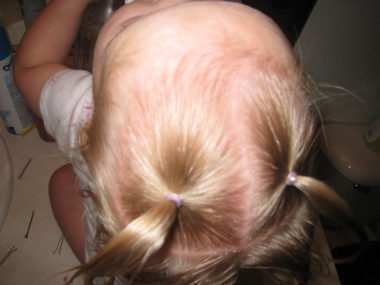
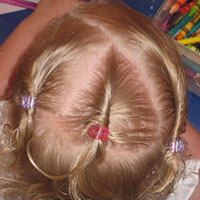
Step 1 – Part the top section of hair into a T
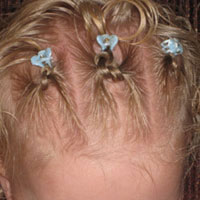
Step 2 – Make baby ponytails in each section
I still leave her sides down curly because I think she looks so cute w/them framing her face.
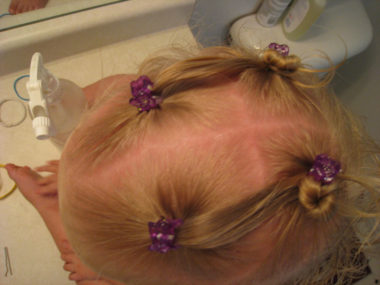
Step 3 – Part out another 2 square sections of hair right behind the ponytails
Well, ok, so I divided her hair into a total of 4 sections when you get down to it!
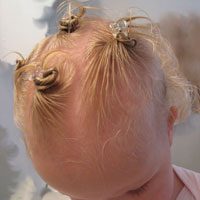
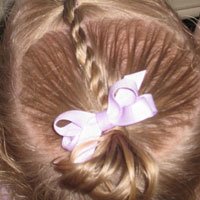
Step 4 – Add right ponytail into back section of hair & twist
Don’t make another pony. I combed it all together and then twisted them and made a baby bun (like in this post I did a while back.) Depending on how fine your baby’s hair is, you could make another ponytail and then twist it around the rubber band to ensure it’d stay put.
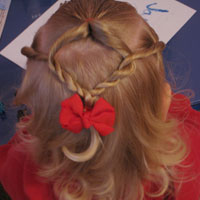
Step 5 – Fastened the bun/twist with a baby clip and let the ends curl out as they want
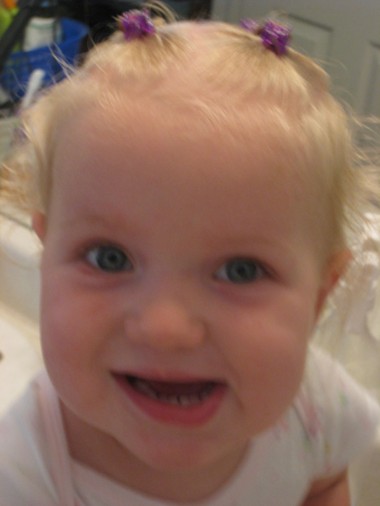
If your dd doesn’t have curly hair you can try secure the ends under but I just let her curly ends curl out as they wanted. Then I added clips to the front ponytails. I added some mousse and fluffed her curls and that was it. Like I said, not rocket science, but still fun!
Oh, and a cute little crooked smile to finish it off! I think she moved as I took this pic cuz it’s a bit blurry — or maybe my eyes are going bad from staring at this dang computer so much lately! 😉
