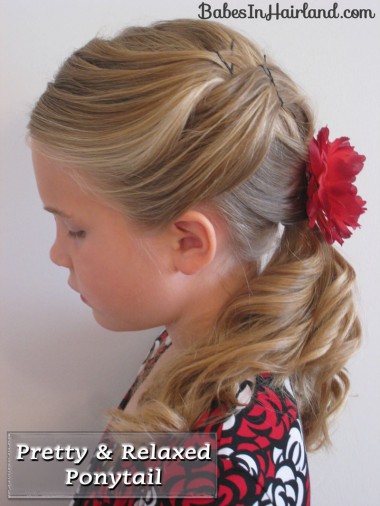
 I finally have a few minutes to get you a new hair do posted. This month is just kickin’ my boo-tay! This style would be perfect for your “tween” or for yourself, if you are blessed w/hair a lot longer than my A-line! 🙂
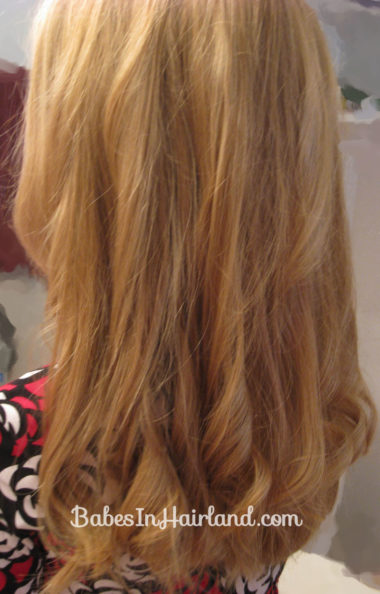
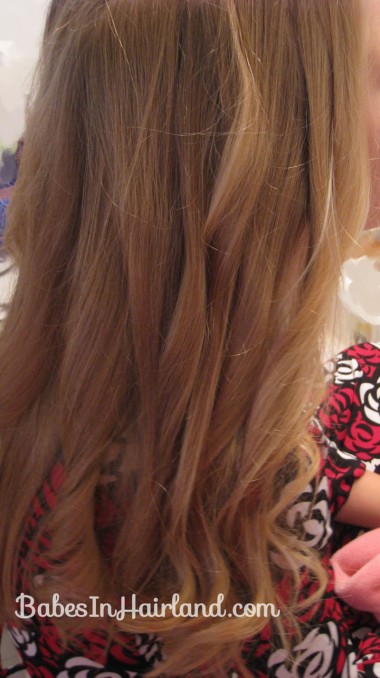
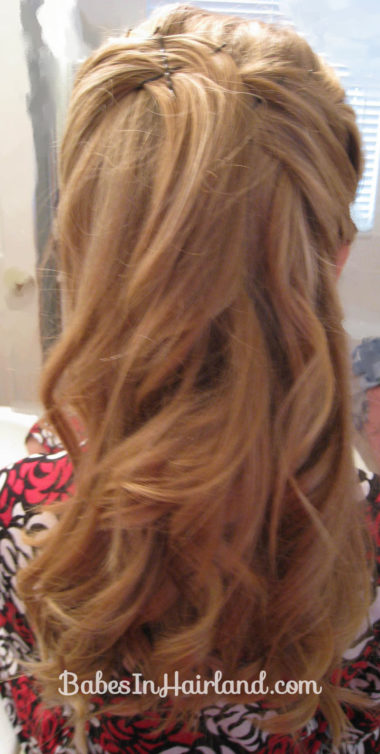
Start by making an off-centered part on the top of the head. I did a zig-zag one since they are my favorite lately. Then with your choice of curling iron, or flat iron, or however you get curls – make a bunch of loose curls in the bottom of the hair.
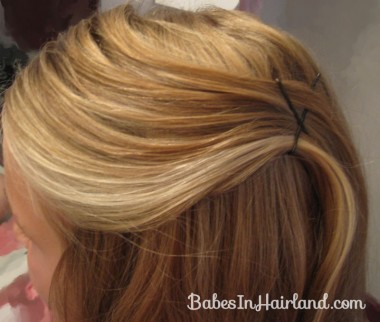
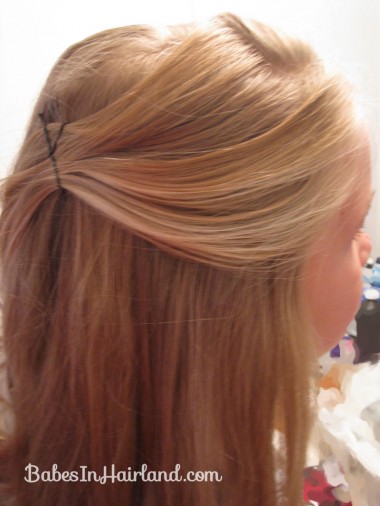
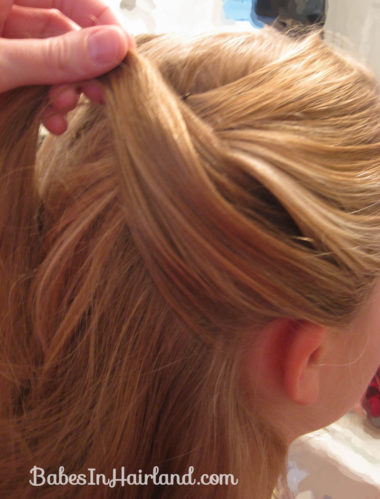
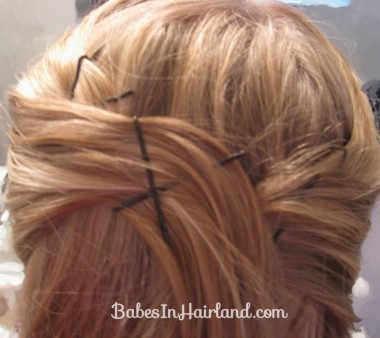
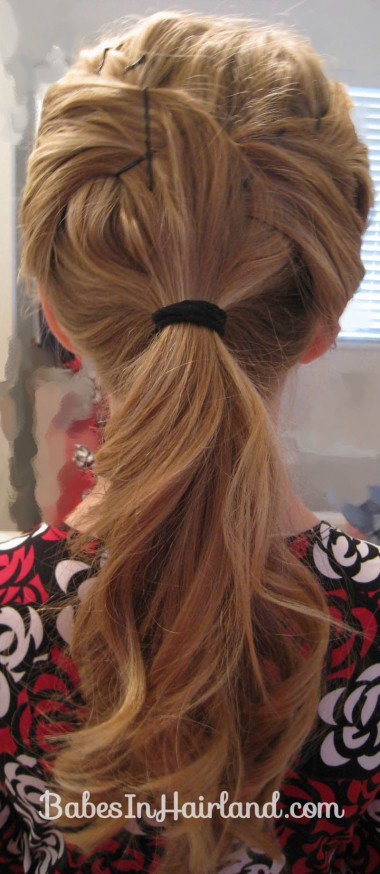
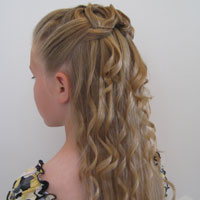
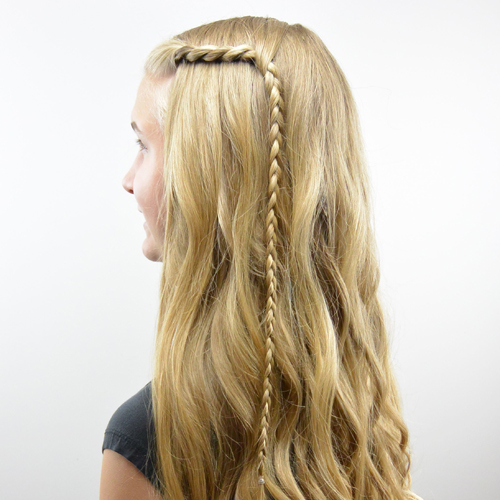
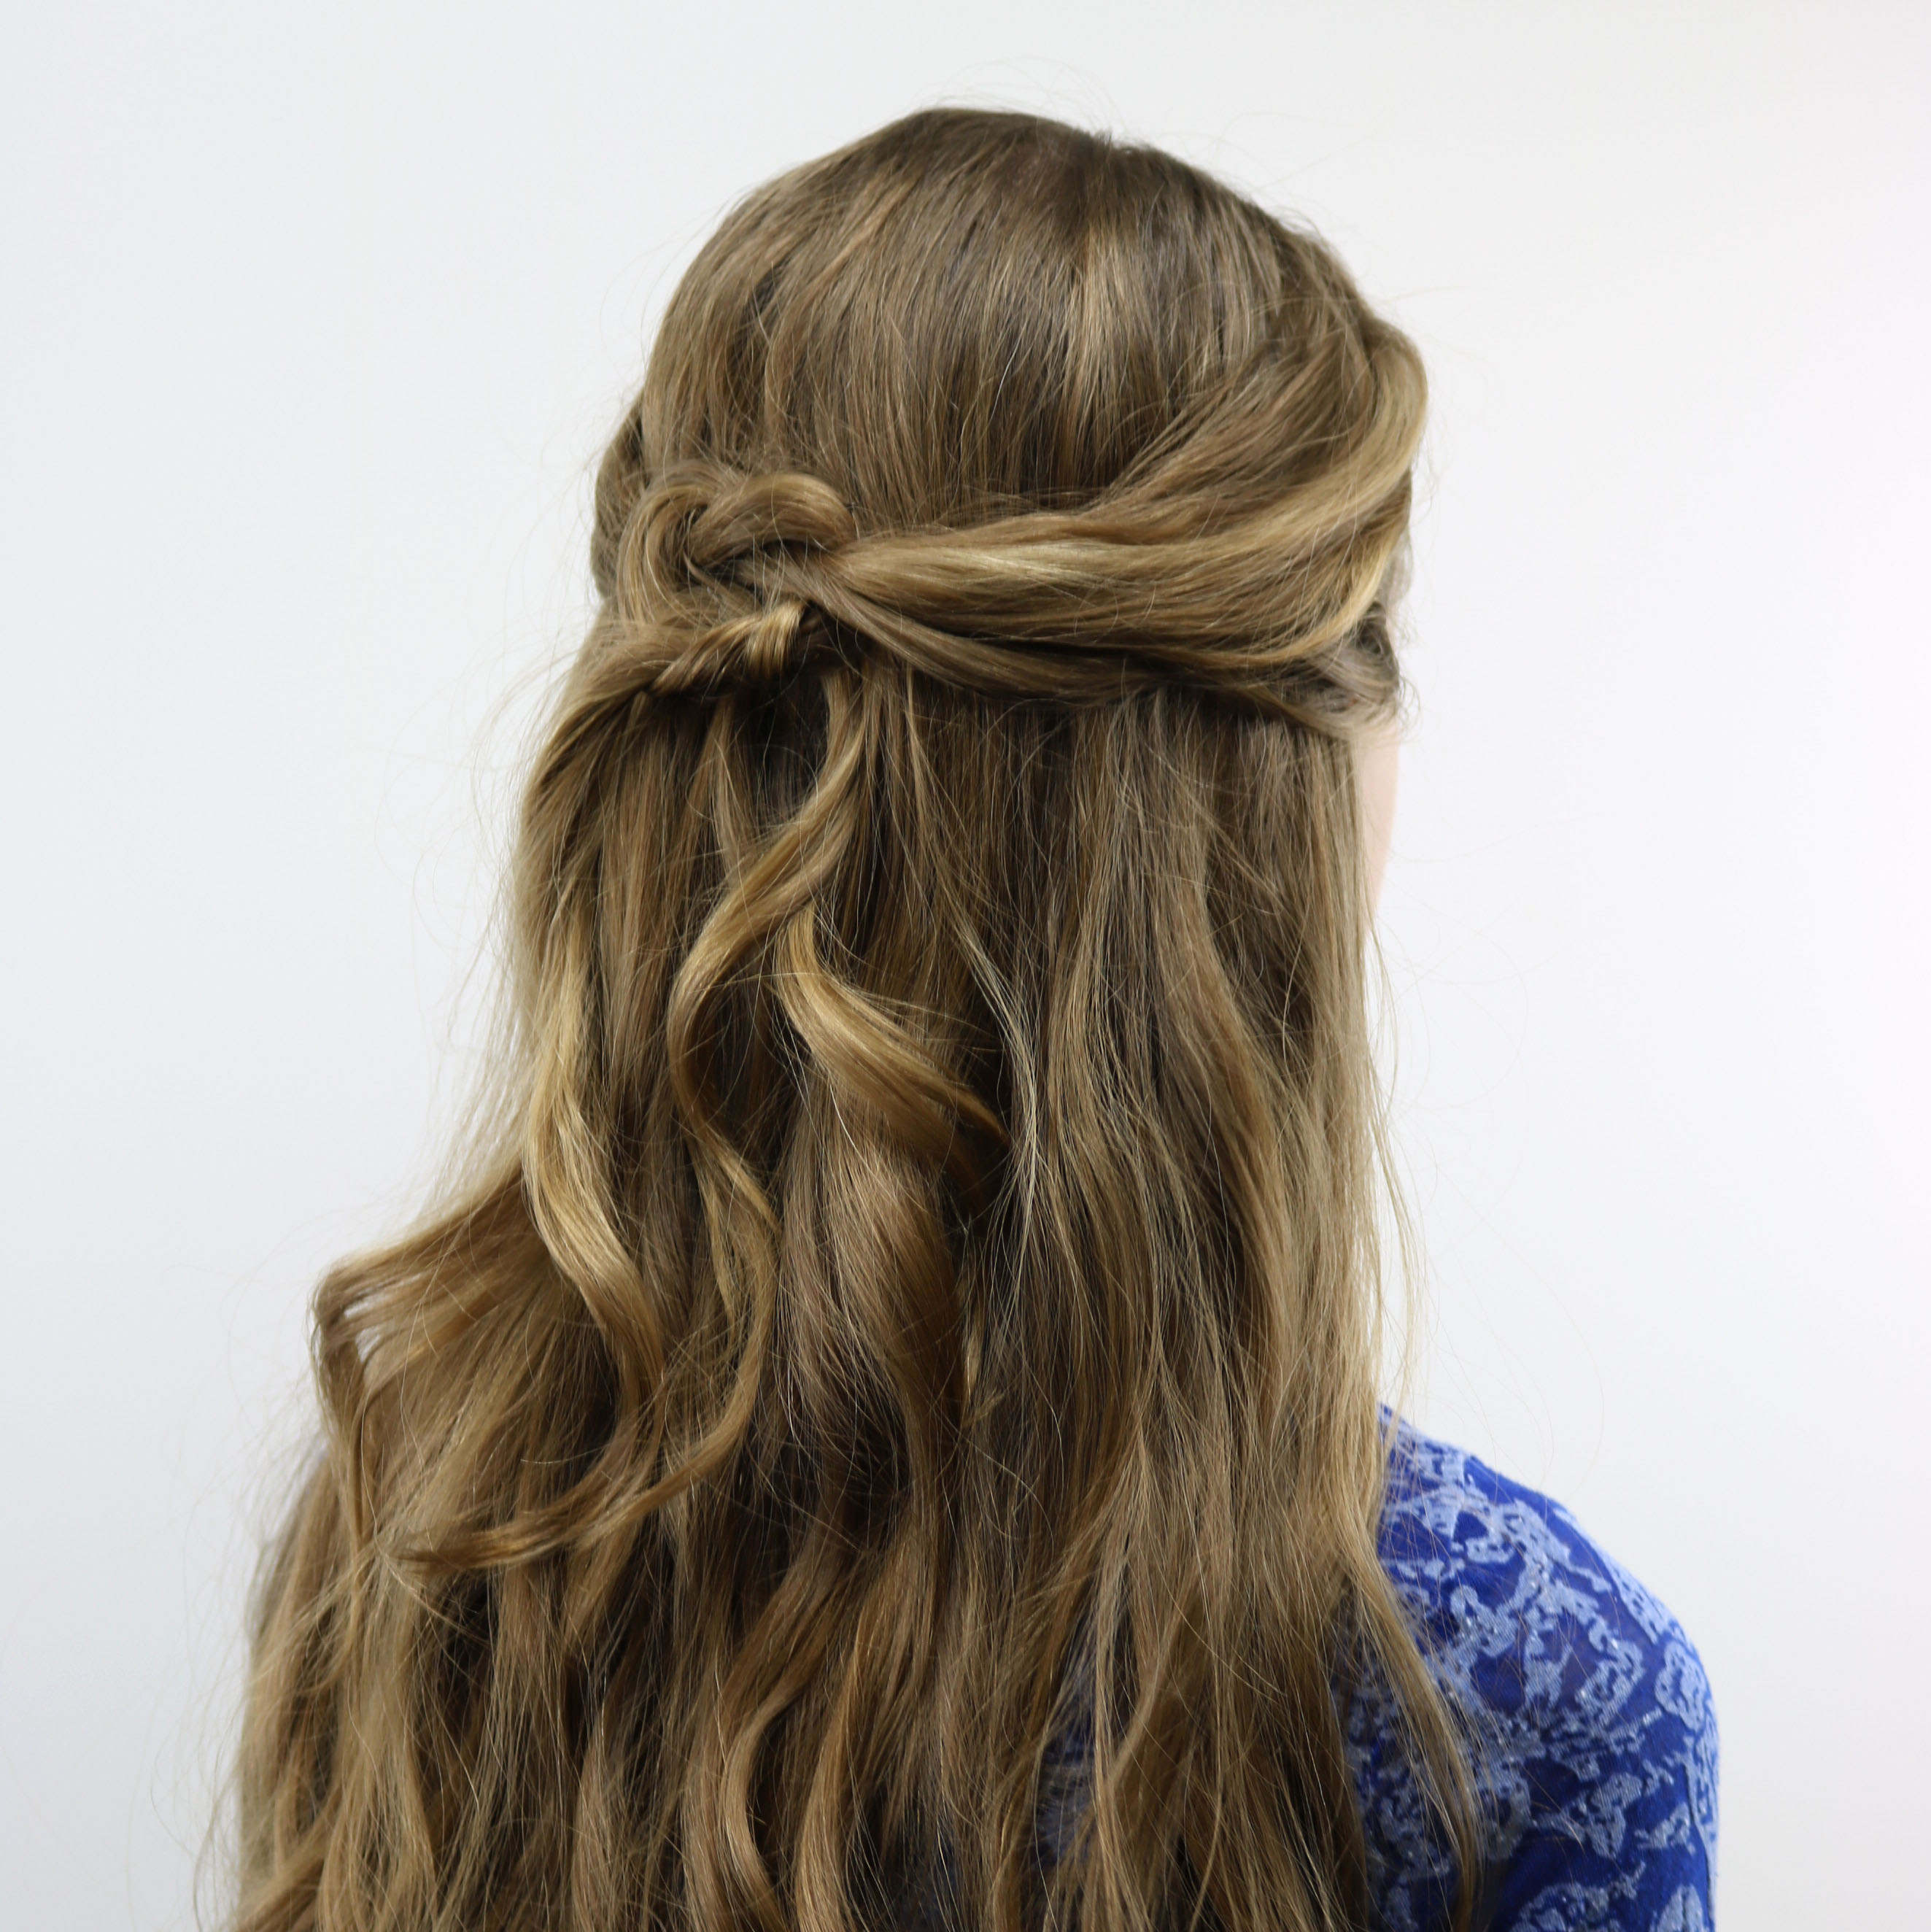
Then using your fingers, loosely grab a section of hair on the left side of the head by the left temple and gently pull it back towards the center of the back of the head. Don’t pull it tight – leave some slack so it has a bit of a wave to it. Secure it to the head with bobby pins making an X. The key to this style is just using your fingers to comb the hair back. If you like, lightly mist each section you pin back with hairspray after you’ve combed it back w/your fingers. But there is no total exactness to this. Just keep it relaxed.
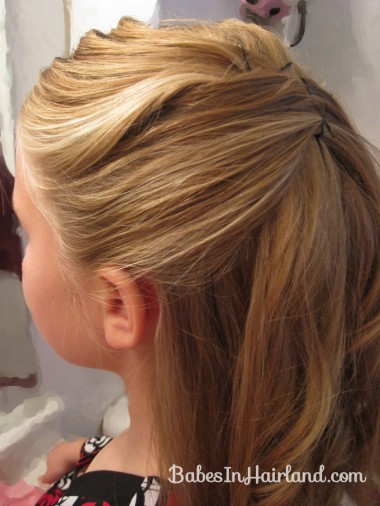
Repeat on the right side of the head. Use the hair from the temple on up to the off-centered part and swoop it back as well. Secure with X’d bobby pins.
Still on the right side, take a section of hair below the one you were just working with – from the ear section and pull it up around the same area you’d just pinned your first section. Secure it with bobby pins.
Repeat on the left side, using the section of hair by the left ear, and pull it towards the center back and secure with bobby pins – again forming an X for a very secure hold.
Ok, so yes – I KNOW — you can see all the bobby pins. I used to be of the school of thought that you SHOULDN’T see bobby pins in a hair do – but I’m slowly letting go of that and thinking outside of the box — since you see them on models hairdo’s and Hollywood stars these days. That makes it ok – right! LOL. Whatever. I don’t have lighter colored bobby pins – so what you see is what you get.
You could certainly leave the hair the way it is at this point but we didn’t!
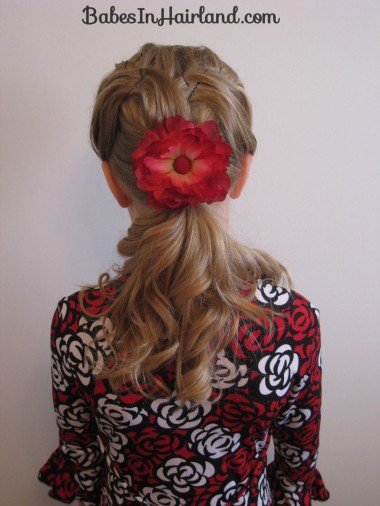
Grab the remaining hair that is at the nape of the neck and loosely pull into a pony tail with a covered rubber band. You could do a side pony if you want, but we kept it centered this time.
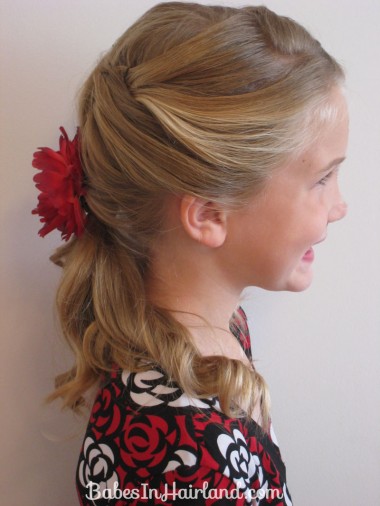
Add a big and beautiful flower & you’re good to go. This is one of our favorite’s from Gimme Clips.
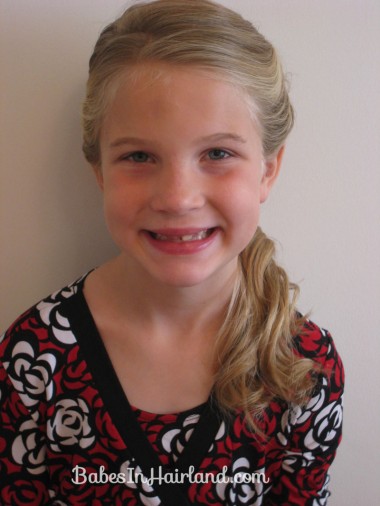
And there you have it. A more relaxed look than the normal “slicked” back ponytail we tend to do around here. And a bit dressier too.
