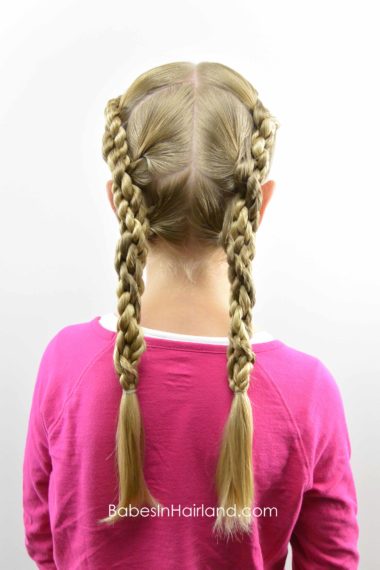
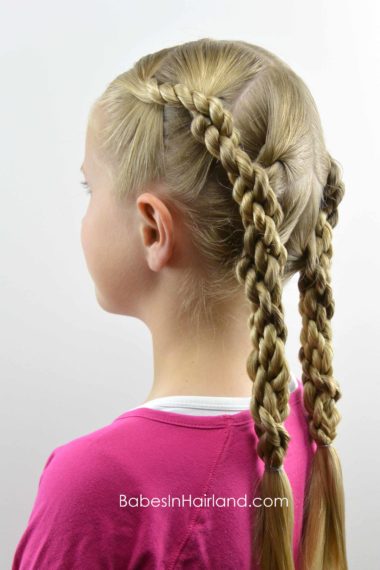
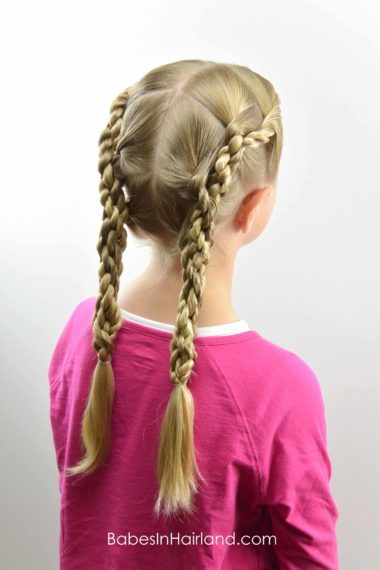
 I’ve been wanting to reshoot this style ever since we did it clear back in the infancy of our blog. Two reasons really – one because it’s a totally cool looking hairstyle, but mainly because I sort of goofed the style up when I did it all those years ago and I’ve wanted to fix it!! I’ll get to that in a second, but first the winner of our book & comb giveaway from last week needs to be announced.
The winner of our giveaway is:
Stephanie Blackstone! Congrats! Please send us an e-mail asap so we can get your address & mail off your book & combs! Thanks again to everyone who entered!
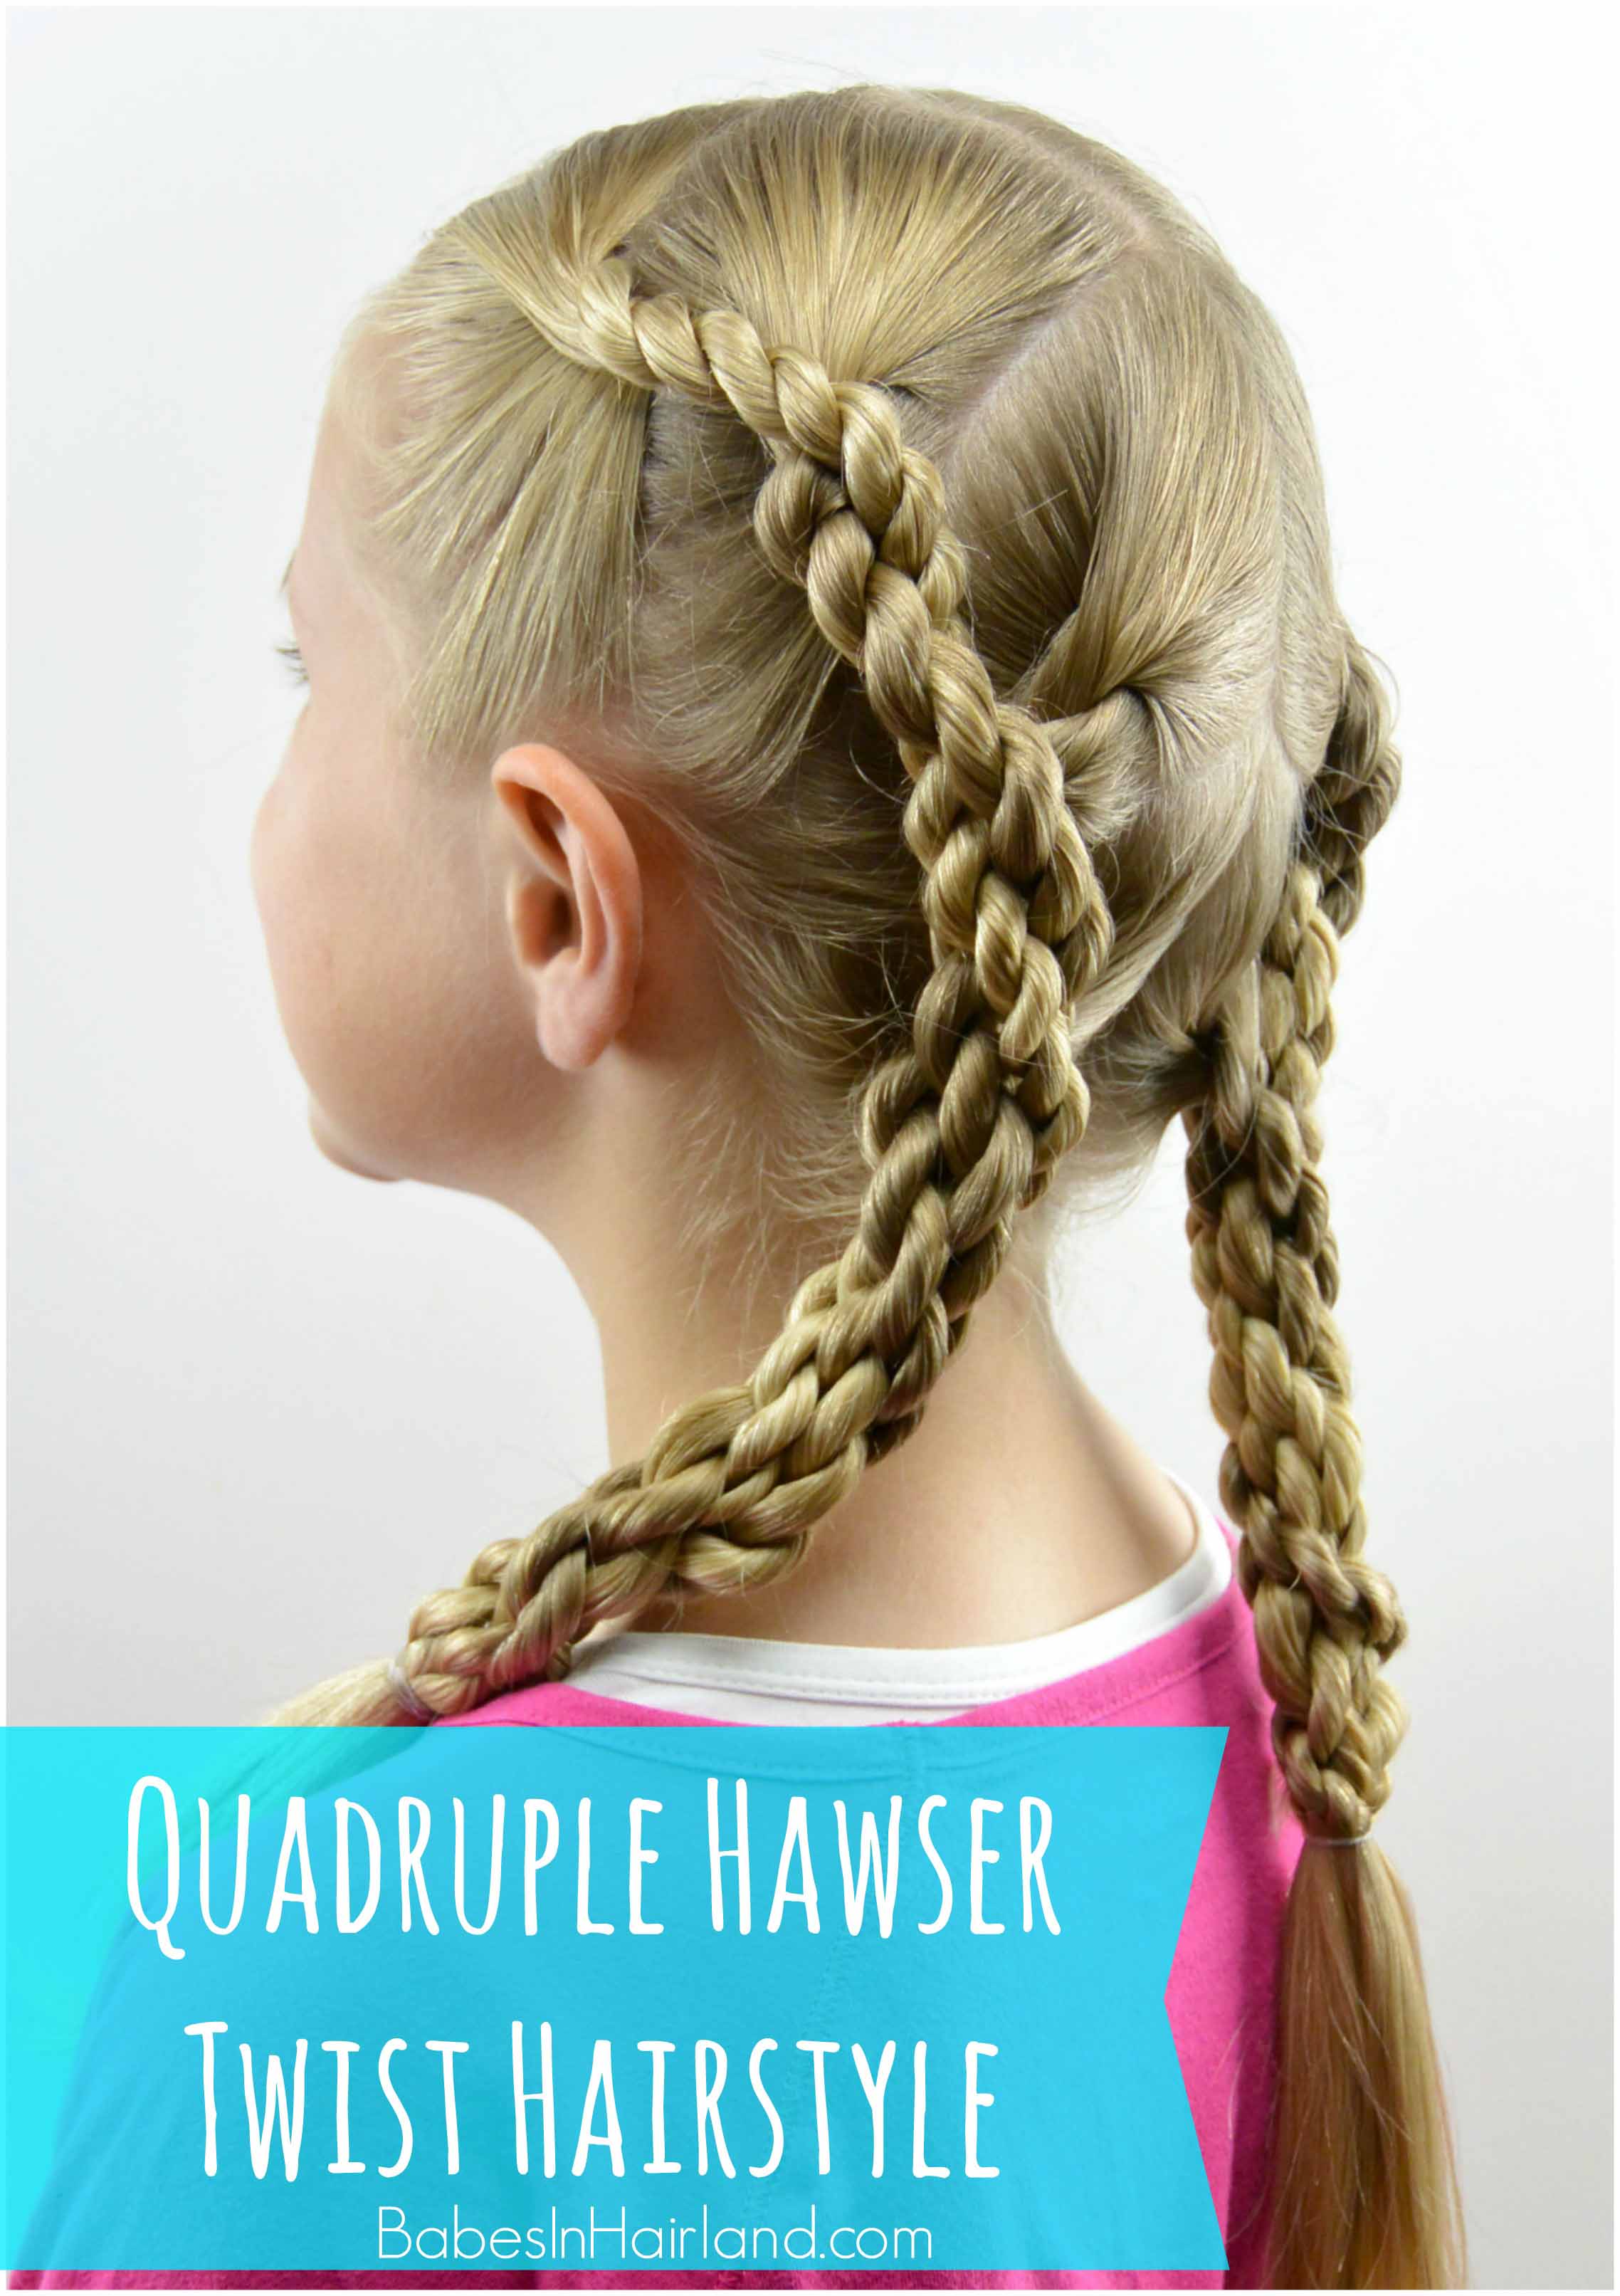
So on to the tutorial. As I mentioned, years ago I did this style I called 4 Rope Braid Twist Hairstyle. Her hair was short enough that I tucked the ends up all cute and added a flower. If you check out our old post or the video, I show pictures of the right side too … and well, it turned out differently than the left side. The left side is how it was supposed to turn out and the right side … well it just looked weird! So all these years later, I’m redoing the style! 🙂
You can watch the video, or I’ve got step-by-step instructions below. Feel free to check out the old 4 Strand Twist Style to see how NOT to do it! 🙂
Step 1 – Make a center part from the forehead to the nape of the neck
Step 2 – Divide the right side of the head into 4 even sections of hair branching off from center part
Your first part should go from the center part down to the front of the right ear. The 2nd part should go to about the tip of the ear, and the third part should be behind the ear close to the ear lobe.
Step 3 – Create a rope twist/braid in each of the 4 sections & secure with elastics
Step 4 – Repeat Steps 2-3 on the left side of the head
Step 5 – Starting on the left side of the head, bring the front twist back toward the 2nd twist and place it on the right side of the 2nd twist, or pass it over the 2nd twist.
Begin twisting these 2 together to create a Hawser braid. Watch our Hawser braid video if this doesn’t make sense!
Step 6 – Bring the combined 2 twists to the right of the 3rd twist, and twist them together creating a thicker twist
Step 7 – Bring the combined 3 twists to the right of the last & bottom twist and twist them together
Step 8 – Once you can no longer twist or wind these together, secure the end with an elastic
You may have some twists that are shorter or longer than others, so remove any elastics that fall below this final elastic and comb through the tail of your twist to unwind any excess twists.
Step 9 – On the right side of the head, bring the front twist back toward the 2nd twist and place it to the right side of the 2nd twist, but it is passing under the 2nd twist — not over.
Step 10 – Continue the twisting process as you did on the left side of the head, bringing the thicker twist to the right of the single twist.
Step 11- Secure all 4 twists at the bottom with an elastic.
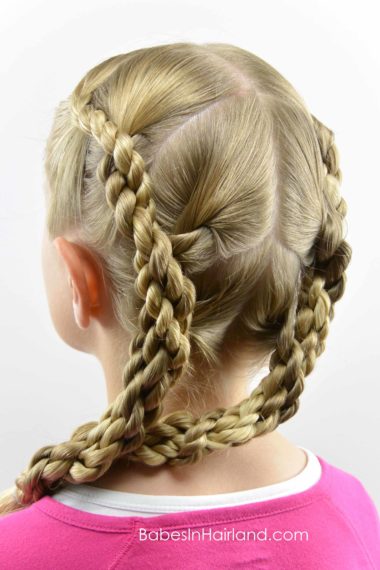
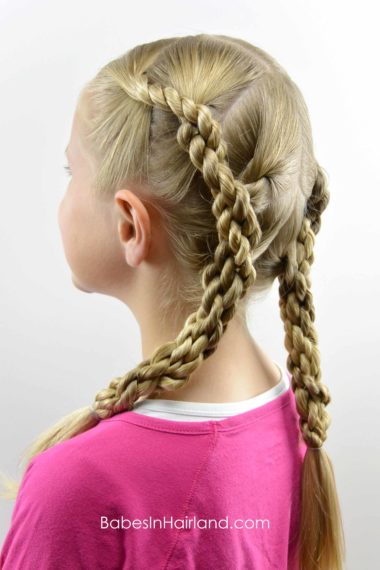
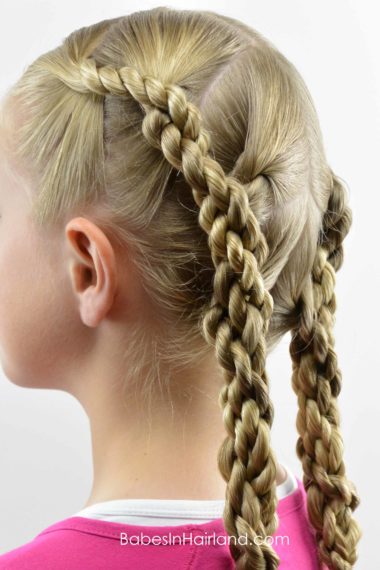
FINISHED!
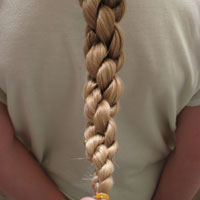
Here’s a nice up close look at all 4 strands wrapping together making a cool chain-like braid/twist.


Leave us a comment and let us know what you think! This looks so cool in the end, and some might think that it’s complicated, but it’s really not! This should hold up to a Fall windy day or even a cold day when you need to wear a hat!

