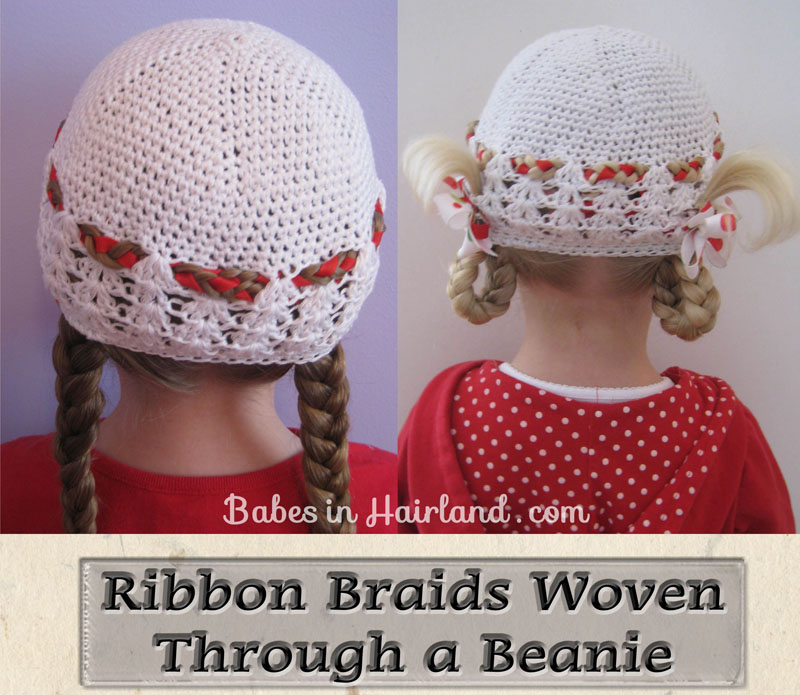
This ‘do is something that “came” to me forever ago, but because I’ve felt so lousy lately I just havn’t had the energy to do it. I finally tried it once on Bee and “tweaked” it a little bit when I did it on Bug. So the pictures you’ll see come from both attempts, because some turned out better in one shoot than another – so I apologize that the head shots may switch between the two of them!
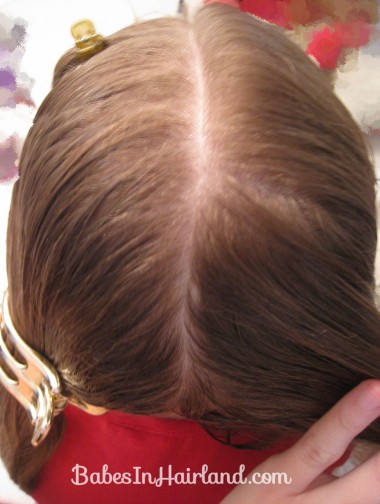
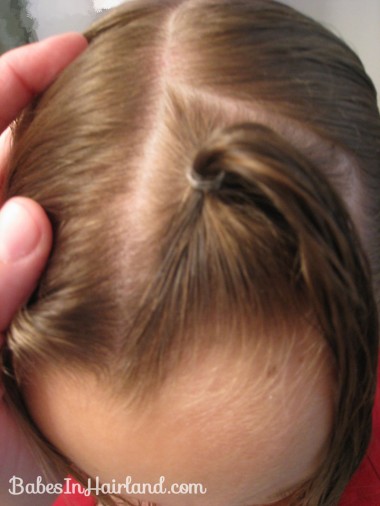
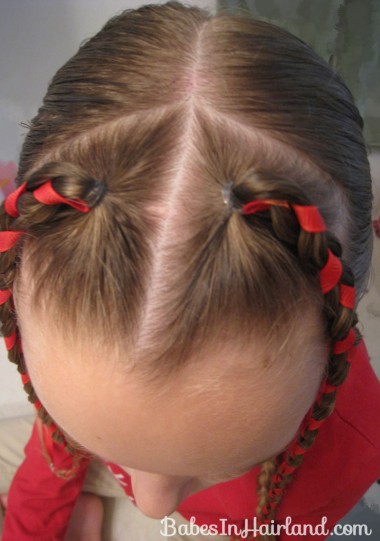
Start by parting the hair smack down the middle from the forehead back to the nape of the neck. Don’t worry if it’s exactly straight or not, as it’ll eventually be covered up by a beanie.
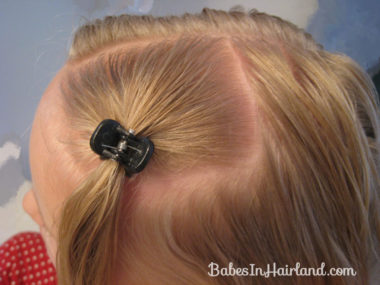
Next, change the color of your hair from dark to light … Just kidding – sorry! Here comes the switching of heads in the pictures. Once you’ve parted the hair in the middle, part out a small square of hair to the left of the part and hold with a clip temporarily.
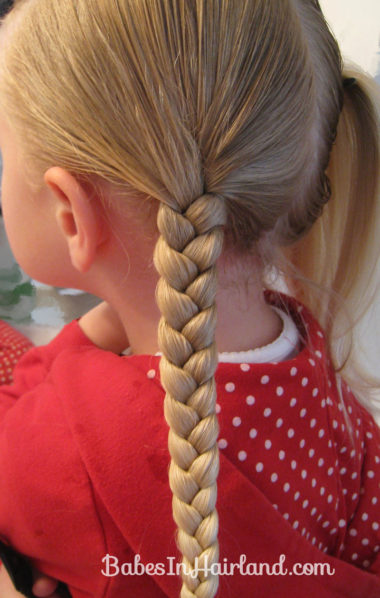
With the remaining hair, make a basic 3 strand braid. Secure the end with a rubber band.
Back to the square of hair you parted out — secure it with a rubber band, making a little pony tail. Try and get it as close to the part as you can. (This is the part I tweaked the 2nd time I did this – I’ll explain more later.)
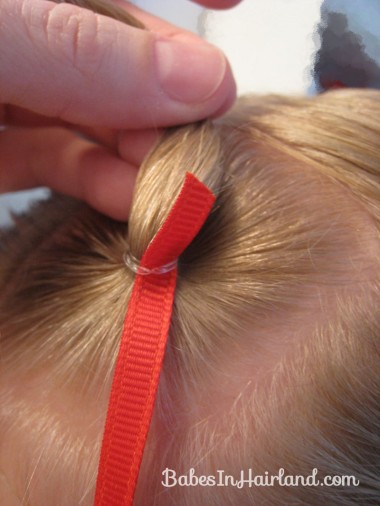
Now take a strand of ribbon that is at least as long as the pony tail you are working with & tuck it through the rubber band on the underside of the pony tail. You don’t need to pull it through very far.
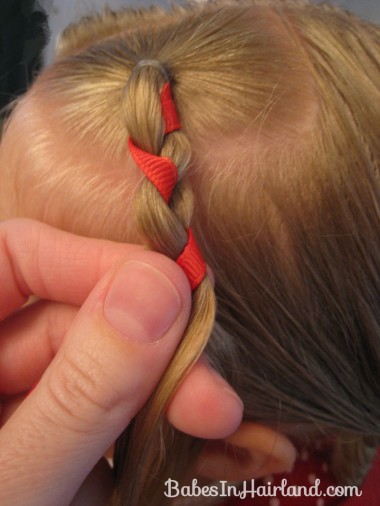
You are going to braid this ponytail all the way down using the ribbon as one of the strands of the 3 strand braid. I put the ribbon in the middle and used it as my middle strand for the 3 strands. Braid until you run out of hair & secure the end with a little rubber band.
Once you’re done with a side it should look something like this:
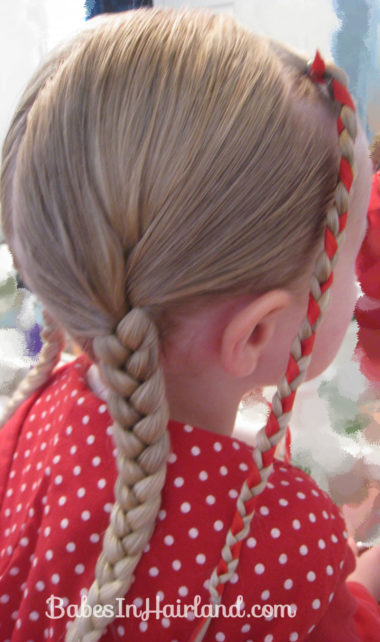
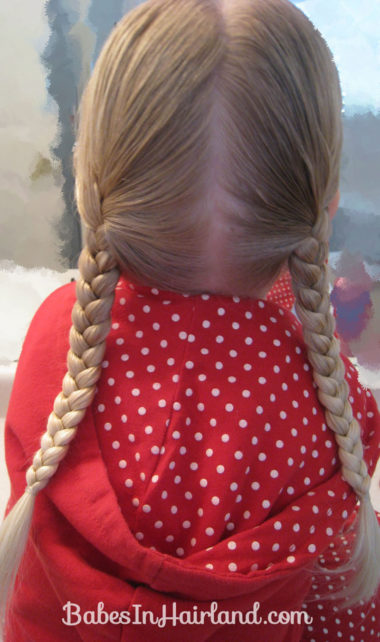
Repeat on the other side, so when you’re all done you have 2 regular Pocahontas braids down in back (without ribbon)…
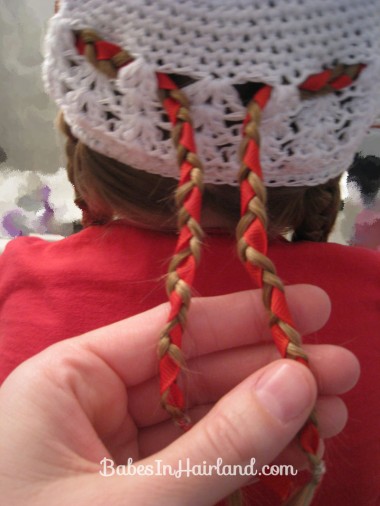
And 2 skinny braids up front (with ribbon.) Remember – you want to get these braids as close to the middle part as possible. It’ll maybe look funny right now – but that’ll all be hidden with the beanie.
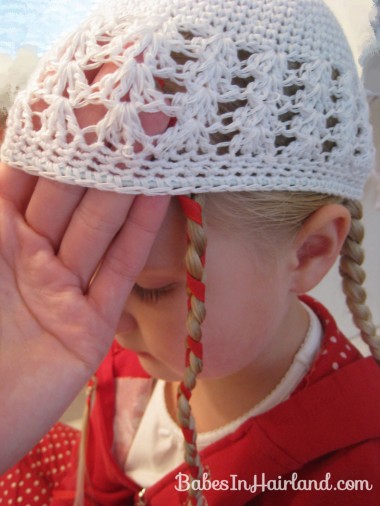
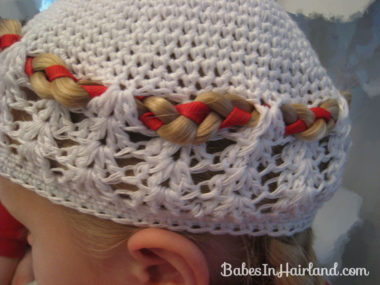
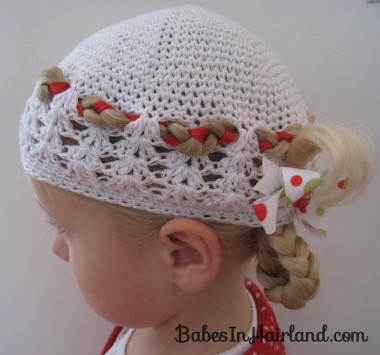
**Note – you’ll need a crocheted beanie cap that has large holes in it for this to work! ** We got our cute one from All Things Ribbon. Put the beanie carefully on the head most of the way. Put your hand up inside and ease one of the braided ribbons through the hole that is nearest to the base of the braid. (When I did this first with Bee her braids were too far apart and there was a big gap in the front where the braids were. So I had them really close when I did it on Bug & I also crossed them over each other in the beanie to ensure there was no gap.) Pull both braids out the front-most holes like this first picture.
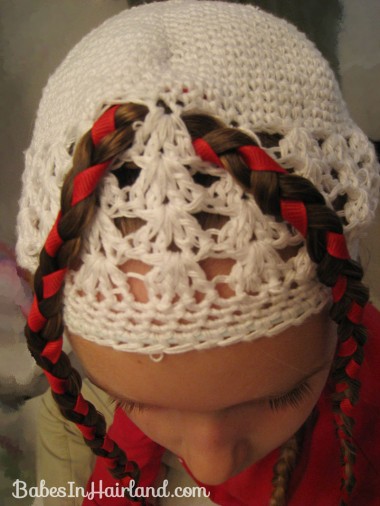
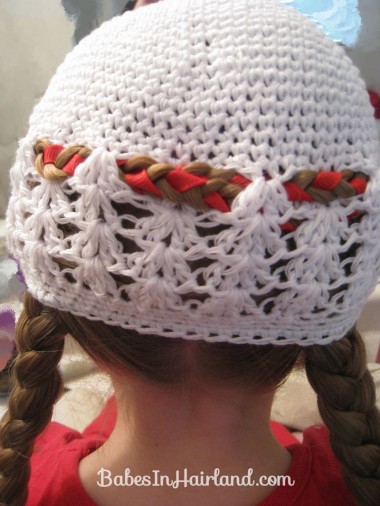
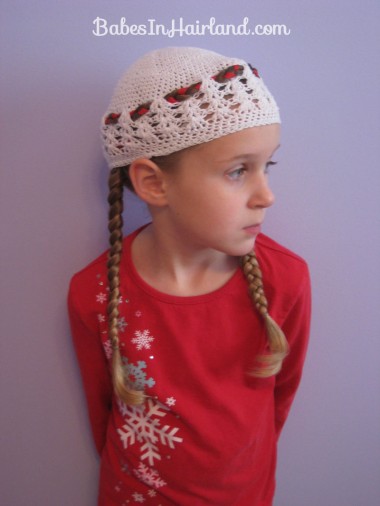
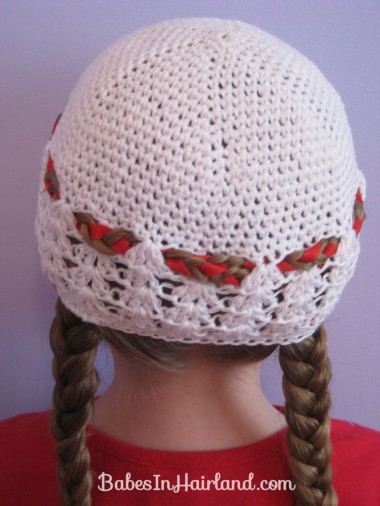
Then just start on one side with a braid and weave it in and out of the beanie through the holes until you get to the back. Repeat on the other side so the ribbon braids wrap all the way around the head to the back of the head.
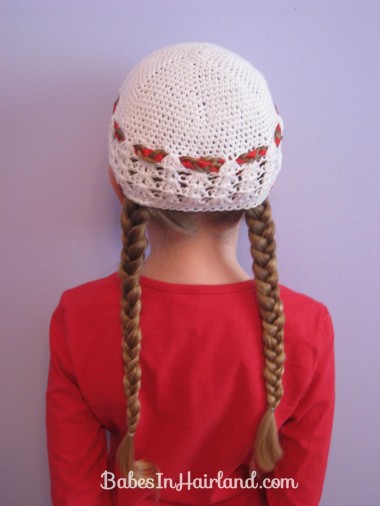
Once you run out of holes in the back if you still have more hair, I just stuck the right braid through the left hole and hid the ends up inside, and did the same on the left side.
So here’s how I finished them off differently:
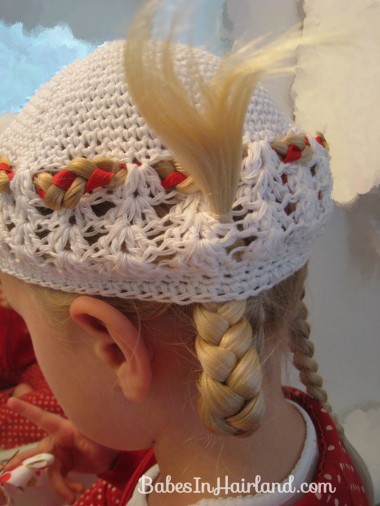
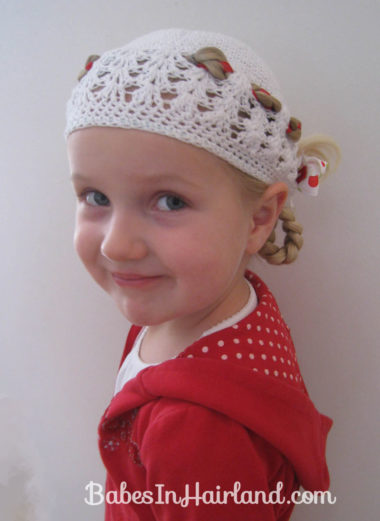
I pulled Bee’s braids up and flipped them through the beanie like I did in THIS old post.
She wanted to wear these cute little Christmas bows that we got forever ago from Cutie Pie Hair Creations so we added them for a festive touch!
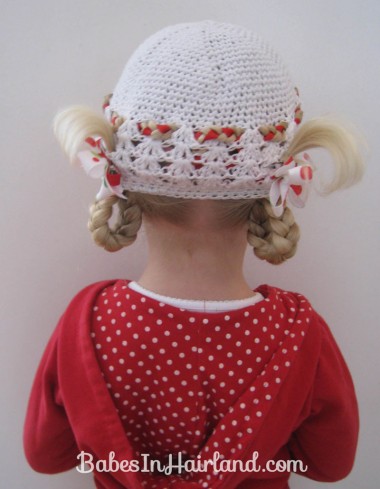 She looked so cute & she got so many compliments when we were out the day she had this done. I just didn’t like the big space between the two braids in the front. That’s why I did things differently on Bug the second go-round!
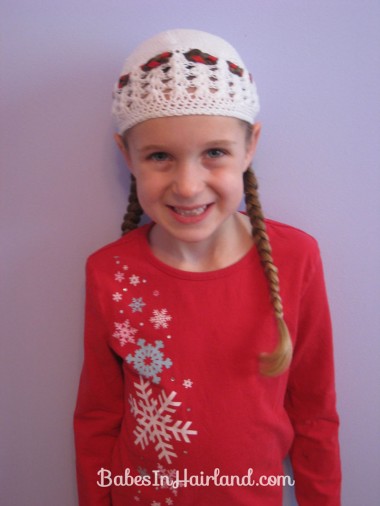
And on Bug I just left her braids straight down & had the ribbon braids making a pretty crown all the way around her head through the beanie. It looked awesome, if I do say so myself!
She really liked this one & since it only involves braiding, it really doesn’t take that long either. I don’t know that I’ll be taking time to do it in the morning before school since she’s not the only head of hair I have to do, but it was especially fun & festive for the holidays! Let me know what you think!
Happy New Year to everyone! I hope you have a wonderful & safe holiday!
