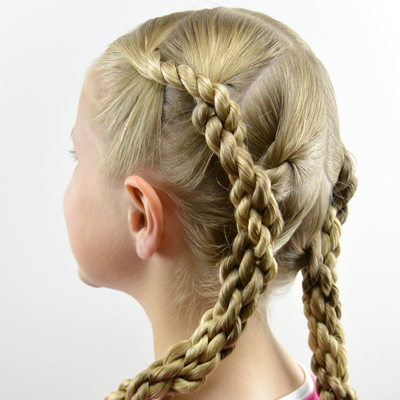
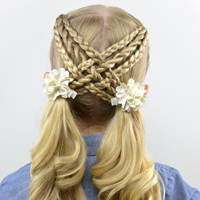
Well, summer is officially over. School started here today (I’ll be sharing pix on social media, and will post them next week here on the blog) and as always I have mixed feelings about it! I love having my kids home – they are such good girl’s so I don’t mind having them home for the most part! But it’s always good to get back to a routine and all that fun too. I just don’t love the extra early mornings!
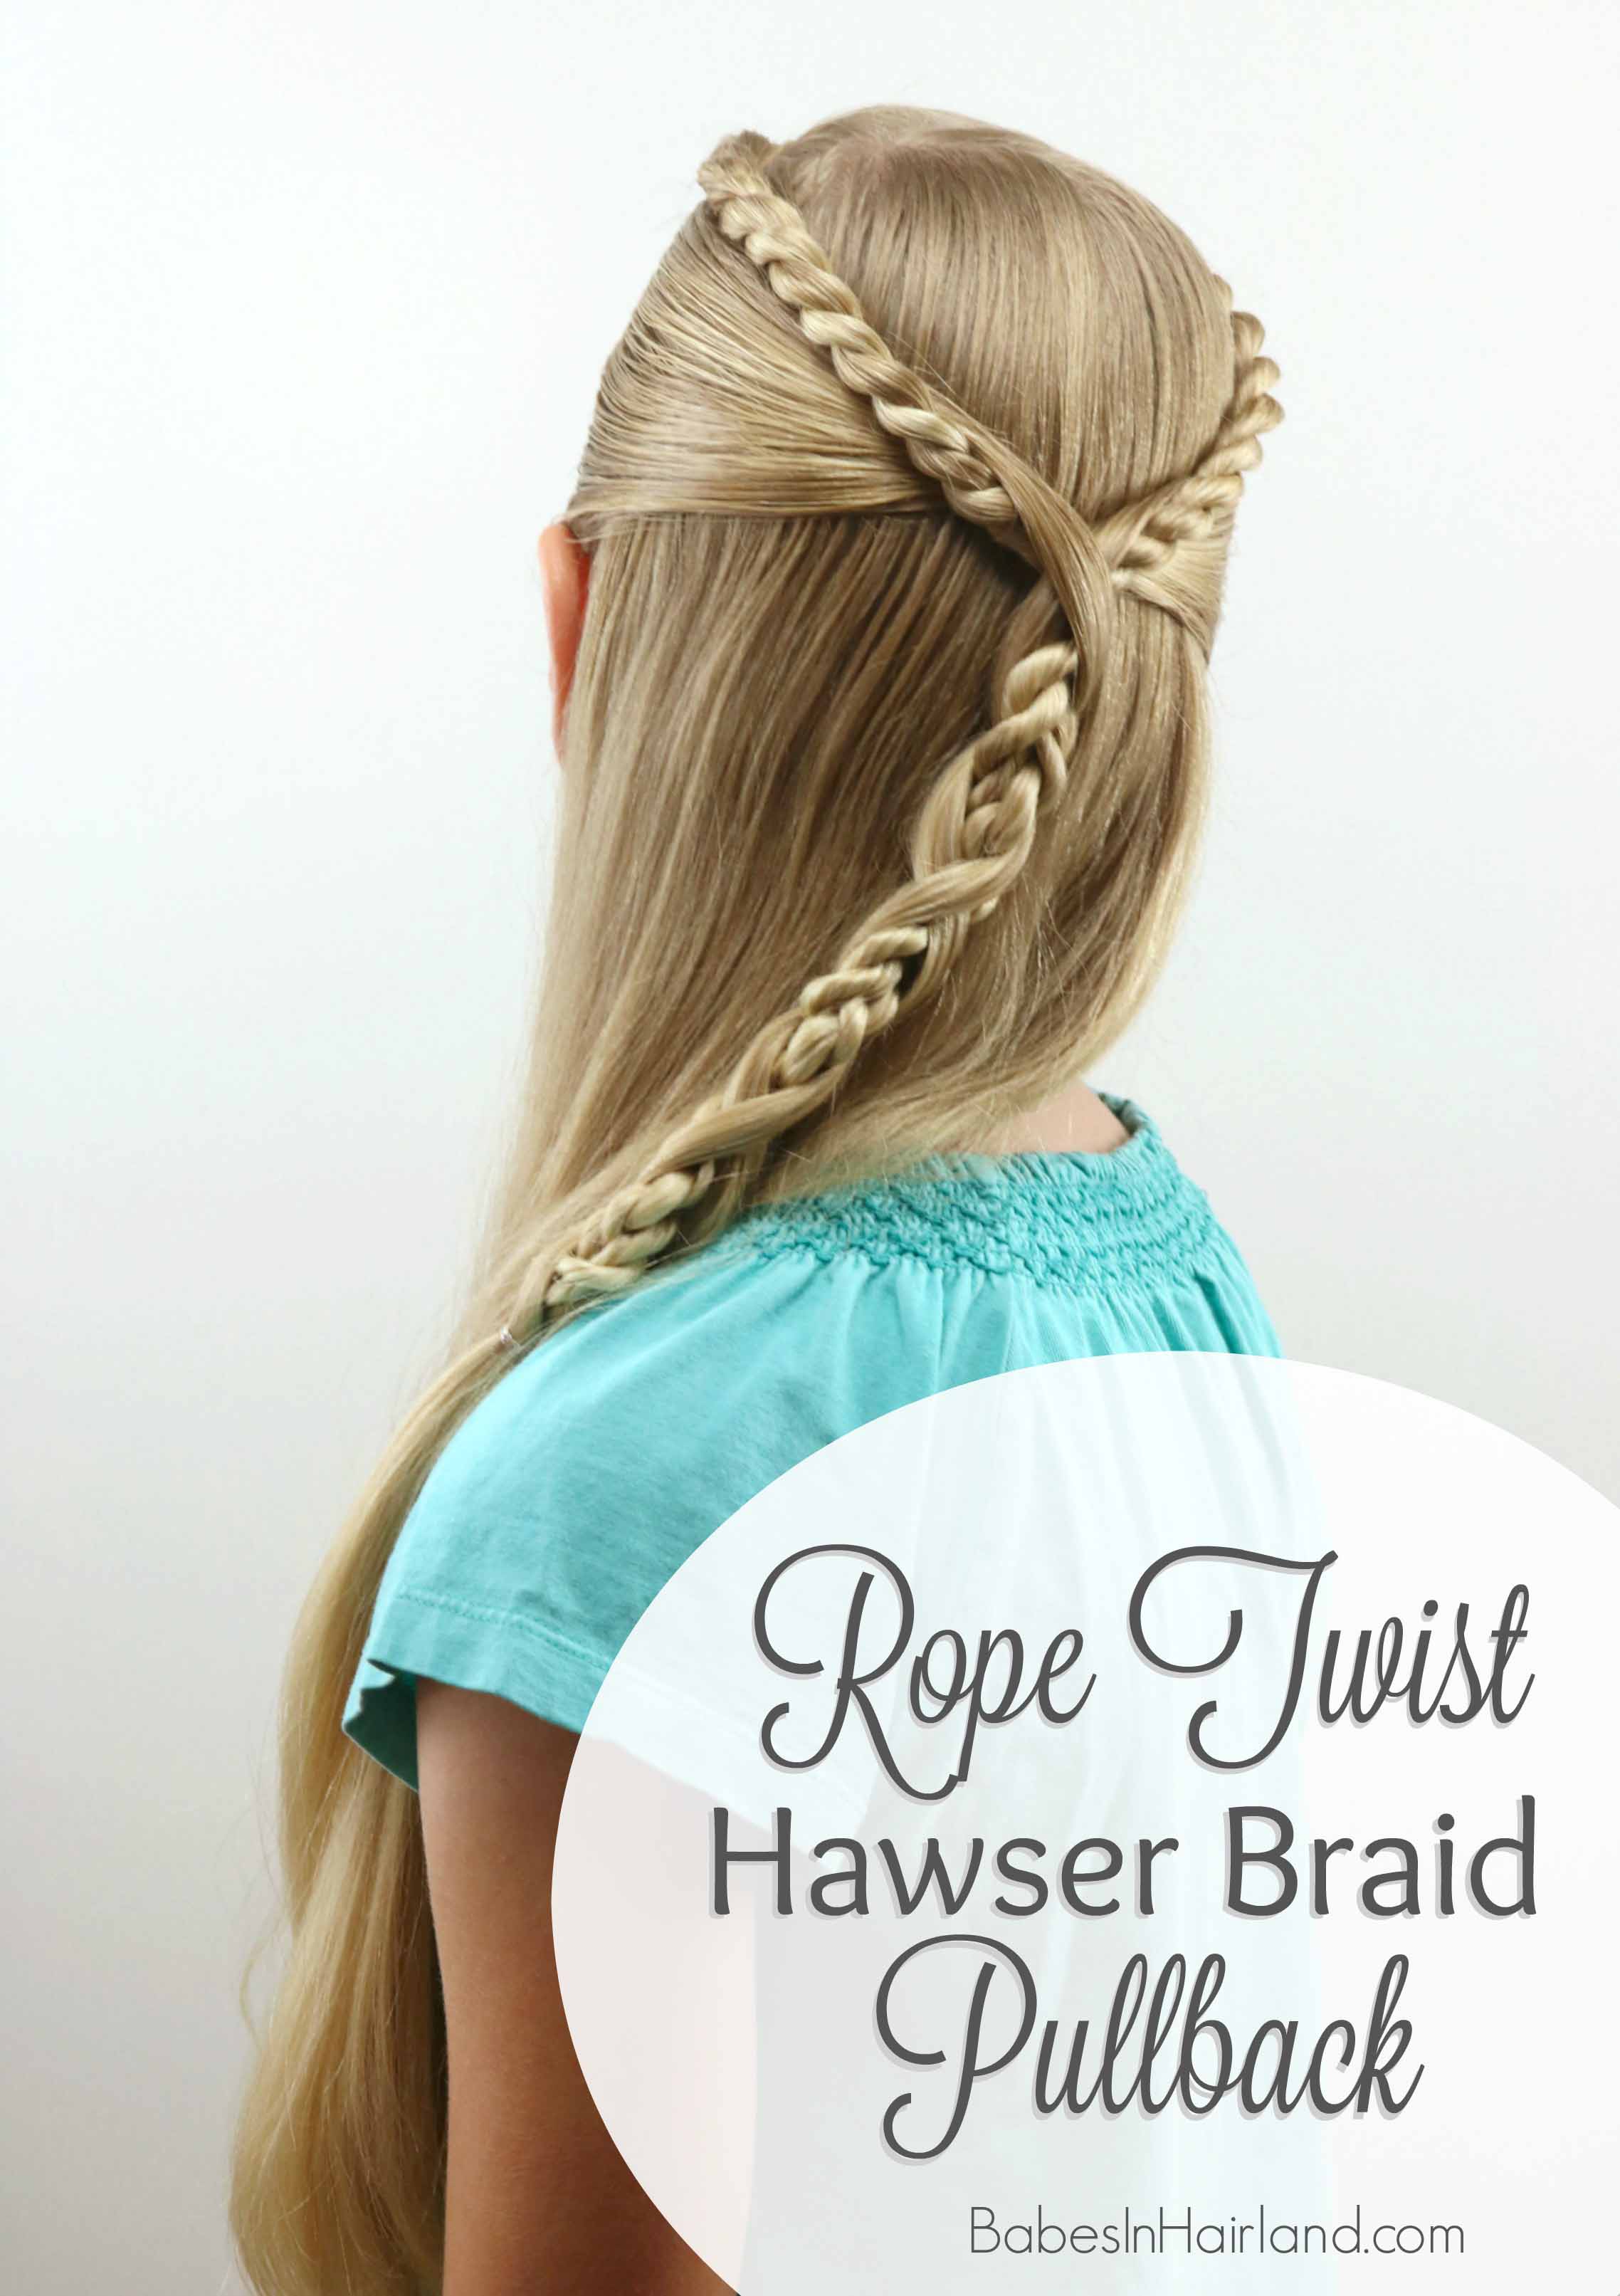
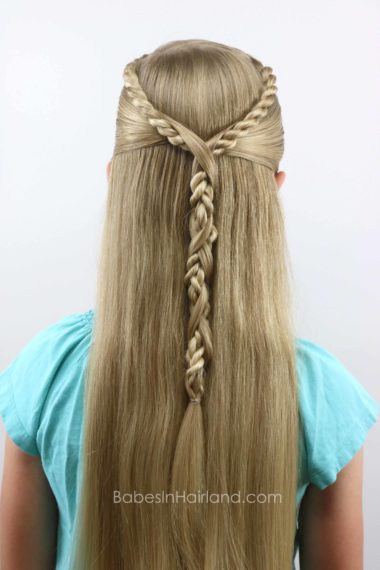
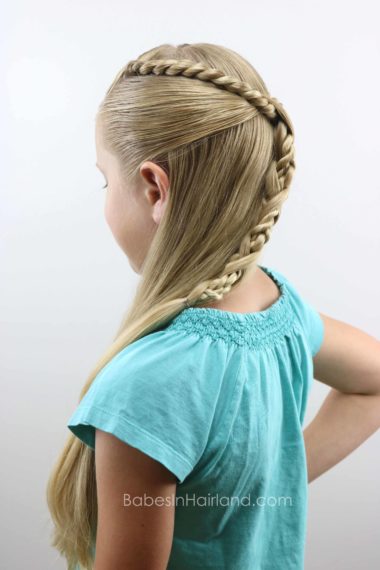
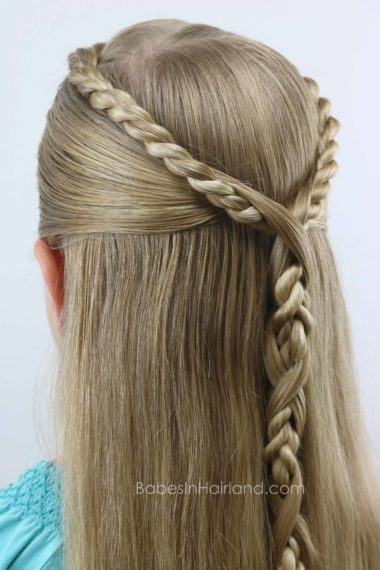
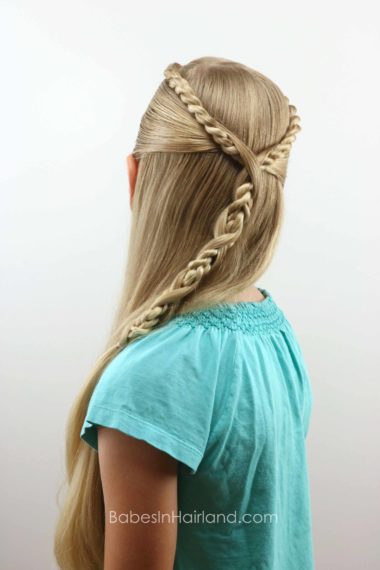
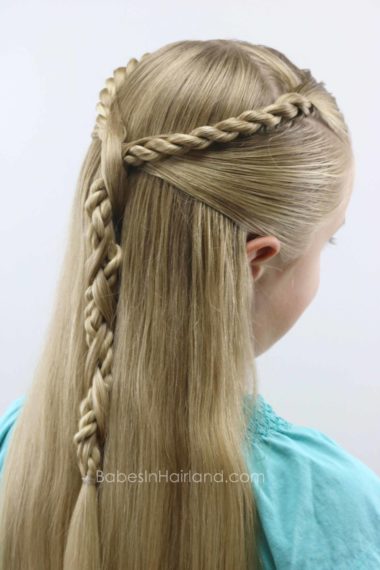
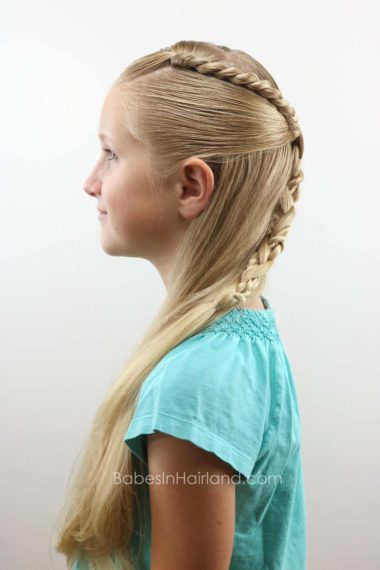
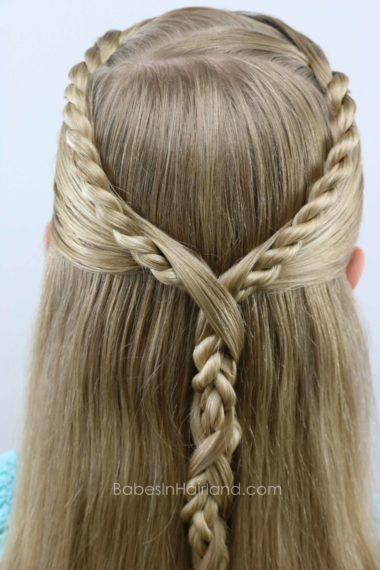
The style we have today for you would be great for a school day, so add this to your list of styles to do for school! Below is our video, step-by-step instructions and finished product pix so keep scrolling!
Step 1 – Make a deep zig zag part on the top center of the head. It should like like a big capital M (or W depending on which side you look at!)
Step 2 – On the left side, just below the zig zag and near the top of the temple, make a horizontal part back to the crown
Step 3 – Gather that hair and divide it in half
This is basically the hair from the zig zag parted area. Use water to keep this style neat and tidy so there aren’t any fly aways.
Step 4 – Create a rope twist/braid
If you need help with rope twists, watch our Rope Twist/Braid video HERE.
Step 5 – Make the rope twist/braid clear to the end of the hair and secure the end with an elastic
If you’re in the market for clear elastics, we love Goody Clear Elastics. THIS package of Goody Elastics
comes with 3 different sizes which makes it so perfect for any hairstyle we do.
Step 6 – Repeat Steps 2-5 on the right side of the head
Step 7 – Draw both rope twists back to the center back of the head and secure them together with an elastic
Step 8 – With the twists remaining below the elastic, twist them together to create a Hawser twist & secure the ends together once at the bottom.
Watch our Hawser Twist Braid video HERE to see how that’s done. You are keeping the twists tight and then passing them around each other. It creates what some call a “chain braid.”
Step 9 – On the right side of the head, just below the start of the twist, make a vertical part down to the right ear
Step 10 – Draw this hair back and bring it up and under the twist on the right side
Step 11 – Let that hair just drape over the top of the right twist temporarily
Step 12 – Repeat Steps 9-11 on the left side so there is straight hair draped over the top of the twists on both sides near the elastic
Step 13- Take the left straight section of hair and pass it over the right straight section of hair so it covers the elastic from Step 7
Step 14 – Take the straight sections of hair and bring them under the Hawser twist and cross them underneath
Step 15 – Draw the straight hair back to the top of the Hawser twist and continue an X pattern on top and then underneath the Hawser twist
You are NOT braiding the hair – you want the Hawser twist to remain in the center of the straight hair as you make the X pattern down the twist.
Step 16 – Secure all the hair at the end with another elastic
Step 17 – Optional – Curl all remaining hair down in back
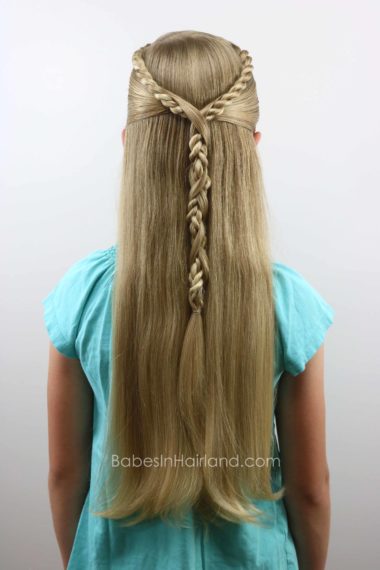
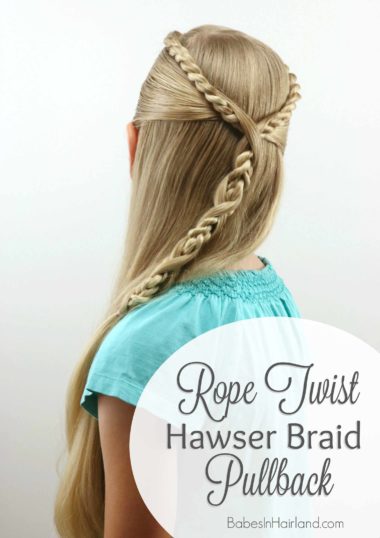
FINISHED!
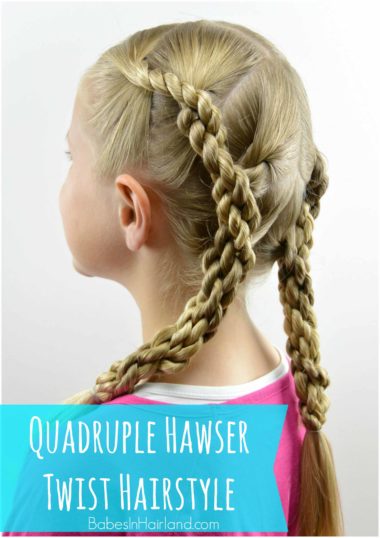
I just love how this one turned out. I think Hawser twists are so cool. Here’s another one of my favorites where we used Hawser twists:
Click HERE for the Quadruple Hawser Twist tutorial. And click HERE for other Hawser Twist styles!
Be sure to pin this pretty one too!
