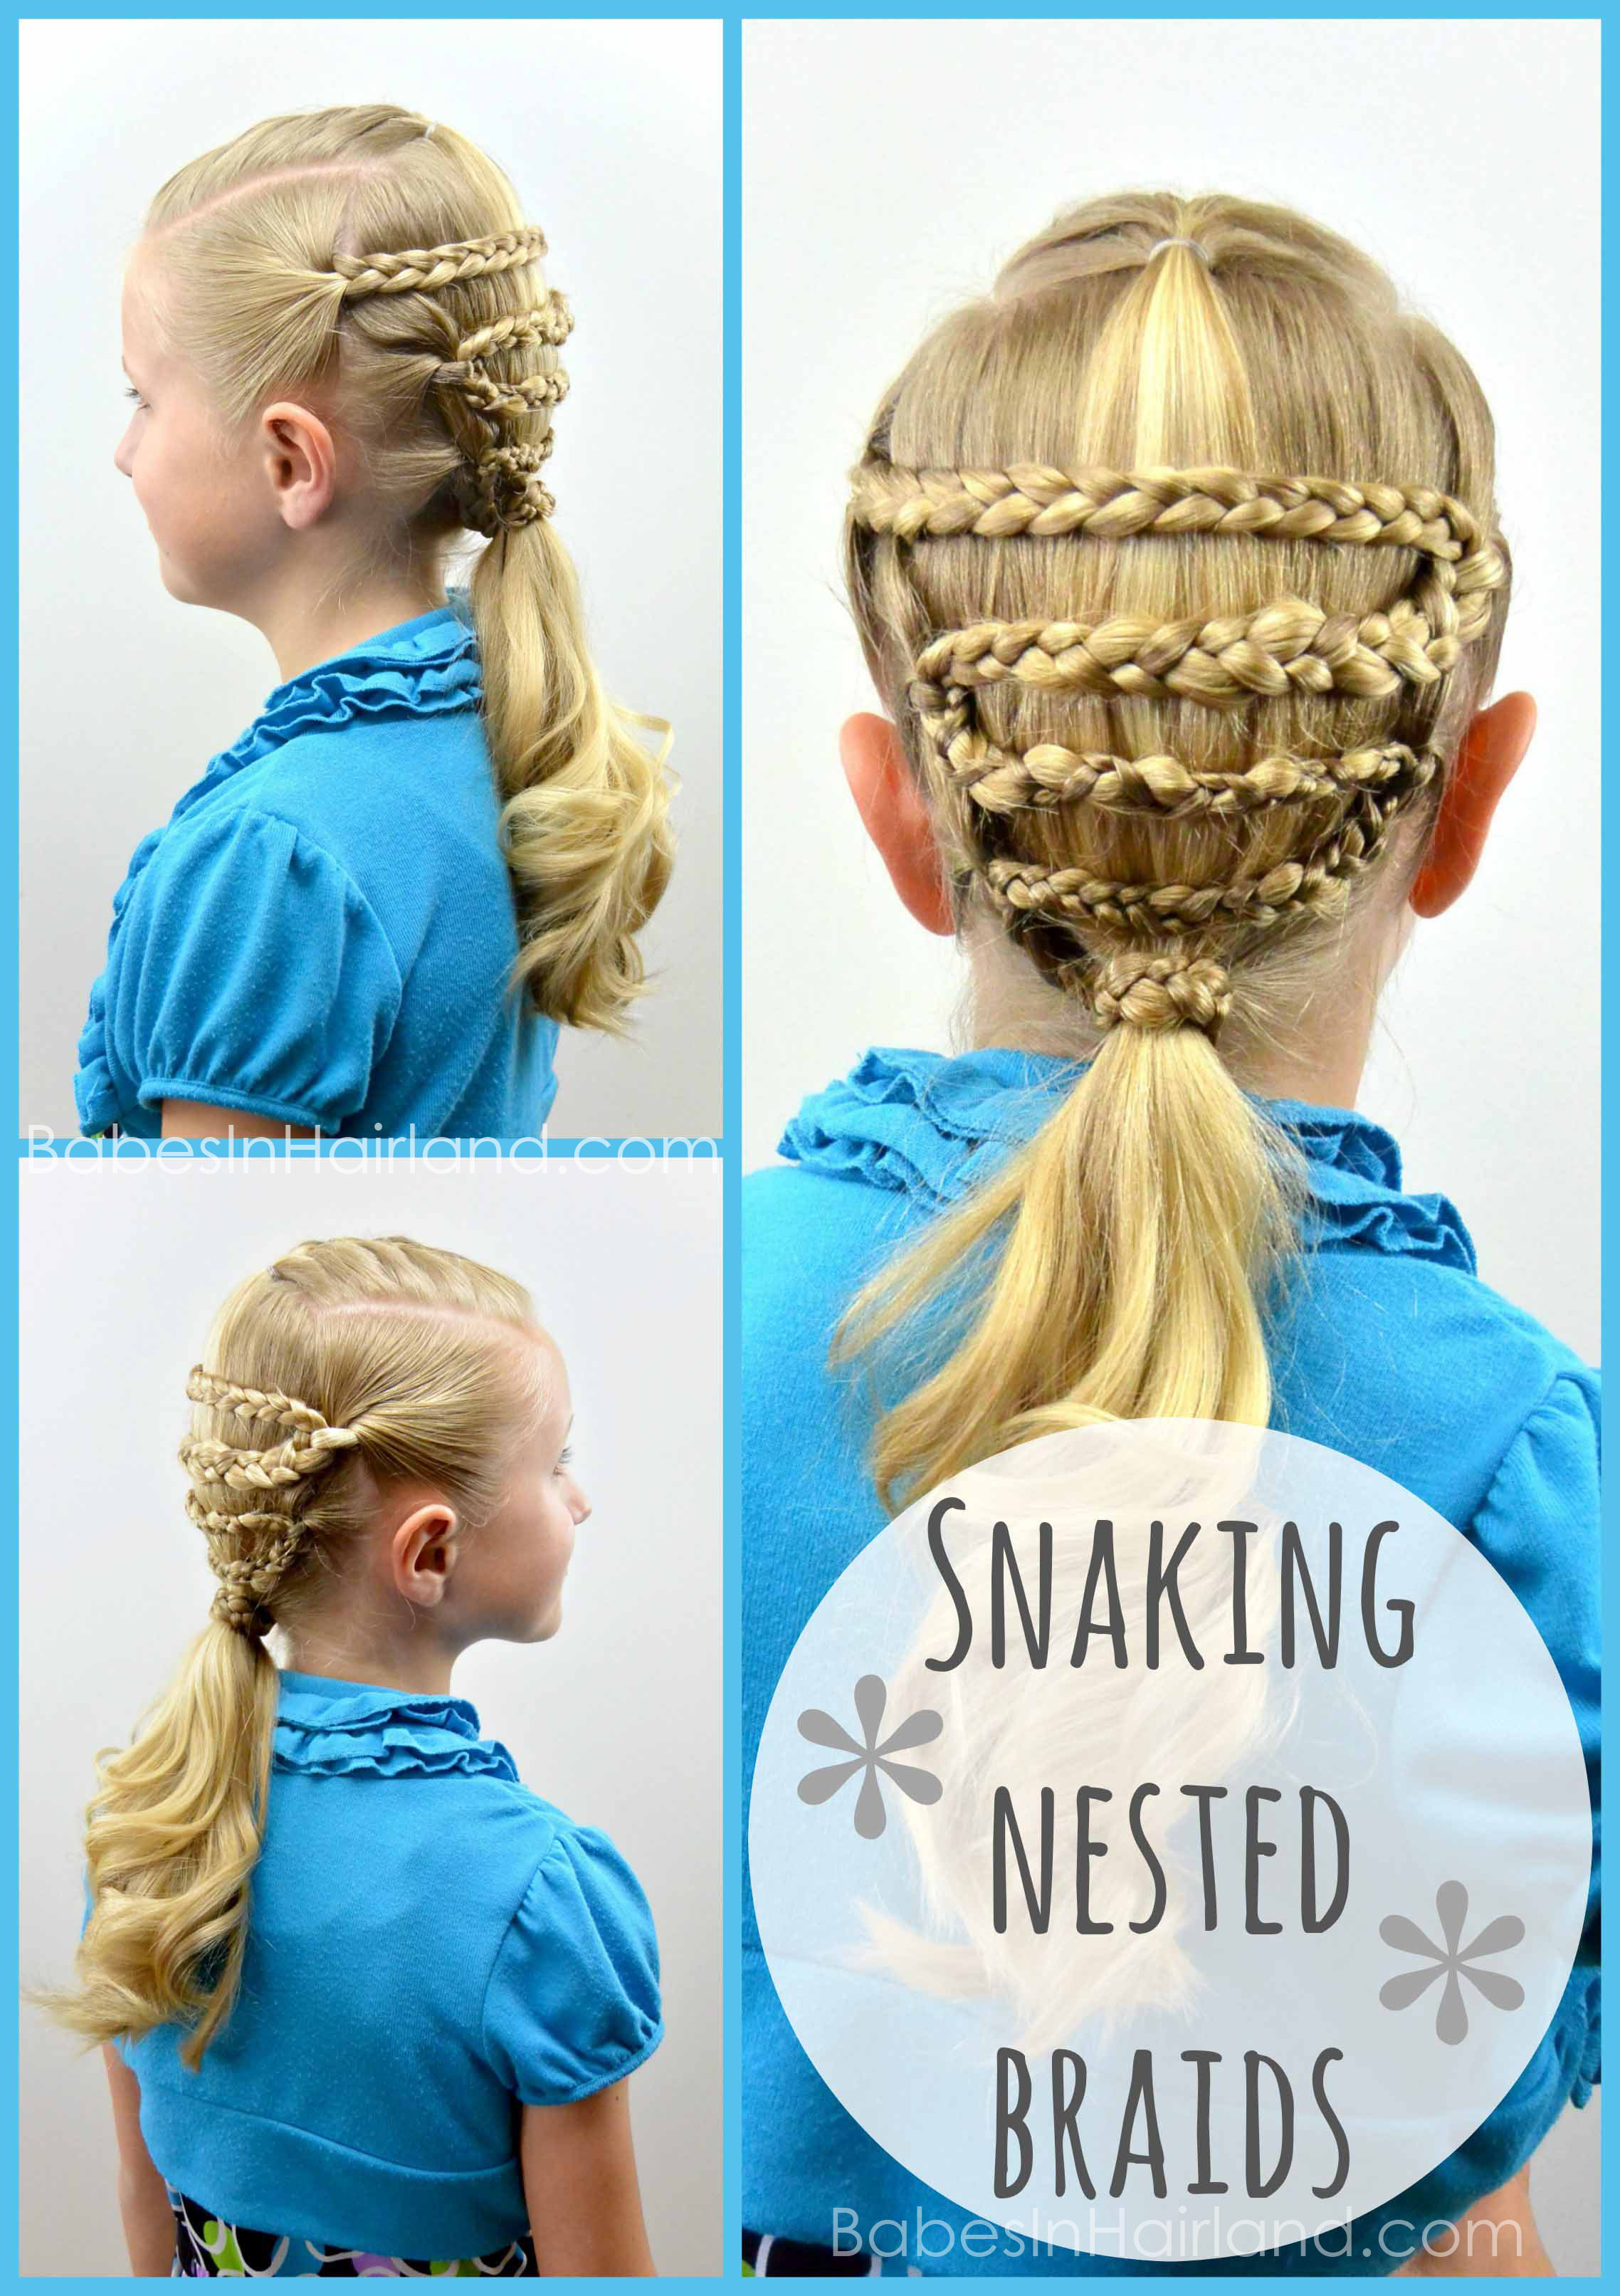
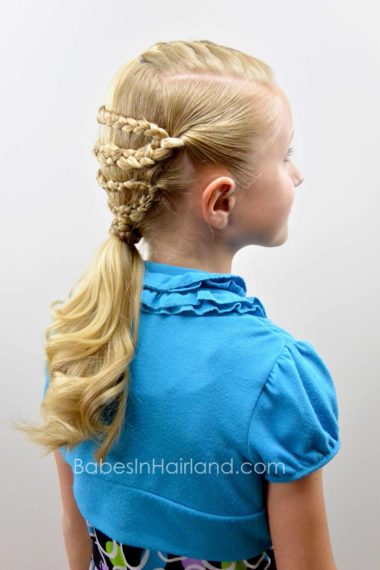
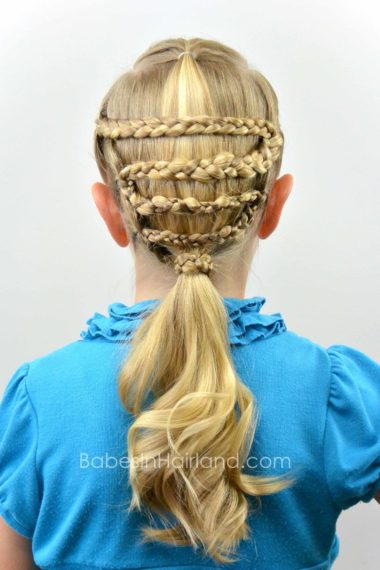
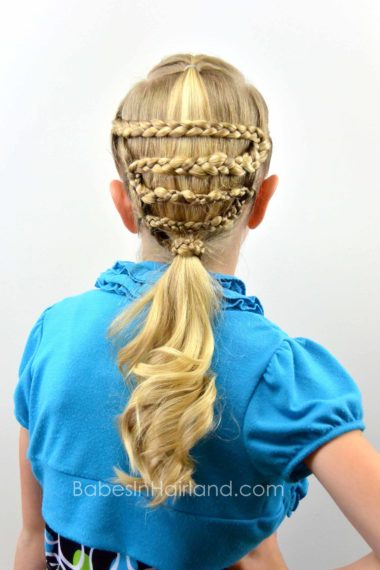
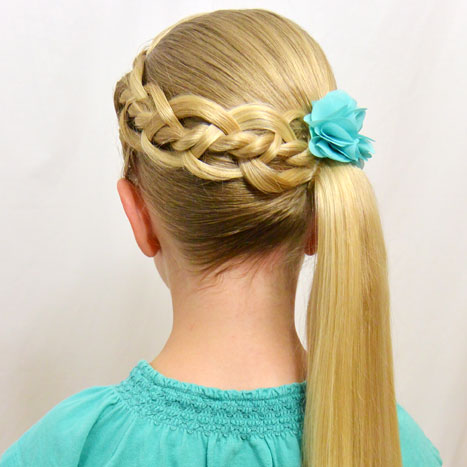
 Today’s tutorial isn’t very hard, and depending on how fast you braid, you can whip this one out in no time! Bug initially wore this style to church and it turned out fabulous. We recreated it on Bee and with her shorter hair it worked a little differently, but it still turned out awesome! If you’re working with longer hair, the braids will be “nested” and will show through a bit more as you incorporate one into the other, so your results will vary a bit!
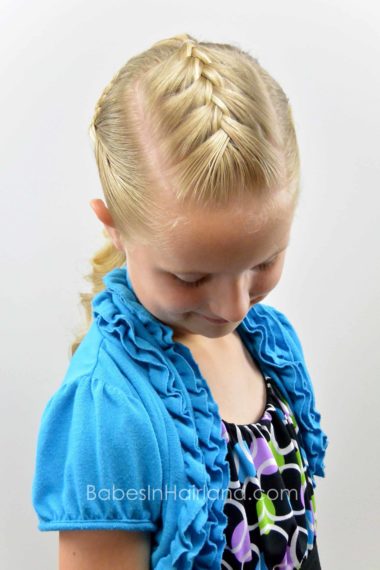
Step 1 – Part hair from temples back to the crown making a rectangular section & make a French braid.
If you need a refresher on how to French braid, you can check out our French braid tutorial and video HERE. Once you can no longer add hair to the French braid, secure it with a clear elastic at the crown. You could keep braiding, but I didn’t want a vertical braid running down under the horizontal braids.
Step 2 – Part down to the ear on the left side and make a regular 3 strand braid. Temporarily secure the end with a clip.
Step 3 – On the right side, part down to the ear and begin another regular 3 strand braid
Only do 1 rotation or stitch of the braid, crossing the bottom strand over the middle, and then the top strand over the middle, and then stop.
Step 4 – Draw the braid from the left side across the back of the head and incorporate it into the braid you started on the right side
Add this braid into the top strand you just crossed over the middle strand from Step 3.
Step 5 – Continue braiding so that the braid from the right side is incorporated into this braid.
Remove the clip if needed, and continue braiding until you run out of hair. Temporarily secure the end with a small clip.
Step 6 – On the left side, section out a small amount of hair behind the left ear and begin another regular 3 strand braid
As you did in step 3, only complete 1 rotation of this braid and then stop.
Step 7 – Draw the braid from the right side across the back of the head and incorporate it into the braid you just started
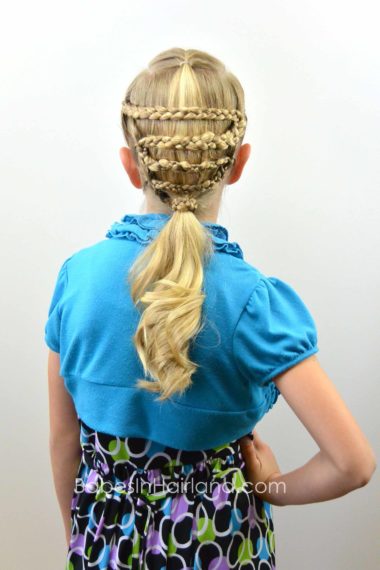
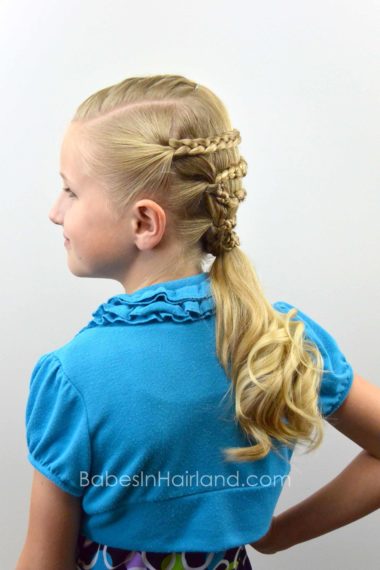
You will begin to create a snaking or zig zag pattern with the braids across the back of the head.
Step 8 – Repeat the same process on the right side if the head, parting out another section of hair behind the right ear & start a braid
Step 9 – Add the braid from the left side and braid to the end
Step 10 – Back on the left side part out another section of hair under the one from Step 6. Repeat the same process as above.
This is the last braid you’ll create, so once you reach the end secure with a clear elastic.
Step 11 – Gather remaining hair in a low ponytail at the nape of the neck
Step 12 – Wrap braid from Step 10 around the elastic to hide it, and with another elastic secure braid
We secured the braid to her ponytail the same way we do in our Hair Wrapped Ponytail tutorial. If you have a bit of extra braid left over hanging in the ponytail, you can remove the elastic and unravel the braid so the hair blends back into the ponytail.
Step 13 – Optional – Curl ponytail
FINISHED!
If you recreate this one, be sure to tag us on Instagram @babesinhairlandblog or use the hashtag #babesinhairlandblog so we can see your styles! If you don’t follow us on Instagram, head over HERE to do so!
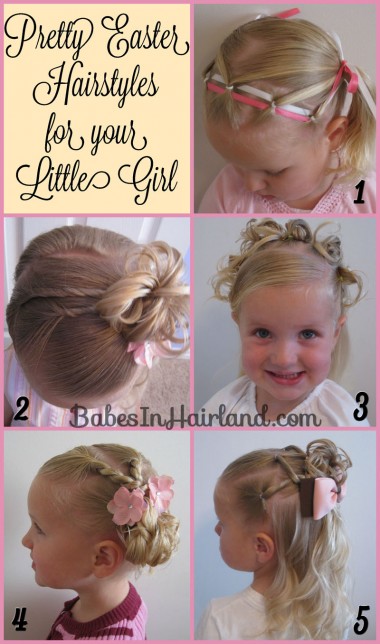
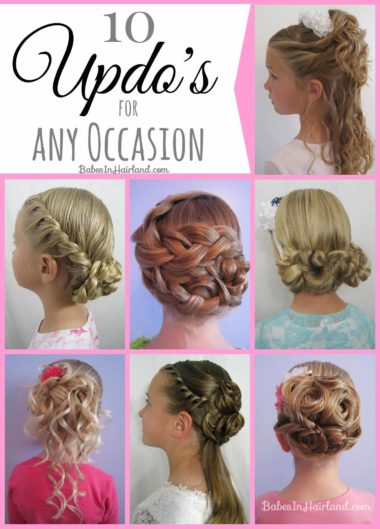
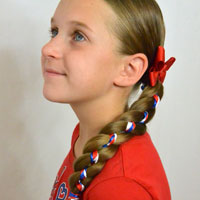
Oh, and if you’re looking for some other wonderful hairstyles for Easter, check some of these out (click on the name above the pic to go to the post):
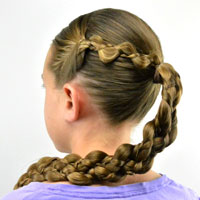
The snaking nested braid is just beautiful! I can´t wait to try this one. Love your hairstyles!
Hi Babes in Hairland: I would like to know what products you use to keep you hair so healthy and strong. Like serums, shampoo, conditioner brands. Please replay. I am a very fun of you. I love love all you hairstyles and tips about. Am always watching you.. Thank you so much for all you do. Is very helpful and nice.
We don’t do anything overly “special” for the girls hair. We wash every other day and they use Tre Semme shampoos and conditioners. They’ve seem to work great in their hair so we’ve used that for several years. We don’t use a lot of heat in their hair and to hold things in place we use Suave hairspray.
Good post. I would try this Snaking Nested Braids hairstyle on my younger sister. Thanks for sharing this best kids hairstyles.