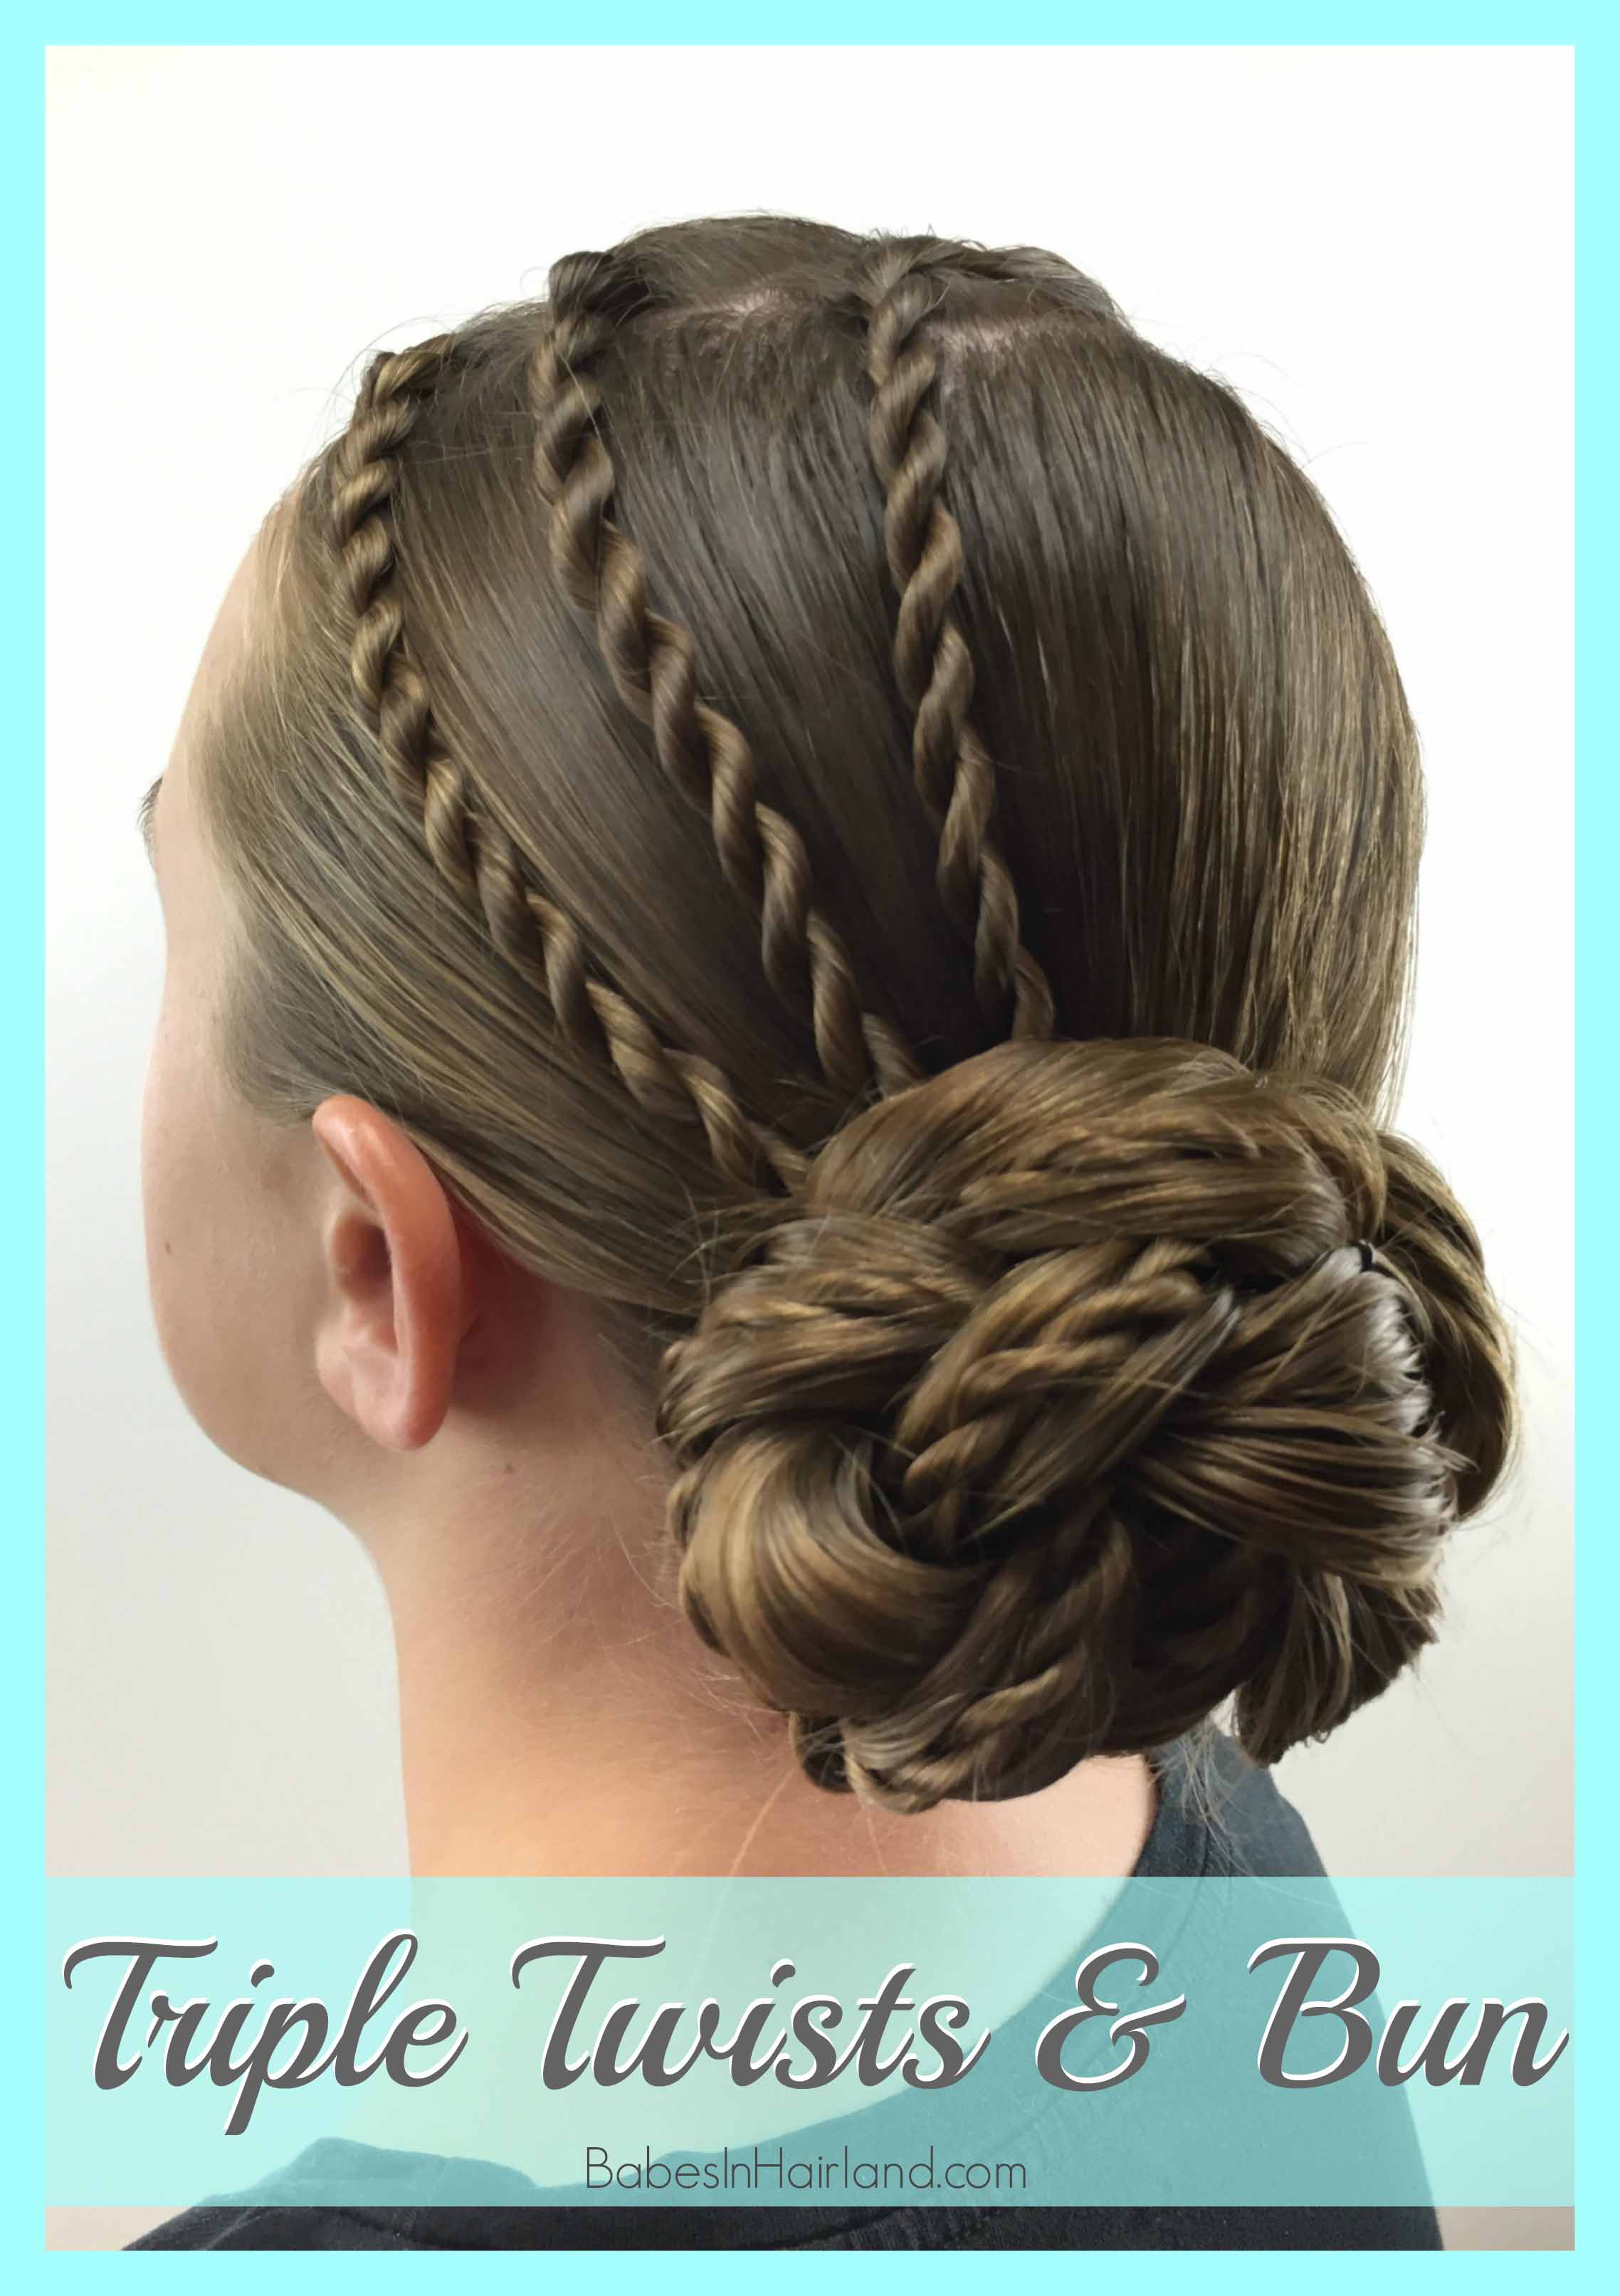
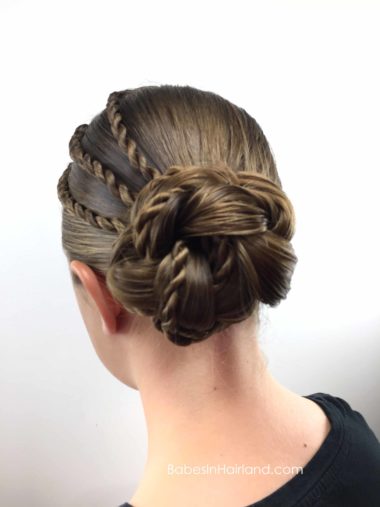
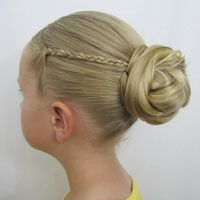
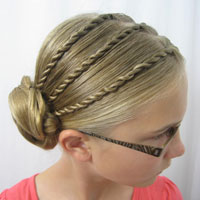
 If you’ve followed us for a while, this one might look a little familiar. I did this style as a step-by-step picture tutorial on my oldest over 3 years ago but her bun was different. I’ve used this style on school mornings and for church over the years, so I love that it’s versatile that way. You could use it for sports or dance as well, it’s just that cute! So I hope you don’t mind that I’ve made a video of this style as well. Sometimes I feel bad that styles get lost in the archives, and so it’s fun from time to time to redo or film styles that only have step-by-step pictures.
Also, bear with us as we have had a bit of bad luck lately. My Mac and camera died the same week and I just got my laptop back but am going to have to get a new camera. My old one has been limping along for a while, but is beyond hope now. I had to shoot this style w/my phone which isn’t my preference! Anyway, please have patience with us as we’re trying to get our feet back under us with a new camera!
Step 1 – Part out a long rectangular section of hair on top of the head
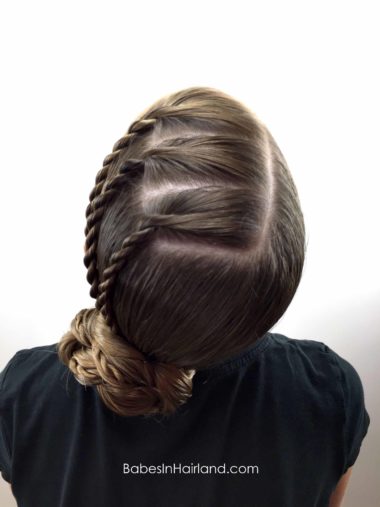
Step 2 – Make a side ponytail with the remaining hair near the left ear
Step 3 – Divide the rectangular section into 3 even sections
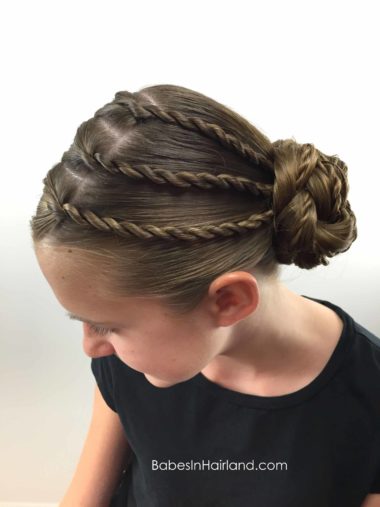
Step 4 – Make rope twists/braids with each small section & secure the ends with elastics
You can make micro braids here if you prefer, but I love the texture the twists give in the bun. If you are new to rope twists/braids, watch our rope twists tutorial HERE.
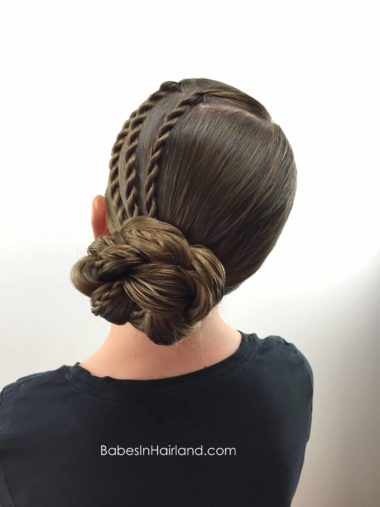
Step 5 – Draw the 3 rope twists/braids back toward the ponytail
Step 6 – Secure twists to ponytail with another elastic
Step 7 – Braid the ponytail & secure the end with an elastic
Divide the ponytail into 3 even sections and lay 1 twist on top of each straight section of hair. As you braid, keep the twists on top of the straight hair so they peek through the braid.
Step 8 – Wrap the braid into a bun & secure with bobby pins as needed.
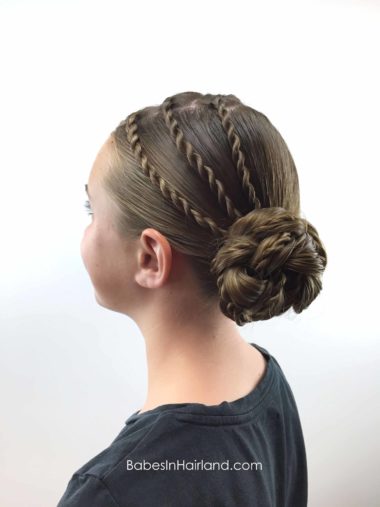
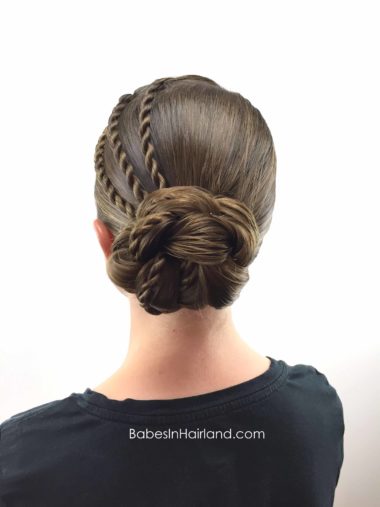
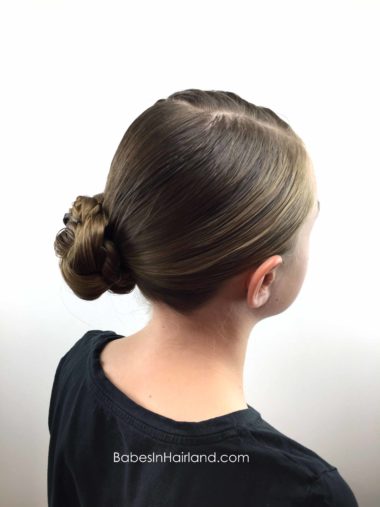
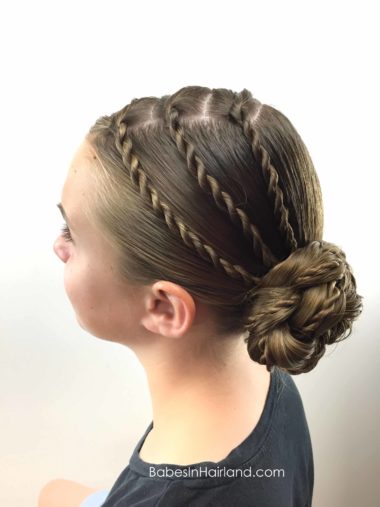
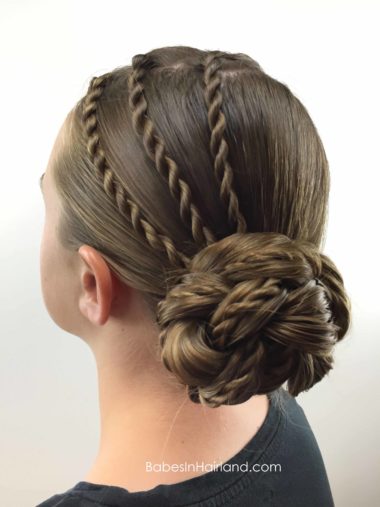
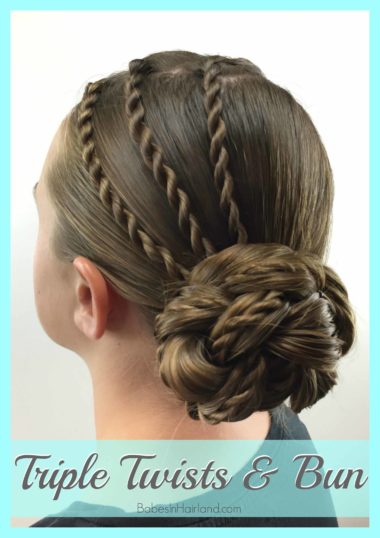
FINISHED!
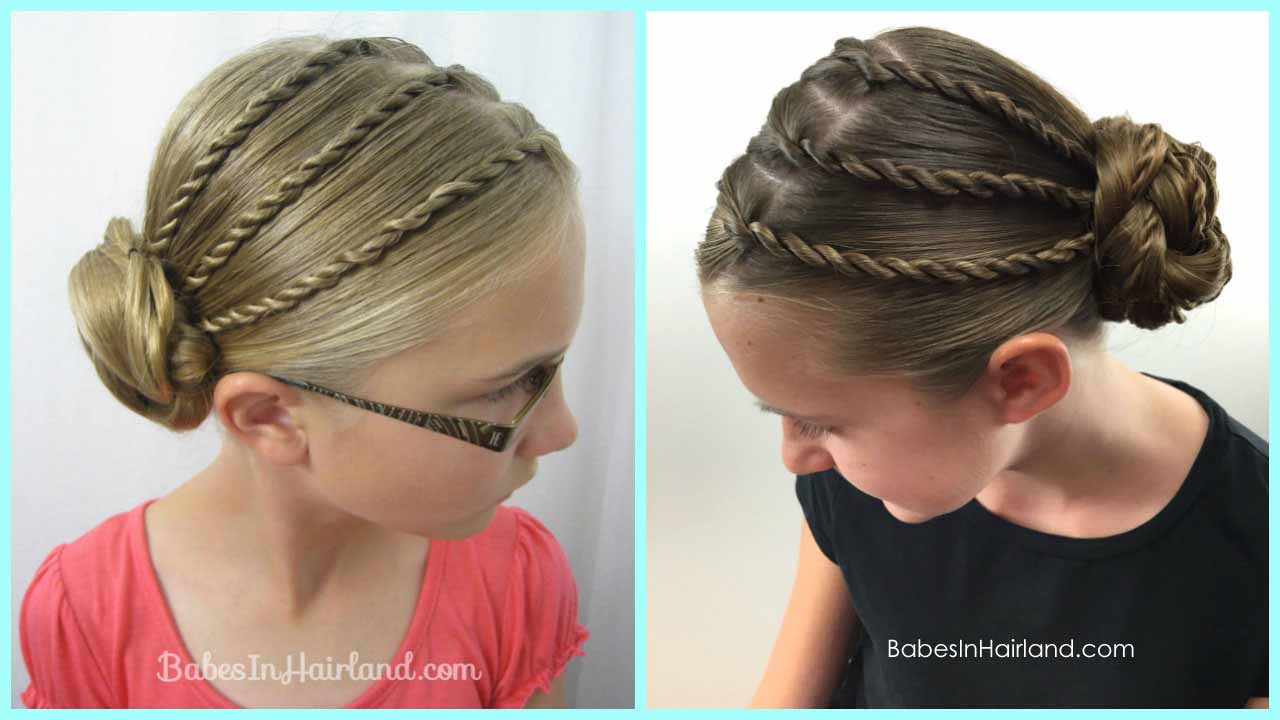
Here’s a fun look at the 2 of them side by side. They were about the same age, but such different hair color! Which one do you like better? I sort of like today’s tutorial better because I love that the twists show up throughout the bun more. To check out the picture tutorial on my oldest/blonde daughter, go HERE for our Triple Twists and a Bun | Back to School Style.
Thanks again for checking out our tutorial today and be sure to pin it and save it for later!

really nice haircut.i like it so much..lovely blog thanks for this article post images…
I love this look for a dance recital bun. It is different and beautiful. Thanks for the step by step!
We’re so glad you liked it! Thank you for taking the time to comment and let us know. 🙂