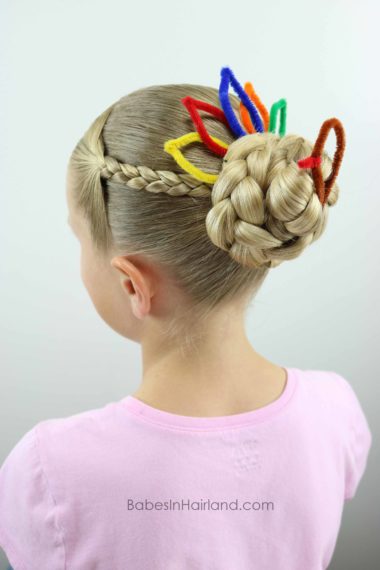
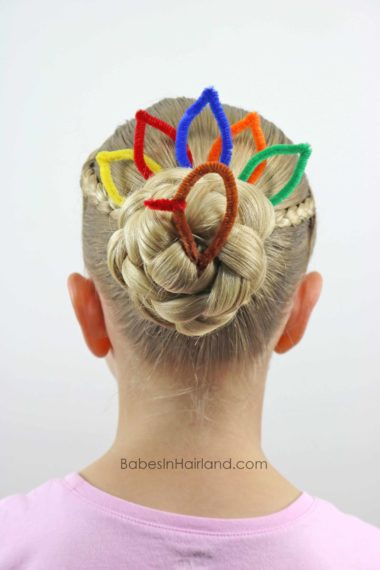
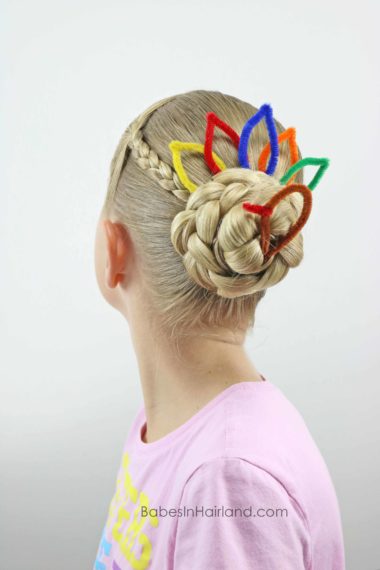
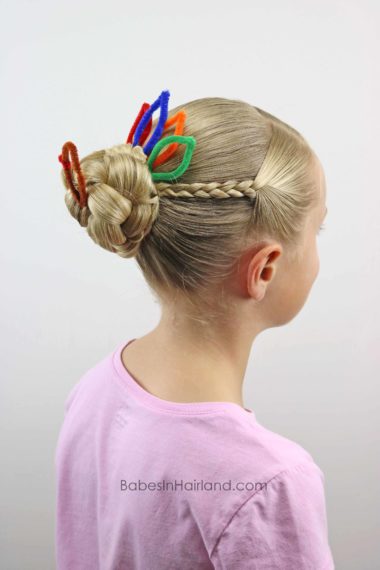
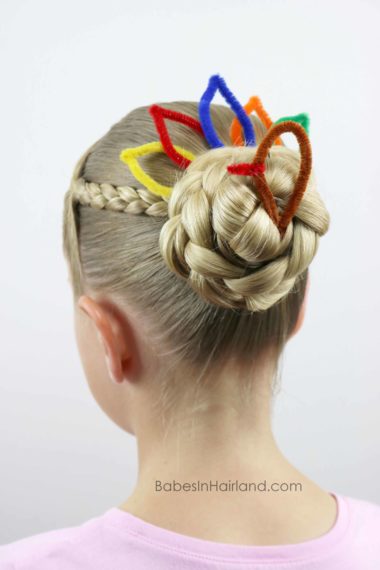
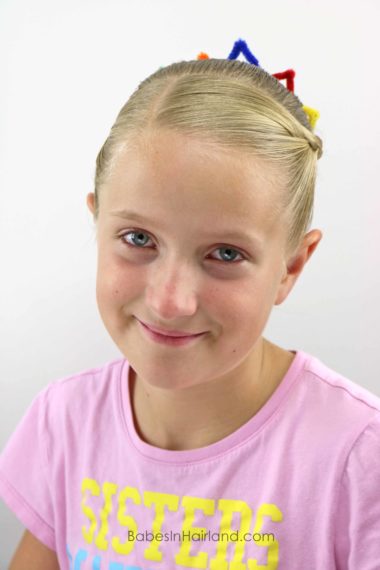
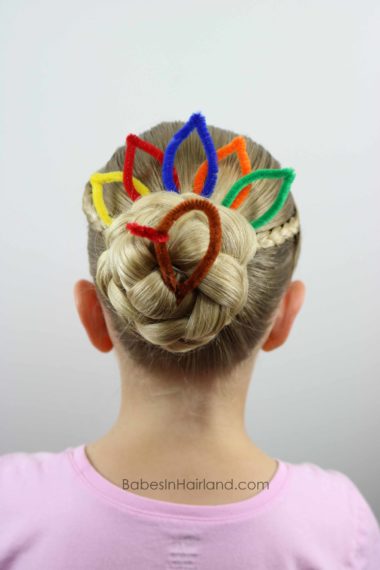
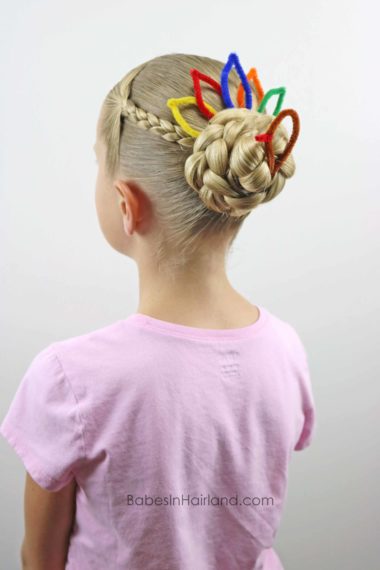
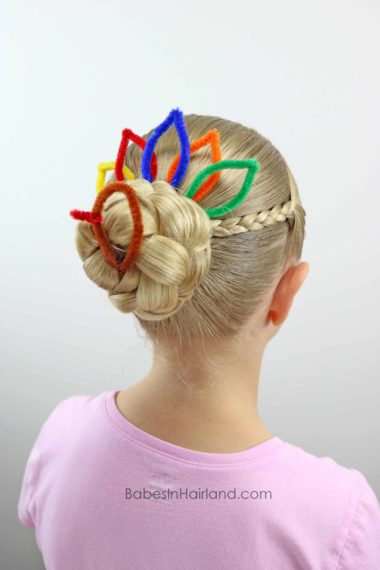
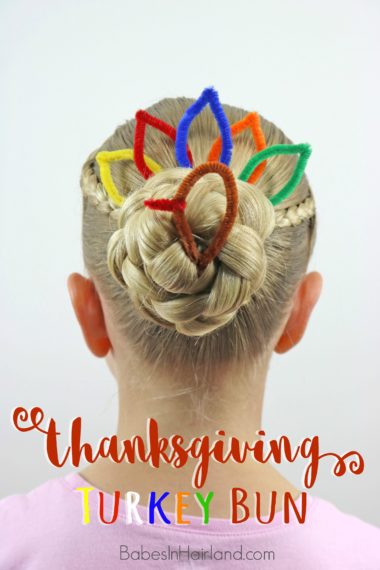
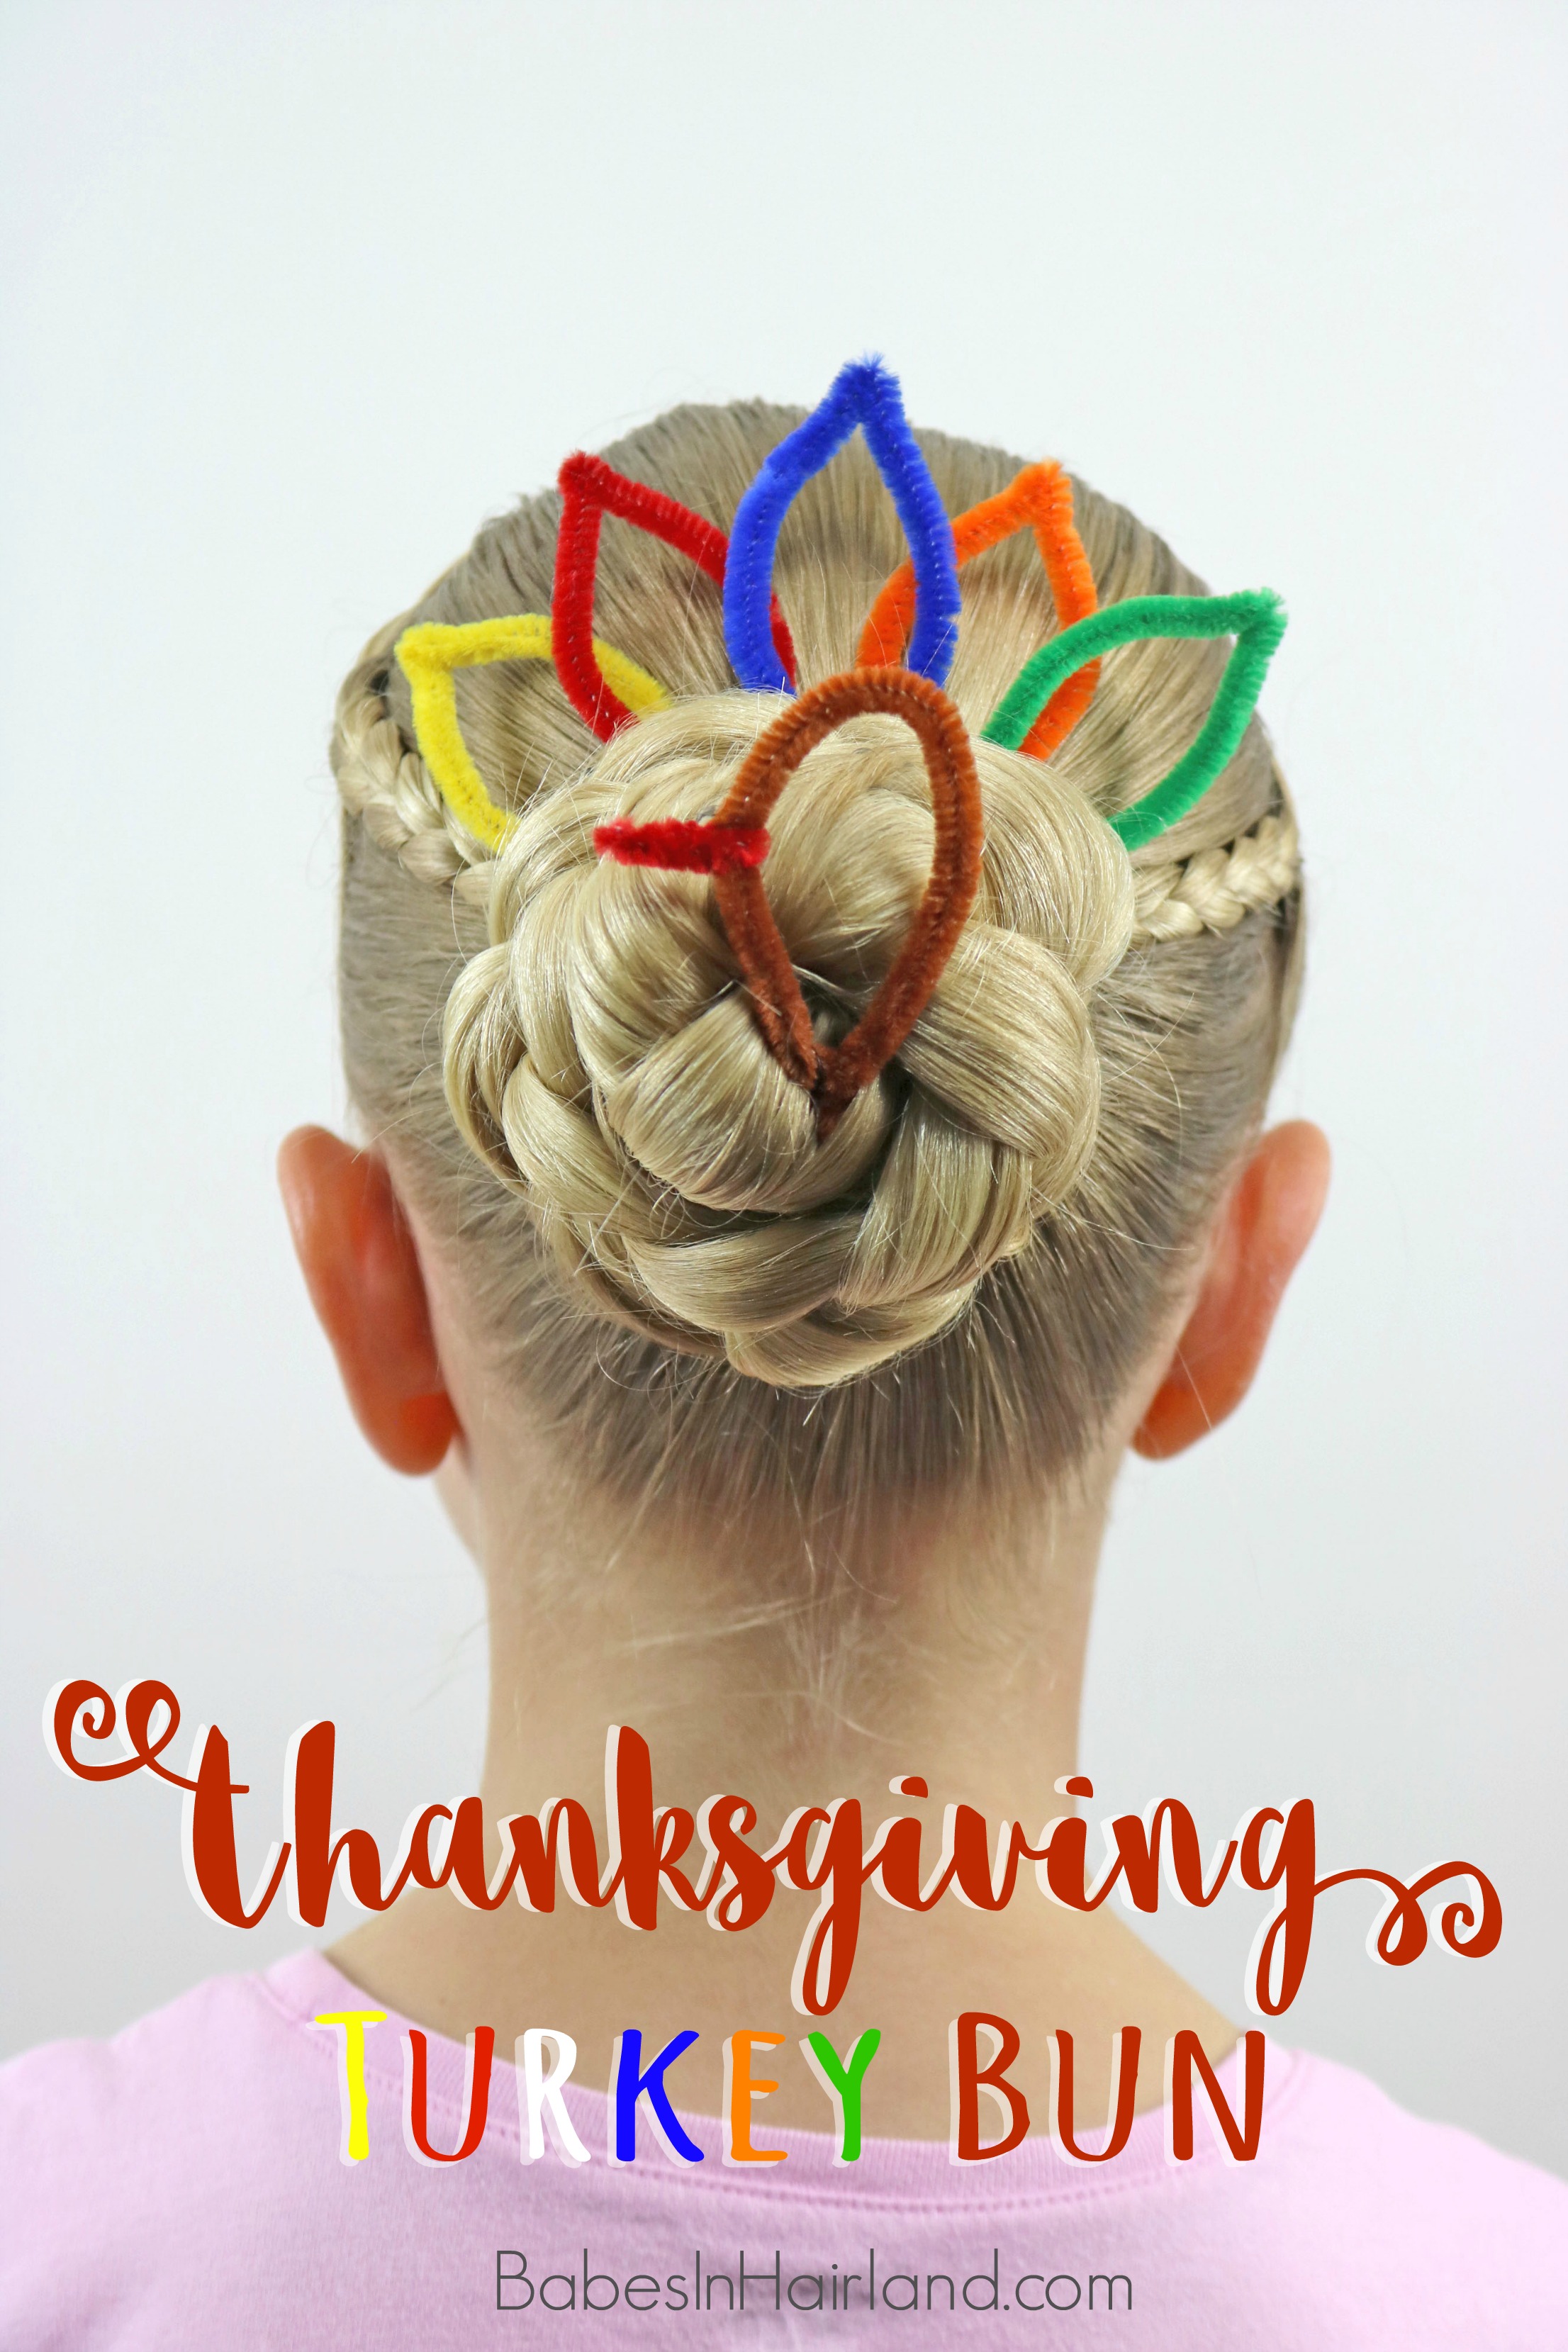
 We dove back into our archives to recreate this festive style for Thanksgiving. We first created a turkey bun back in the infancy of our blog when the girls were much younger. Over the past several years as the holidays approached, I’ve meant to create a video tutorial of this fun one and I finally got around to it. Thankfully, Bee is still at the age where stuff like this is fun and she’s not “too cool” for cute (and perhaps slightly silly) styles like this one!
It’s nothing difficult, just a cute, fun, festive style for Thanksgiving.
You will need: elastics, bobby pins, pipe cleaner, and if desired, real feathers instead of pipe cleaner for the feathers
Step 1 – Create 2 small braids on each side of the head and temporarily clip them off
Step 2- With all remaining hair in back, create a ponytail that sits on the center back of the head
Step 3 – Add the braids to the ponytail and secure them to the base of the ponytail with another elastic
Step 4 – Braid the ponytail all the way to the end and secure with an elastic
Step 5 – Wrap the braided ponytail up into a bun
Step 6- Secure only the tail and bottom portion of the bun with bobby pins at this time
Step 7 – Create your turkey
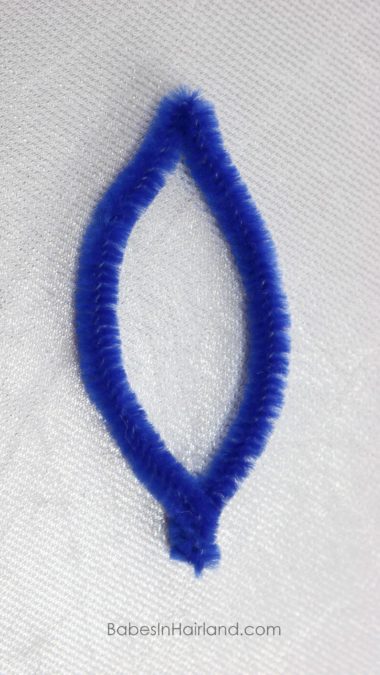
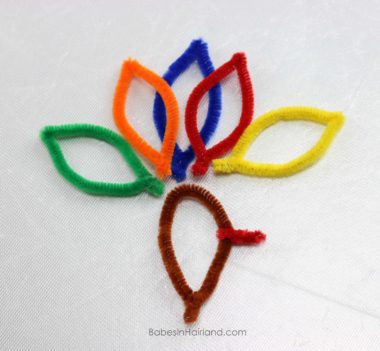
To create the feathers: Cut a piece of pipe cleaner in half, and then bend that piece in half so the ends meet. (If larger feathers are desired, use a full piece of pipe cleaner.) Twist the ends together. Slightly pinch the curved top of your feather to make it pointed. Adjust the feather so it has the shape you desire. Make as many feathers in as many colors as you want. Skip this step if using real feathers.
To create the turkey head: Cut a brown piece of pipe cleaner in half. Bring the ends together and twist tightly. Keep the shape rounded at the top so it is more teardrop shaped. Take a small piece of red pipe cleaner and wrap it around the side of the brown pipe cleaner and twist it so it stays put. This is your beak. If desired, add a “wobble” or whatever that little dangly piece on the turkey is! 😉
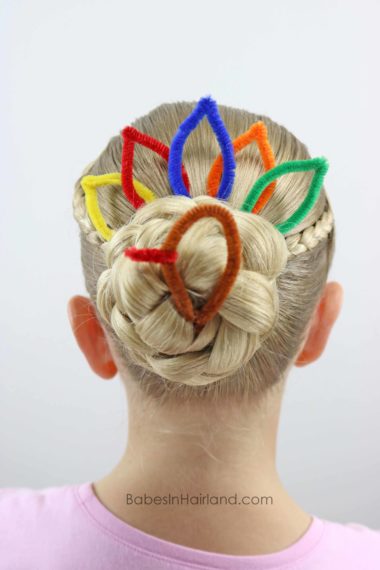
Step 8 – Stick the twisted tips of the feathers up behind the bun where you have yet to put bobby pins.
Try center the feathers on top of the bun so they are just between the 2 braids from Step 3.
Step 9 – Now add bobby pins up on top to hold the bun to the head and secure the feathers as needed
Step 10 – Add the turkey head to the front of the bun. Use a hair pin or bobby pin to secure the pointed tip into the bun if needed.
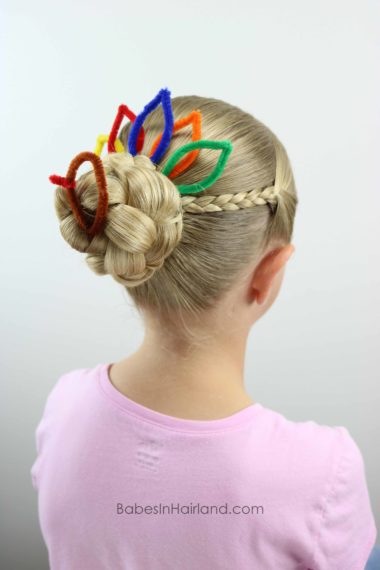
FINISHED!
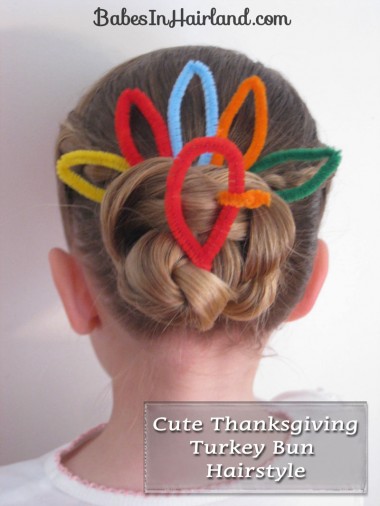
Here’s our original Turkey Bun from 2009. You can check out our step-by-step tutorial HERE if you like!
And here is ours from today. I’m not sure which one I like best. It’s crazy to think it’s been 7+ years since we first posted the one above! Anyone been around our blog that long? 😉
Thanks for checking out this festive style today & we’ve got a few other “Turkey Styles” from years past that you can check out HERE. No feathers are involved, but you could totally add the little turkey head to make them festive too!
