Before I get to the tutorial — I can’t say thanks enough to those of you have been helping comment on my “Coins for Comment” post. Remember – Comment EVERY DAY! You can. Really! Every comment is putting 10 cents towards what I’ll be donating towards Lori & Brent to help them bring their kids home from Haiti. This is going on through February 2nd – so you have lots of comments yet to leave me! And a BIG thank you to those of you who have contributed $ via PayPal and who have been coming back and commenting daily. Once everything is done – I’ll let you know the final amount of $$ raised! So keep those comments coming so I can send more $$$ to Lori & Brent! If you aren’t familiar with this whole thing – go HERE to find out more.
So … on with the hair stuff …
Sorry that I don’t have step-by-step on this, as it was a school morning, and I didn’t think about the camera until after I was done. It’s pretty self-explanatory though, so you should be ok! 🙂
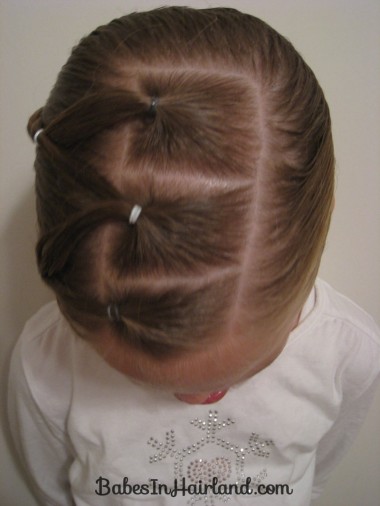
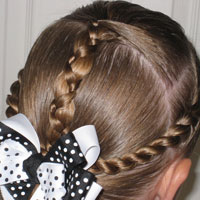
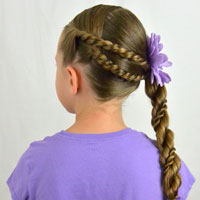
Begin by sectioning hair on the top of the head in the shape of a rectangle. Then divide that into 3 separate ponies. Secure each with a little rubber band. (And of course, make the parts crooked like I did – makes for a better showing! Shoot! LOL)
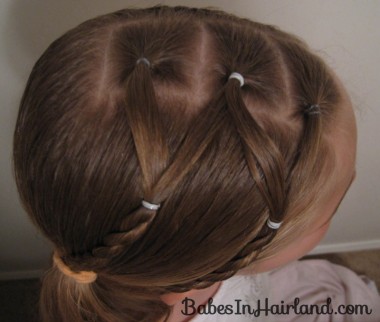
Split the middle pony in 1/2 and combine the left side of the middle pony with the back ponytail. Secure it with a rubber band to make a V. Then take the other 1/2 of the middle ponytail and join it with the front ponytail, making another V. At this point you should have a W. This is similar to THIS OLD POST I did on Bee except I didn’t divide the middle pony in half for that one.
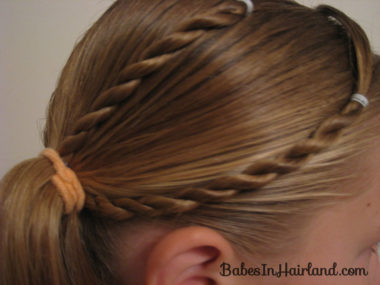
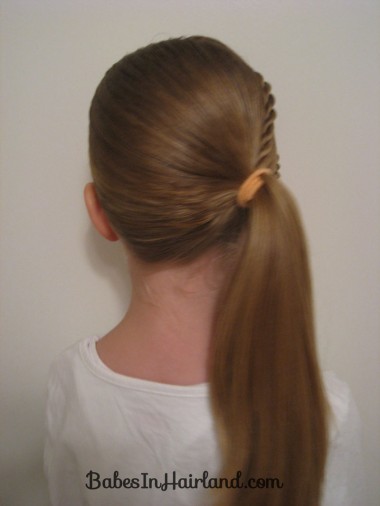
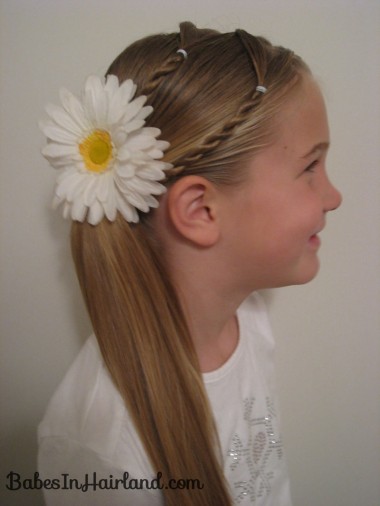
Below the part of the ponies that you’ve secured with rubber bands, make rope/twist braids most of the way down the hair. Secure the end of each one with a clip temporarily.
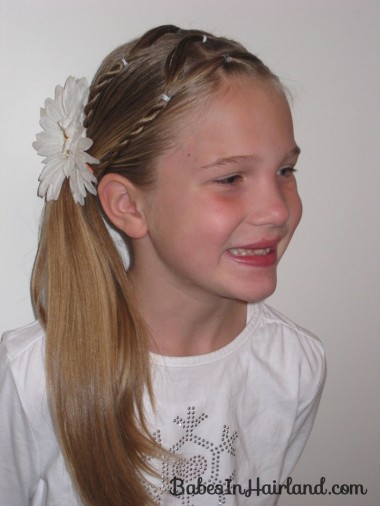
Let the twists hang down, while gathering the rest of the hair and pulling it over to the right side of the head, where the twists are hanging. Yes, we’re making a side pony here! 🙂 Make a side ponytail and then add your 2 twists into the rubber band as well. Undo any remaining twists that are hanging into the straight hair of the pony tail.
When adding the front twist into your pony tail, to get it to lay smoothly, I had to pull it underneath the ponytail and add it into the rubber band on the bottom.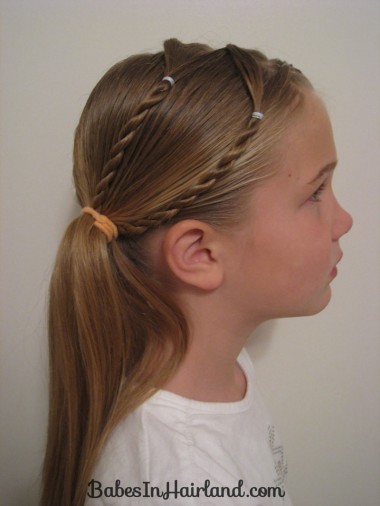
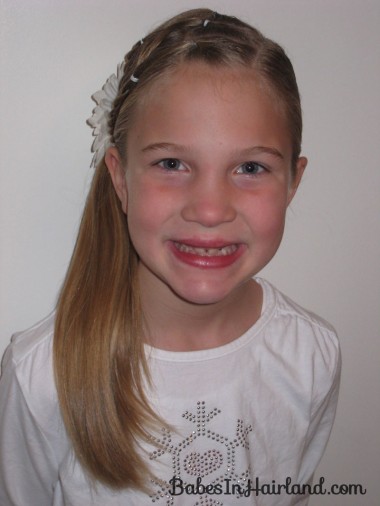
Add whatever bow/flower or accessory of your choice to cover the rubber band & your set.
This was quick & easy one, and best of all, things stayed in pretty well the next day and I only had to redo the ponytail and she was off to basketball first thing Saturday morning. Nothing like getting 2 days out of a hairdo! 🙂
And once again, don’t forget to head over to “COINS FOR COMMENTS” post to leave a comment for the day. Every little bit helps! Don’t forget to tell your friends, other bloggers, FB & Tweets! 🙂
