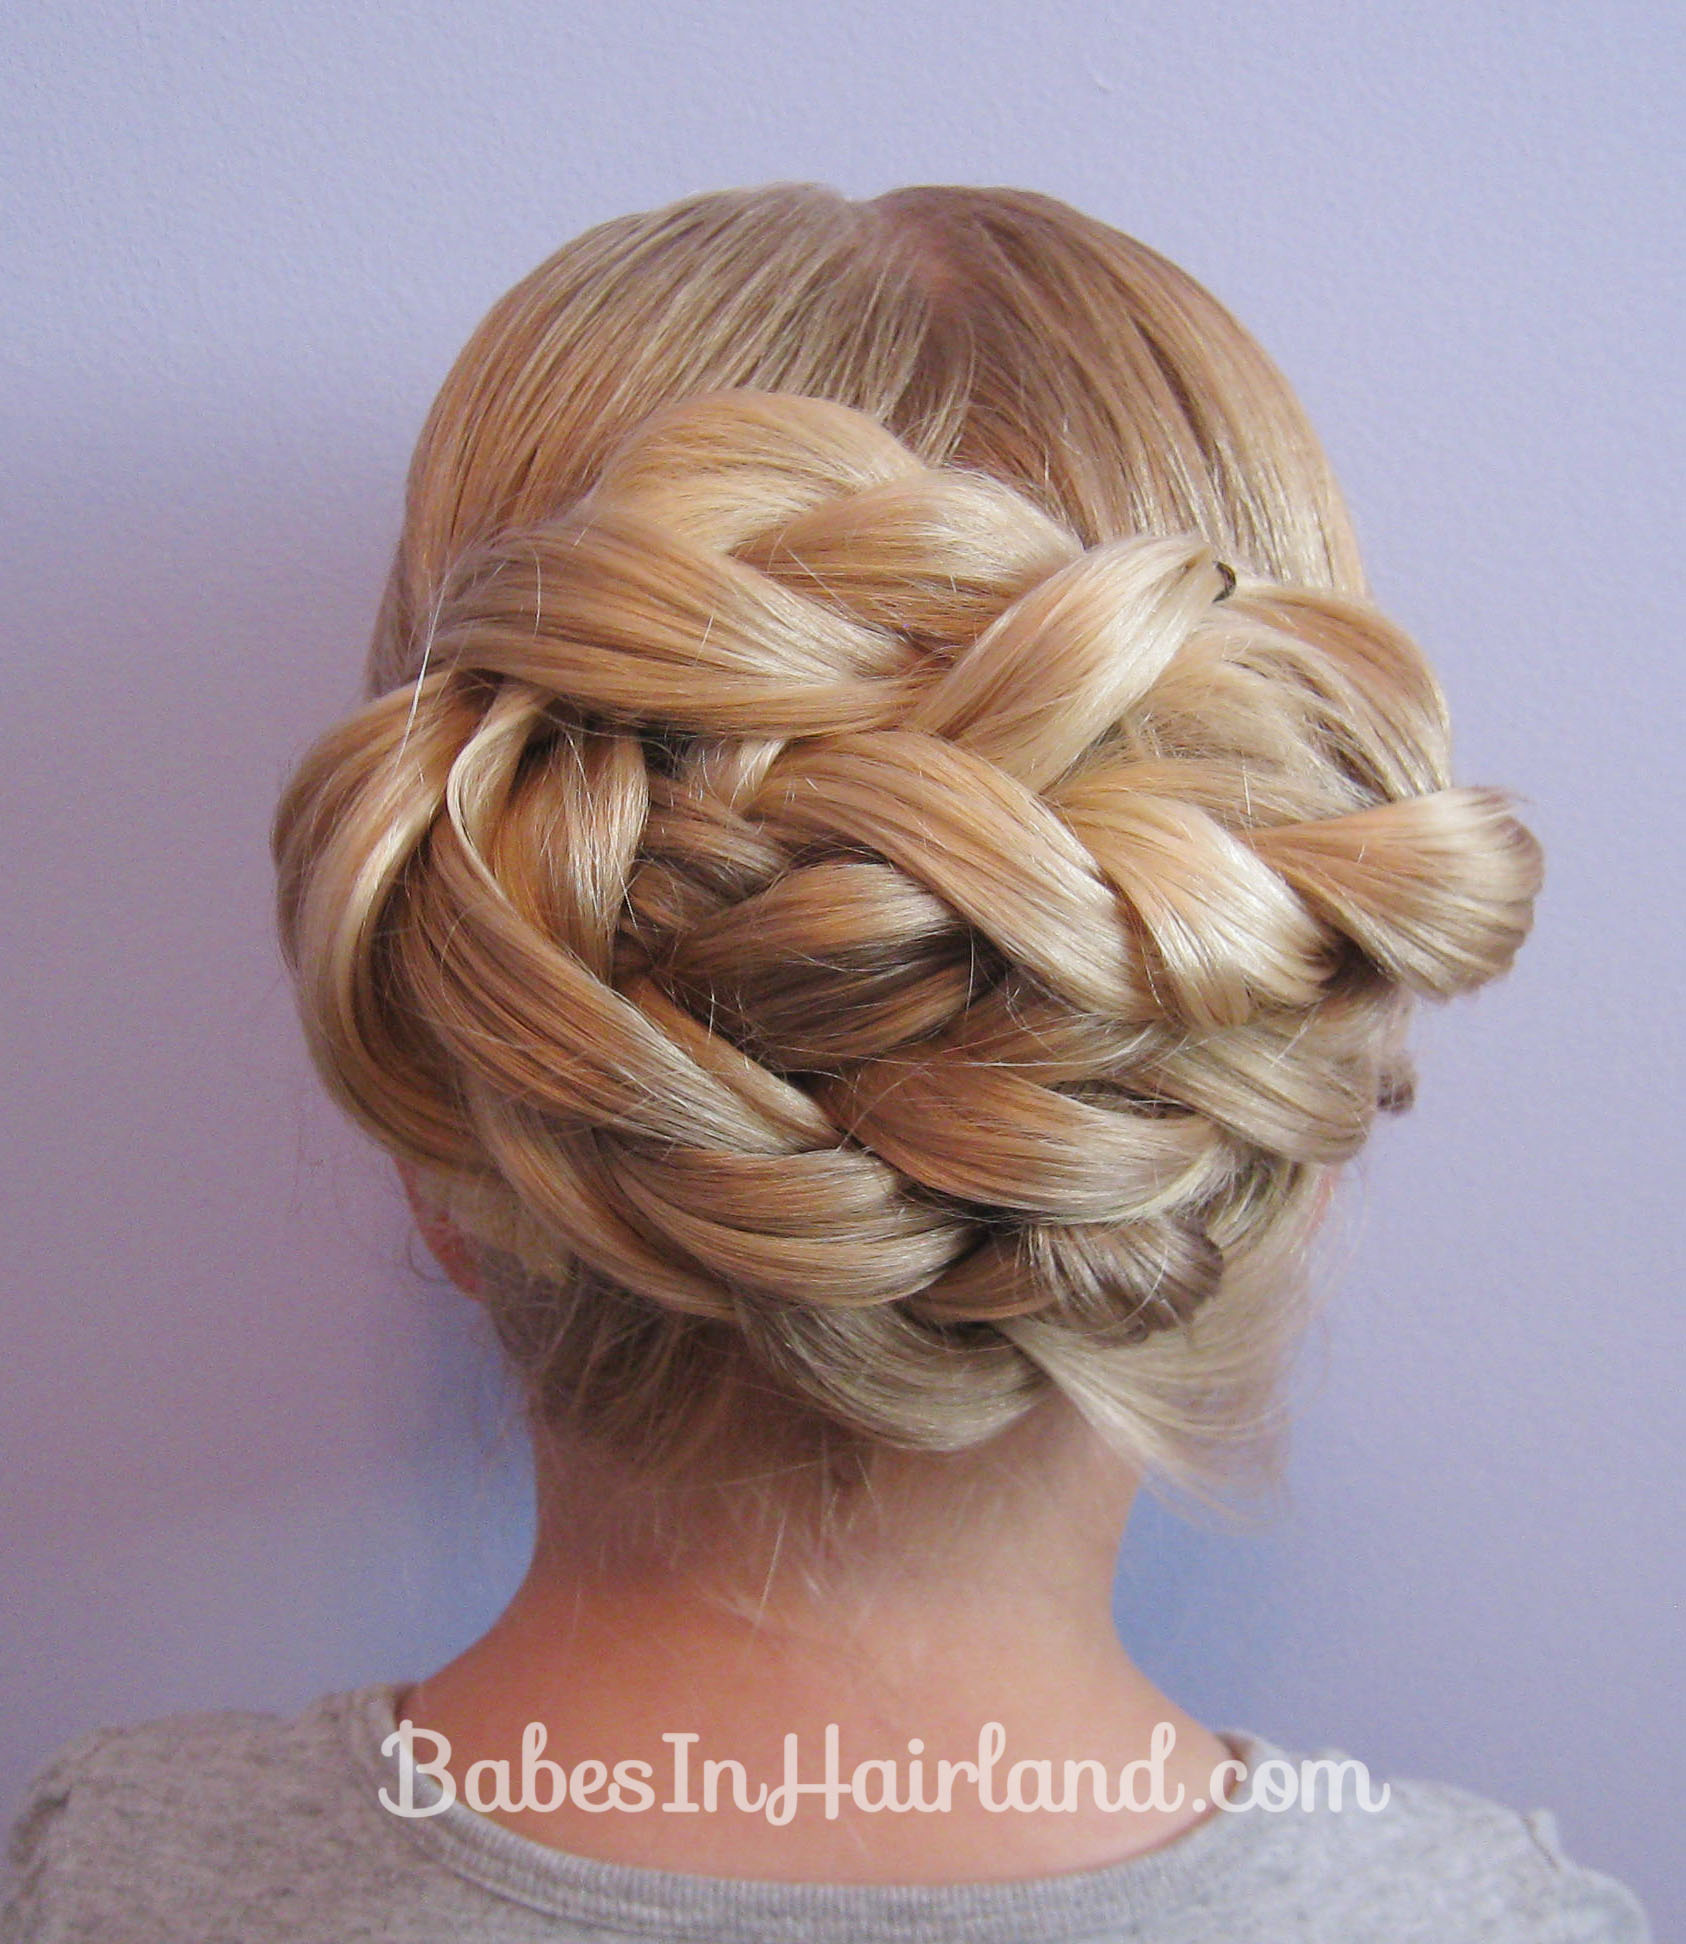
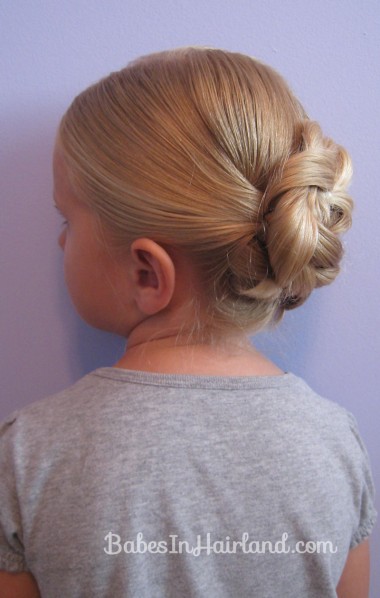
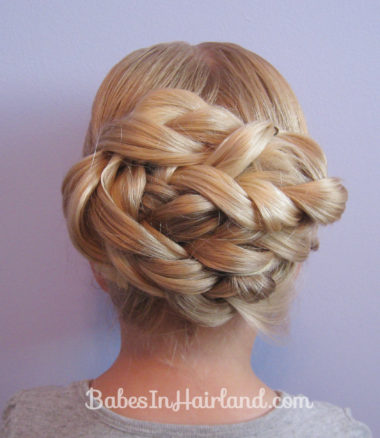
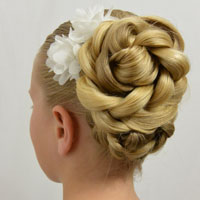
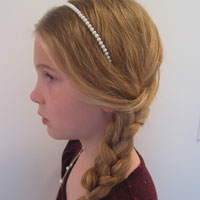
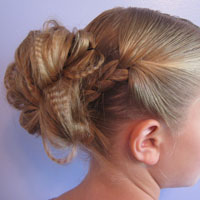
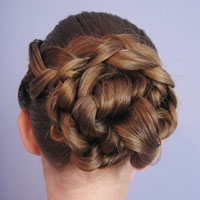
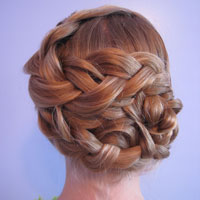
This was a style I did on Bee back during the summer & as tends to be the case, I’ll upload pictures from my camera and then forget about them in a file somewhere on my computer! I usually am good about getting hair related ones into my “hair section” of my computer, but every so often they sneak past me and I find them months later.
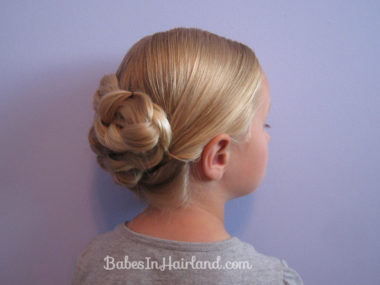
This isn’t anything complicated, but I like the look this gives instead of just a normal bun. This is a good style for girls in their tweens or teens and even older. It’s casual, but pretty. It helps to have a bit longer hair for this style so you can spread it out a bit more. Here’s how we did it.
Step 1 – Part hair down the middle
We actually started with a side part and then did a zig-zag part down the back. You just need to divide the hair into 2 sections & however you do it is up to you!
Step 2 – Make a braid on each side & secure the ends
Make these a bit looser than you would normally if you were making plain “Pocahontas” braids. If you want a messier look, flatten the braids out a lot.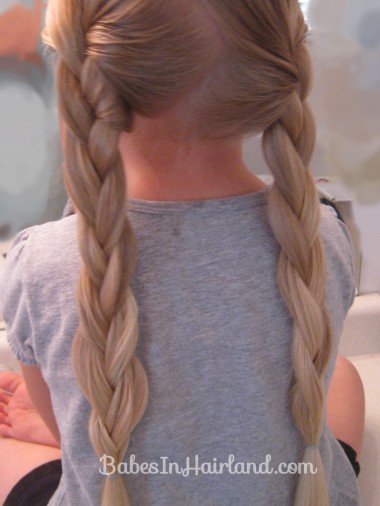
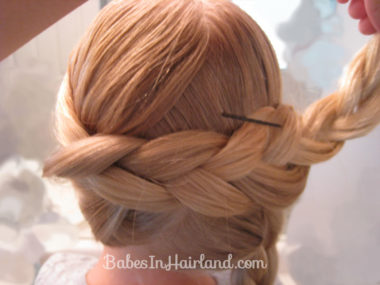
Step 3 – Drape left braid across to the right side
Don’t pull the braid over too tightly. Anchor with a bobby pin so the left braid is sitting on top of where your right braid starts.
Step 4 – Drape the braid back toward the left side
Depending on the length of hair you’re working with will determine how far this braid “snakes” back to the other side. You’re basically folding the braid back to the left — but make sure this part of the braid sits above the part you secured in Step 3. Secure it with bobby pins as needed. 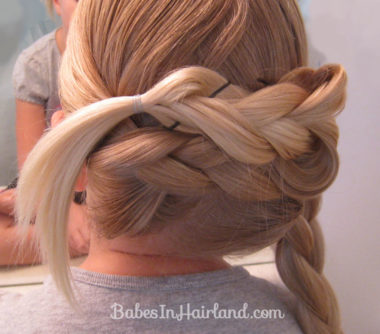
Step 5 – Pull the tail of the braid through to hide it
This step is sort of optional. I took my topsy tail and pulled the tail of the braid down through the draped braid & out the bottom. You could totally just tuck that tail down wherever you want to hide it.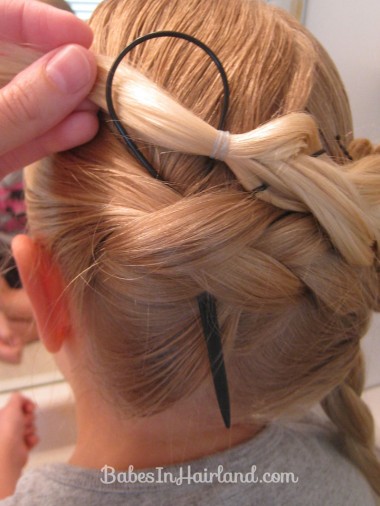
Pull it so it’s coming out the bottom. If your tail isn’t overly long on your braid, it will hide behind the braids & you won’t have to worry about it. Ours was longer, and we’ll get back to it in a minute!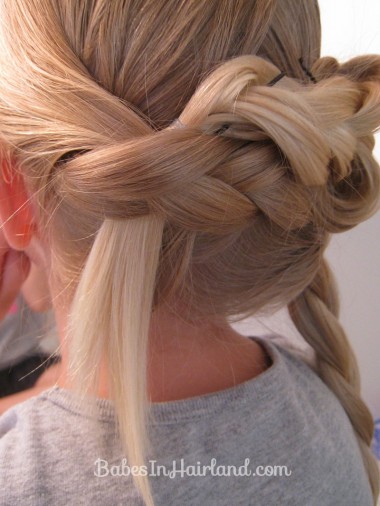
Step 6 – Drape the right braid across to the left side
Bring that right braid over to the left side, laying it underneath the braid that’s already been secured.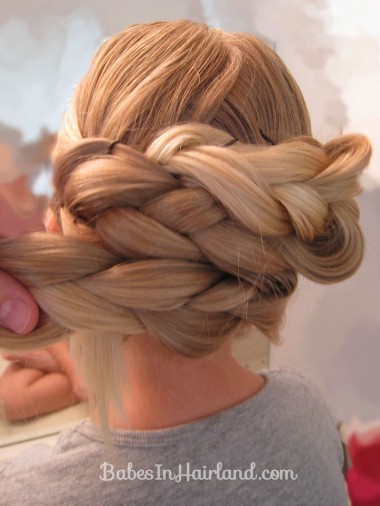
Bring it up and around on the left side. Drape it over the top of everything you’ve previously secured. Add bobby pins as needed.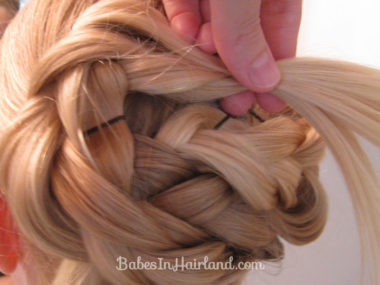
Step 7 – Hide the tail from the right braid
Ours stopped half way across our pile of braids, so we just tucked it down as best we could to hide it. We pulled the braid from below up and over the elastic to make the braids even flatter & pancake-like, allowing us to hide the elastic.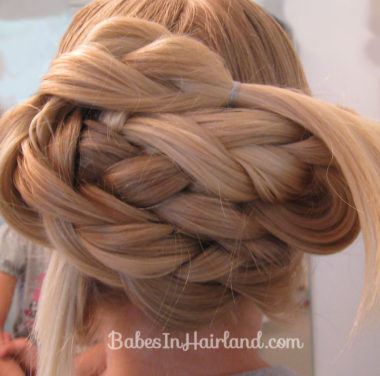
With the little tail on the left side I just looped it up and under the braids & secured it with another bobby pin. 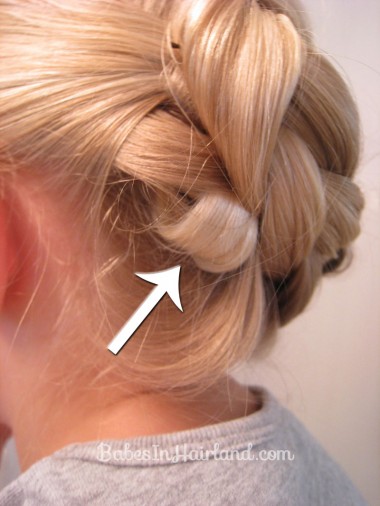
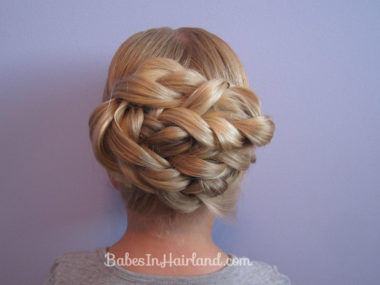
That’s pretty much it! Just make sure those ends get hidden and secured. Pull on the braids as needed once you’ve got things pinned in place to spread the braids out even more if you want. That’s a great way to make it look like you’ve got more hair than you really do!
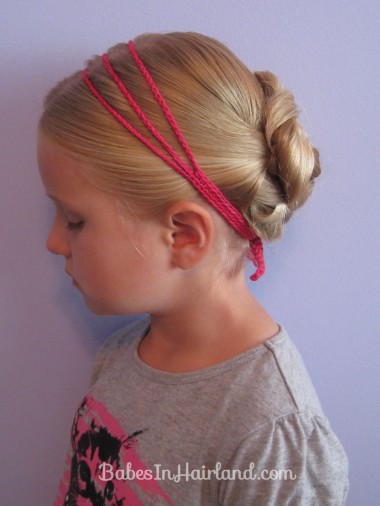
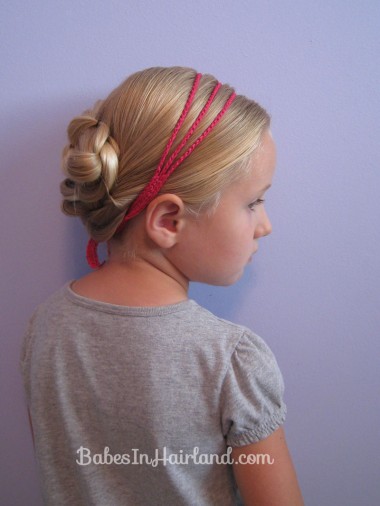
FINISHED!
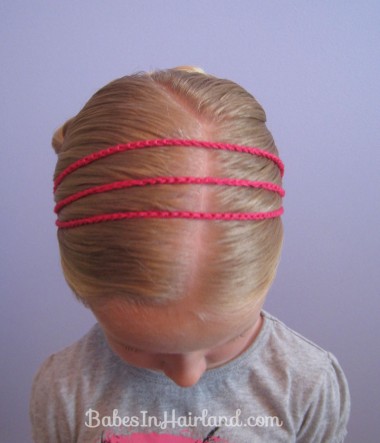
Then for a pop of color, we added a cute crocheted headband to this style. You can dress this up anyway you like to make it more casual or fancy. And of course the more you pull on those braids, the messier and wider this style will become.
Let us know if you try this! Be sure to share using our little social media buttons below!
