Step 1 – Make a ponytail & divide in half
For this hairdo I pulled Goose’s hair up into a regular ponytail and then divided it into 2 sections. I made sure the hair was nice and damp so the rope/twist braids were free of a lot of fly away hairs. If you don’t know how to make a rope braid – check out our video HERE.
Step 2 – Make 2 rope/twist braids
I made a rope braids in both sections and then tied them off at the end with a little rubber band.
Step 3 – Wrap the rope/twist braids
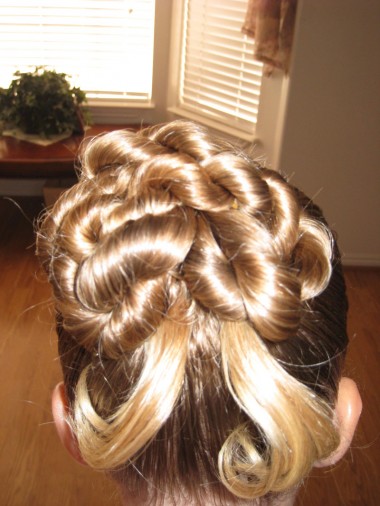
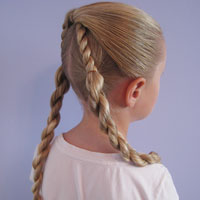
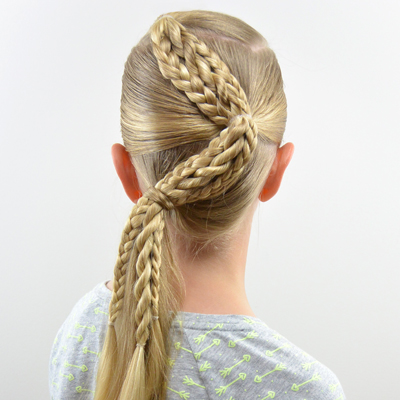
I then wrapped each one around to make it look symmetrical and where ever I thought it might look good. Once again, I used plenty of bobby pins, and pinned it down wherever I thought it needed it. In this one I let the ends of the rope braids hanging out from the bottom. I can’t say I’m a huge fan of doing that – after looking back at these pictures. I guess it’s because I couldn’t get the ends to curl the same way or look the same. They had minds of their own that morning!
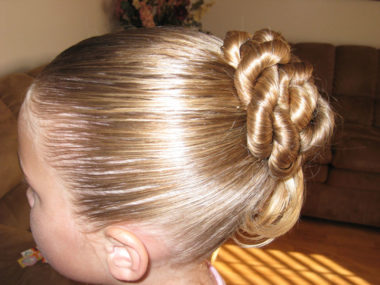
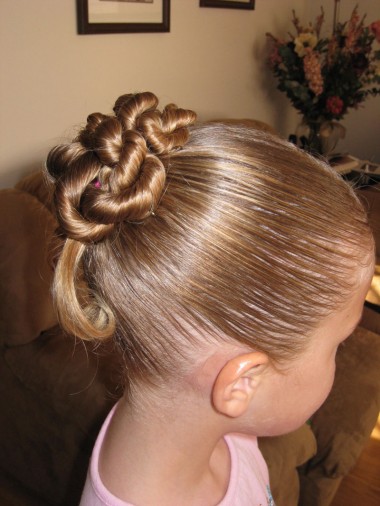
Anyway here are views from the sides:
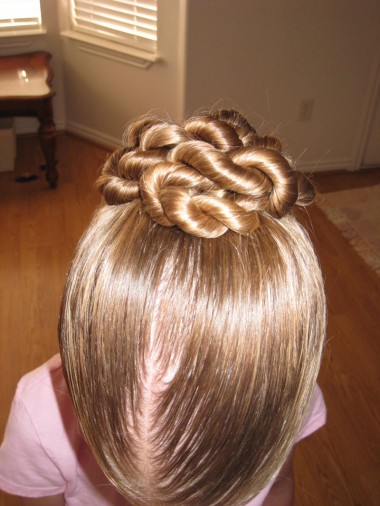
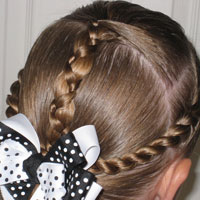
And a view from the top:
All in all, I really liked the way this turned out. I tried this on Bug not too long ago, but because her hair isn’t as thick or as long as Goose’s was, it didn’t turn out quite as good. I’ll try not compare the two girls’ hair, but it’s kind of hard not to! As I mentioned before, I’m missing Goose’s hair because of this! Plus, being that she’s older, Goose tends to have more patience with me when it comes to trying new things! I also forgot to embellish this with anything. I really need to invest in some prettier bobby pins or small flowers that I can stick throughout these kind of styles. Half the time I’m so excited about something new, I forget about the “cutsies” that should be added afterwards, so hang in there with me!

Hey!! I just discovered your website today and love it!! I have really long, soft hair and found it impossible to manage them. But in just a day I’ve come across so many wonderful ideas!! Thanks!! 😀