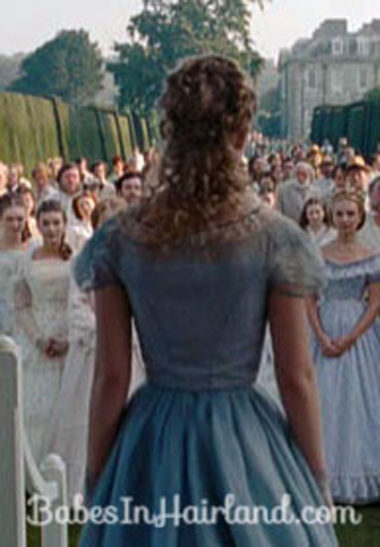
Here we are again with our next installment of Alice Hairdo’s. I hope you aren’t bored of this yet – cuz I’m not! I actually attempted this one in 2 different ways – once on Bug, and then the other day on Goose. I watched the trailer over and over weeks ago and thought I could see how it was done – I was mainly going off this rather hard to see picture.
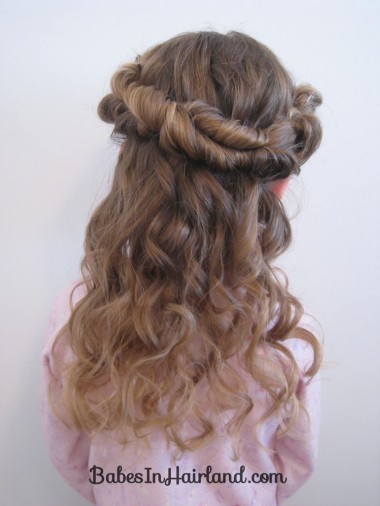
It looks like she’s kind of got a wreath around crown of her head and then curls hanging down in back. So this was my result on Bug when I tried this the 1st time weeks ago when she was still in her PJ’s!:
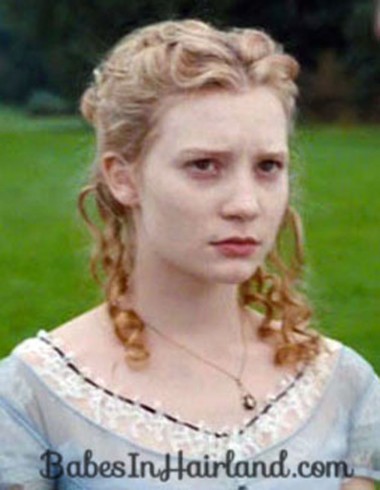
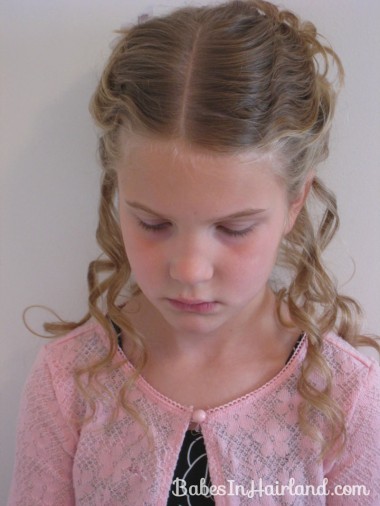
I wasn’t jumping up and down about it. It was pretty & all, but I just kept feeling like I didn’t get it right. Granted, trailers are totally pieced together, and since I still haven’t seen the movie, I don’t know if the sequence of scenes that are shown in the one I watched even have the same hair do. But assuming they did – and as I watched the trailer a few more times – it shows her from the front like this:
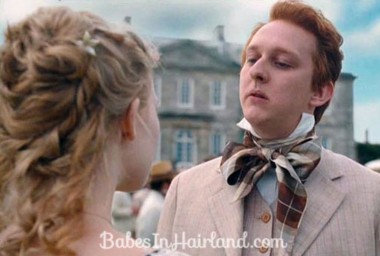
And this next one shows a partial shot of the back of her head as she’s approached by Mr. Red Head Pointy Nose (like I said, I haven’t seen the movie yet! LOL) – telling her to meet him in the gazebo in 10 minutes (the very 1st picture I posted is her getting ready to leave the gazebo – or more like run out of it – after he’s just asked Alice to marry him).
Anyway – after looking at this more, I decided to do this again – on Goose this time – and here’s what I did instead:
I liked it much better. So here’s the step-by-step – for the most part!
As always – start with the hair curled – and parted smack down the middle of the head. And as always – we used our Curlformers.
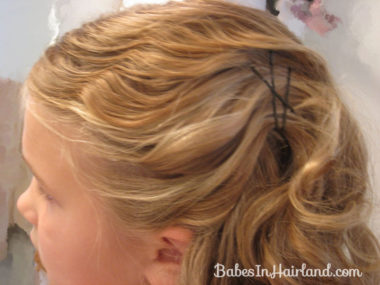
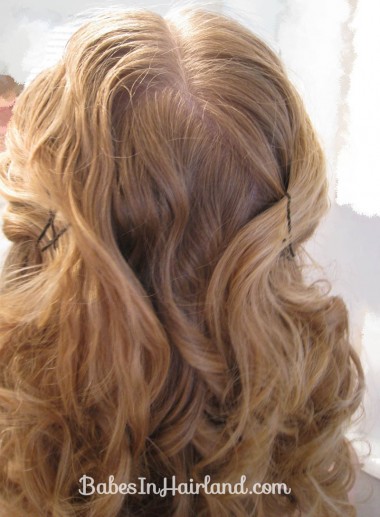
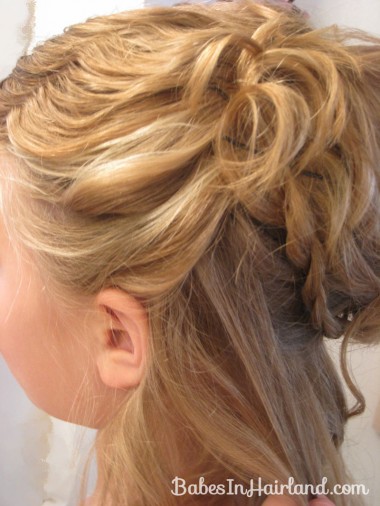
Gently comb the hair back on the left side with your fingers. This should have a loose/natural look to it. Pull hair up from about the ear and fasten it with bobby pins.
Repeat on the left side too.
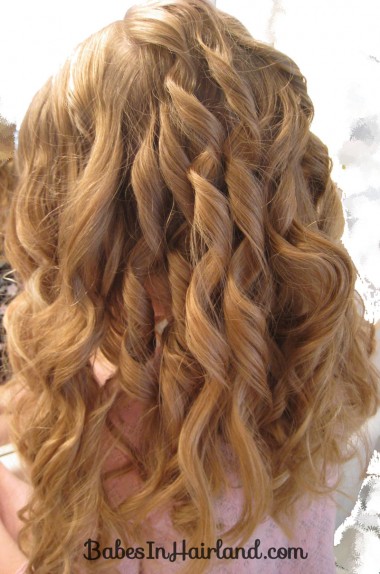
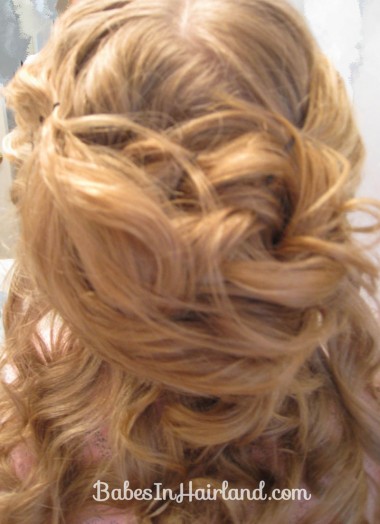
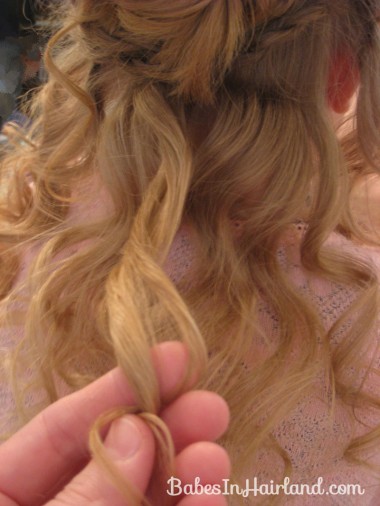
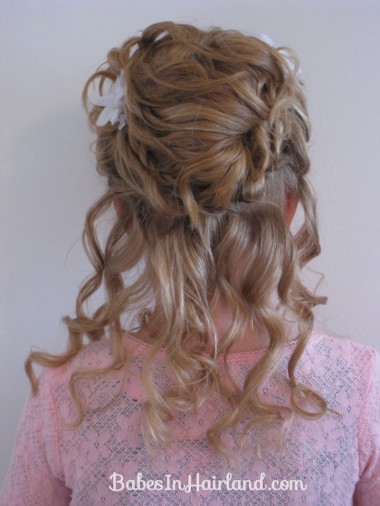
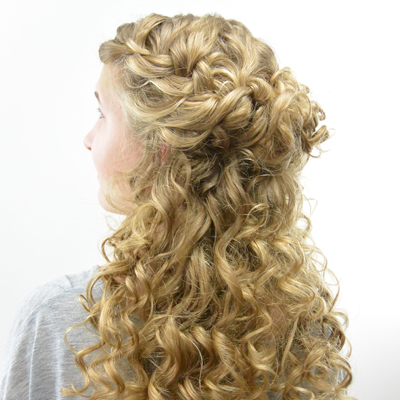
So from the back it should look something like this:
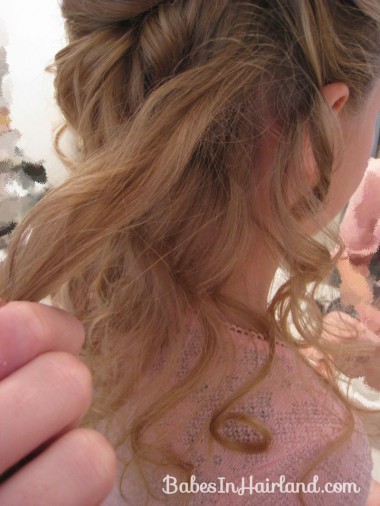
Then take most of the hair hanging in back and section it out – leaving random curls hanging down below.
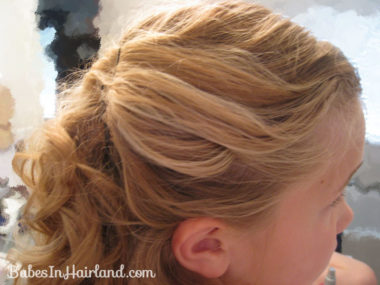
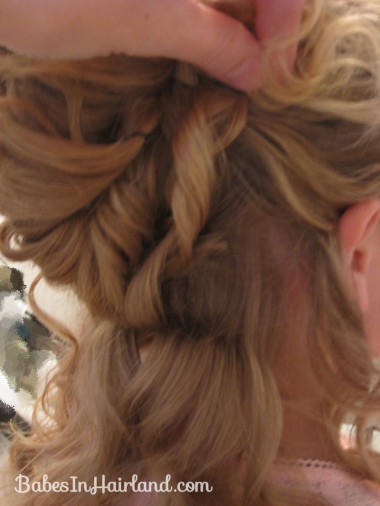
Sorry – it’s at this point I don’t have pictures for this because, again, I needed both hands. But with this big section on hair, I wrapped it around my fingers to form a bit of a French twist. I haven’t had a chance to put a quick video of it together yet – but over here at Girly Do’s -she’s got a great step by step on how she did one with Bean’s hair when it was wet. Keep in mind – I was working with dry hair & curls here! You just want to turn the hair into itself – letting the curls land however they want once you’ve twisted the ends of the hair into the twist.
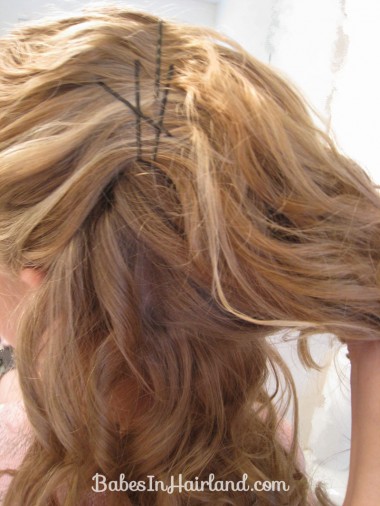
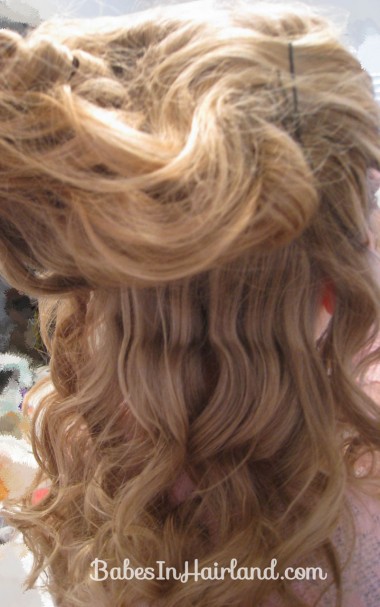
I know this maybe just looks like a mess with a few bobby pins stuck in – but it really was hard to capture this in pictures. Sorry! But as you can see it wasn’t overly tight – just very natural-ish! Here’s another one with her head tipped back. Anyway – secure the French twist with as many bobby pins as you need.
Then on the right side of the head take some of the curls hanging down …
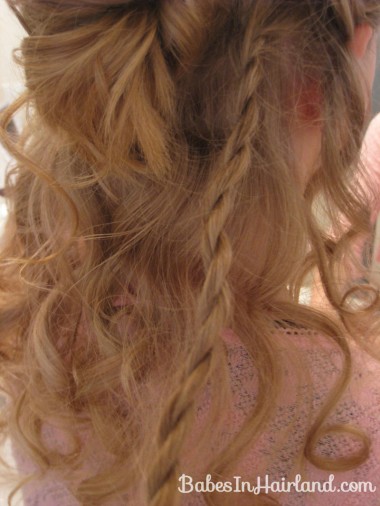
and loosly twist the hair. I did a rope braid/twist – but you really can just ever so lightly twisted the section of hair.
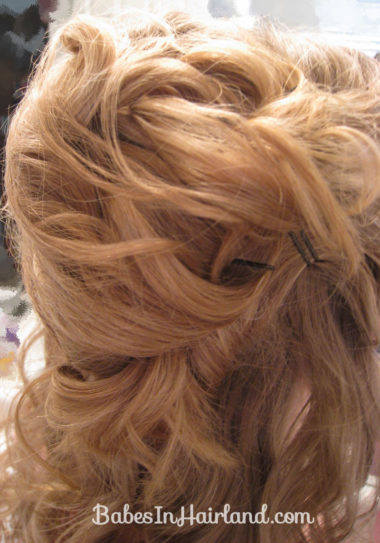
Bring the twisted hair underneath your French twist towards the left side of the twist up by the bobby pins on the left side.
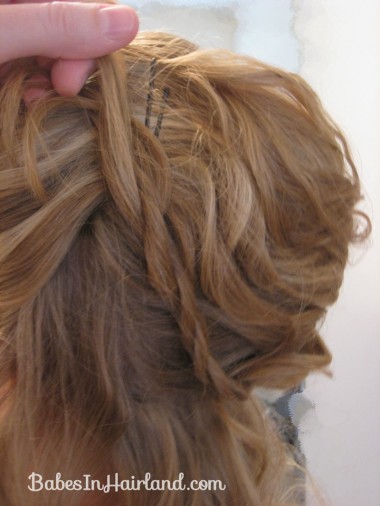
Secure the end of your twist up over the bobby pins that were on the left side. Allow the ends to curl around and piece them around if you need to, to cover up the bobby pins a bit more. Repeat with hair on the left side, and take the twist around to the right side, securing the ends up over the bobby pins on the right side.
I also grabbed a few curls from below and draped them upwards along side the twists to try get the French twist to “stand out” a bit more.
Secure the curl with bobby pins as needed.
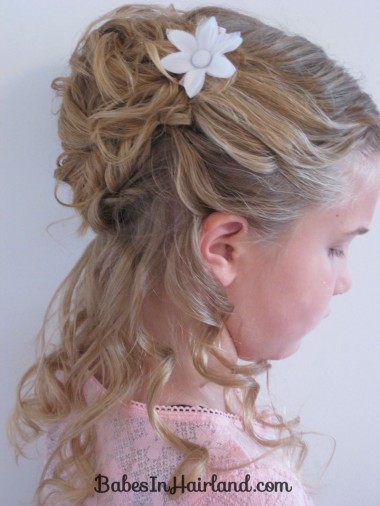
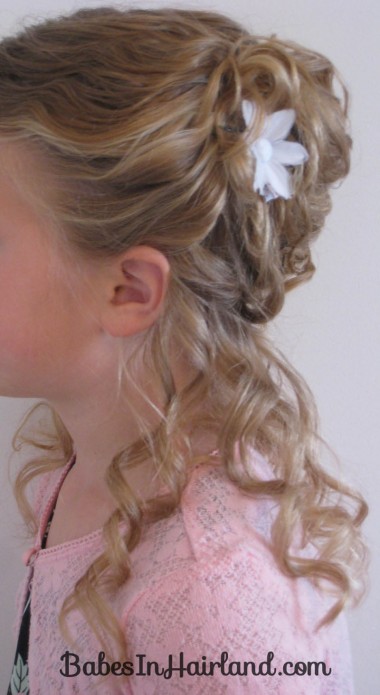
With the remaining curls that are hanging down, I tried to separate them a bit and mist them with hair spray so they’d stay in thin ringlets. Then I added a few flowers from Gimme Clips and called it good!
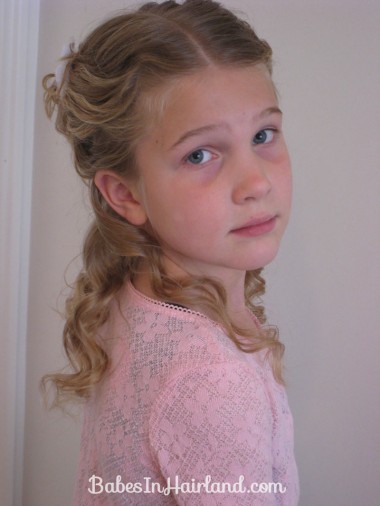
I was kind of bummed that in the pictures, the twists that run underneath the French Twist kind of can’t be seen very well, but it looked so pretty in person!
She was trying to pull a more serious or “forlorn” face like Alice!
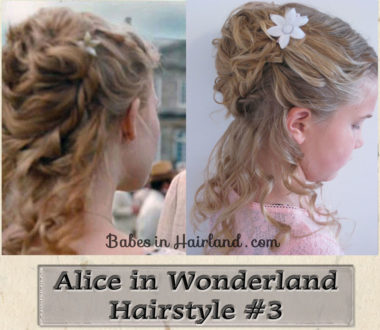
So what do you think? Here’s the side by side comparison — not too shabby if I do so say so myself! I really loved this one, and I’m sure we’ll do it again for something fancy!
I have one more that I’ll post eventually – that’ll be a slightly different way that I did 1st Alice Hairdo I posted- but I’ve got a TON of other things I want to post too – so I’ll get some of those posted first, as to not bore ya’ll! Don’t forget to check out our 2nd Alice Hairdo HERE if you haven’t seen it yet! Anyway, I’ve totally enjoyed trying to copy some of the do’s from the new movie, and can’t wait to see it. I’m afraid, however, once I go to see it that I might pay more attention to her hair than the actual movie LOL!
Hey i want to do this on myself, and i was wondering how in the world you could do this with bangs??
Gorgeous!! I can’t believe how well you are able to recreate a hair-do with pictures (not even whole pics or even nice shots of the hair)! I would have been baffled but seeing how you pieced it together and then seeing the side by side I can’t believe how simple it would be. I am in love with the tutorials on this site. Thank you so much for sharing!
Just found your site, these are amazing! Would love to try them 🙂 Thanks for posting!