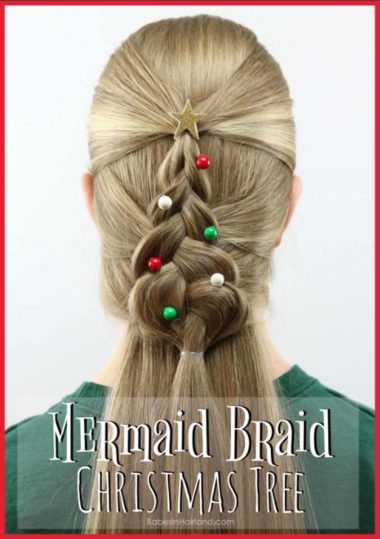
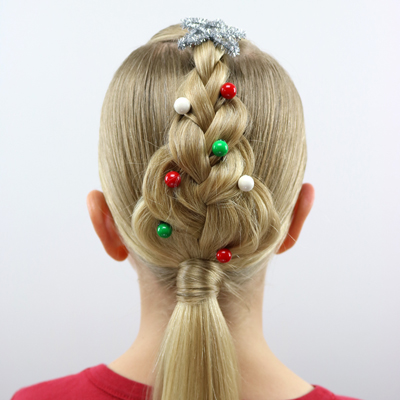
We hope you’re enjoying your December so far and that you’re making progress on that “list” of things to do, buy, and give! We’d of course, highly recommend that you “give” good hair gifts by checking out our Ultimate Gift Guide for Hair Lover’s HERE. And also “giving” the gift of good hair days, by creating fun Christmas hairstyles is also hopefully on that list! Hopefully it is, because we’ve got another fun Christmas Tree hairstyle for you today.
Here’s our quick video tutorial. If you’re having trouble viewing it, watch it HERE on our YouTube Channel. And as always, keep scrolling for more pictures!
1- Make an off-center part on the top right of the head.
2- Draw hair from both the left and right side near the face, to the back center of the head.
3- Secure these sections of hair together with an elastic to make a ponytail in the center of the back of the head.
Be sure not to make a full half-ponytail where you part the hair from ear to ear. You just want a small ponytail to work with and the rest of the hair coming down behind the hair you pulled back into the ponytail.
4- Divide the ponytail into 3 even sections to make a braid. You will be passing the hair under as you braid, instead of the norm which is passing it over.
5- Do one full rotation of the braid before you start adding hair for the mermaid braid portion.
6 – After the first rotation, pass the right section of the braid under the center section. Then draw a small section of hair from behind the right ear and add it into that section.
7- Next on the left side, pass the left section of the braid under the center piece. Draw a small section of hair from behind the left ear and add it to that section.
8 – Be sure you are adding just a little hair to your braid so it lays on top of the rest of the hair that is against the head. This isn’t a regular French braid where all the hair is added. That’s what makes this a “mermaid braid.”
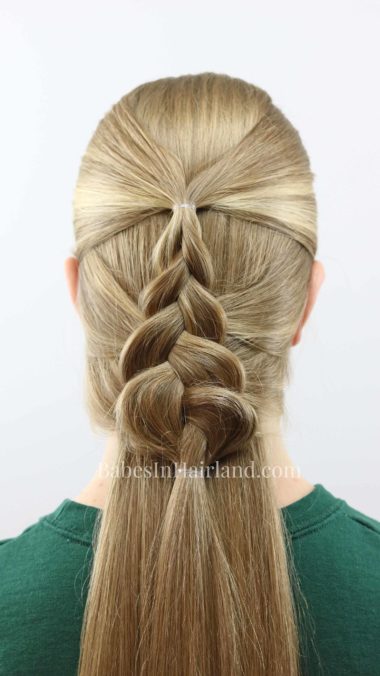
9 – Repeat adding hair to each side so in the end you’ve added hair 3-4 times on each side, or until you reach the nape of the neck.
10- Gently go back up the braid and pancake the braid so it gradually gets wider at the base to mimic the shape of a tree.
11- Secure the end of the braid with an elastic. Go back and adjust the braid shape as needed so it has the tree shape you desire.
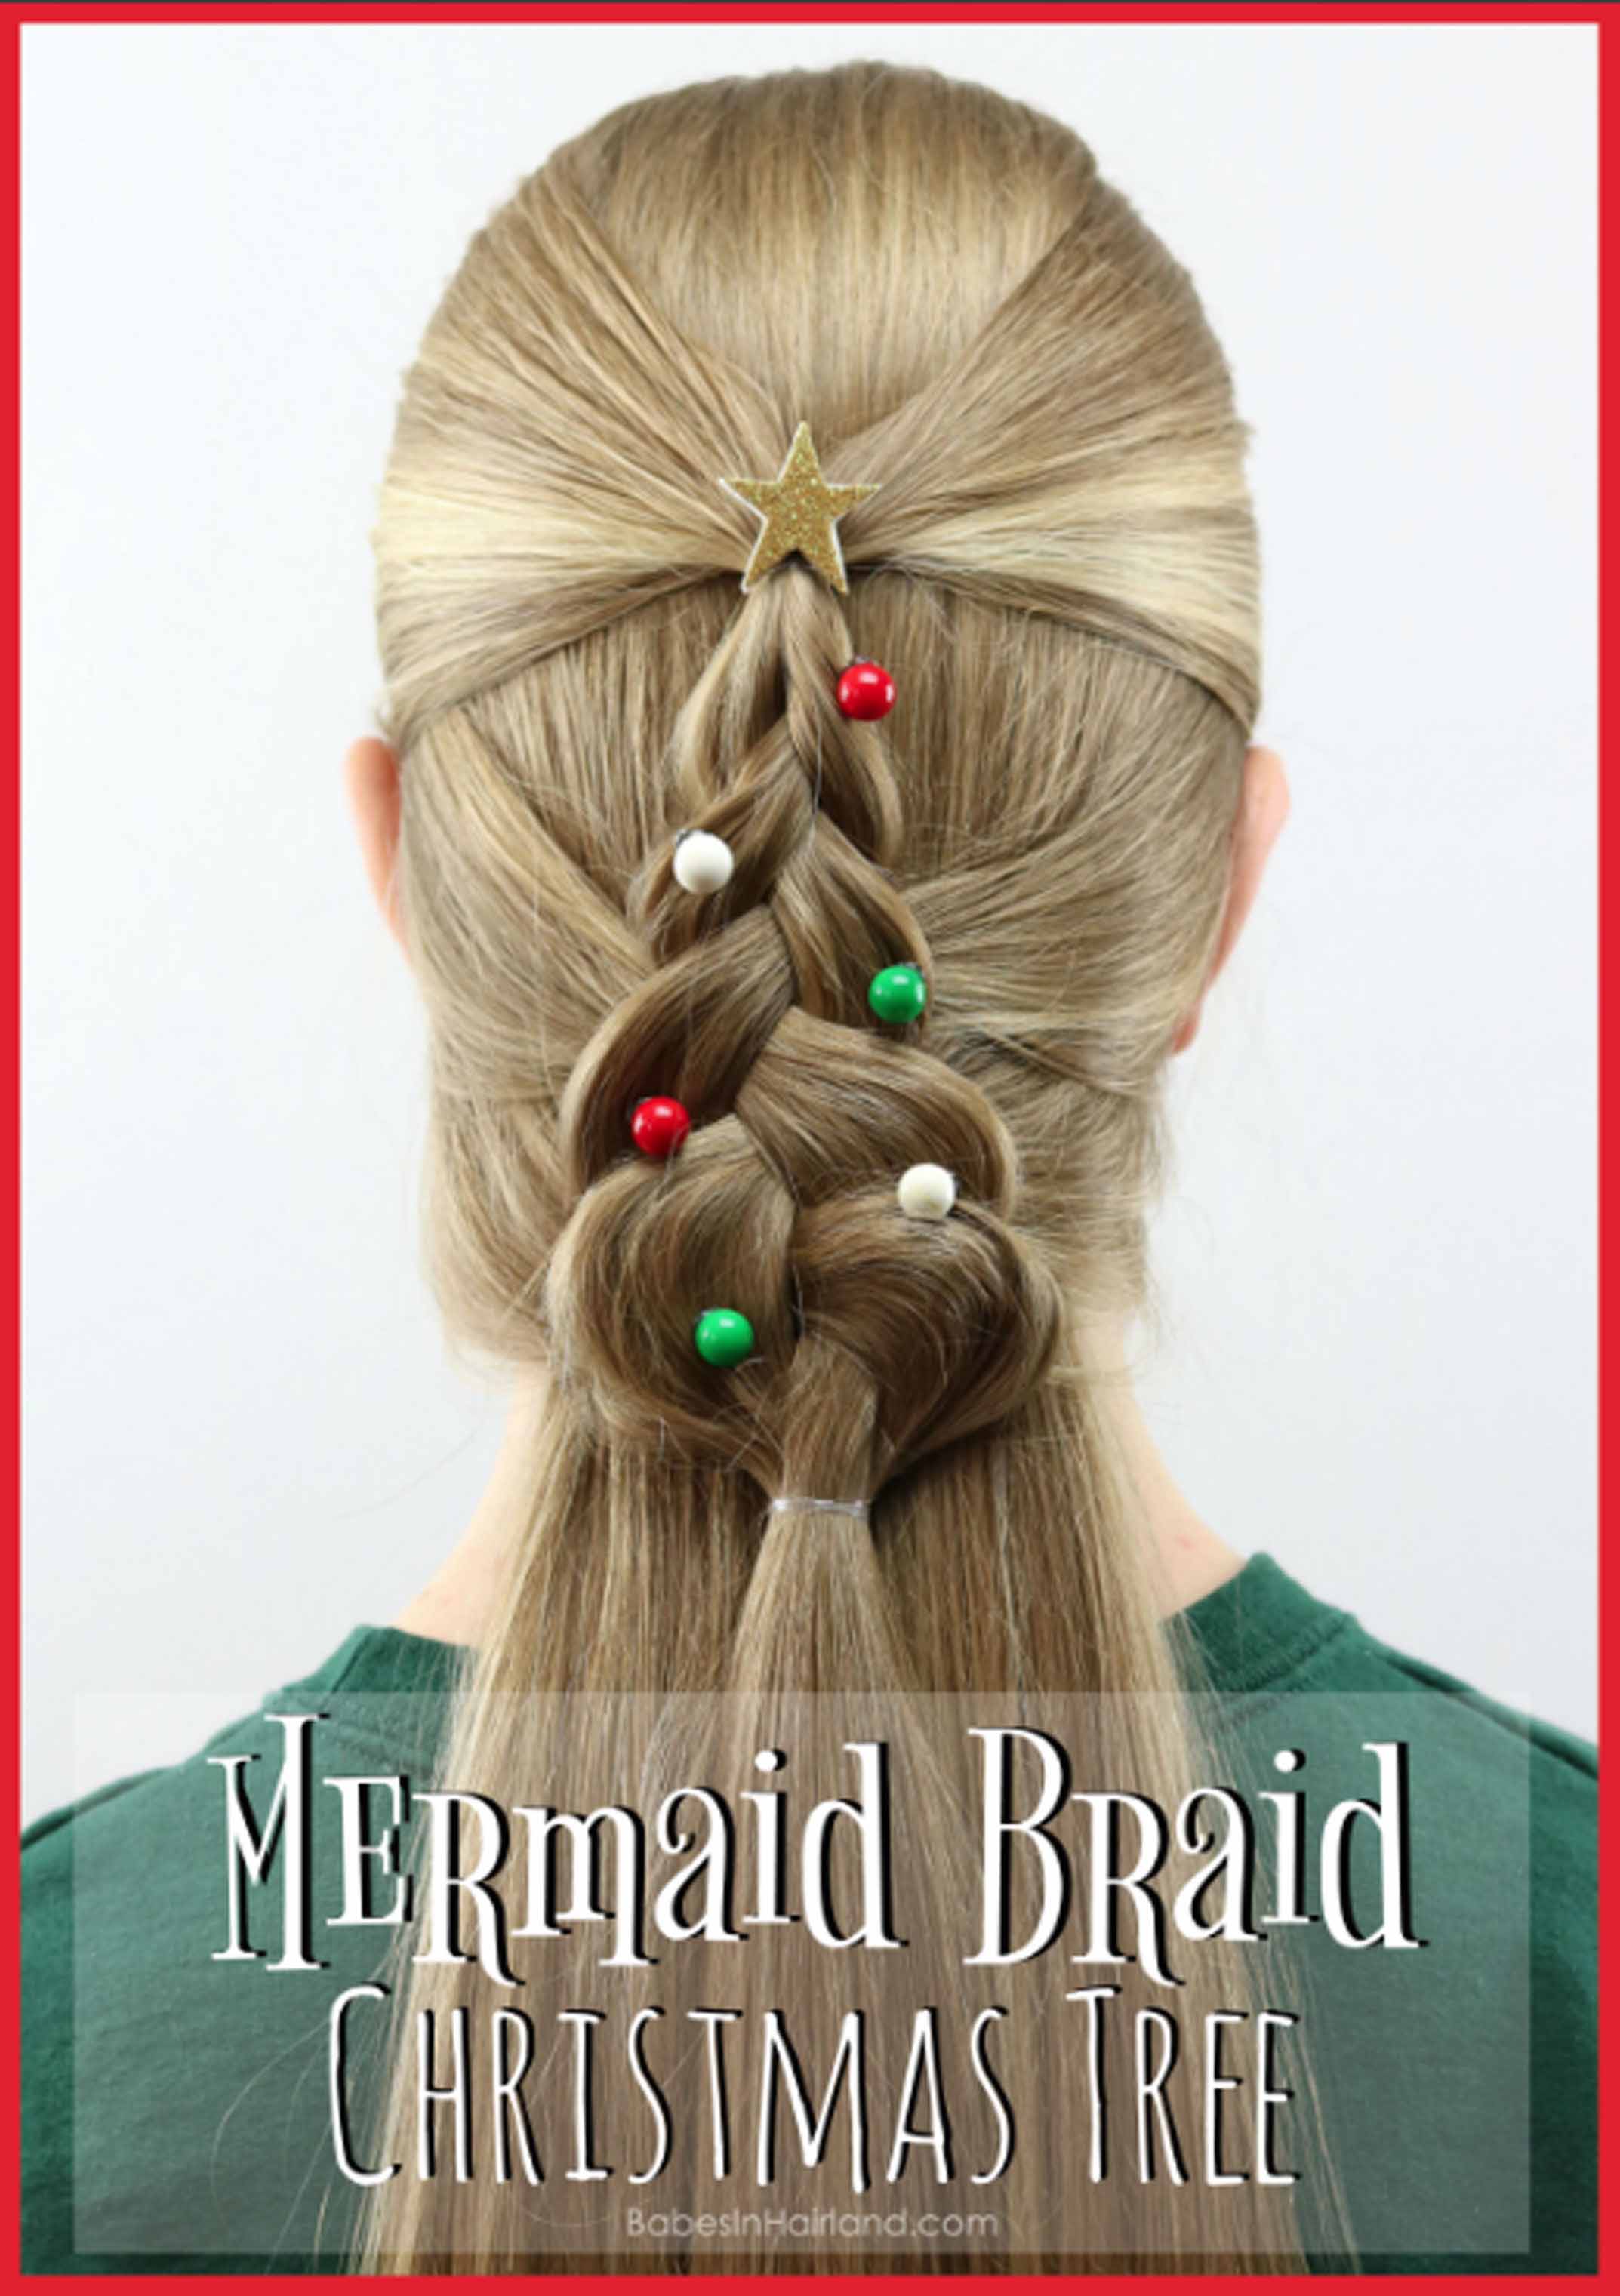
12 – If desired, add decorations to your Mermaid Braid Christmas Tree!
FINISHED MERMAID BRAID CHRISTMAS TREE!
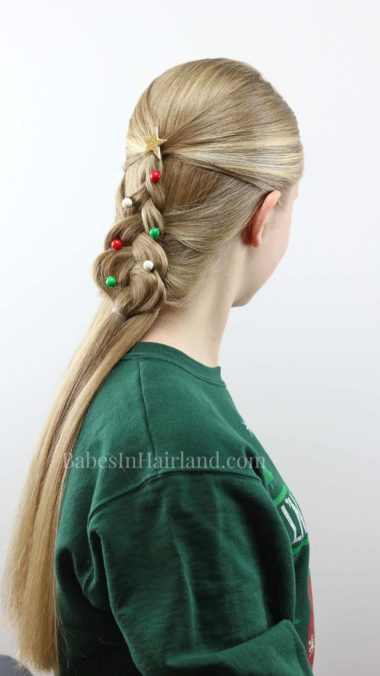
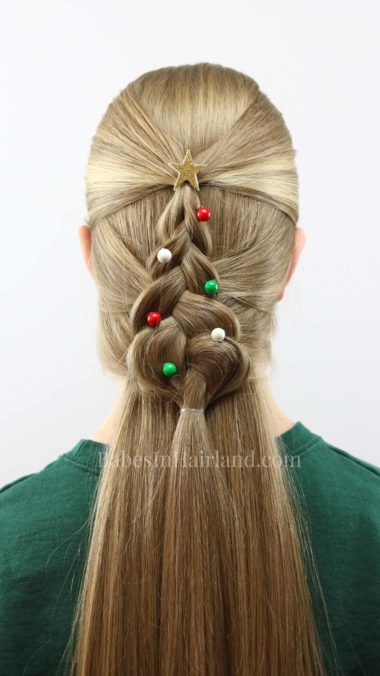
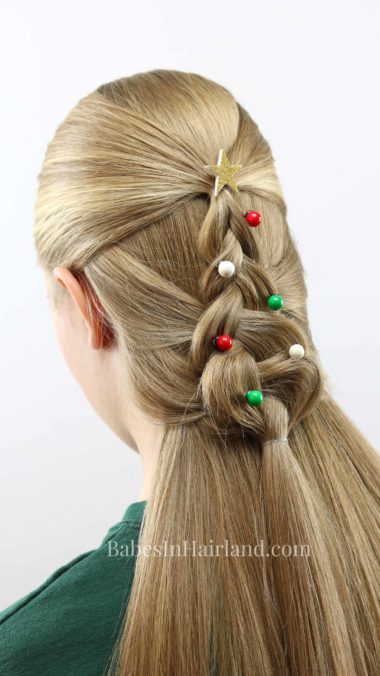
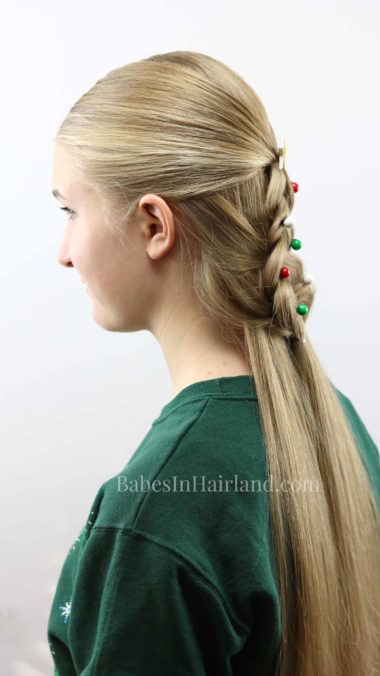
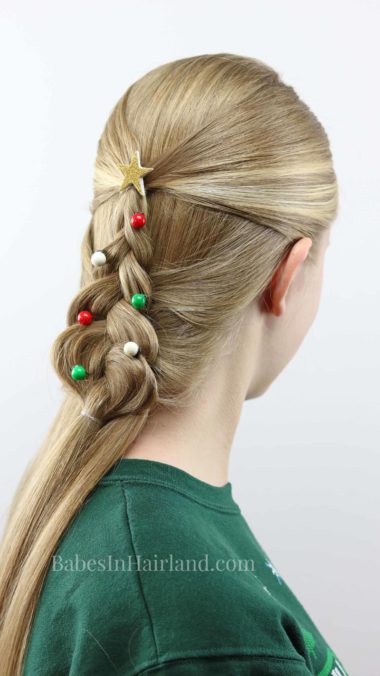
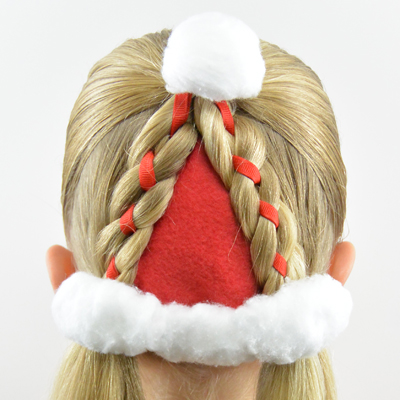
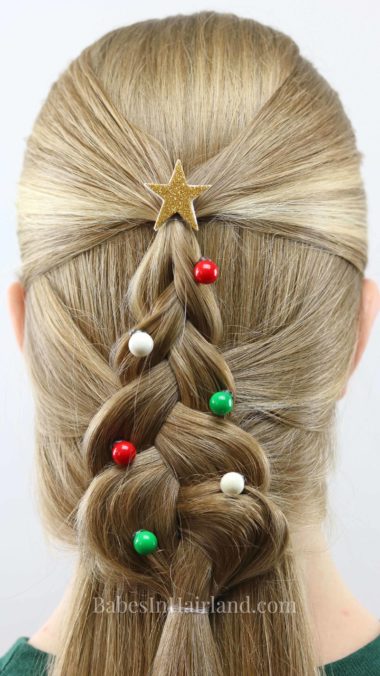 It’s a pretty simple one, but so very cute. We hope you’ll add this to your Christmas hairstyles this season! And here’s a few other Christmas Tree Hairstyles we think you’ll like!
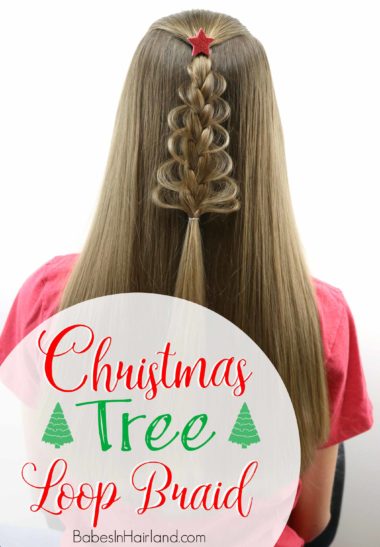
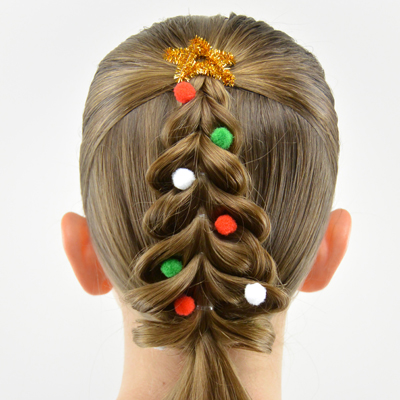
Christmas Tree Loop Braid tutorial can be found HERE.
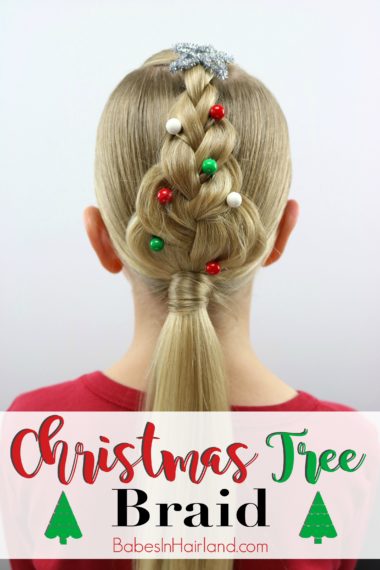
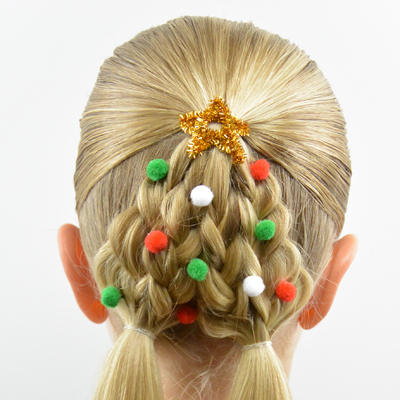
Christmas Tree Braid tutorial is over HERE.
So that’s all for this week! Thanks for checking out this week’s new Christmas hairstyle! Please PIN and SHARE today’s hairstyle! See you next week!
