Recently I shared a bunch of stuff about myself to give you a better idea of who I am. One thing I neglected to tell you is that I absolutely abhor spiders strongly dislike spiders. If they are bigger than a pencil eraser I just would rather not even deal with them (and that’s putting it lightly!) But obviously, as a mom, I can’t escape them completely. But you should know as cute as my girls are – they have a mean streak! They will purposely cut out pictures of nasty spiders and leave them on my pillow just to hear me freak out. And when it comes to Halloween and all the icky spiders people decorate with – I try to close my eyes to all of it. I don’t know why – but I seriously can’t stand them. And I’ve got to admit, doing this project was extremely hard for me (and when I close my eyes I see spiders *shudder*!) — but because we do things sometimes in the name of love … I did it!
It all started when I saw these spiders on Pinterest. I must have been really tired because I thought they would be an awesome “hair accessory” for Halloween. So that is how this Halloween craft came about! I followed the tutorial that linked to that picture (you can see it HERE).
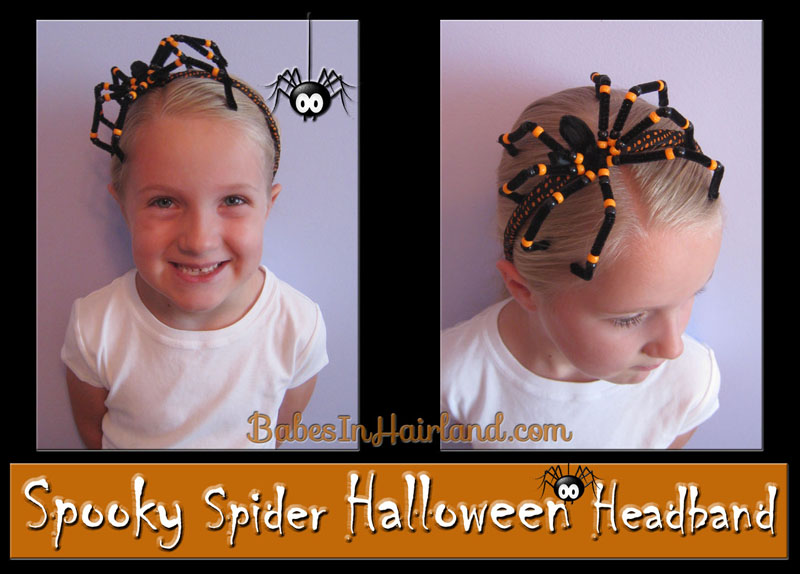
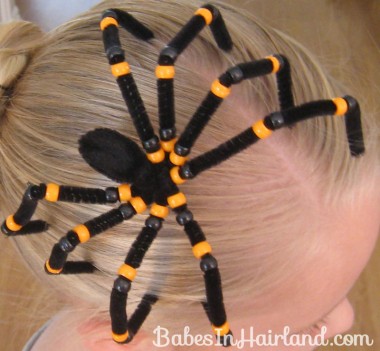
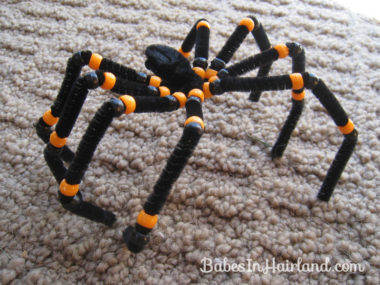
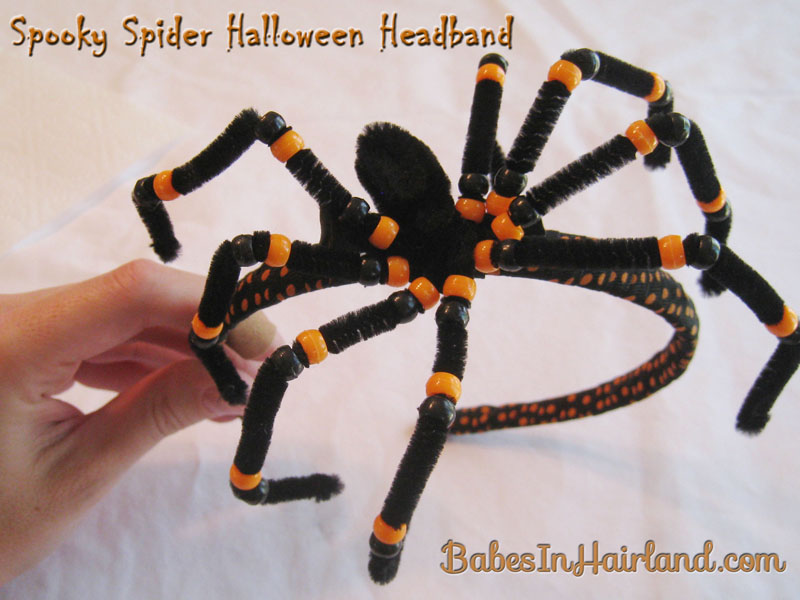
Here was our nasty spider that I created. Bee thought it was great & before the headband was even made, delighted in going around with it clinging to her head just to gross me out!
So, obviously, you first need to create your spider, following the directions from She Knows. I also tried making a small one where I cut the pipe cleaner in half and followed the same steps. Lets just say the bigger one has a much spookier result! 🙂
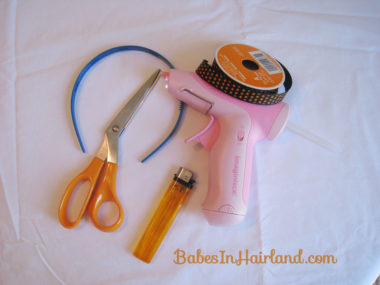
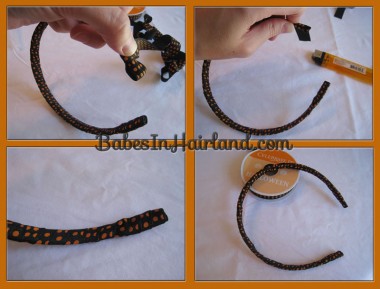
For the headband you will need: ribbon, scissors, glue gun, lighter or ribbon sealer, a ruler (not pictured) and a headband. This isn’t rocket science, but I took some pictures anyway!
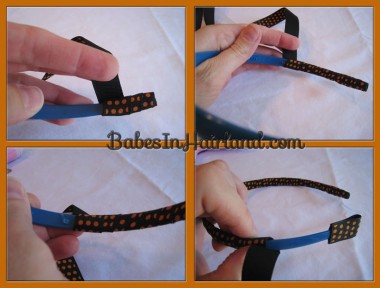
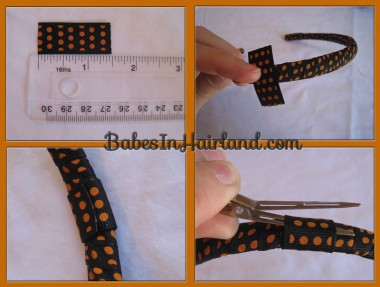
Hopefully the pictures are rather self explanatory. You don’t have to cover the ends of your headband, but I think it gives it a bit more polished look. Once you’ve glued the 2 small strips on, glue the start of your ribbon onto one end being to wrap. Pull it tightly to ensure the ends don’t end out thicker.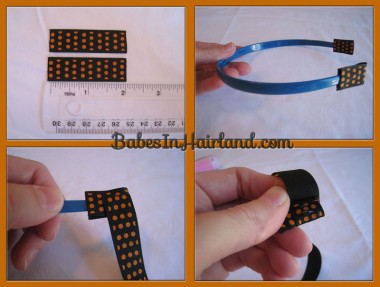
Continue wrapping around the headband, overlapping the ribbon so no headband can be seen. I used a 5/8″ ribbon. I just left it on the roll, so I don’t know how much I used. Probably too much! Every so often, I put a dab of hot glue on the headband to ensure the ribbon wouldn’t slip back down. Be sure to pull it tight as you work your way around.
Once you get to the other side, cut your ribbon and seal the end of it so it won’t fray. Be sure you can wrap it and glue it on the inside of the headband to finish it off.
Here is an optional step. You could just glue your spider onto the headband, but we have future plans for our spider, so I wanted to put him on an alligator clip. So I gut a small strip of ribbon about 1 1/2″ long and slightly off center I wrapped the strip around the headband and glued it on the under side of the headband. It leaves a small loop so you can slide your alligator clip through it and change out the clips.
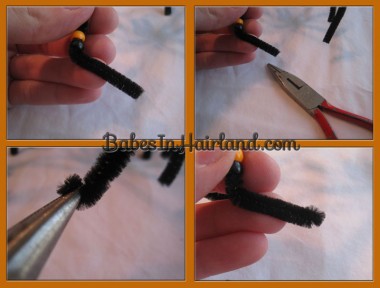
Because the pipe cleaner has the poky wire sticking out under the fuzz, I didn’t want that scraping Bee or snagging in her hair so I took a pair of needle nose pliers and curled the ends of the legs up just a little and then smashed them in the pliers to ensure there were no more sharp ends.
Then we covered a 1 prong alligator clip with black ribbon, added a dab of hot glue on the bottom of the spider & attached the clip to the spider. Play around with how you want your spider positioned on the headband and glue your clip at the according angle. I didn’t want it straight on, so I put my clip on a bit of an angle. 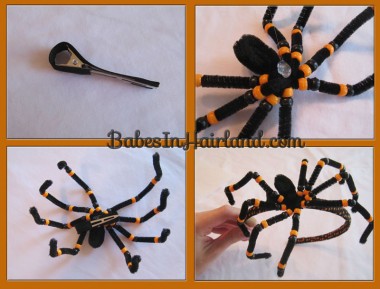
Then slide the bottom of your clip under that loop on the headband and Voila …
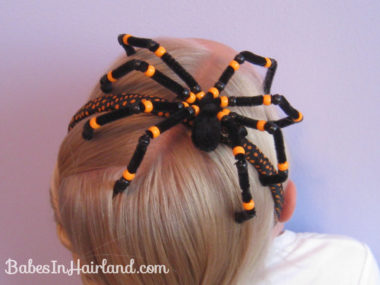
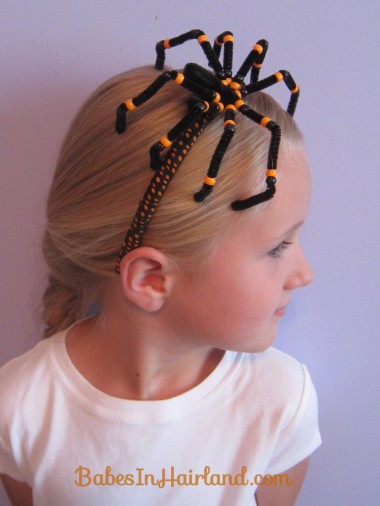
Here’s a few more shots from different angles for your viewing pleasure!
There you have it! Pair this with a fun Halloween outfit and it’s sure to please — um … at least your kids! Stay tuned, because you haven’t seen the last of that guy! Be sure to check out our Halloween Spider Hairstyle if you want a cuter spider! 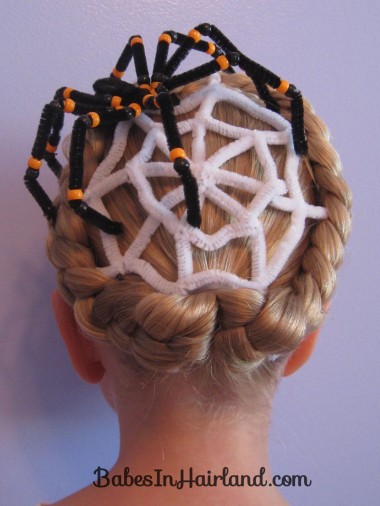
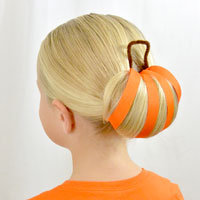
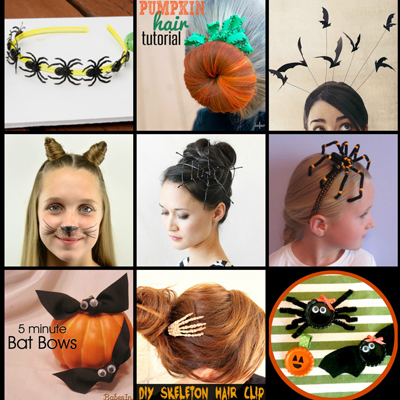
And don’t forget all our other Halloween hairstyles! Phew …. I made it through this post … but honestly, my skin is crawling!! 🙂 I shared this on SNAP’s Show & Tell Linky Party & Sugar Bee’s Take a Look Tuesday!
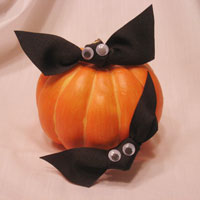
Or if you want something a bit less “icky” try our easy 5 minute Bat Bows!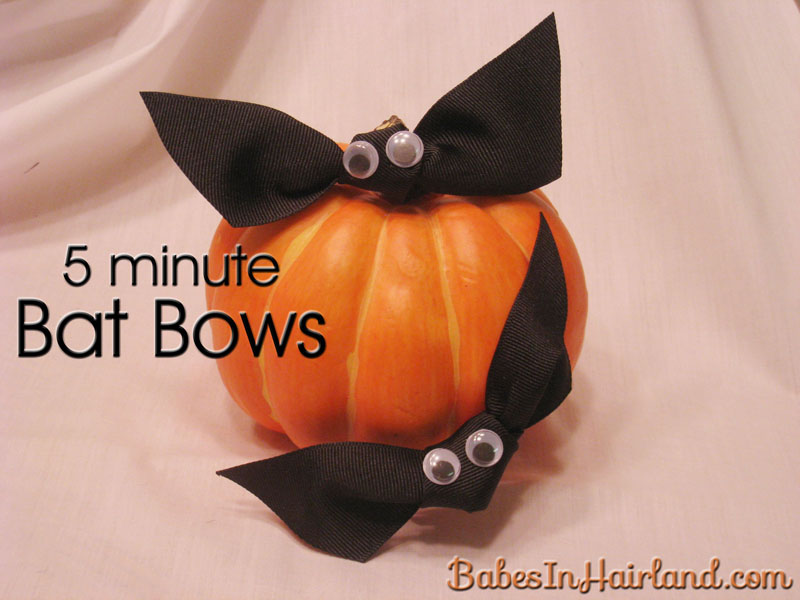
And as always, if you like this, we’d love it if you shared it by clicking on the little social media buttons below!

I’m thinking Beans needs one of these.
I just made 6 of these for my granddaughters to tuck in their Halloween boxes this year .. They turned out so cute! Thank you for sharing this fun idea. I can hardly wait to hear how they like them!