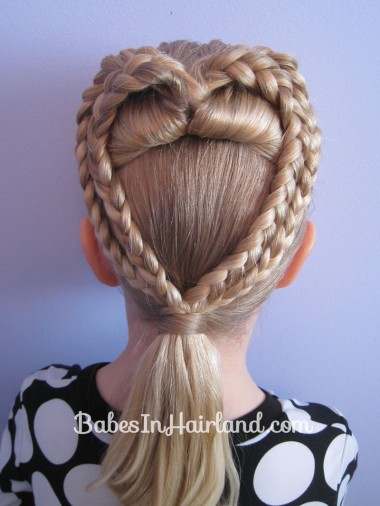
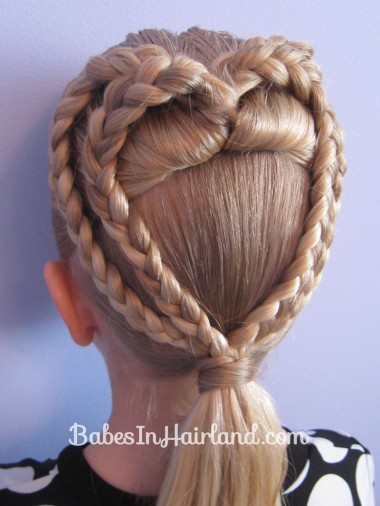
Because 2 hearts are better than 1 …
A couple years after making this tutorial we decided to make a video tutorial –
Watch our video on how this is done, or if you prefer a “pic-toral” keep scrolling!
More pictures for the newer tutorial can be seen HERE!
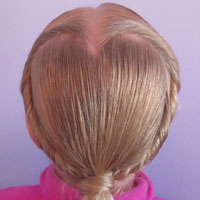
Valentine’s Day is closing in on us, and of course that means more fun festive heart hairstyles! This isn’t anything too hard, and even with shorter hair you should be able to pull this off. The hearts will just be smaller.
Step 1 – Make a half pony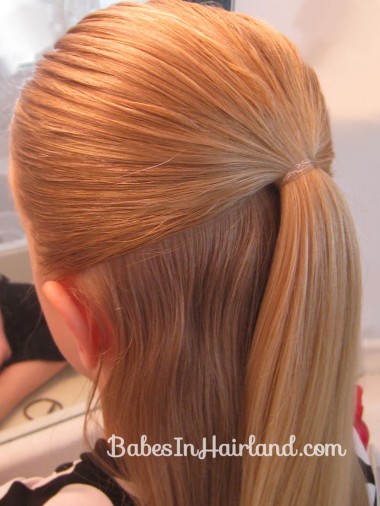 Step 2 – Flip the ponytail
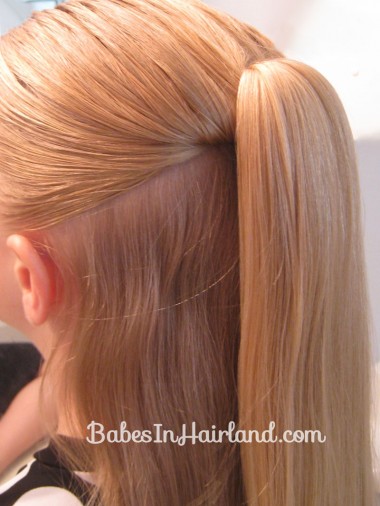
We used our topsy tail, but you don’t need one. If you aren’t sure how to flip the pony like this, you can watch our “Pull Through” video here.
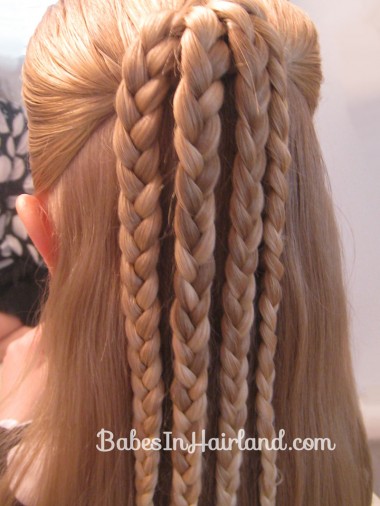
Step 3 – Make 4 braids & temporarily secure the ends
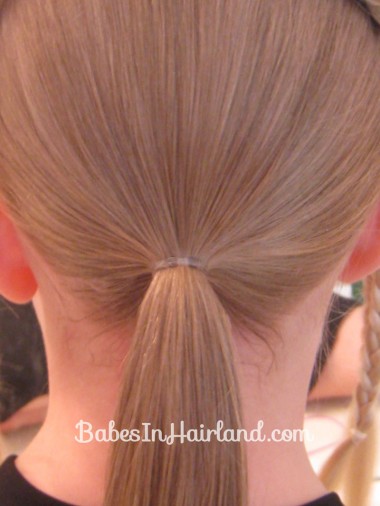
Step 4 – Make another ponytail
With the remaining hair in back, make a low ponytail at the nape of the neck.
Step 5 – Start forming the outer heart
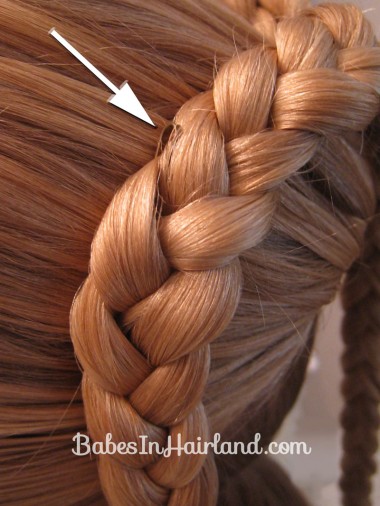
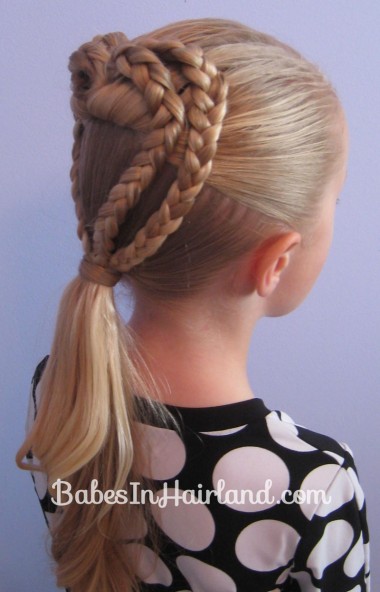
With the far left braid, shape the curve of the heart. Secure with bobby pins as needed. I find our little bobby pins are great for this.
Step 6 – Repeat on the right side
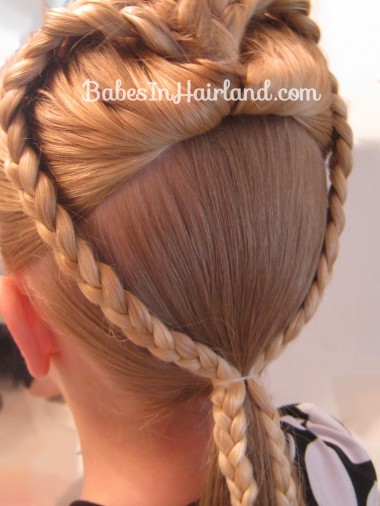
Use the far right braid to form the other half of the heart. Secure both curved upper parts of the heart with bobby pins as needed.
Step 7 – Add braids to bottom ponytail
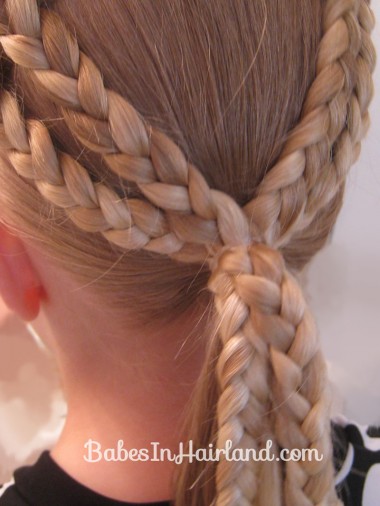
With another rubber band, secure the ends of your first heart to the low ponytail. If you are worried about the heart holding its shape, use more bobby pins. I found I only needed 1 little bobby pin on at the upper part of each heart & it held just fine.
Step 8 – Repeat steps 5-7 with the remaining two braids
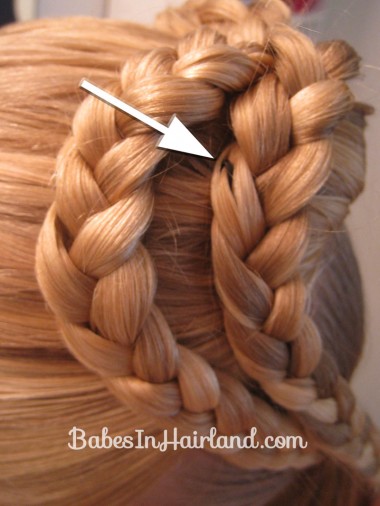
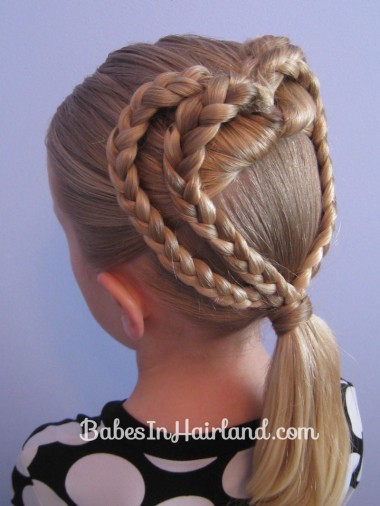
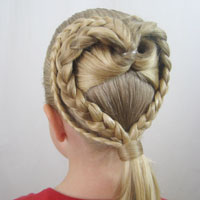
With the 2 inner braids, form another heart inside your first heart. Position them as you like & secure with a few bobby pins. I tried to make a bit of a space between the two hearts.
Step 9 – Remove ends of braids & wrap ponytail
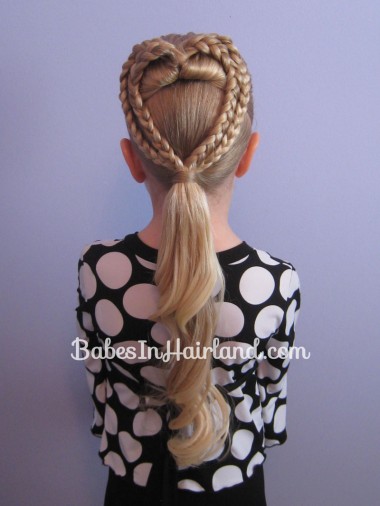
Pull out the rubber bands or clips that you had securing the braids and undo the part of the braids that hang down into the ponytail. You can add a hair accessory, but we wrapped the base of the ponytail instead. We also curled the ponytail with our flat iron.
FINISHED!
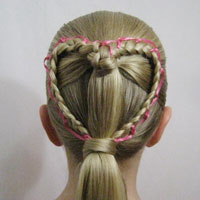
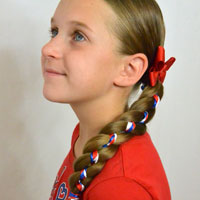
You could totally add ribbon to this style and weave it into the braid – or even between the 2 braids to make it even more festive! We kept it simple for church though!
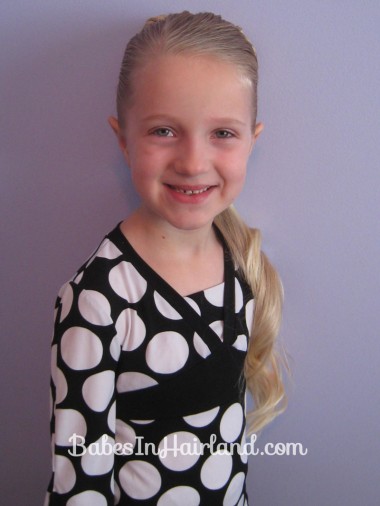
Bee was one happy girl wearing “heart hair” to church!
And as always — it’s only right since this is a Valentine’s Day style that you “Share the Love!” We’re linking up over at SNAP’s Show & Tell! Pin it, Share it on Facebook, etc. Be sure to check out all our Valentine’s Day styles from years past!


This is so original and looks so cute. Princess M’s hair is very fine but I will definitely try this on her to see how it looks! You look so pretty Bee!!!
You are very talented .I will be trying this on my 8 year old gran daughter.I hope to learn to do it as well you.
Thank you for sharing .
Thanks so much for taking the time to comment. I’m so happy you like this one. It is a cute one I think! Feel free to share pictures with us if you get a chance!
Was extraordinary