These days, with the world of Pinterest, there are so many amazing ideas out there for hair and everything else under the sun, I could sit all day letting all the beautiful images wash over me as I scroll and scroll through! Obviously I can’t do that – but there I times I wish I could! If you haven’t checked out all the fun stuff we’ve pinned, feel free to join us HERE!
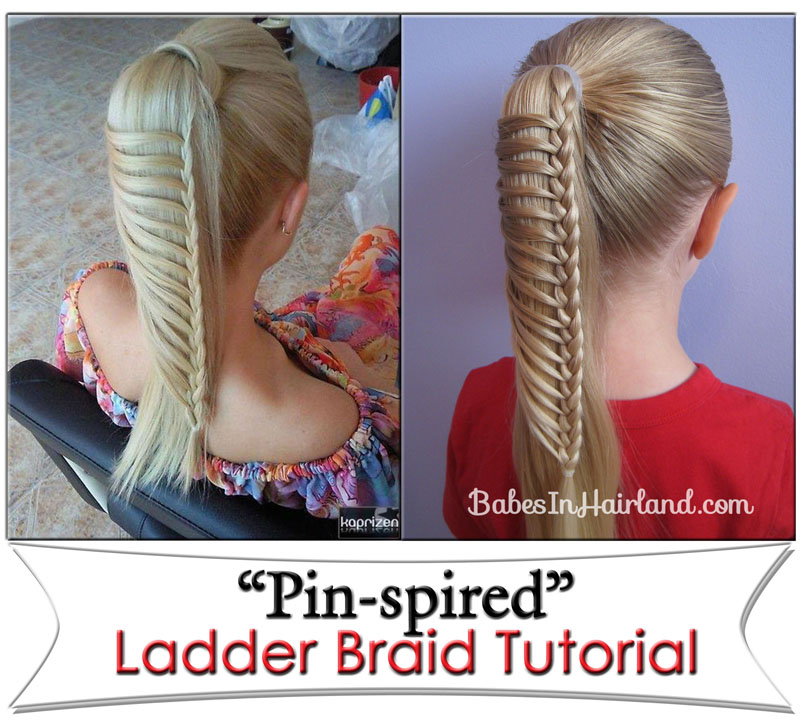
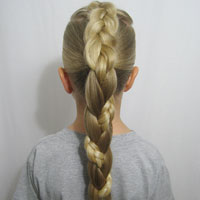
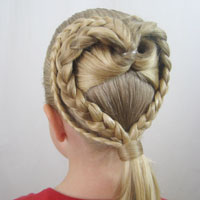
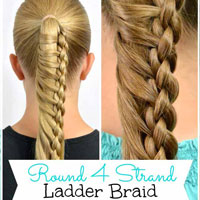
That brings me to the style I’m sharing today. I’ve seen this picture floating around Pinterest for a while, and have had readers and friends also send me the picture asking how to do it. I kept finding it linked back to different sites like WeHeartIt.com as well as other sites, so honestly I don’t know to whom to give the credit . That’s one of the downfalls of Pinterest when things don’t get linked correctly. If anyone knows it’s true origin, please let me know. **Update – I’ve been told the pic on the left comes from here, but didn’t find the actual picture!
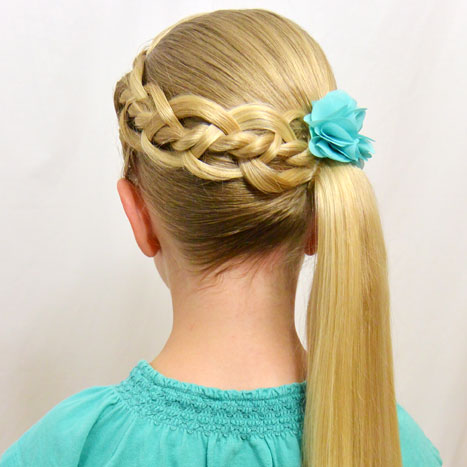
We did this on Bee a couple weeks ago for church, and had so many people stop & ask how we did it. I realize in the original picture from Pinterest, the girl has her ponytail wrapped, so if you want to do that, check out how we wrap our ponytails in our last post.
Step 1 – Make a ponytail
Step 2 – Begin a small braid on the right side of ponytail
Step 3 – Add small sections of hair only from the left side into the braid
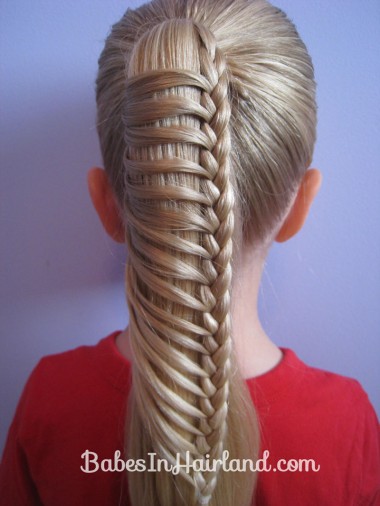
Grab small sections from the under side of the ponytail and pull across to the right. As you add sections to the braid, be sure to pull your braid off to the right – pulling it away from the ponytail. This will allow the “ladder” pieces to lay nicely over the ponytail when you are done.
Step 4 – Secure the end with a rubber band
Step 5 – Watch our video!
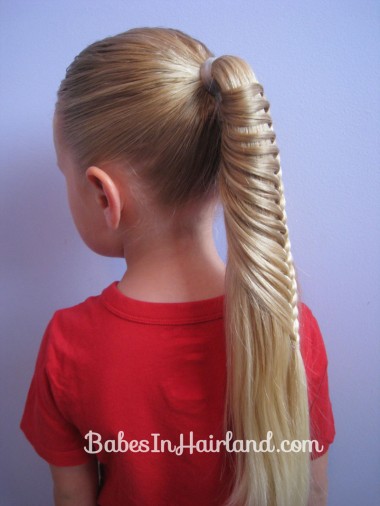
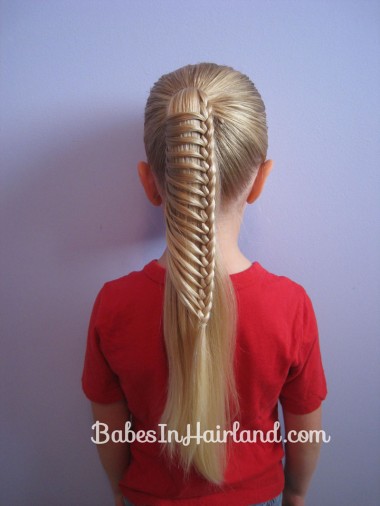
Here’s a few other pictures from when we did Bee’s hair in this awesome style!
Let us know if you if you try this one! We’d love it if you share pictures with us on our Facebook page! This braid is quickly become one of our favorites! Be sure to share this awesome style by clicking the social media buttons below! 🙂
Super super cute. Her hair is so long!!!
VERY pretty. Wondering how many hands you need to complete this one? 😉
Hopefully just two hands! If you watch our video you’ll see it’s really not too hard! It’s easier, I think, than a regular French braid.
Looks Beautiful!~
I’ve seen several people do that same kind of braid, but it goes down the middle instead of off to the side and they add hair to both sides instead of just one to make a kind of “cage” around the ponytail if you haven’t already tried it and are interested in a twist on this style.
Thanks for showing us exactly how to do this one. I’ve seen it, tried it and sadly it didn’t work. Now I know the trick…pulling it to the right. Can’t wait to try it again!
That’s one of the prettiest braids I’ve seen. Makes me want to try it on your model’s little cousin over here in Germany. (I probably won’t post photos though.)
I did this today!!! How do I send you a picture?
Can’t wait for m daughter to get out of school so I can try this!!!
I did this on my daughter’s hair a few days ago, it’s so easy and really pretty. I also tried braiding the middle part of the hair and the securing the side-braids in with the bottom elastic from the big braid so it would all stay put.
It did and it gave a really neat look with a regular braid underneath!
I did this really quickly this evening on my daughter’s hair and she loved it. I will do it it better after a shower.
I’m so glad she liked it! It really is an awesome style & surprisingly isn’t that hard to do! If you can we’d love if you shared pictures of how it turns out! 🙂
I. Like this
Thanks! It has such a cool look & is pretty easy to do. Thanks for taking the time to comment.
I will be doing this hair style with my horse come show time, Thank u, I luv the look !
very nice hair, i like it
thank you so muchhhhh