With Halloween right around the corner, we thought it was time for a Halloween tutorial! Each year we try to post what the girls’ are for Halloween. Last year proved to be my hardest one yet, because I ended out having to sew costumes and I don’t consider myself a seamstress by any stretch of the imagination. Goose had asked to be Rapunzel and I thought it would be no biggy to find a costume and with her long hair I figured we were set. Boy was I wrong!
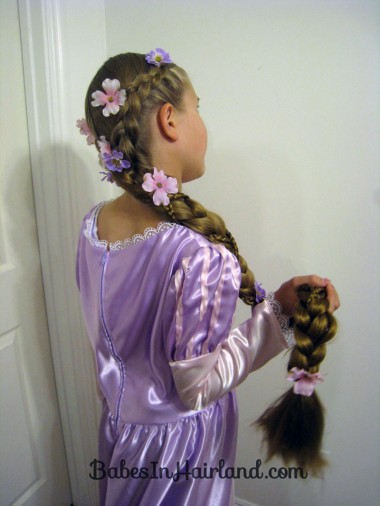
Since posting the pictures last Halloween we’ve had some requests on how we actually did her hair because her real hair obviously didn’t go past her knees. And before I start, I’ve to apologize for some of these pictures – it was rather hard to get decent shots because of the amount of hair I was working with, plus the lightening wasn’t all that great so just ignore that!
You don’t need to be working with hair that is as long as hers was before she cut it. This is just to show you how we incorporated the extensions into her hair.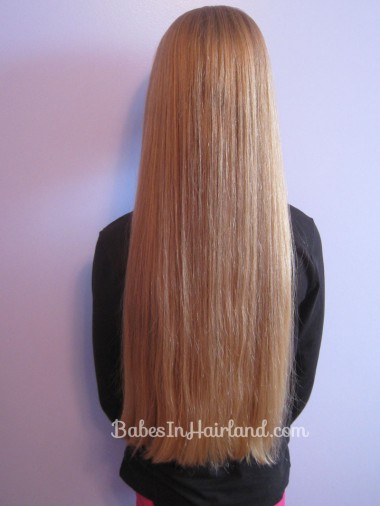
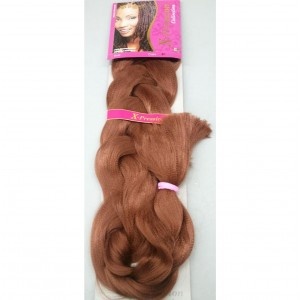
Assuming you aren’t working with someone who has hair down to their ankles, you’re going to need fake hair. You could totally do this with a bunch of yarn like I’ve seen done on little girls, but I didn’t want it wrapped around her head like a halo, plus she’s a bit old for yarn hair! We ordered the extensions from 138BeautySupply.com but you probably could find similar at Sally’s or your local beauty supply store. We ordered color #27 (just took a wild guess on what would look ok with her hair!) I forgot to take a picture of what it looks like when it arrives, but this is similar:
***Update — It appears that the website I link above for where I purchased our extensions is not available. Not sure how long it will be before it is back up to order from. You can search on Amazon or E-bay for the brand “X-pression” hair extensions. There are many different colors, but like I mentioned the color we bought was #27. It is 82″ in length, but we had it in half as we show in the tutorial, so 41″ is what was added to lengthen her hair. ***
Once out of the package I unbraided it carefully and divided the hair in half. Then I took a small section from each side and made a micro-braid with each.
I secured the end of each micro-braid with an elastic. 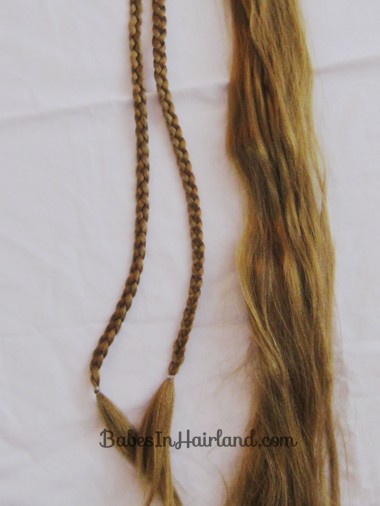
Then the fun starts! Divide your dd’s hair down the middle – it doesn’t have to be exact – just divide it in half.
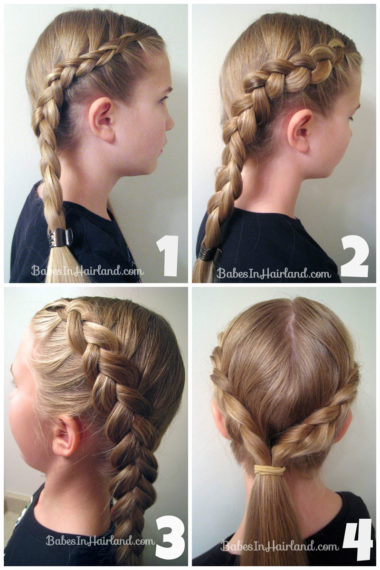
Because I took so many pictures I made a few collages and grouped them together in sets of 4 – so the images to these steps are below each set of instructions.
Step 1 – Make a dutch braid on the right side of the head
You just need to braid down far enough that you’ve got some extra hair to work with. No need to braid clear down to the ends at this point. Temporarily secure the end with a clip.
Step 2 – Pull on the edges of the braid to make it wider
Step 3 – Repeat on the left side of the head
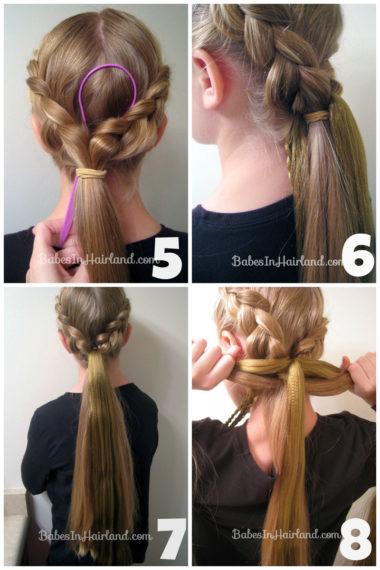
Step 4 – Join the 2 braids in back & make a pony
You’ll want to loosely join them since you’ll be threading your extension through eventually. Secure with an elastic.
Step 5 – Insert topsy tail behind the braids and down behind the ponytail
If you don’t have a topsy tail, you can still do this, I just found it a lot easier to feed the hair through this way.
Step 6 & 7 – Put half the extension through the topsy tail & pull through
You’re going to want half of the fake hair draping over the front of the ponytail & elastic, and the other half & micro-braids on the back side of the ponytail. Make sure the half with the micro-braids is in back.
Step 8 – Divide all the hair into 3 sections & braid
I just had her hold 2 of the sections so I could get a better picture. You’ll want to leave out the micro braids for this part. Using your daughter’s hair, along with the hair from the extensions being to make a regular 3 strand braid.
 Step 9 – Secure first section of braid with elastic
Because her hair own hair stopped mid-way down, once I ran out of her hair that could be braided in along with the fake hair, I tied it off with a clear elastic.
Step 10- Continue braiding extension & secure end with elastic
The remaining braid will just be the hair from the extension. Depending on how long your daughter’s hair is will determine how long this braided section of fake hair actually is. You can pull on the sides of the braid if you want to try make it look thicker or flatter. Because of the texture of the extension I didn’t want to mess with things too much for fear of messing it up!
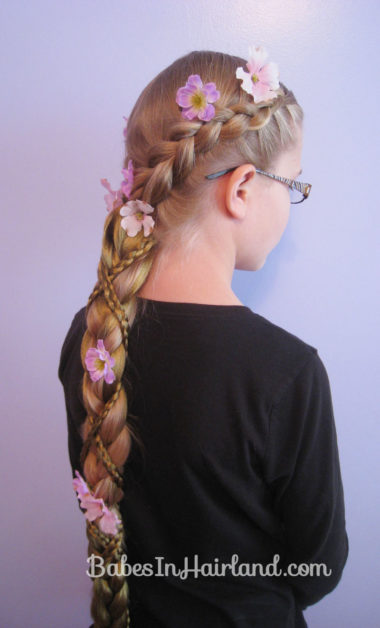
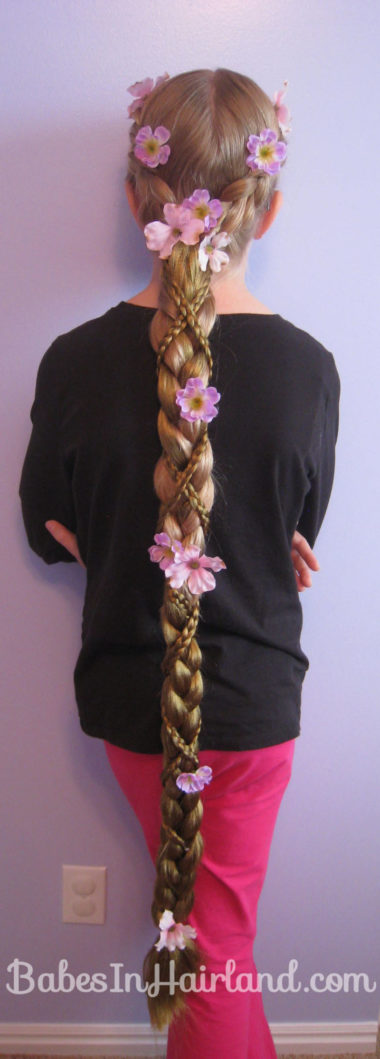
Step 11 & 12 – Wrap micro-braids around braid in a criss-cross pattern
Once you run out of the micro braids, just secure them to the main braid with another elastic. They should cross on front & in back of the big braid.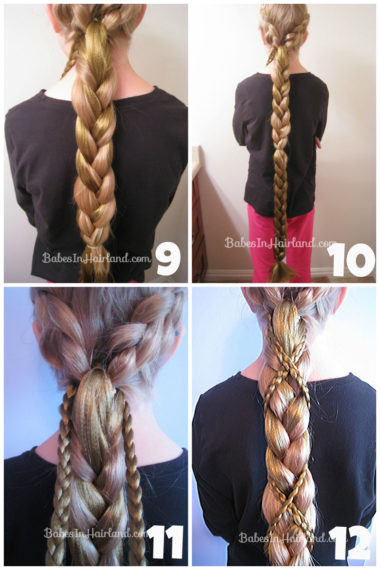
Step 13 – Accessories with flower & ribbon (optional)
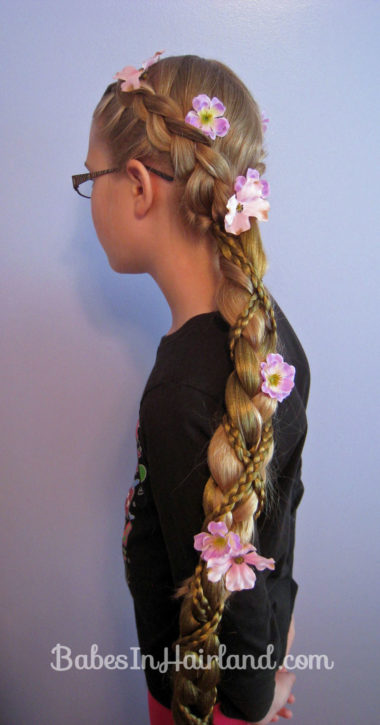
We ended out not using any ribbon but strategically added flowers throughout. I just bought some cheap pink & purple flowers at the craft store & glued them to hair pins (like in this old tutorial). I stuck them in to cover the rubber band at the nape of the neck, and half way down her braid. You can totally embellish the look as much as you like.
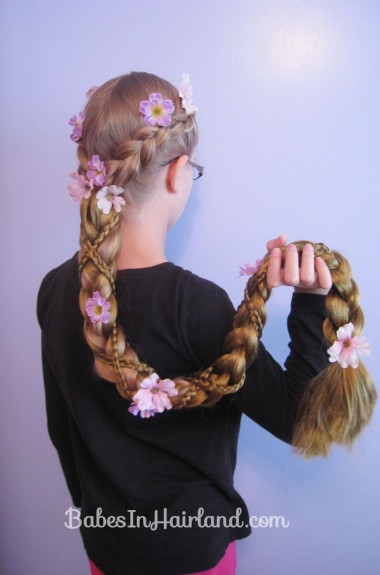
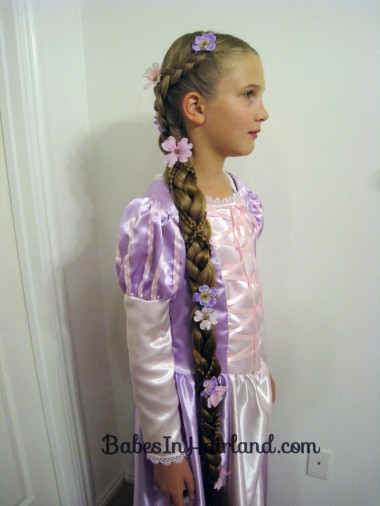
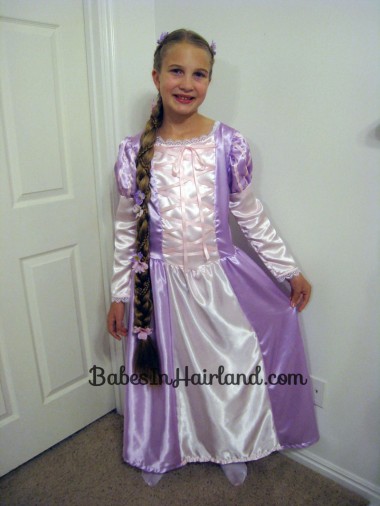
And while it doesn’t look like her hair matched overly well in these pictures, it actually blended quite nicely. Add the fading light as you’re out trick-or-treating and it looks totally real! We had so many people asking her if it was her real hair! It was awesome!
If she wasn’t so tall, this probably would have been dragging on the ground & added even more to the fun look!
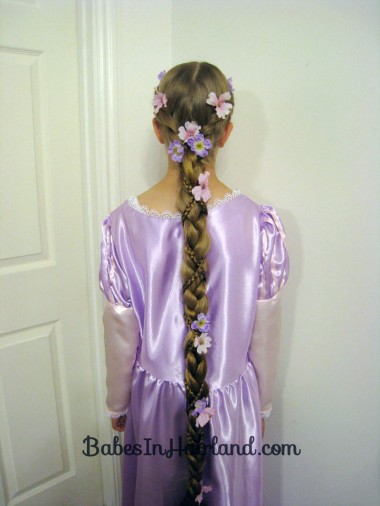
And once you add the costume the look is complete! Sorry this post is as long as Rapunzel’s hair! 🙂 Like I said, trying to get good pictures of such long hair proved to be more challenging than expected! Let us know if you try this whether it’s with extensions or some other fun way!

Looks amazing! Do you know the brand of hair extensions? And approximate cost? The site given has been down and unavailable. I checked Sally’s and they had so many choices! Having never bought or used hair extensions, I was overwhelmed by all the different kinds, lengths, styles.
Sorry for my slow reply Ashlie. The brand was called “X-pression” — I got the idea from this gal who used one for her little girl : http://www.thetraintocrazy.com/2012/09/handmade-costume-series-diy-rapunzel-dress-tutorial.html
Looks like the link I provided for where I purchased online is still not available. I’ve tried calling them because they are a beauty supply store in Georgia but haven’t been able to get through yet. I’m not sure why their entire site is still down. I’m sure you can find them at other beauty supply stores though. Online @ Sally’s this looks similar to what we bought, but I don’t know how long it is, etc. http://www.sallybeauty.com/Braiding-hair/SASSY7,default,pd.html?cgid=Hair16
Sorry I can’t be of more help. Do a search for X-pression hair extensions and I saw some on E-bay and Amazon if you can’t find it at a beauty supply store.
Hi so the extension you bought are clip less or? I really want to do this with my sister she keeps begging to be rapunzel and I’m going to give it to her and she says she wants long hair and I don’t want to do a wig please help!
Sorry for my slow reply. The extension has no clips. It is just one big long thing of hair. It’s sort of tied with a rubber band right in the middle when it arrives & is loosely braided (as I think it appears in the picture I included showing it in its packaging.) I just wanted something I could incorporate right into her hair and not deal with wigs either. Hope that helps.
love love it just wow !!! :0
Oh, this is just fantastic!!! What a great idea, and it turned out so well! Very nice!
Thank you! I’m glad you like it! It was fun to put together! 🙂
Wow! That looks really nice and she looks so beautiful and really looking like rapunzel with her hair extensions. It’s good that you included instructions as i know there are many who would like to know how to do this using hair extensions. I have been interested for a long time already and i’m glad that i finally came across some instructions.