“S” is for Snake
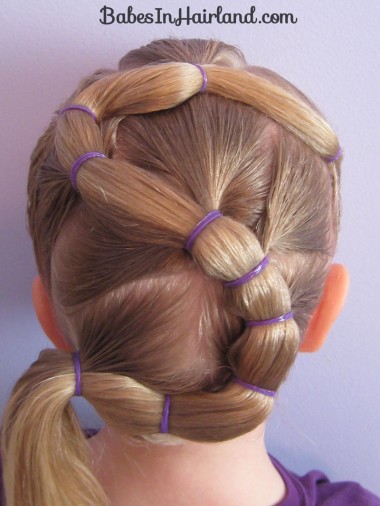
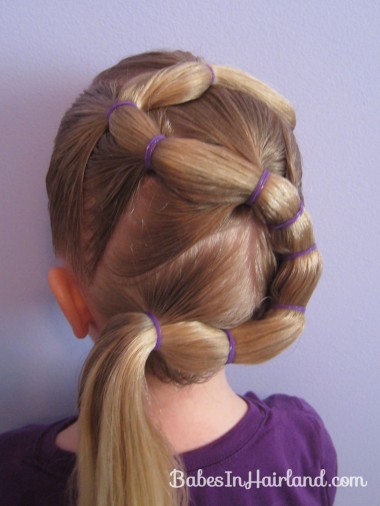
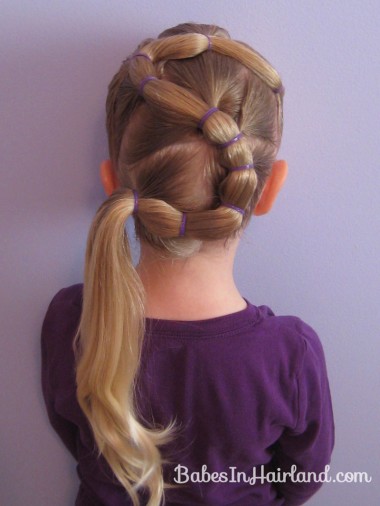
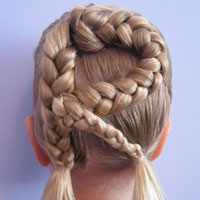
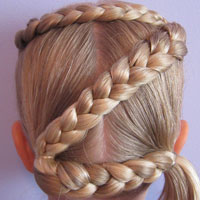
Let it be known, that this is probably my least favorite letter I’ve done so far in this series! As I mentioned clear back when I started the beginning of the alphabet, I wanted to stick to basic braiding and such to ensure everyone – regardless of “hair skill level” could do these. So I realize there are other ways this could have been done, but I opted for the “puffy braid” way for it this time because I just wasn’t in the mood for anything else the day I did this! Doing it this way – the trick is in the “strategic parting” and positioning of the hair to get that “perfect” form of the S.
I’ll share pictures with you more than trying to describe exactly how I parted things out. Depending on the size of head you are working on, this will obviously vary.
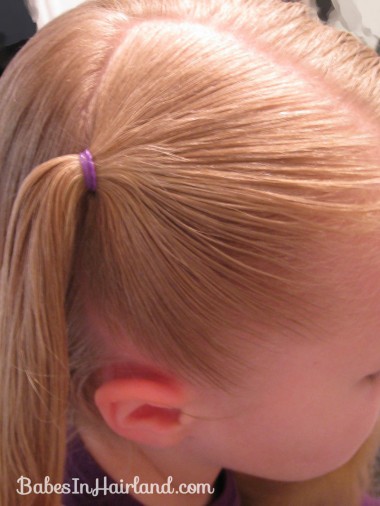
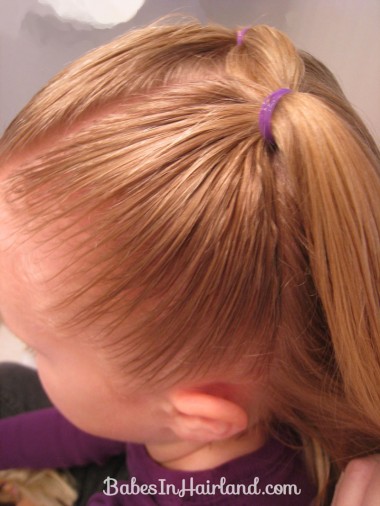
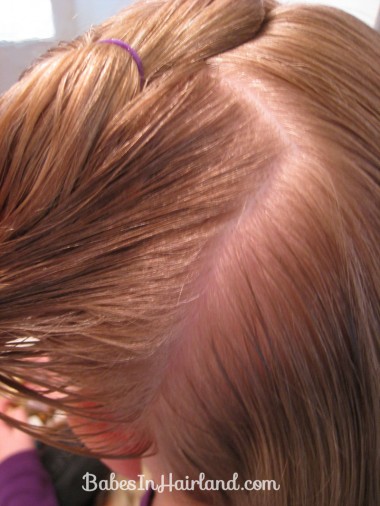
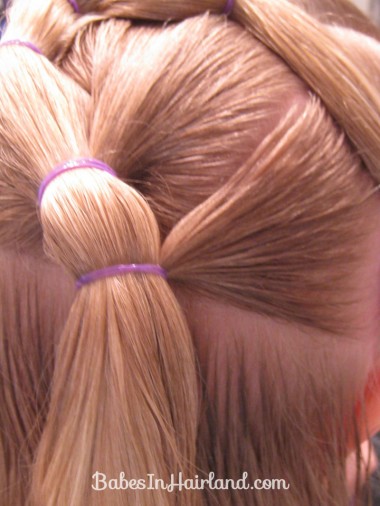
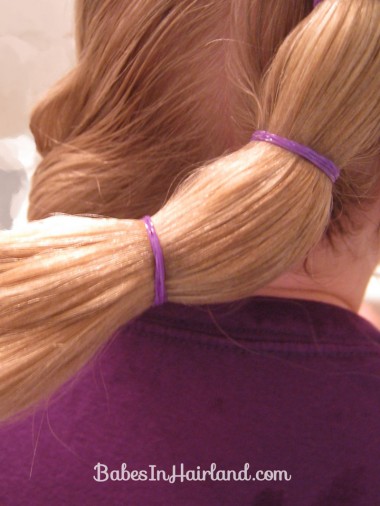
Make a side part on top of the head & then down to the ear & make your main ponytail. The whole thing will stem off this section.
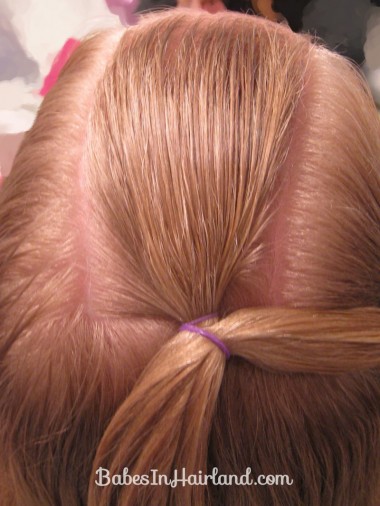
Part out the top part of the crown, making another ponytail & adding the right section into it.
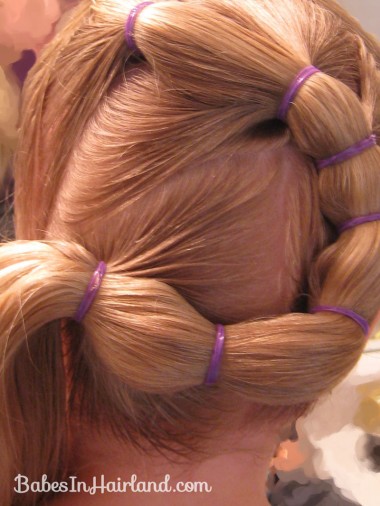
Section off the remaining hair on the left of the head in front of the ear and add it into the first two sections of hair.
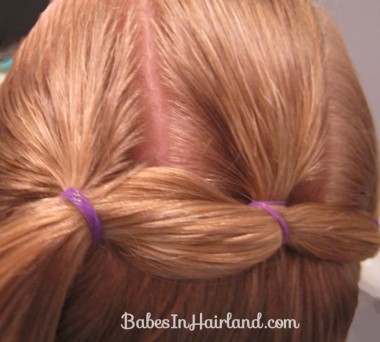
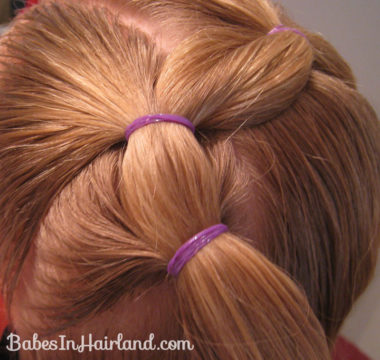
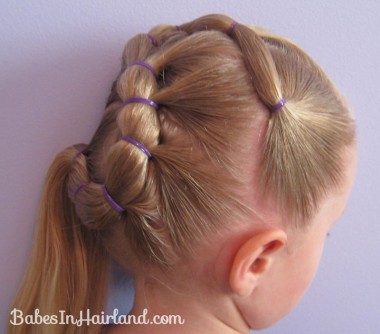
Once you’ve got those 3 ponies hooked together on top, move below that pony on the left and part out more hair, adding it and securing it with a rubber band.
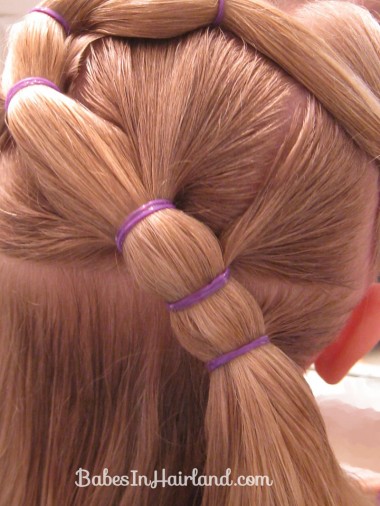
I found the key before parting the hair out was to position the ponytail roughly in the next place you want it to be secured & then parting out your next section.
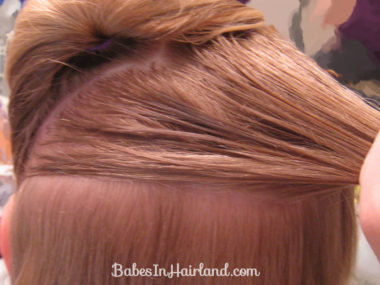
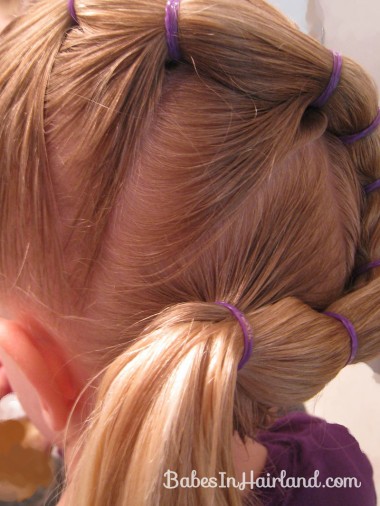
Part out another section – most of the hair in the middle of the head – but anchor the ponytail more toward the right side of this section.
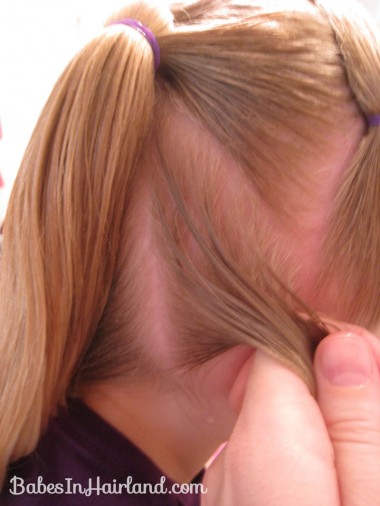
Then with the small amount of hair remaining on the right side of the head behind the ear, add it into your ponytail and secure it with another rubber band.
Now to “double back” for the bottom part of your S. Section out a small area below the one you just finished and add it to the ponytail.
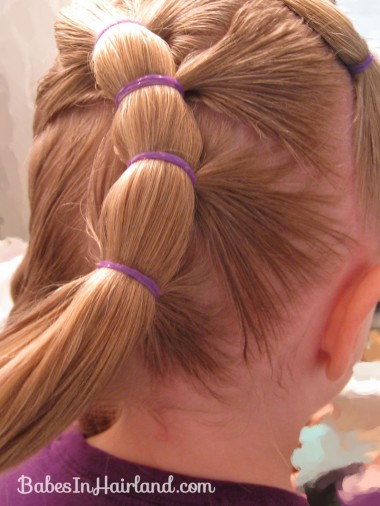
*At this point, I realized how uneven my rubber band spacing was, and so I added a “fake” on this section of hair! I didn’t add any hair on this one! *
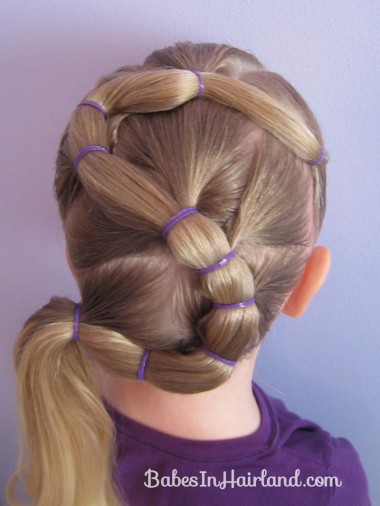
With the remaining hair on the left bottom portion of the head, add the ponytail to it and secure with a rubber band. Try get it up as high as possible so the last portion of the S has an upward curve.
And that is it. If I could have, I would have gone back & added a “fake” rubber band just after making the 1st ponytail, so the rubber bands would have been spaced a bit closer together. Oh well!
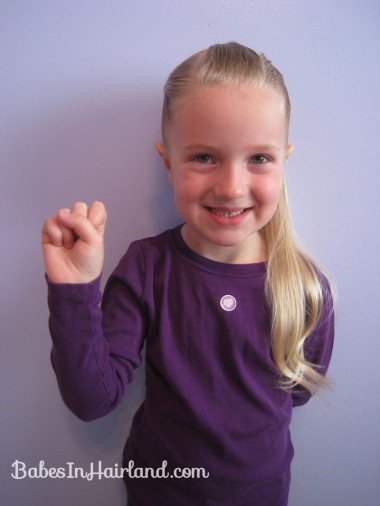
And keeping with our sign language letters – here’s our letter S.
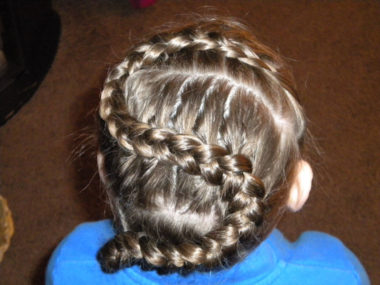
And here’s the S that our wonderful reader Laura, who inspired this whole series did. Love it.
All in all, I don’t mind our S too much, I just wish I’d have gotten more rubber bands in it, so they were spaced more evenly!
Hey, my name is Gloria Loew,
I was wondering, How long did it take to make the letter “S” in your daughter’s hair, and how many rubber bands was used to make it????
Please let me know about it, OK
You can see all 10 rubber bands in the picture – that is all of them. I’m not sure how long it took to make the S – but it wasn’t too hard.