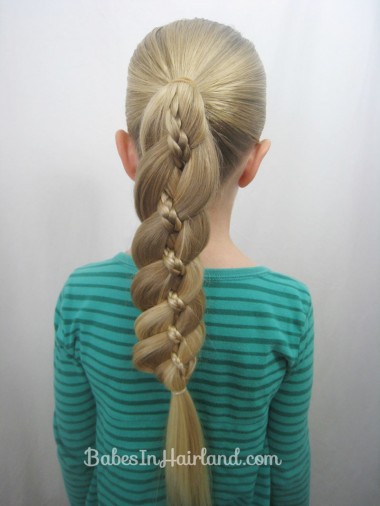
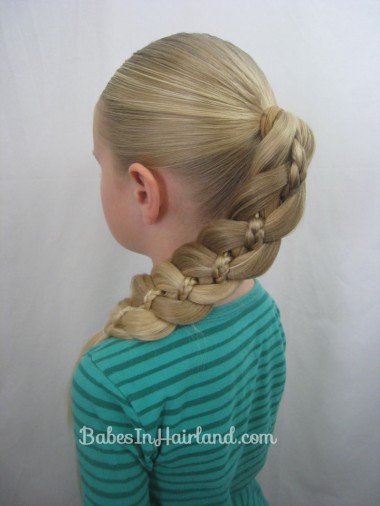
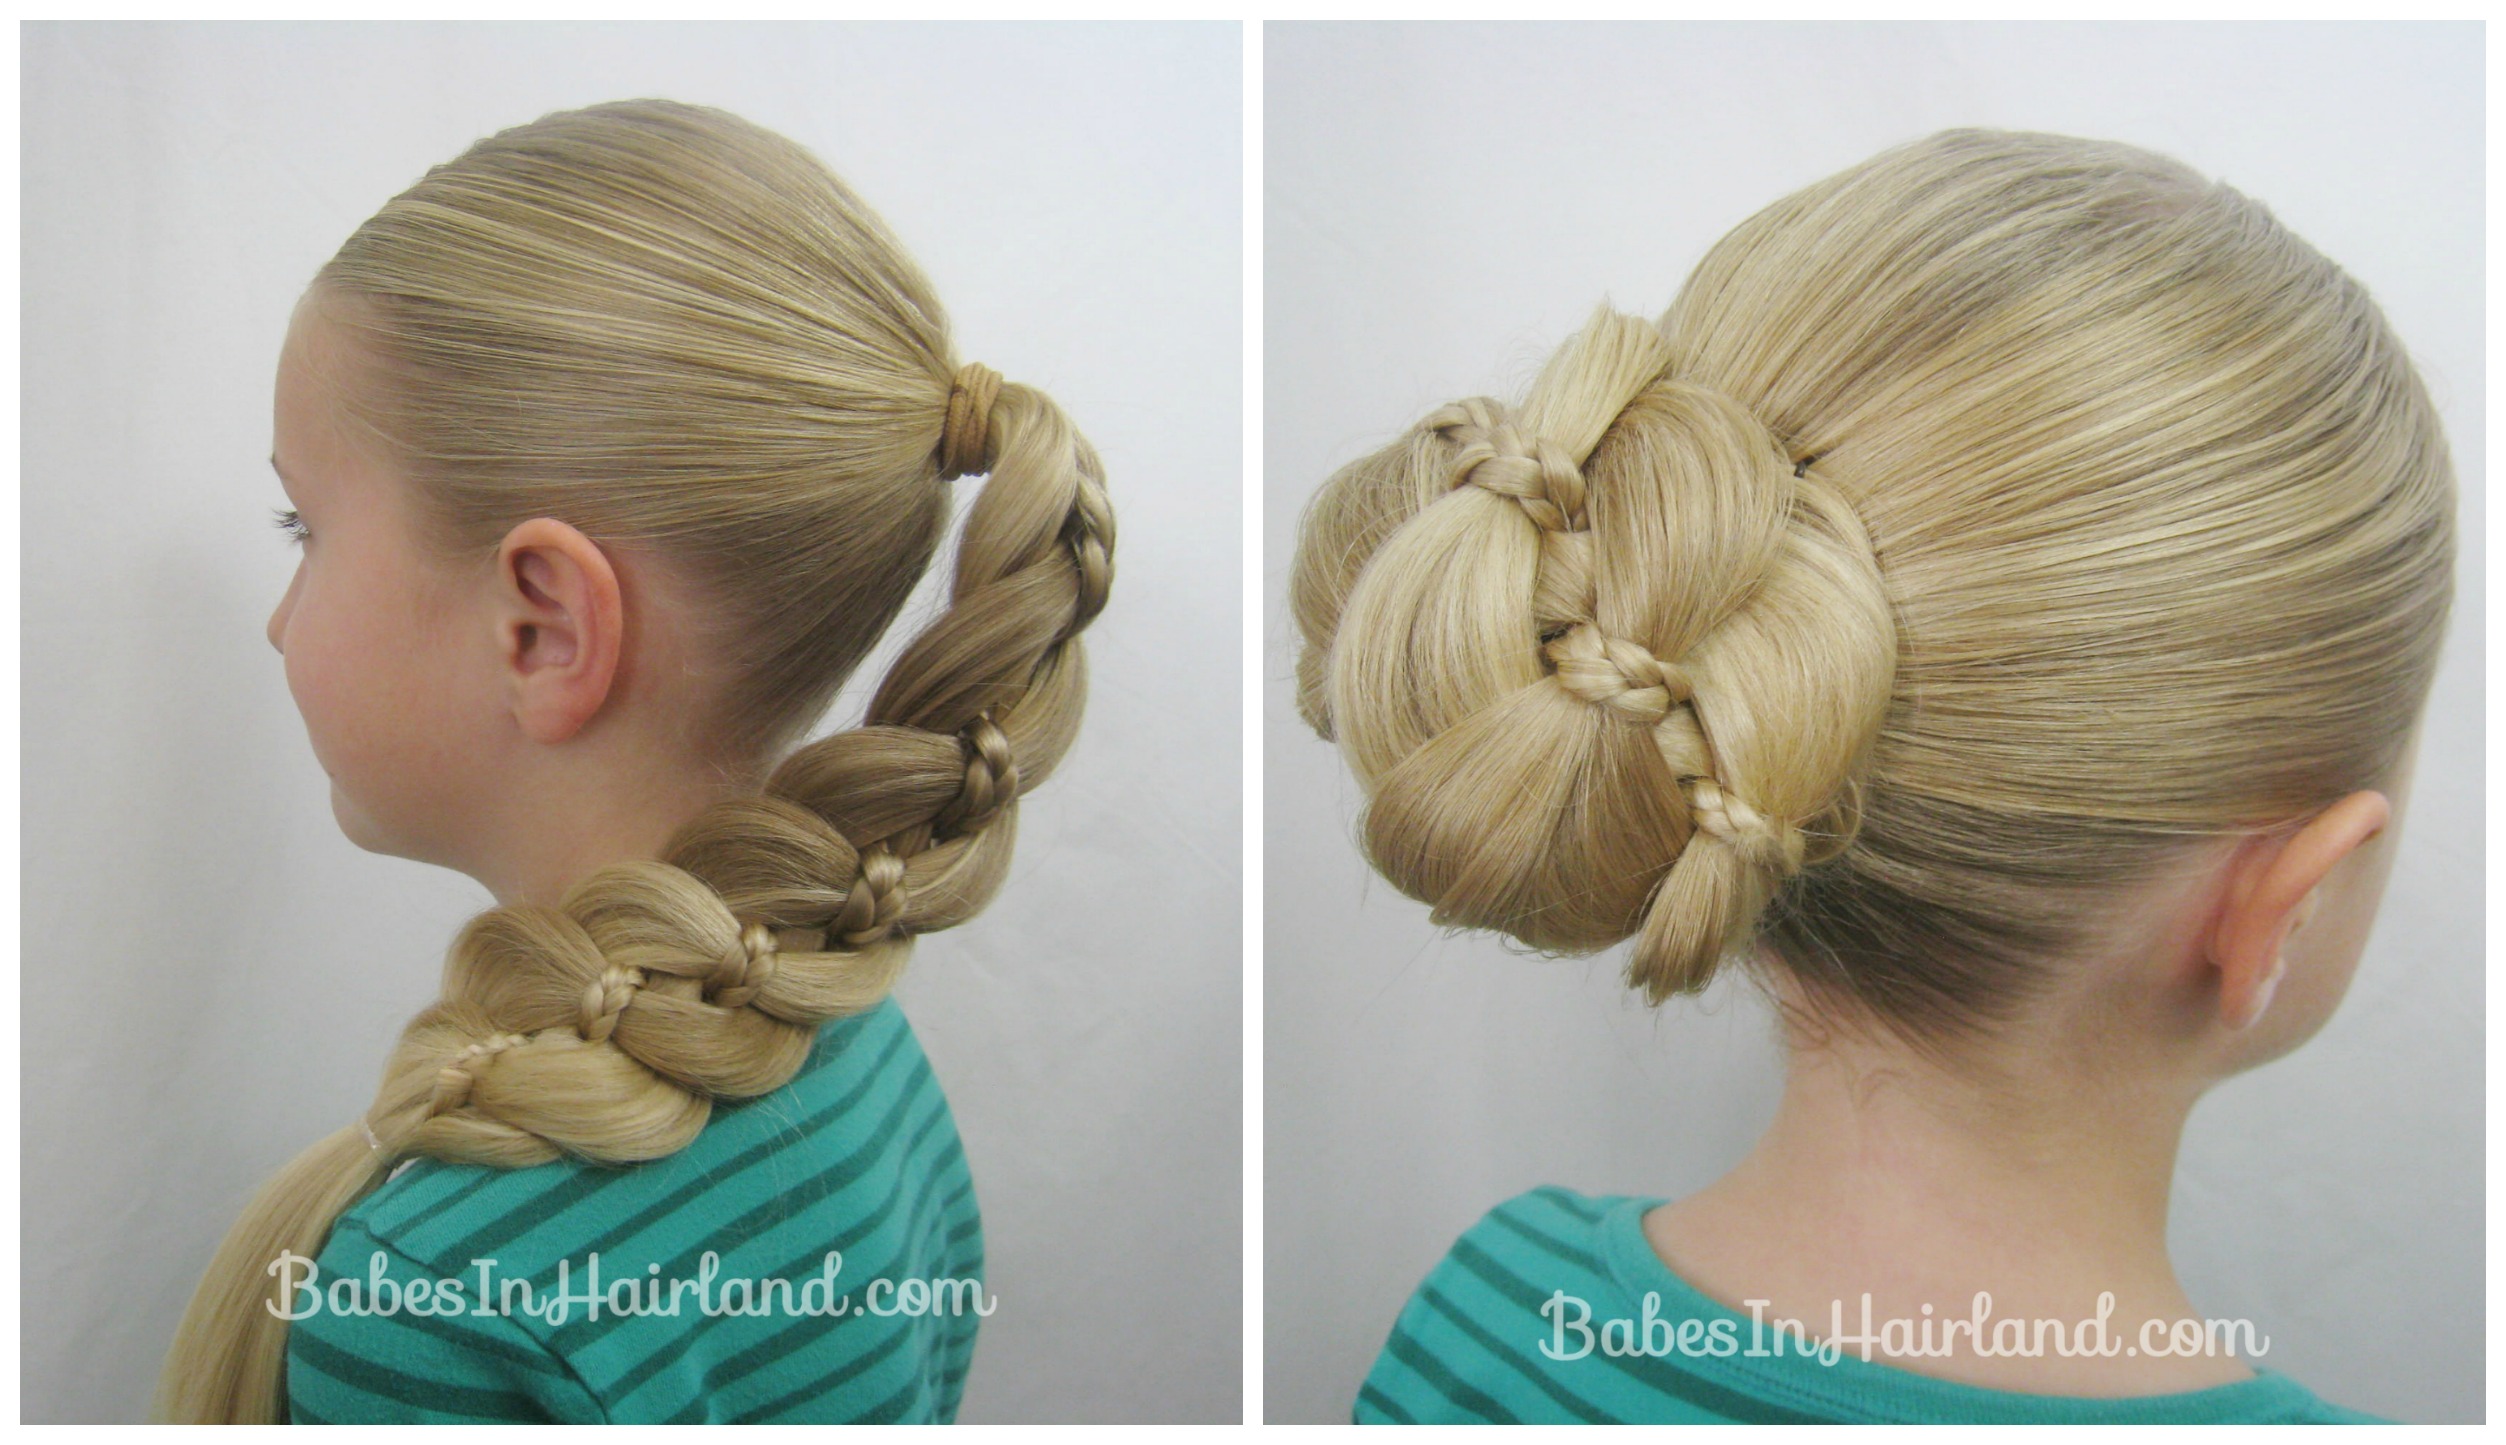
A couple years ago I shared tutorials on a 3D 4 stranded braid, along with a 4 strand braid that was flat. This is also a flat 4 strand braid, but I added a micro braid & you have to braid the strands in a different order to get this look. It’s not hard, just a different order of doing things. So watch how we did it!
I can’t get over how “reverse ombre” her hair looks with this braid!
Hopefully the video makes sense, and you don’t have to add a micro braid to this style. You can just do the same braiding pattern without the micro braid.
Step 1 – Make a ponytail
Step 2 – Make a 3 strand braid using a small section of the ponytail
Step 3 – Secure end of 3 strand braid with elastic
Step 4 – Divide remaining hair in ponytail into 3 sections
Step 5 – Start on the right side and begin the braiding process
The outer right strand will pass over the strand next to it to the left, and then under the micro braid. Then take the far left strand and pass it under the section of hair next to it on the right, and then pass it over the micro braid. Then back to the right side of the braid and go over, then under. Then back to the left side of the braid and take the hair under then over the micro braid.
Step 6 – Continue pattern until you run out of hair
Step 7 – Secure end with elastic
FINISHED!
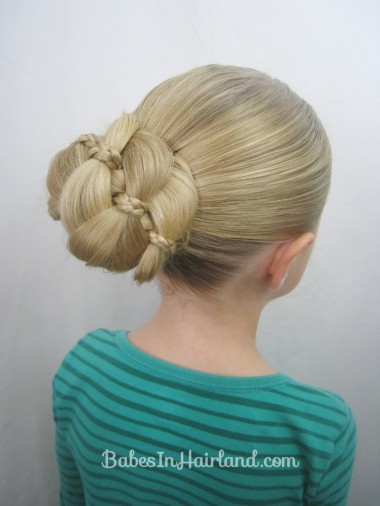
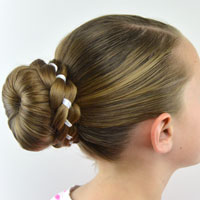
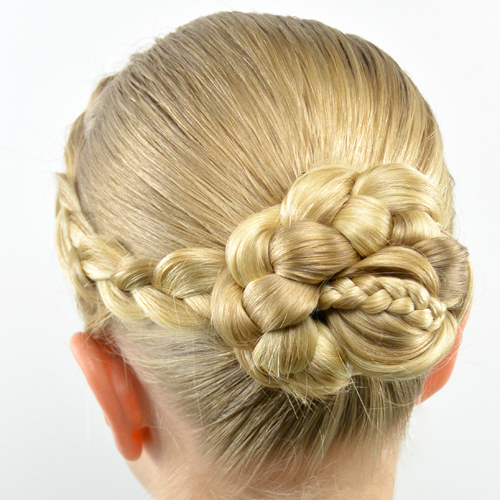
You can be done at this point or you can continue and wrap the hair up into the bun which adds a whole different & pretty look. Secure with bobby pins as needed & you’re good to go!
Optional: Make a bun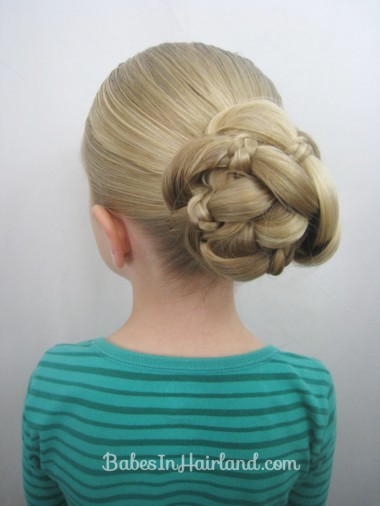
So which look do you prefer? You can also check out all our 4 strand braid tutorials HERE. Be sure to hit those little social media buttons below & share this gorgeous style!

wow! that is so pretty!
So cute
That’s awesome! Way too complicated for this simpleton! Good job!