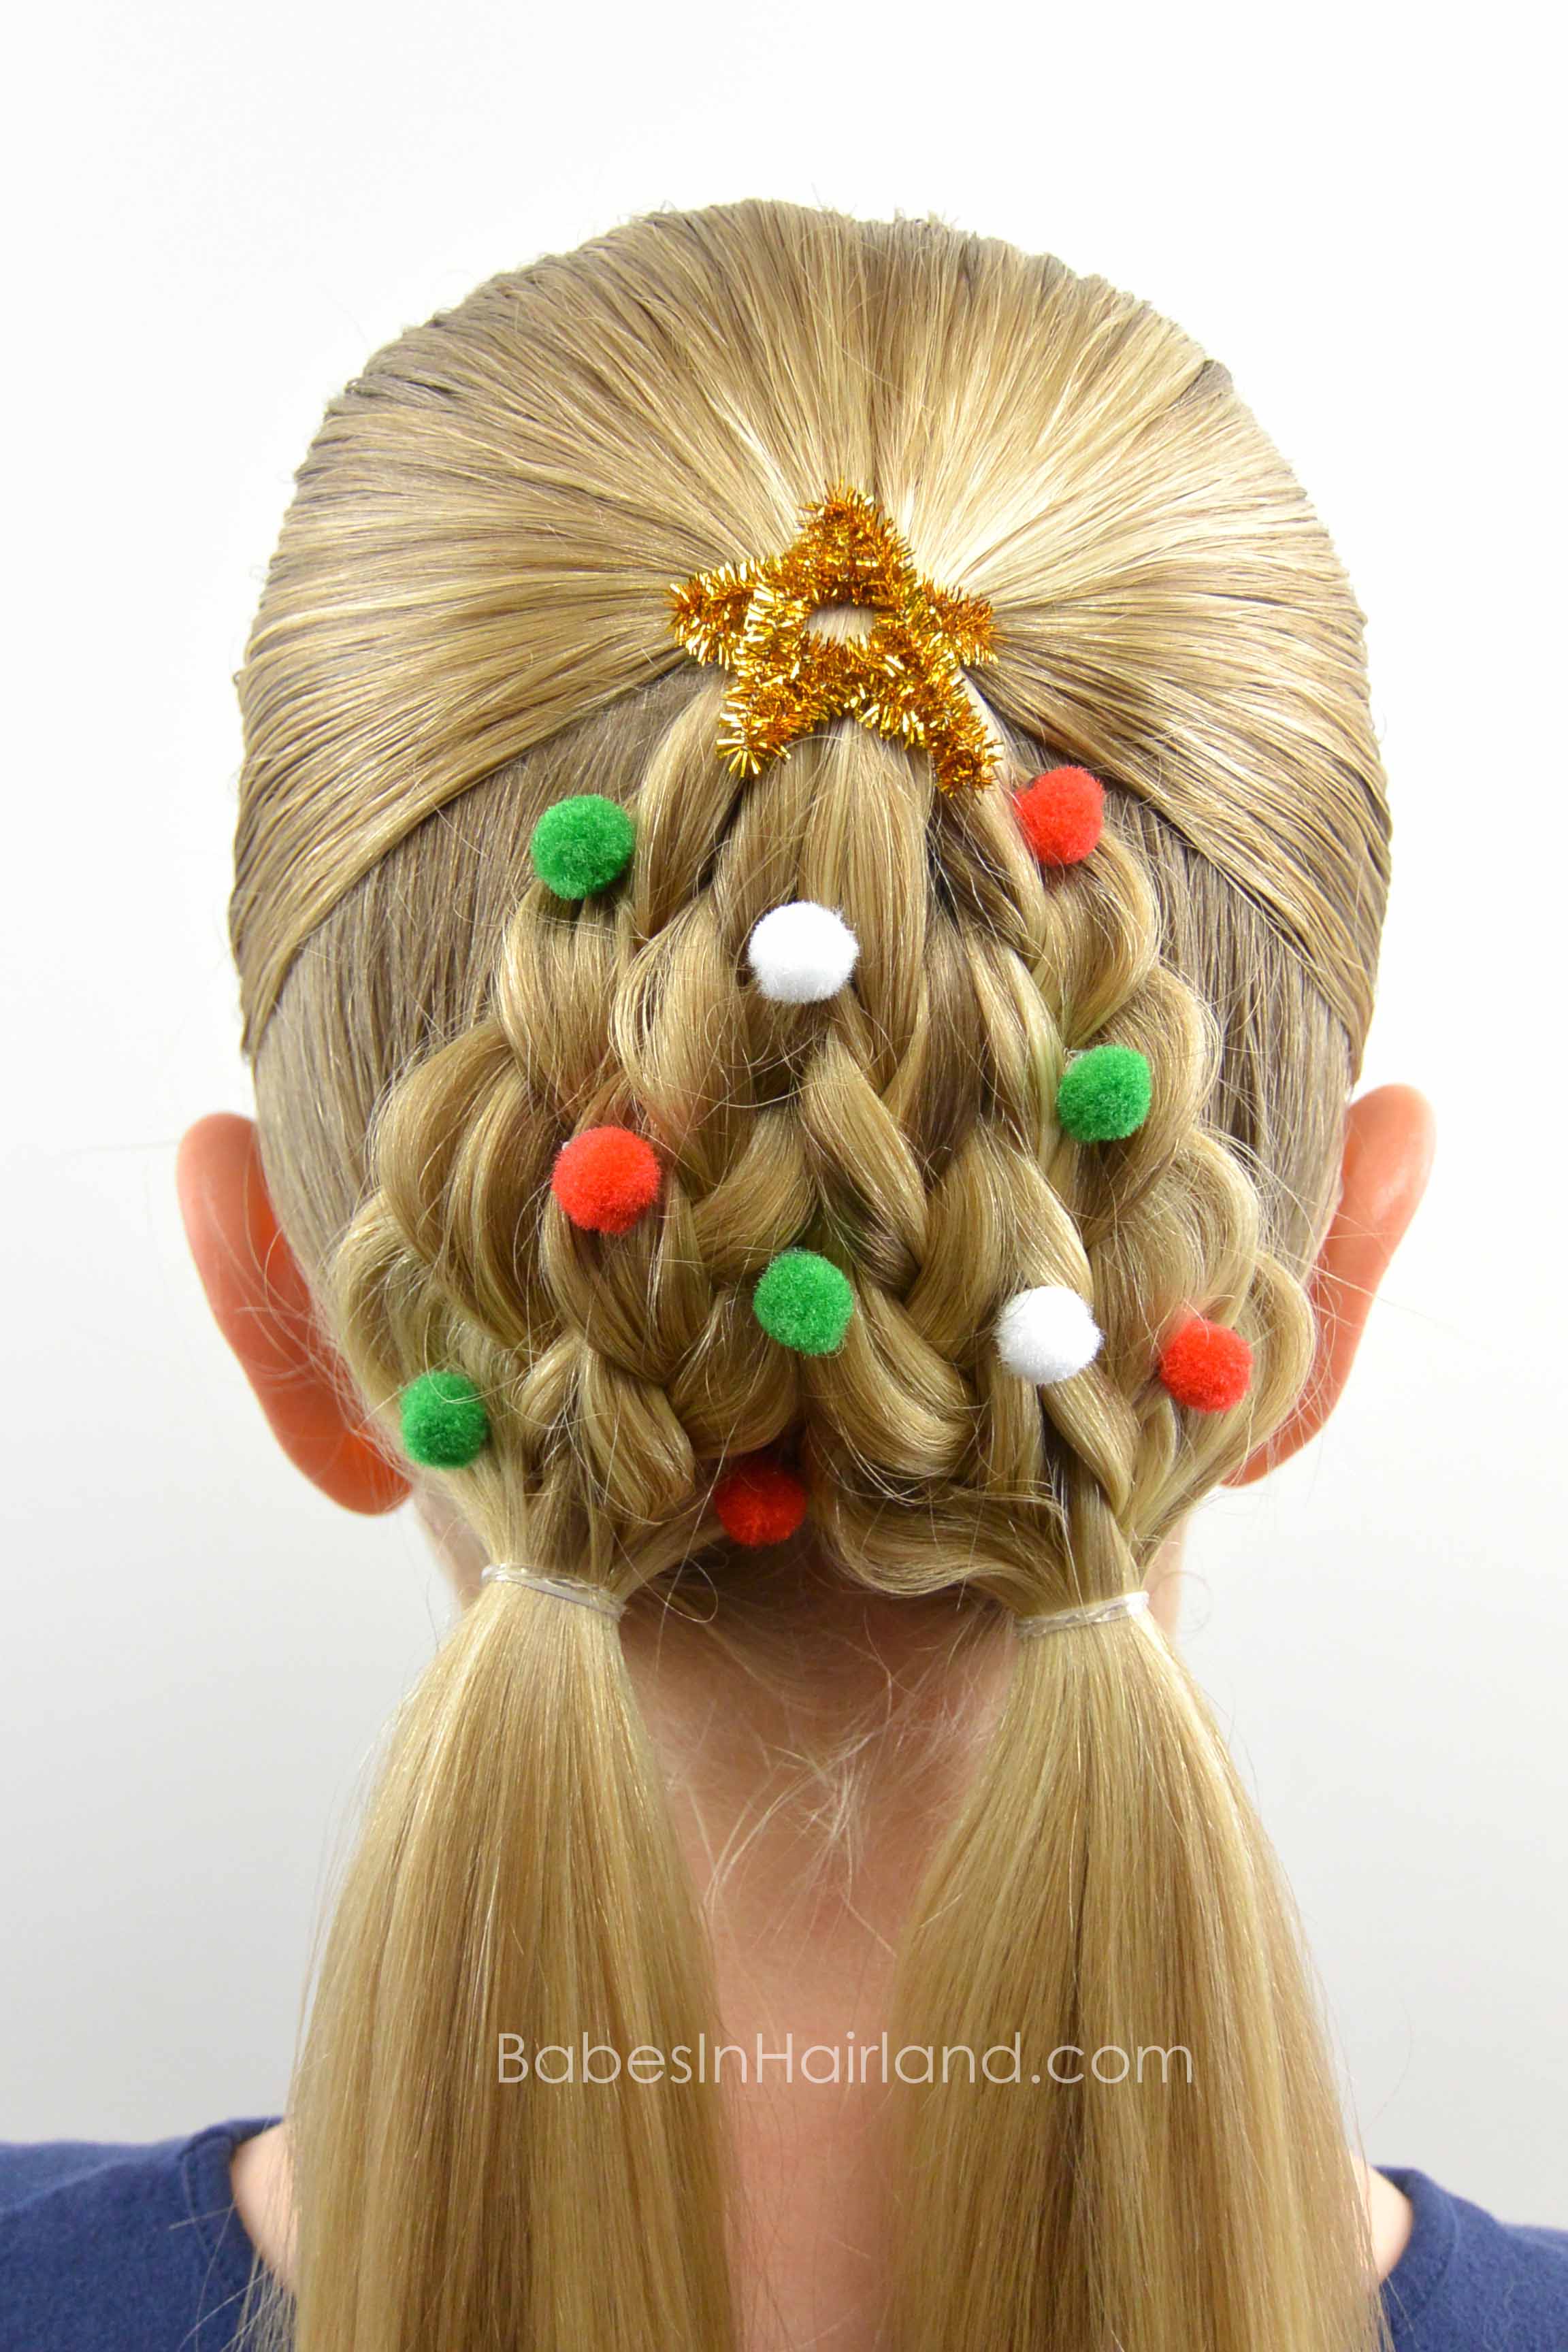
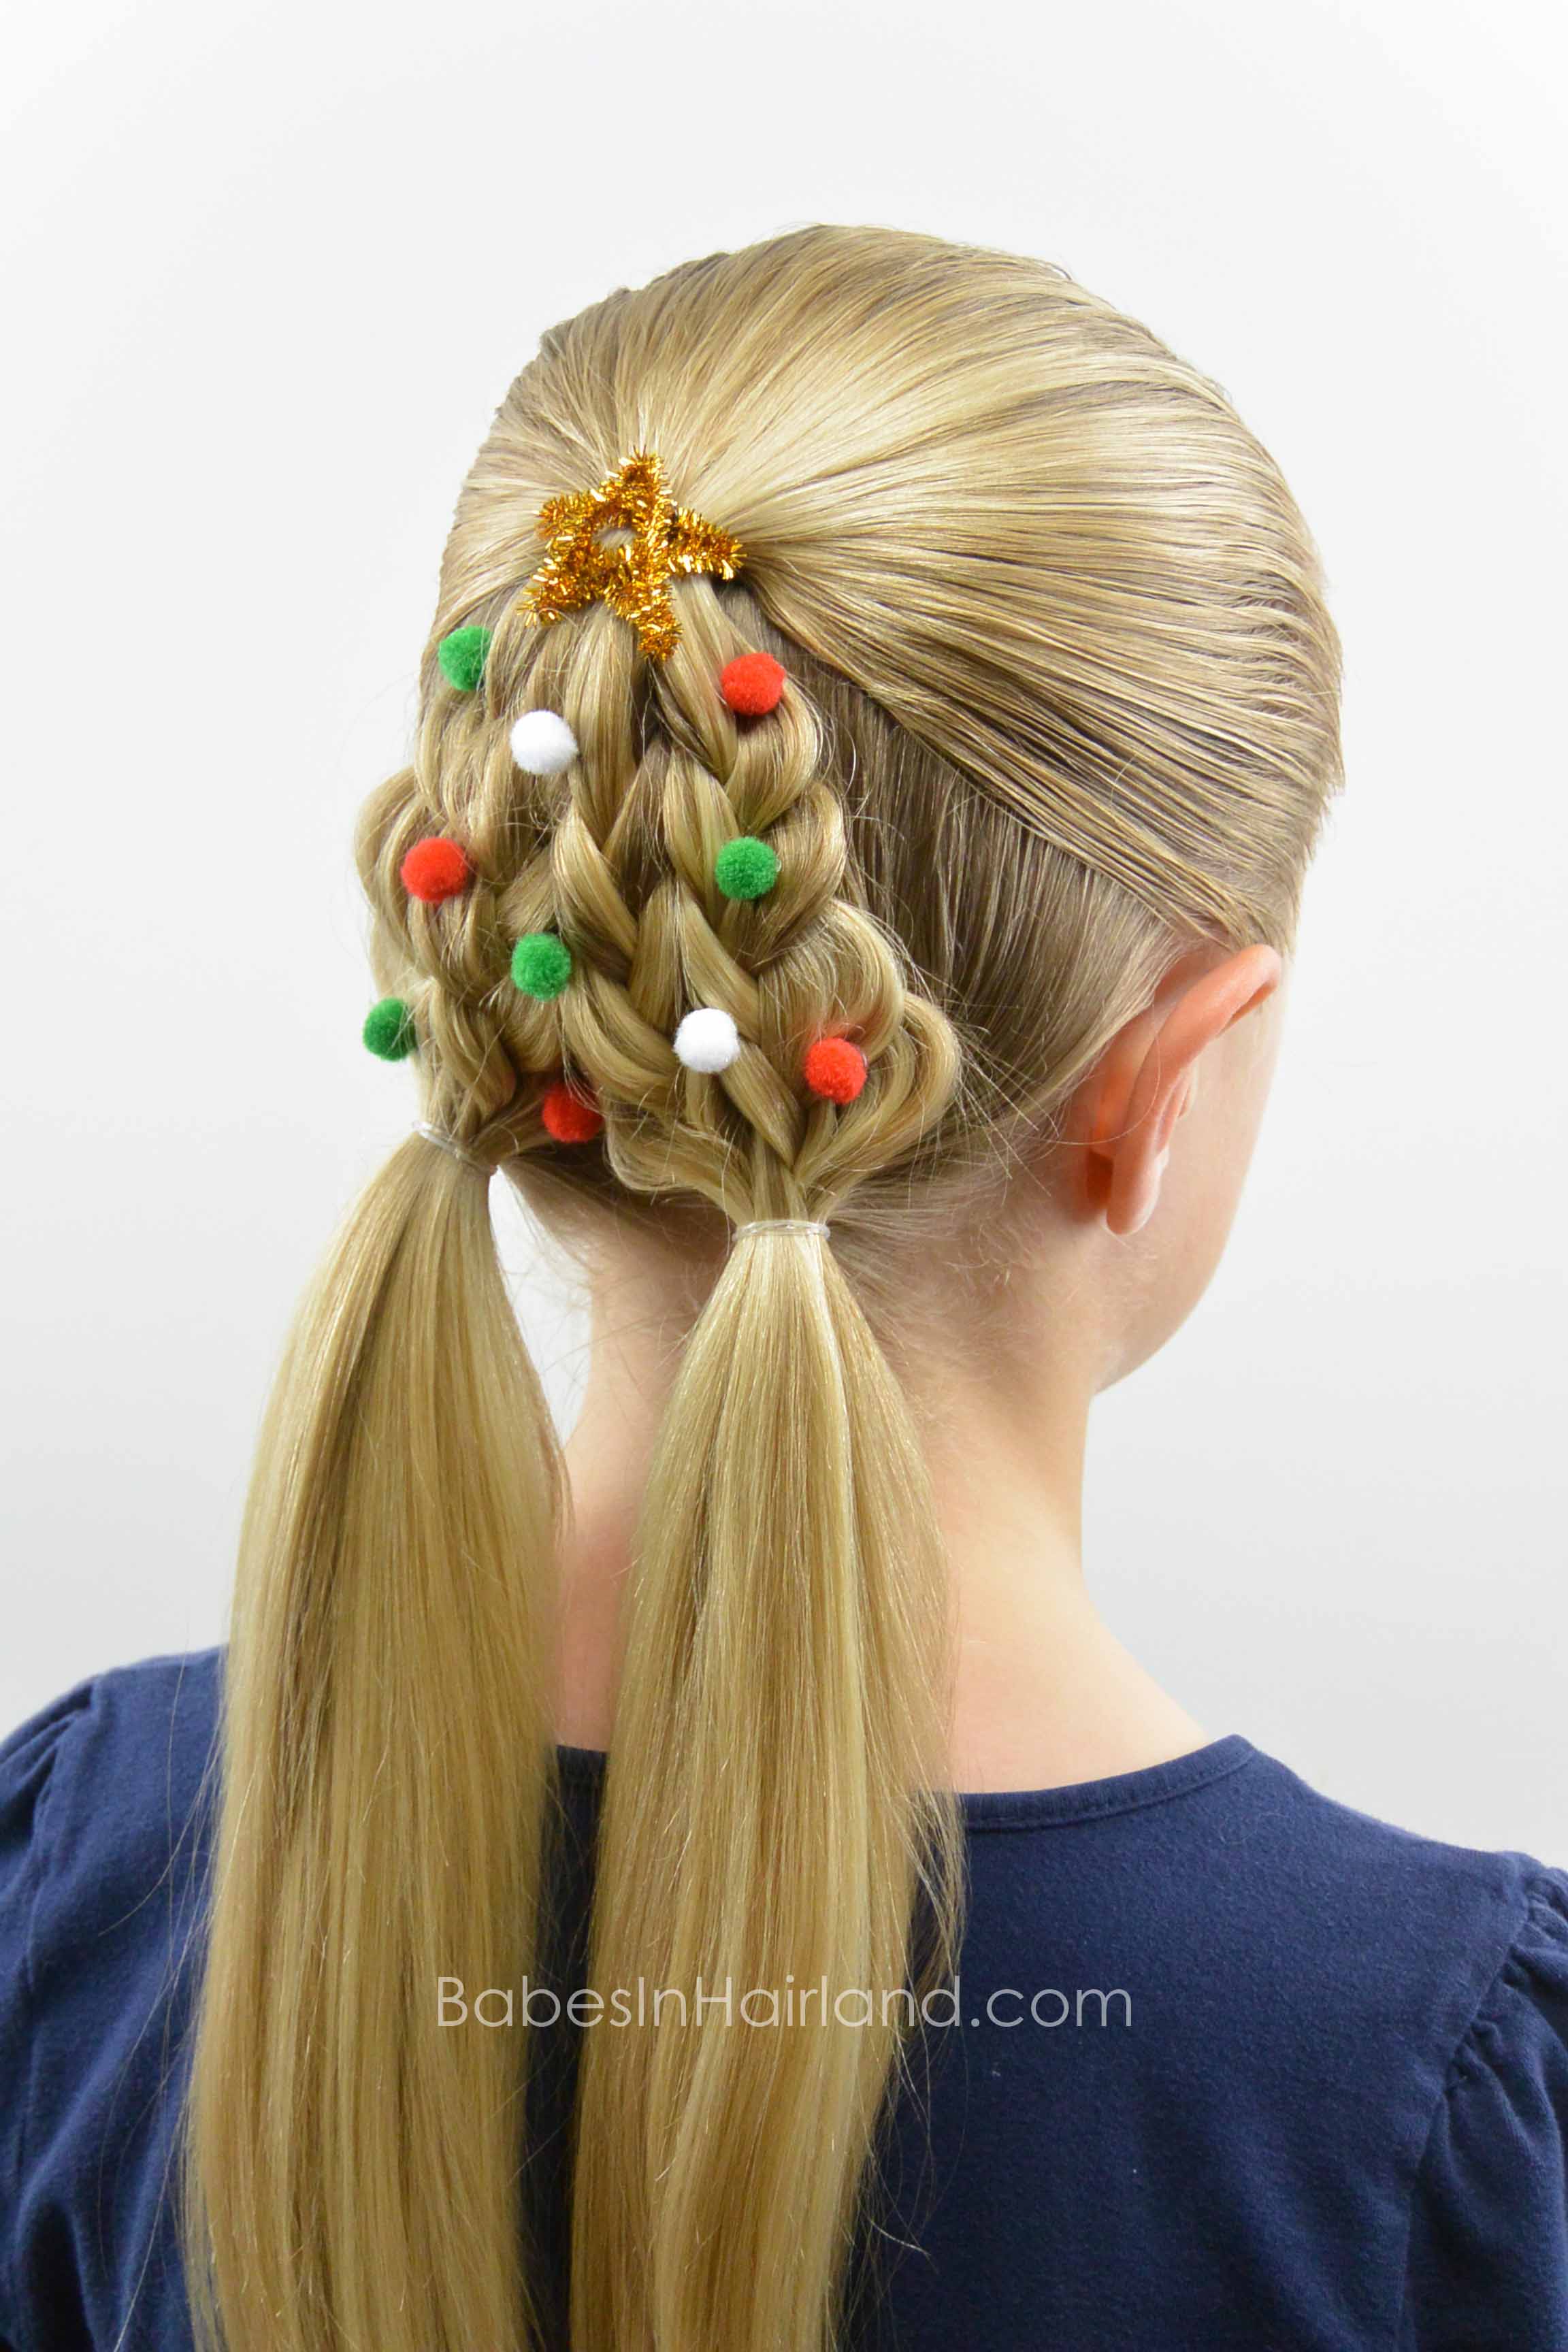
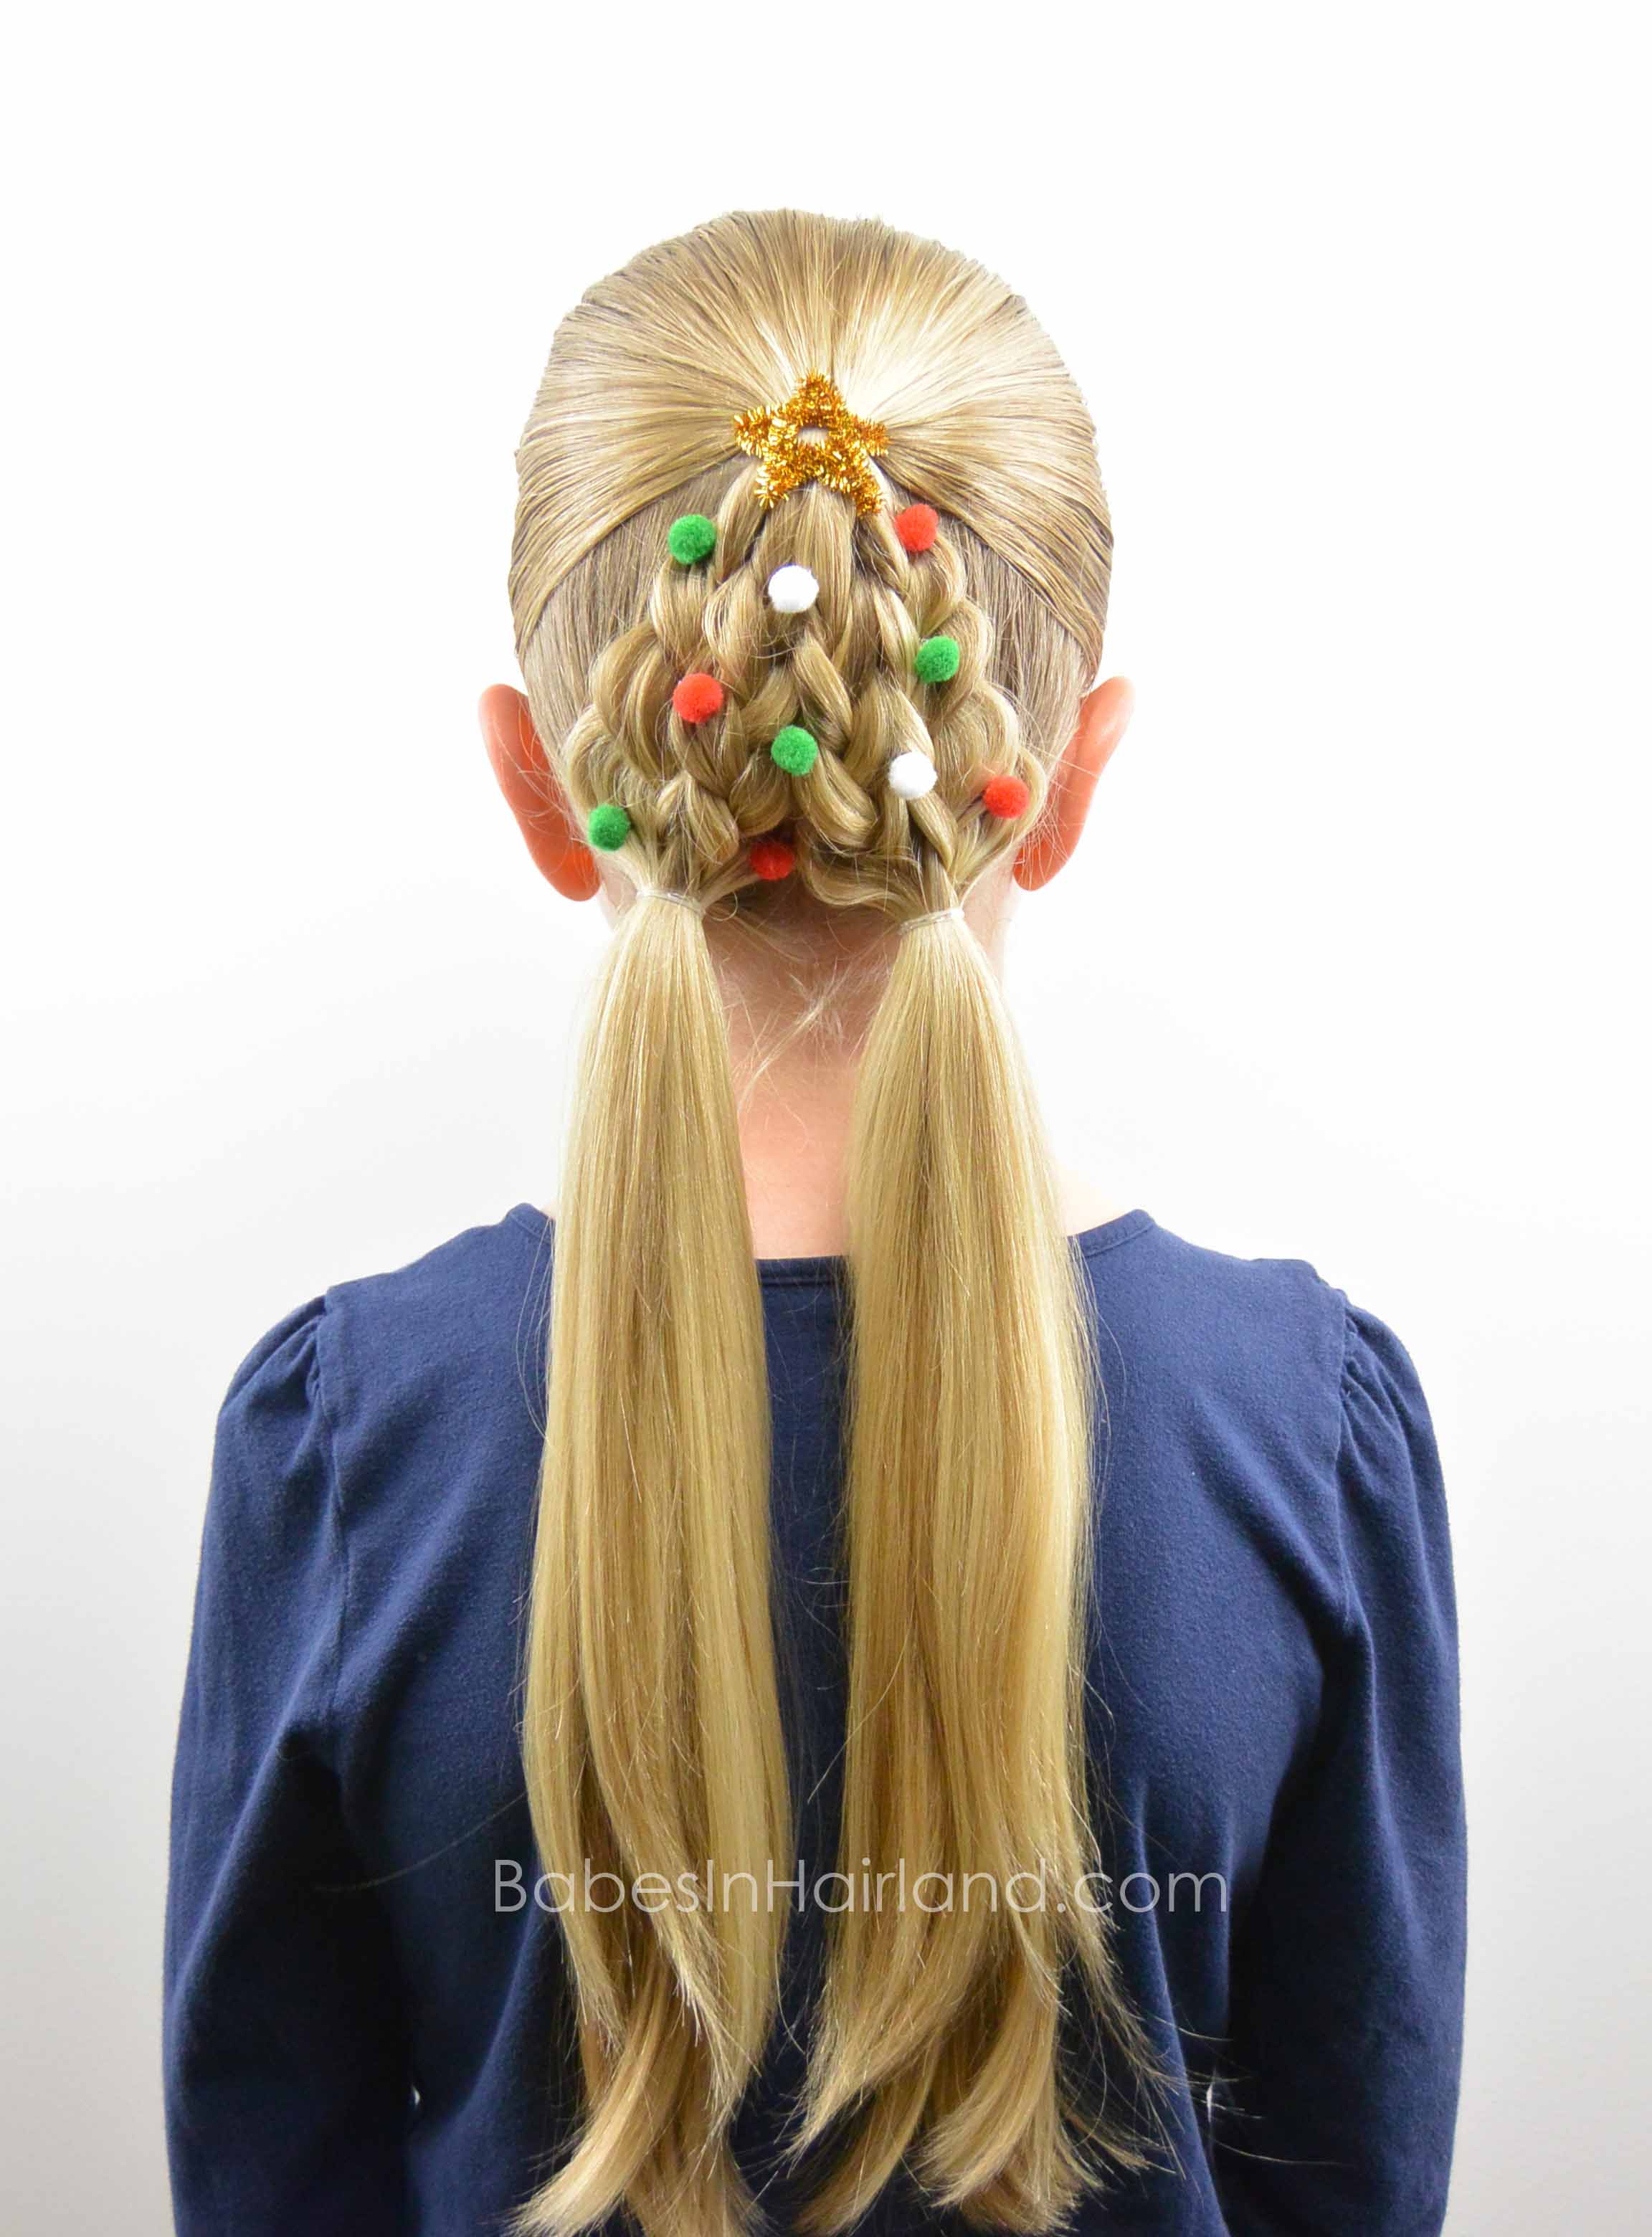
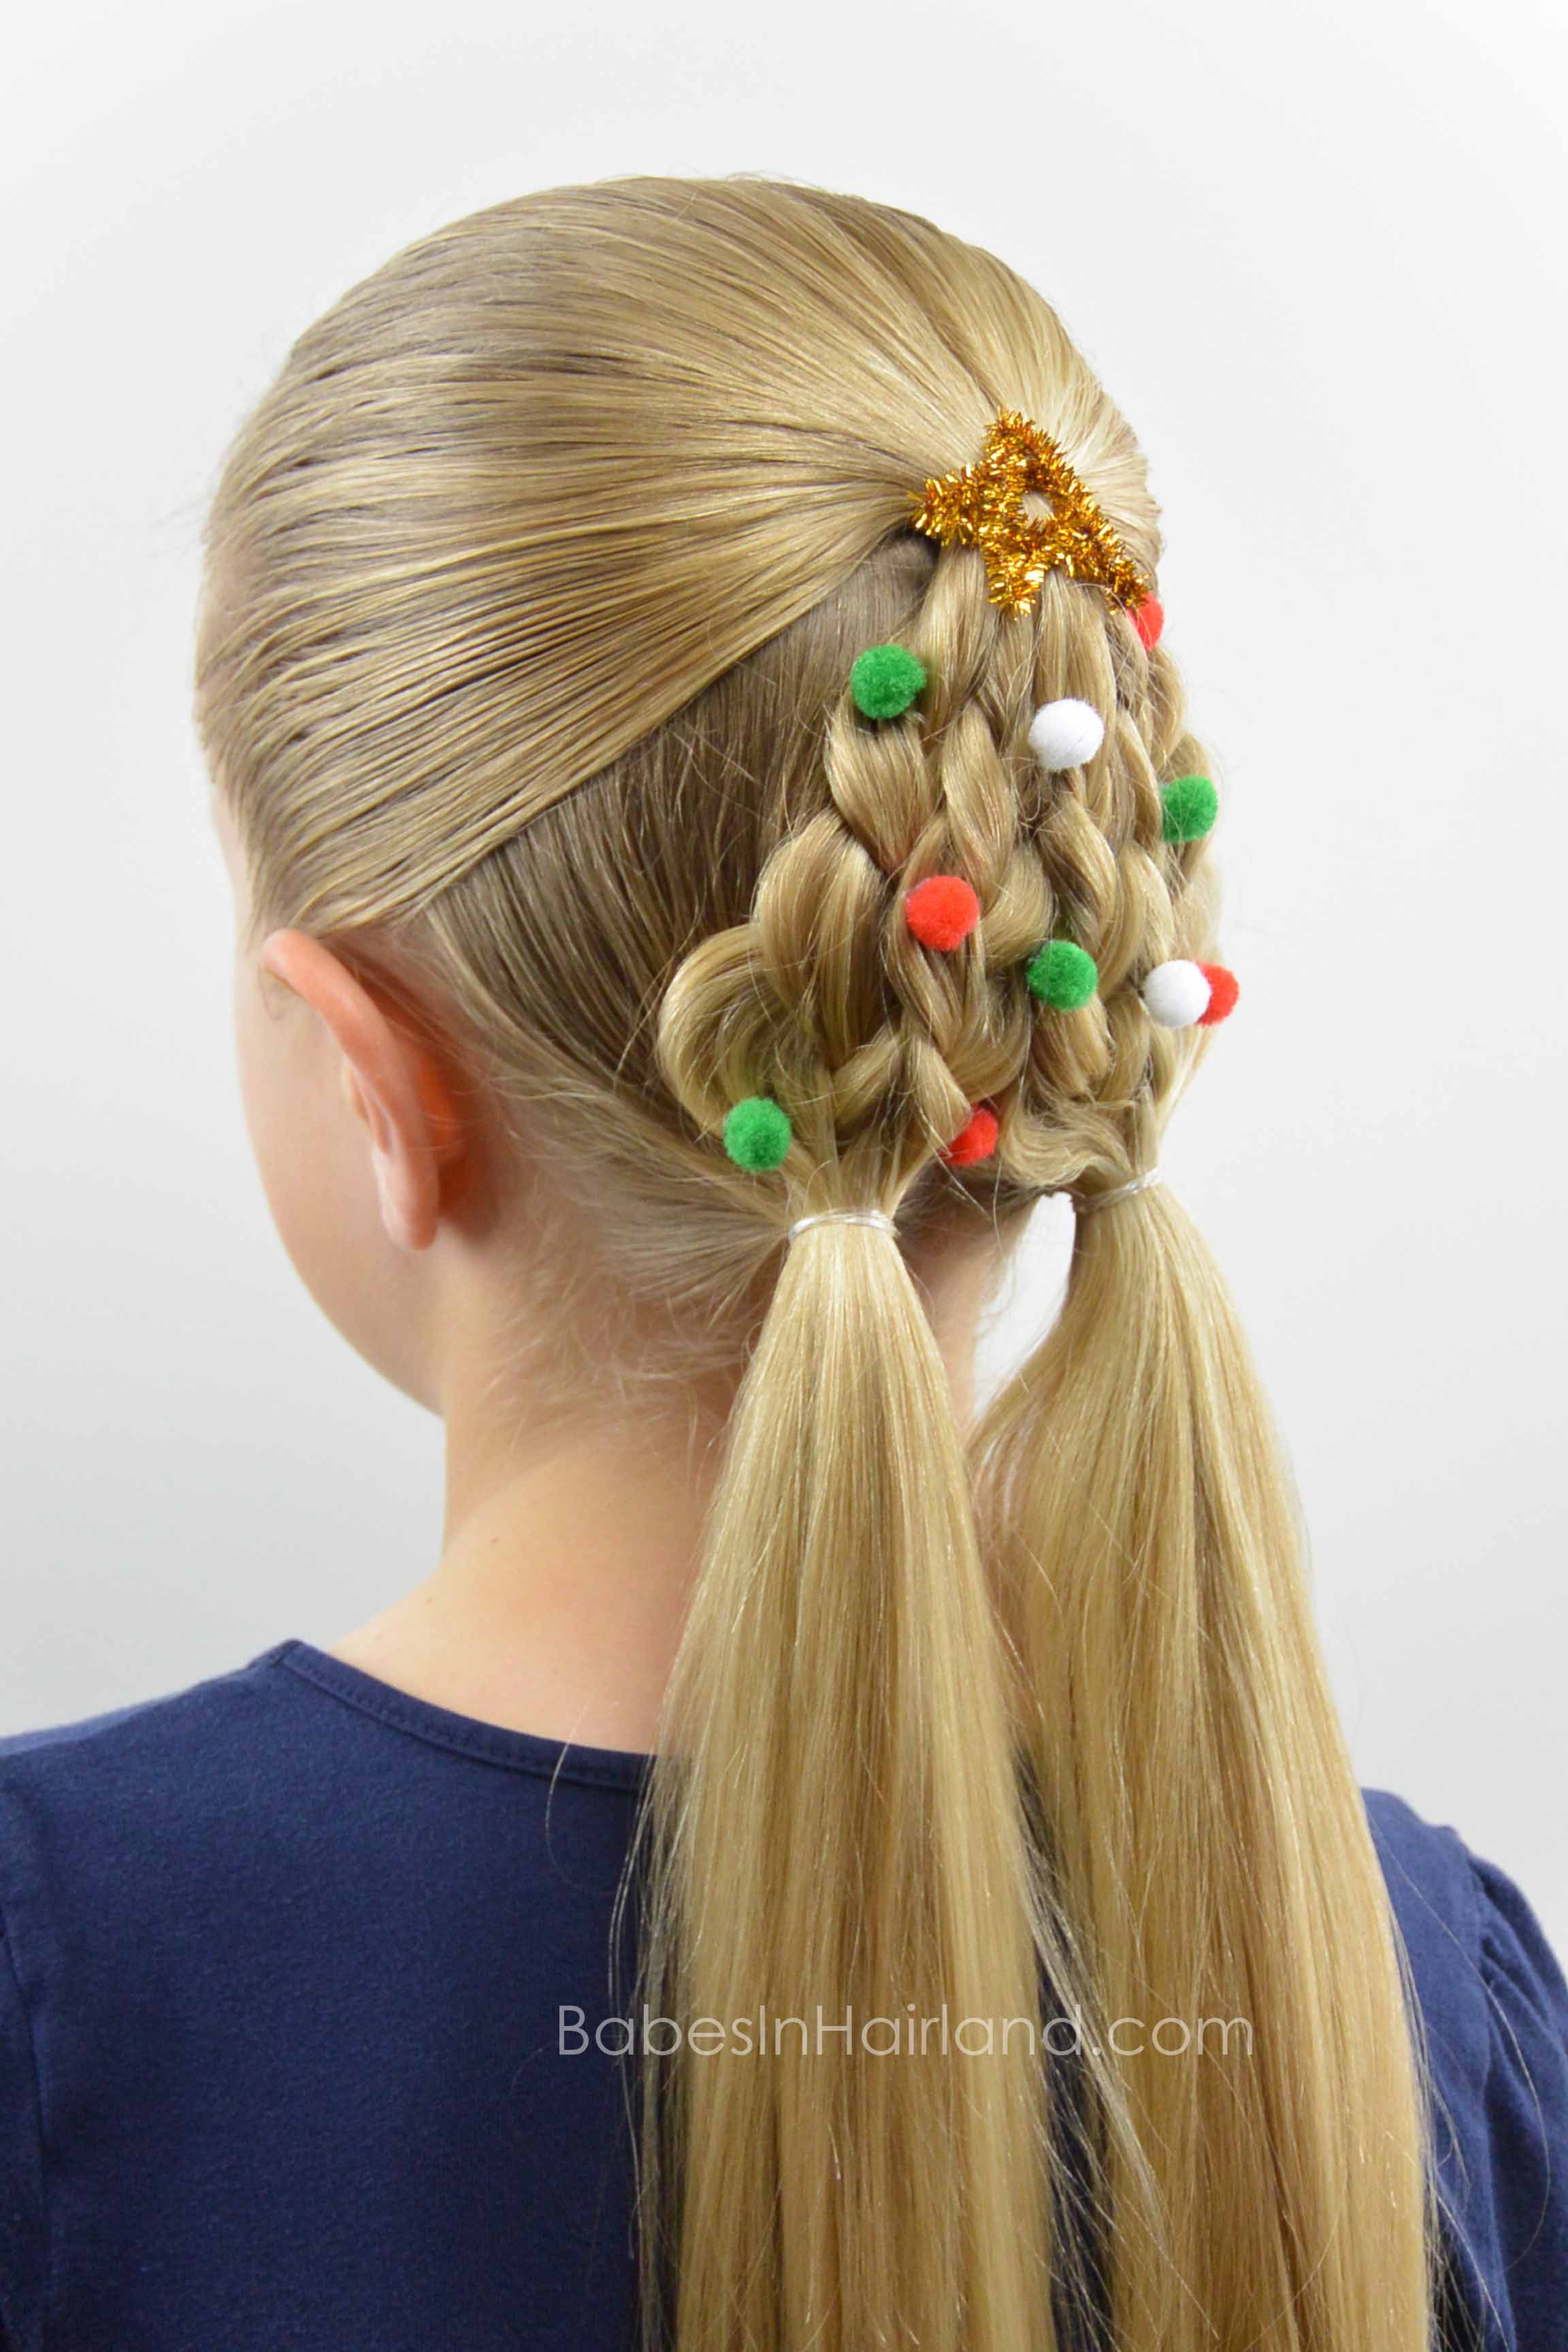
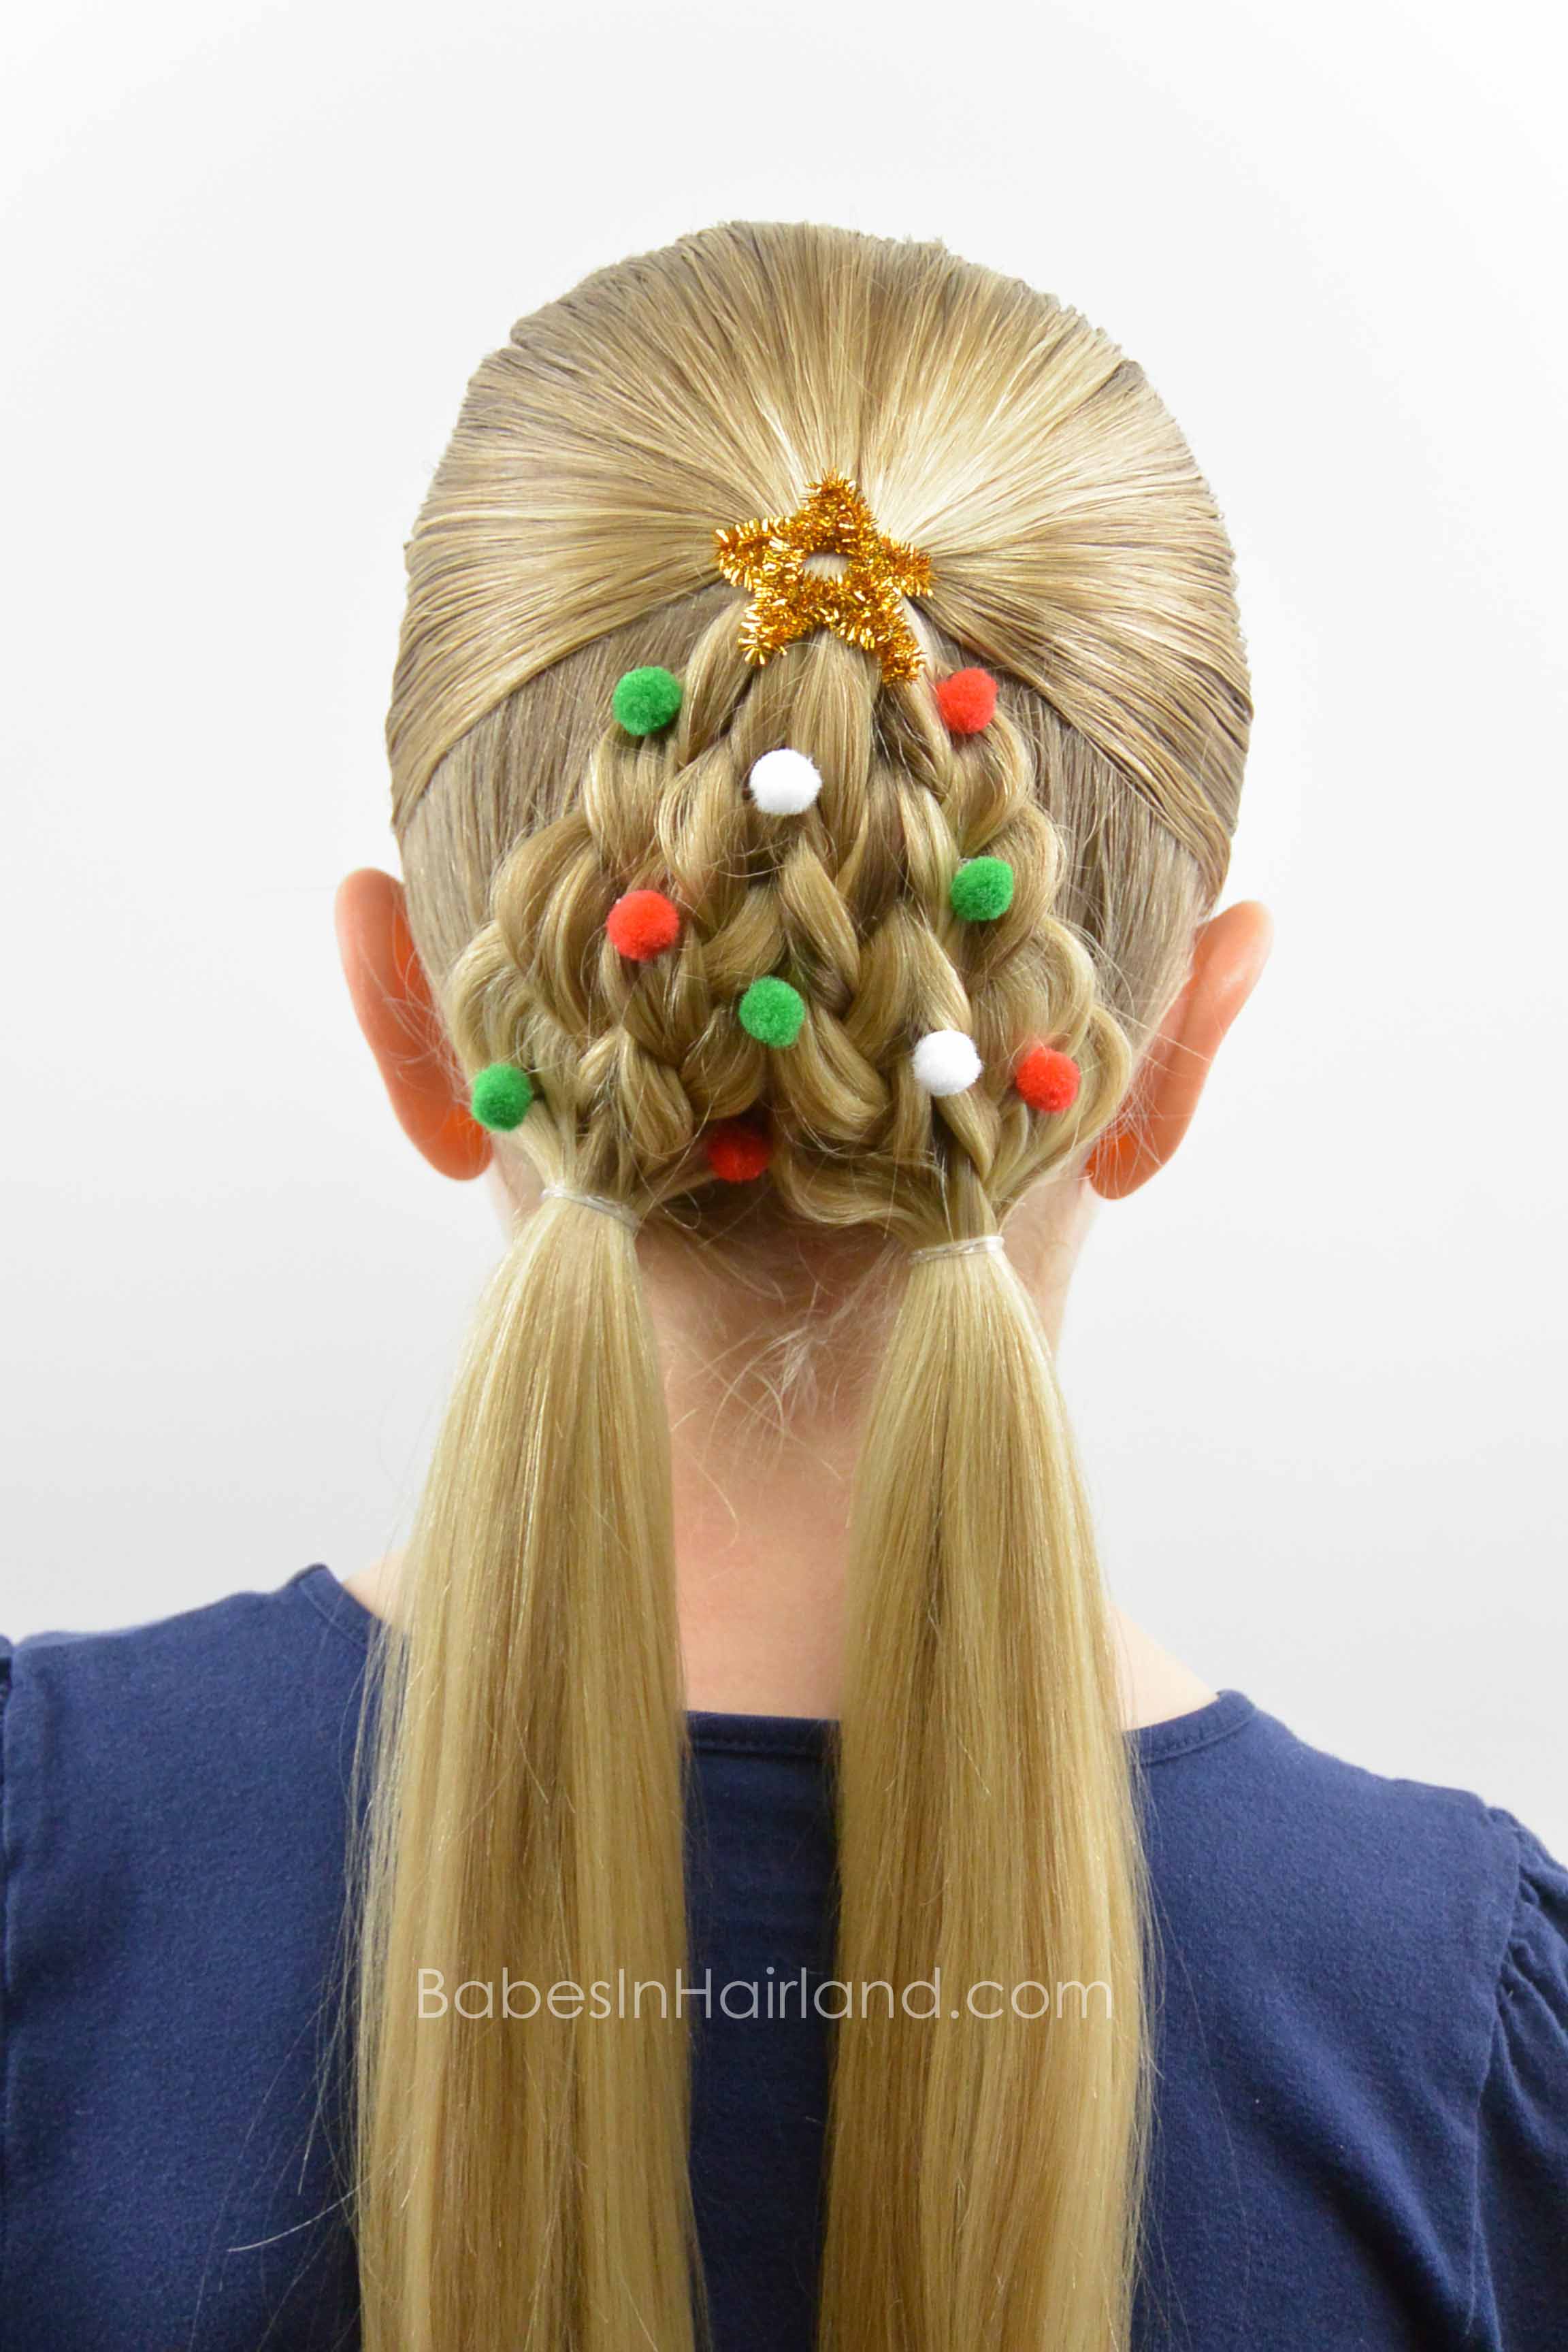
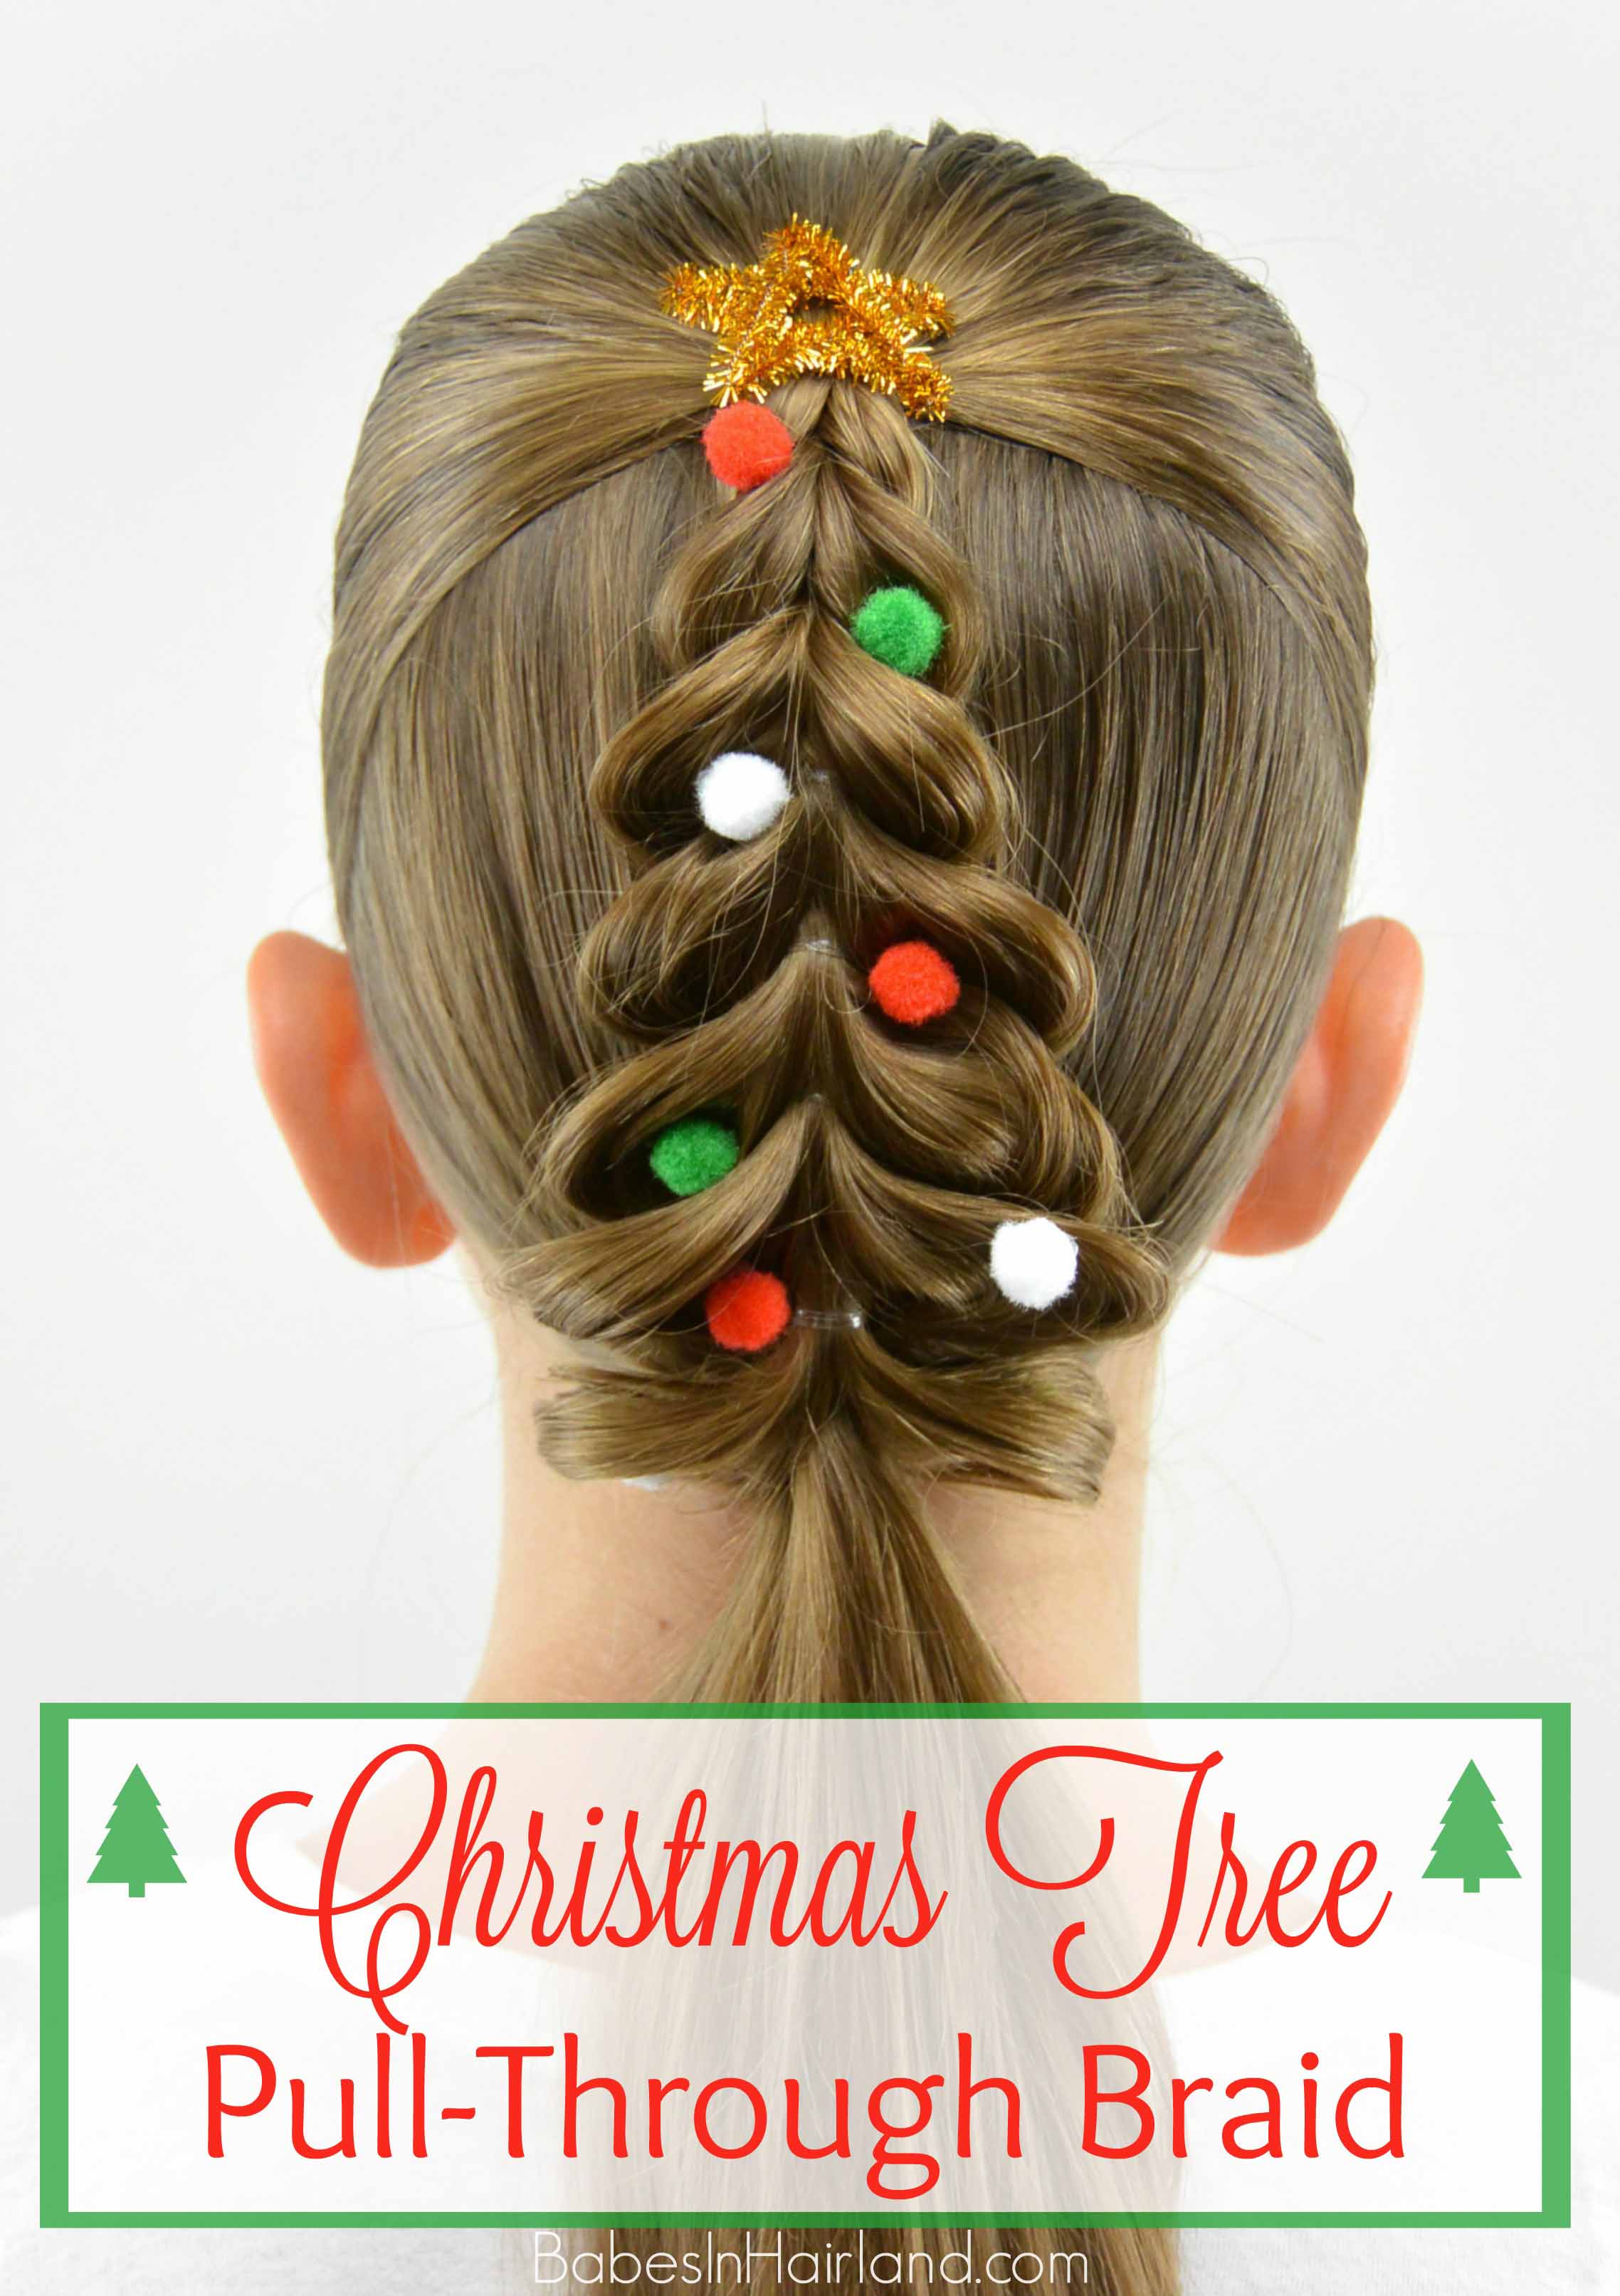
Hope you don’t mind, but we have another Christmas tree hairstyle for you this week! Our Christmas Tree Pull-Through Braid style from last week was so well received. Thanks to everyone who has tried it and shared your recreations with us. They all looked fabulous! This week’s Christmas tree is a quick & easy one as well, so we hope you enjoy it! 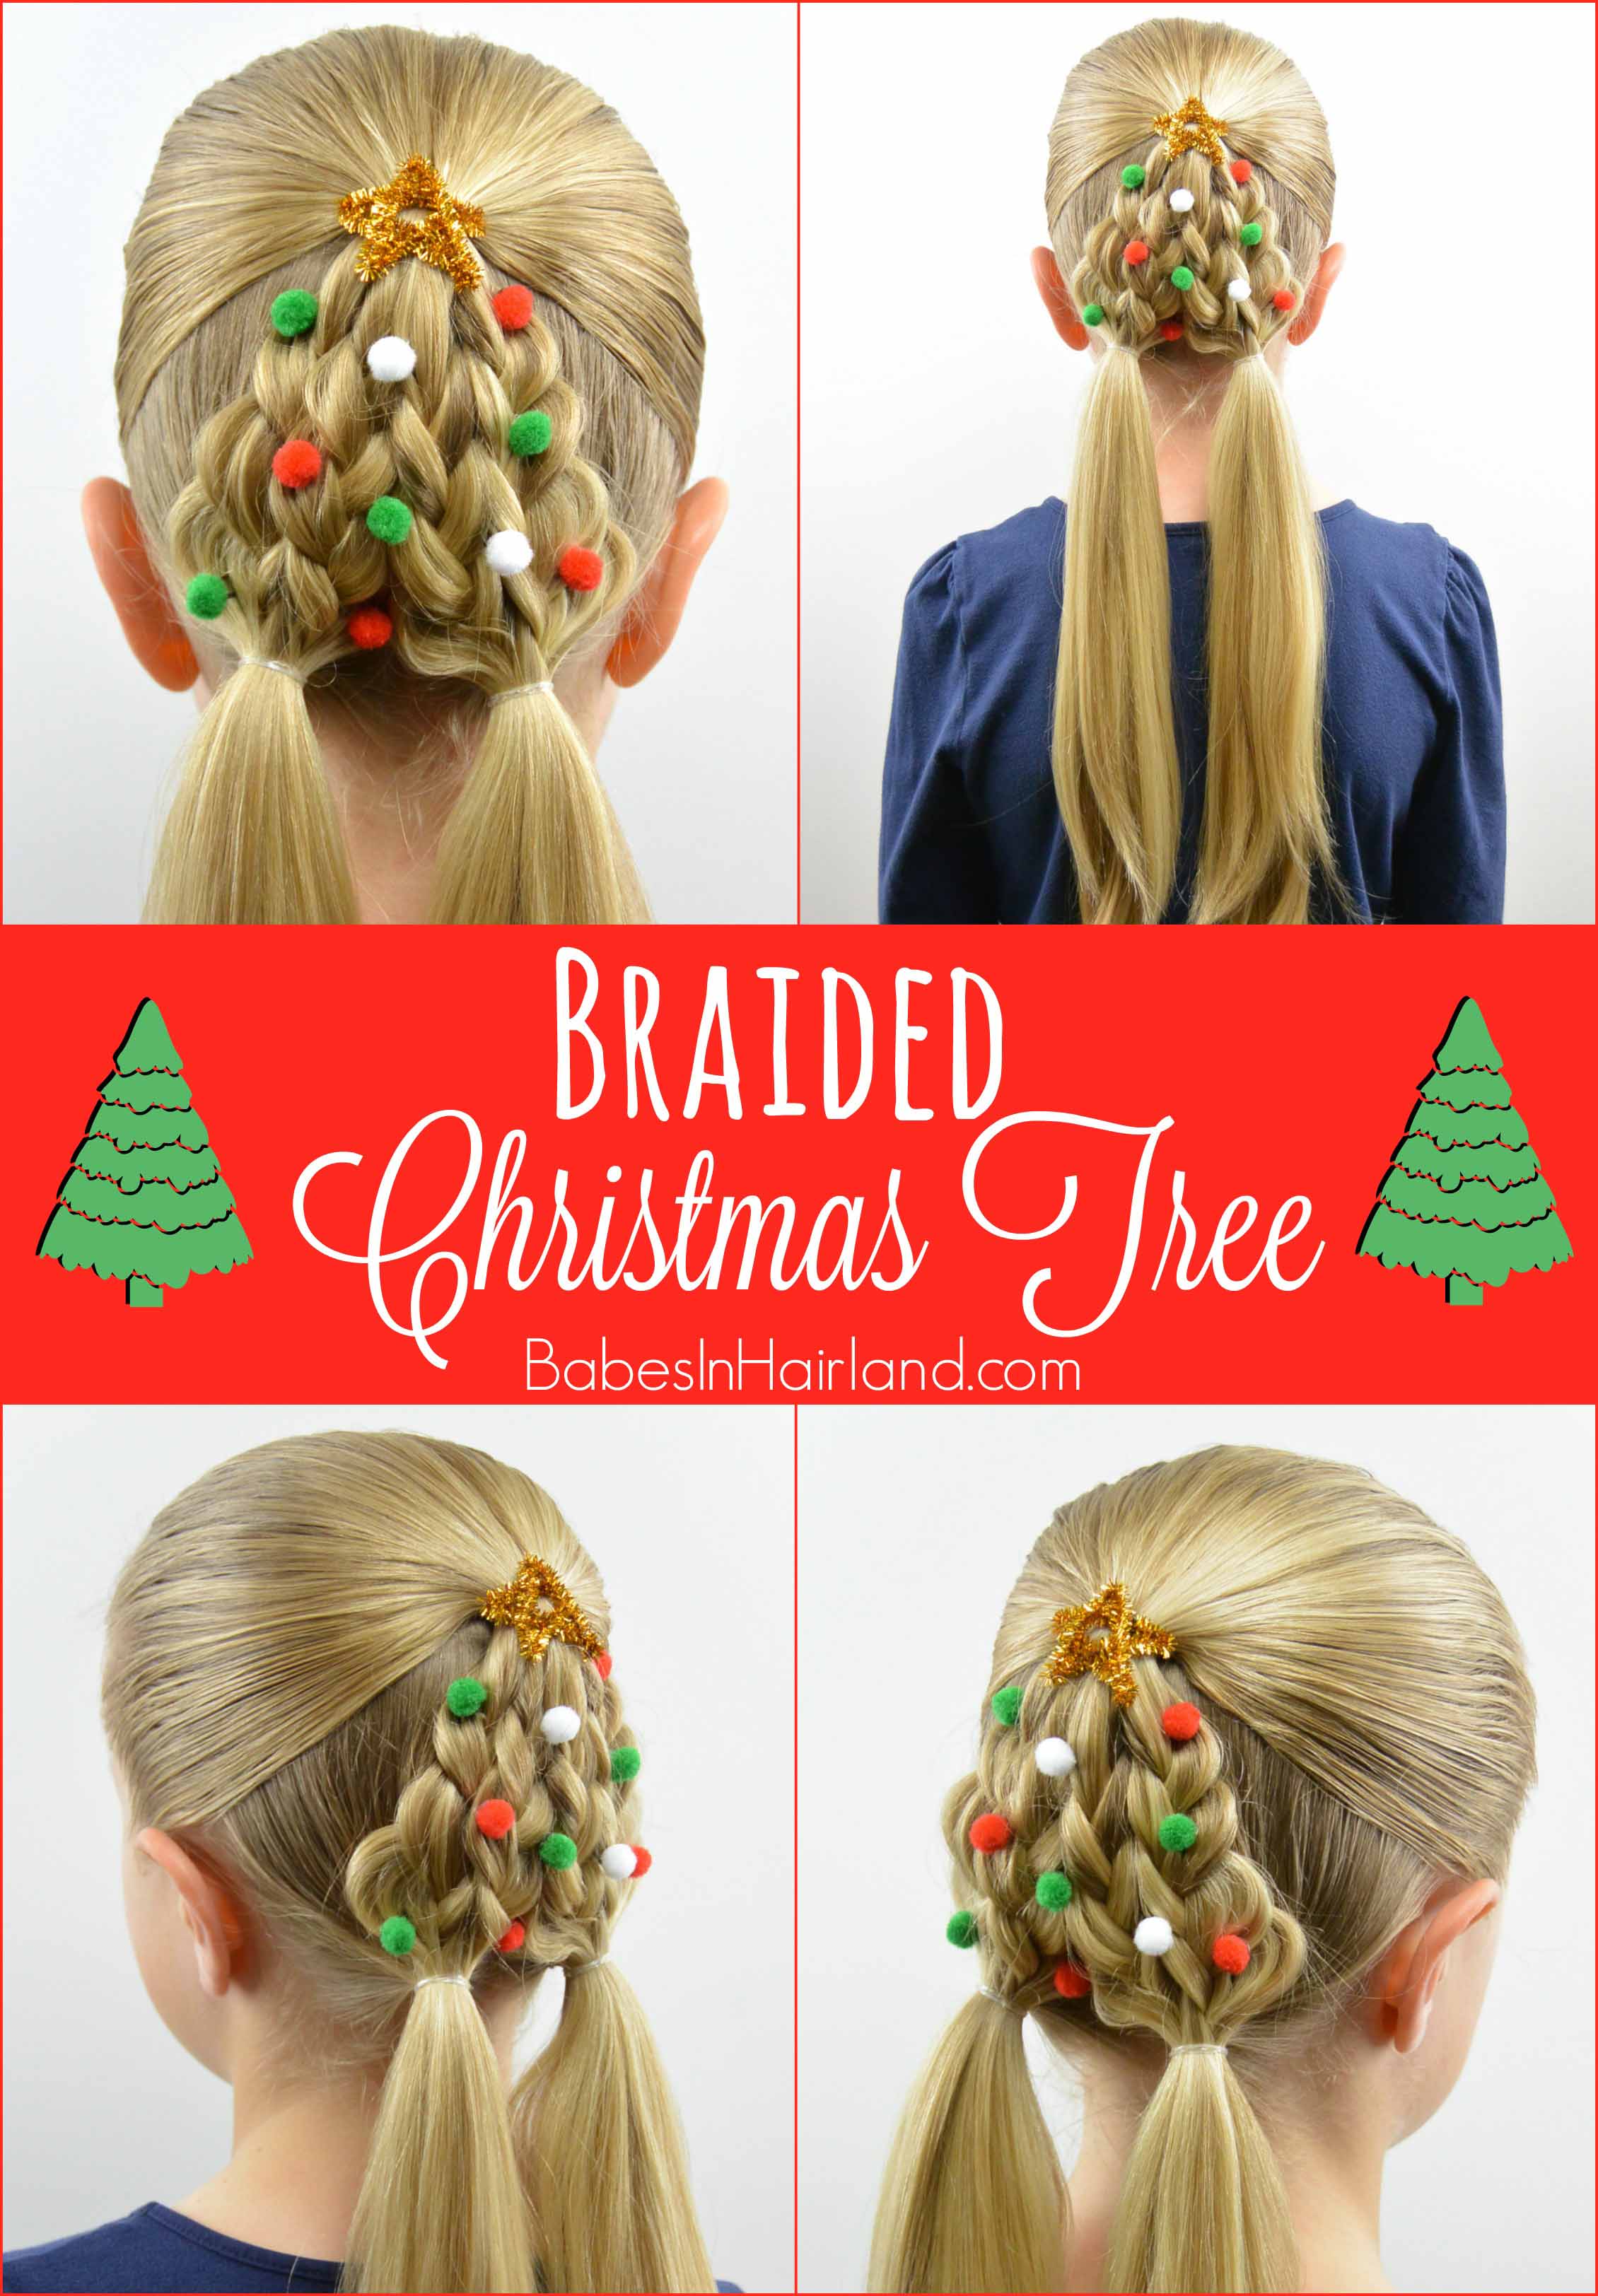 Here’s our video showing how we do it, and below that is our step-by-step instructions along with some pictures of the finished product!
Step 1 – Part the hair from ear to ear
Step 2 – Near the crown, combine all that hair into a half pony and secure with a clear elastic
Step 3 – Part remaining hair in back down the center of the back of the head & temporarily secure each side out of the way with a clip
Step – Divide the half ponytail into 2 even sections
Step 4 – With the section on the right, divide it into 2 more even sections.
Step 5 – Create a regular 3 strand braid with each of these 2 sections of hair & temporarily secure the ends
Step 6 – With the braid on the far right, gently pull on the edges of just the right side of the braid.
This is the edge of your Christmas tree, so you want it to be angled. So don’t pull so much on the edges at the top, but more toward the middle and on the bottom so it is wider at the base.
Step 7 – If needed, pancake the braid that is closest to the center part
Step 8 – Move braids out of the way and smooth all remaining hair down on the right side (from Step 3) to create a low ponytail
Step 9 – Add the 2 braids to this hair and secure in a low ponytail near the center part with a clear elastic
Step 10 – Repeat steps 4-9 on the left side of the head
Step 11 – If needed, pancake the braids that are nearest the part so they are wide enough to cover the center part & overlap a little
Step 12 – Adjust outside braids as needed so the base of your “tree” is wider than the top
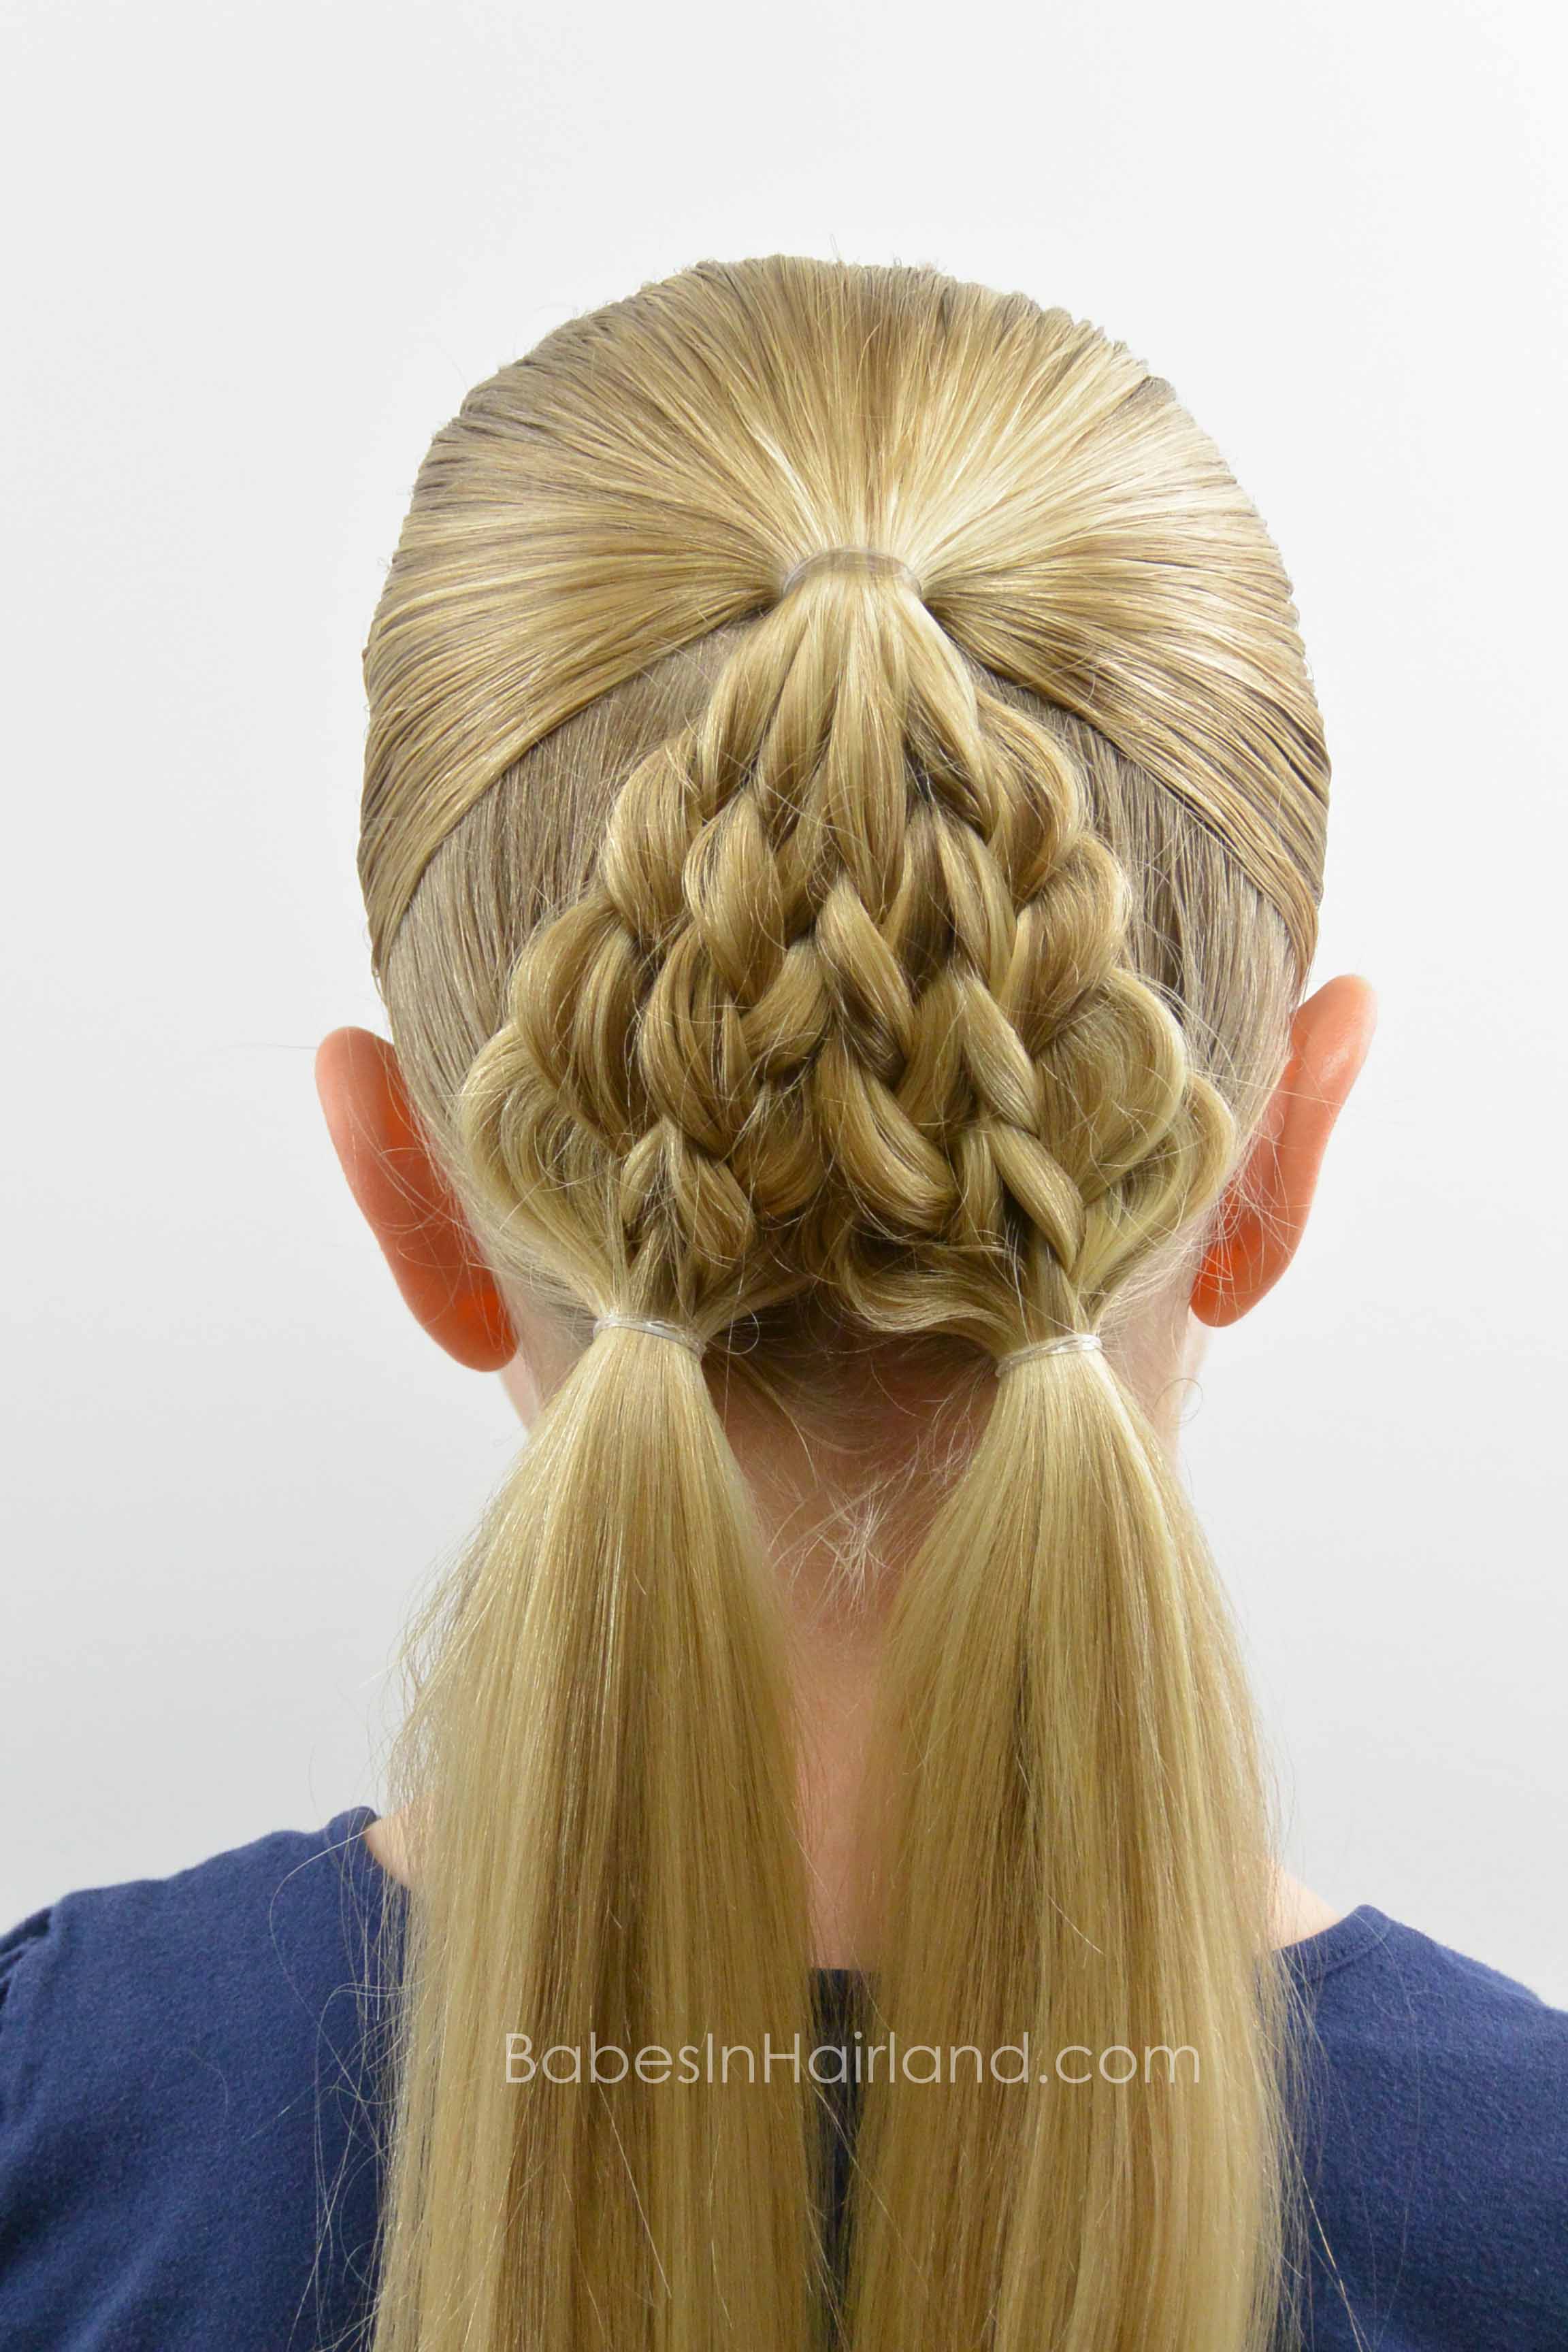
Your “tree” should look something like the picture below once you are done.
Step 13 – Decorate your “tree!”
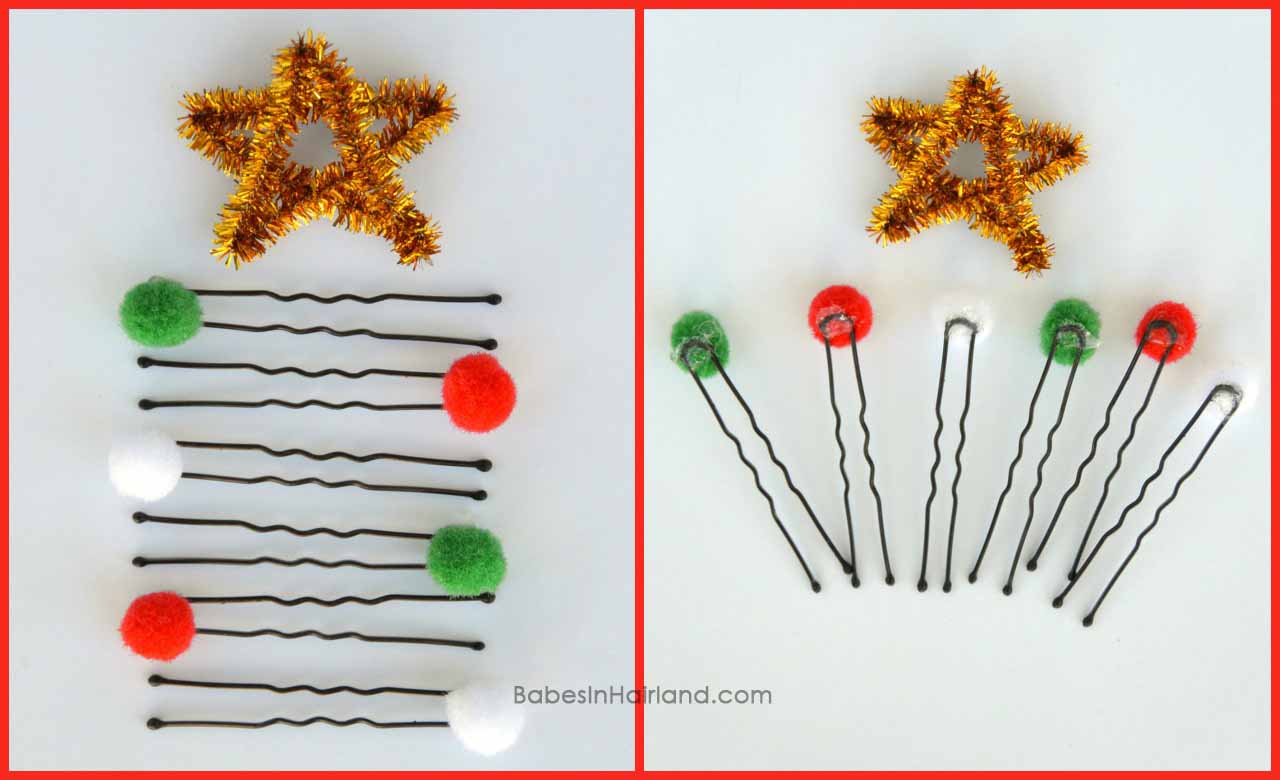
We used the same “decorations” from last week’s Christmas Tree Pull-Through Braid. We hot glued and secured some small pom-poms to some hair pins and randomly stuck them throughout the braids.
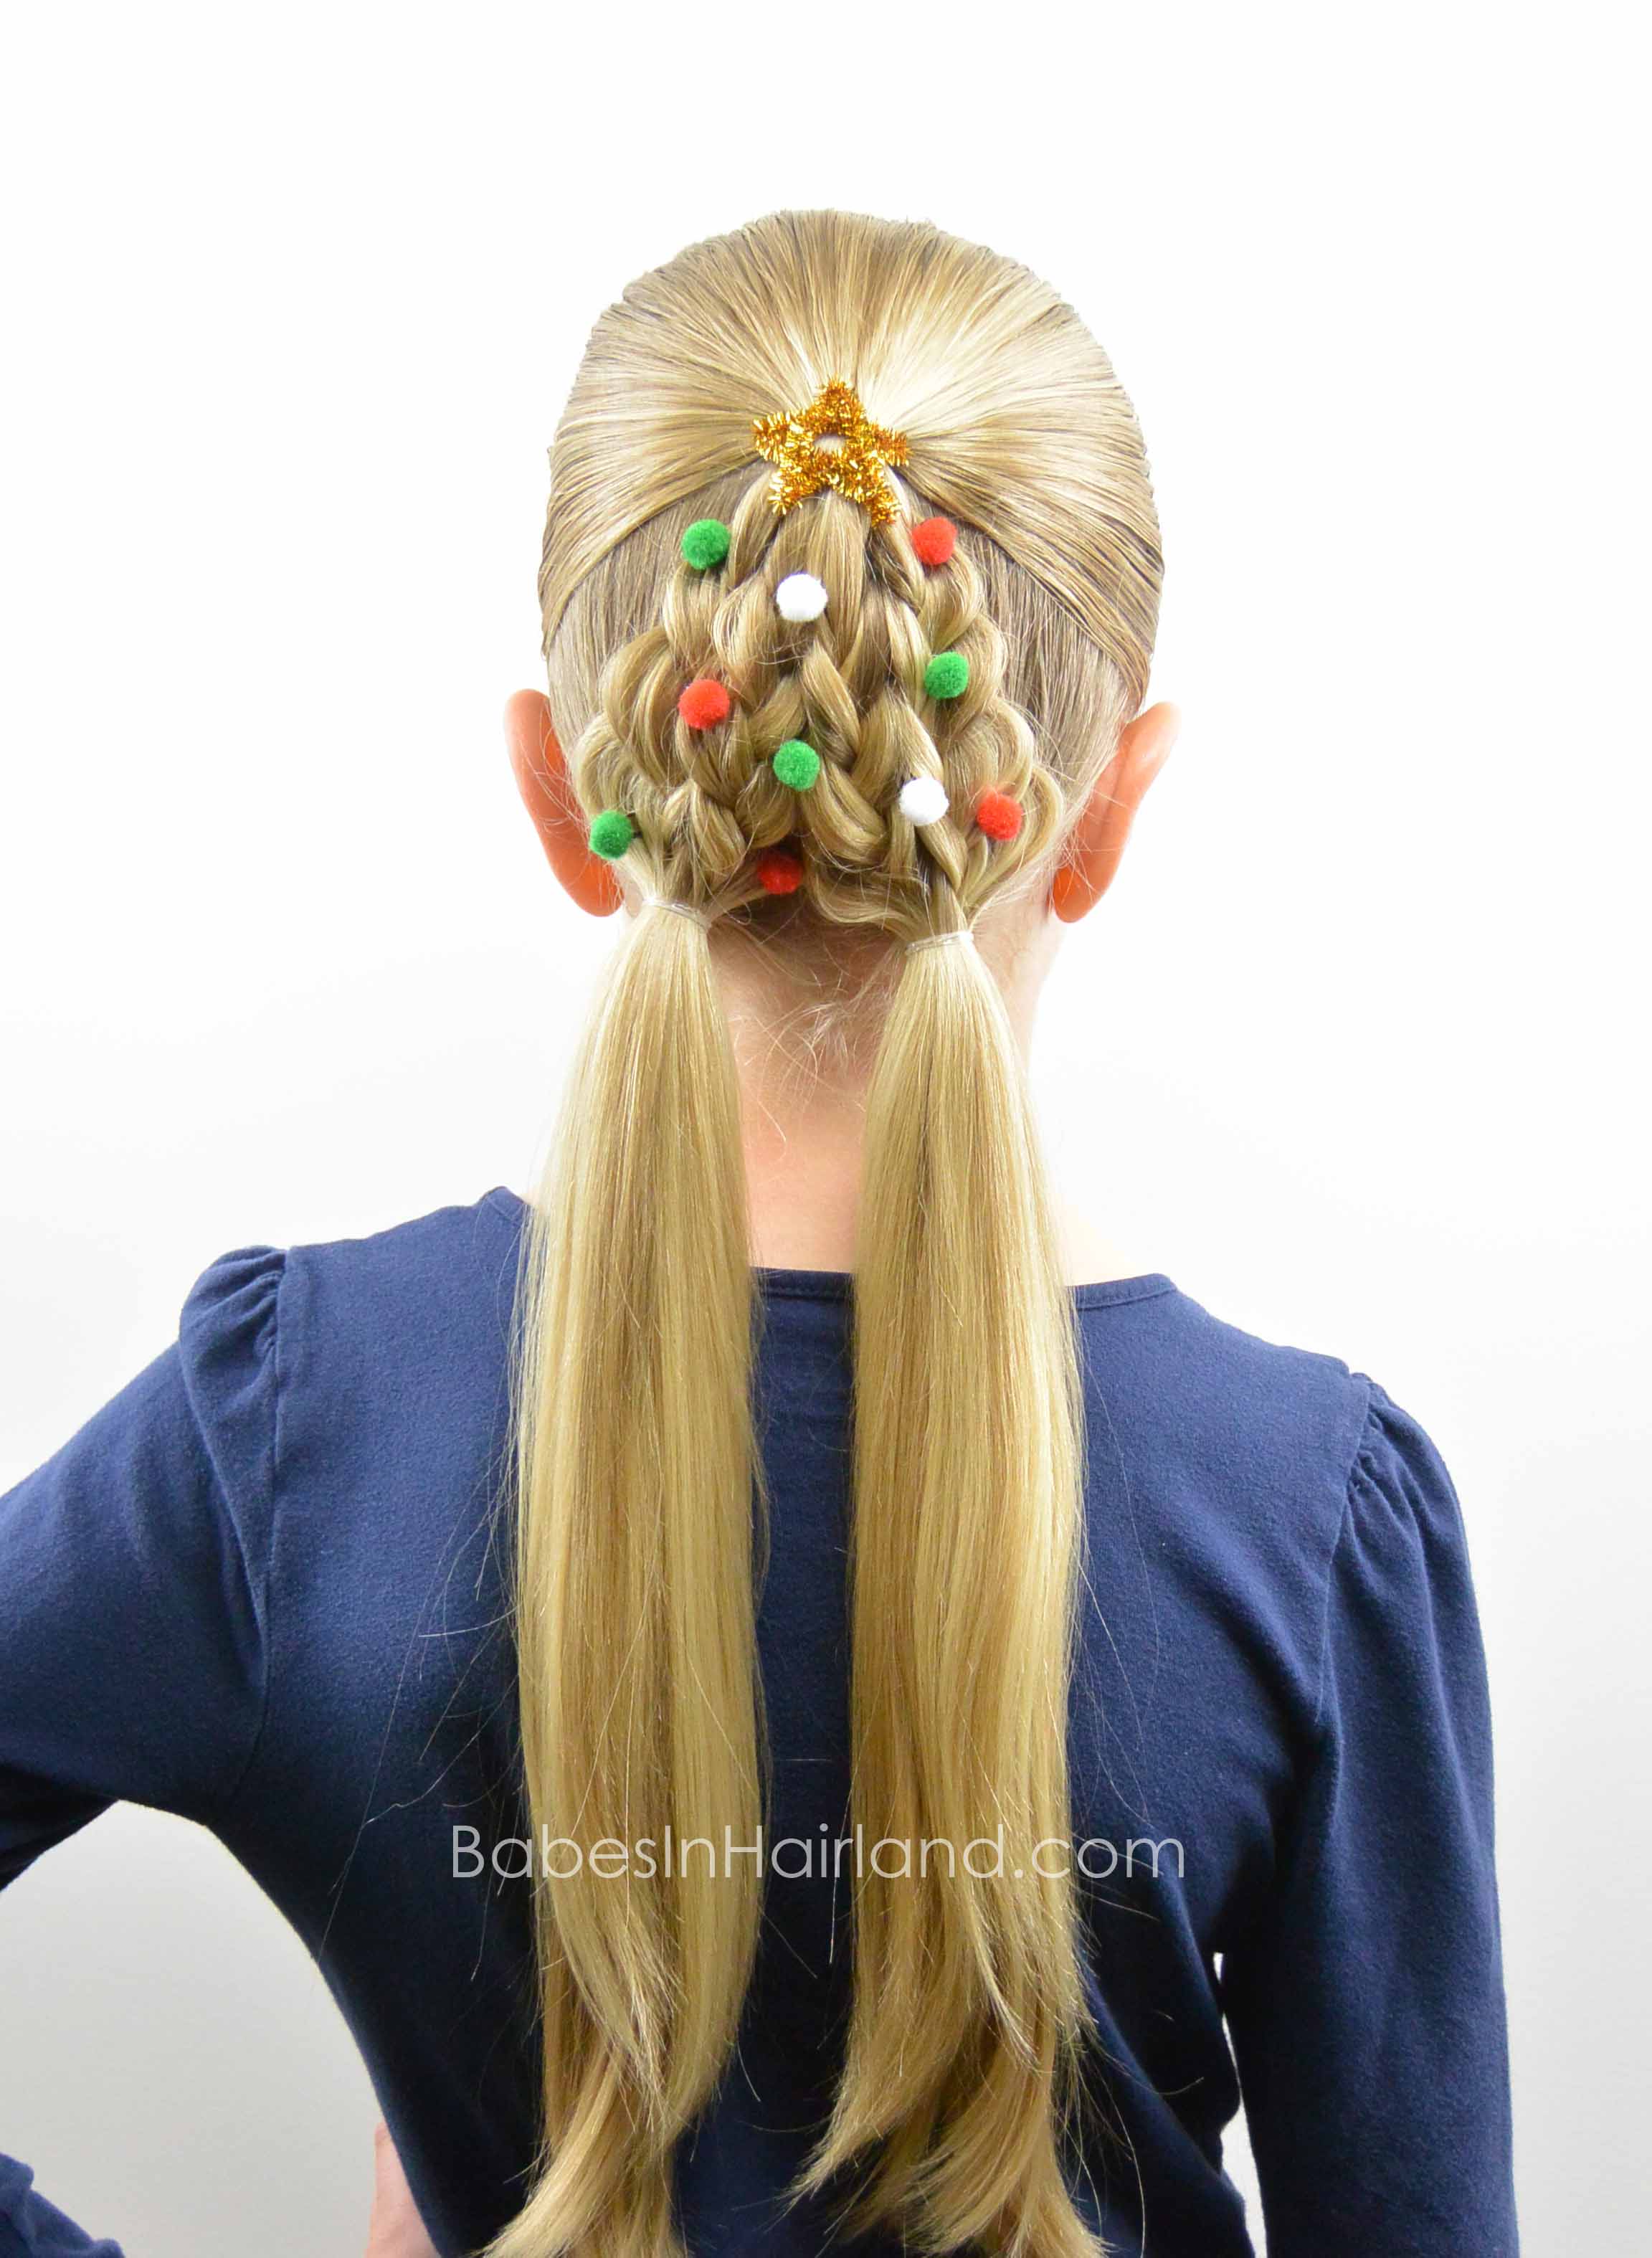
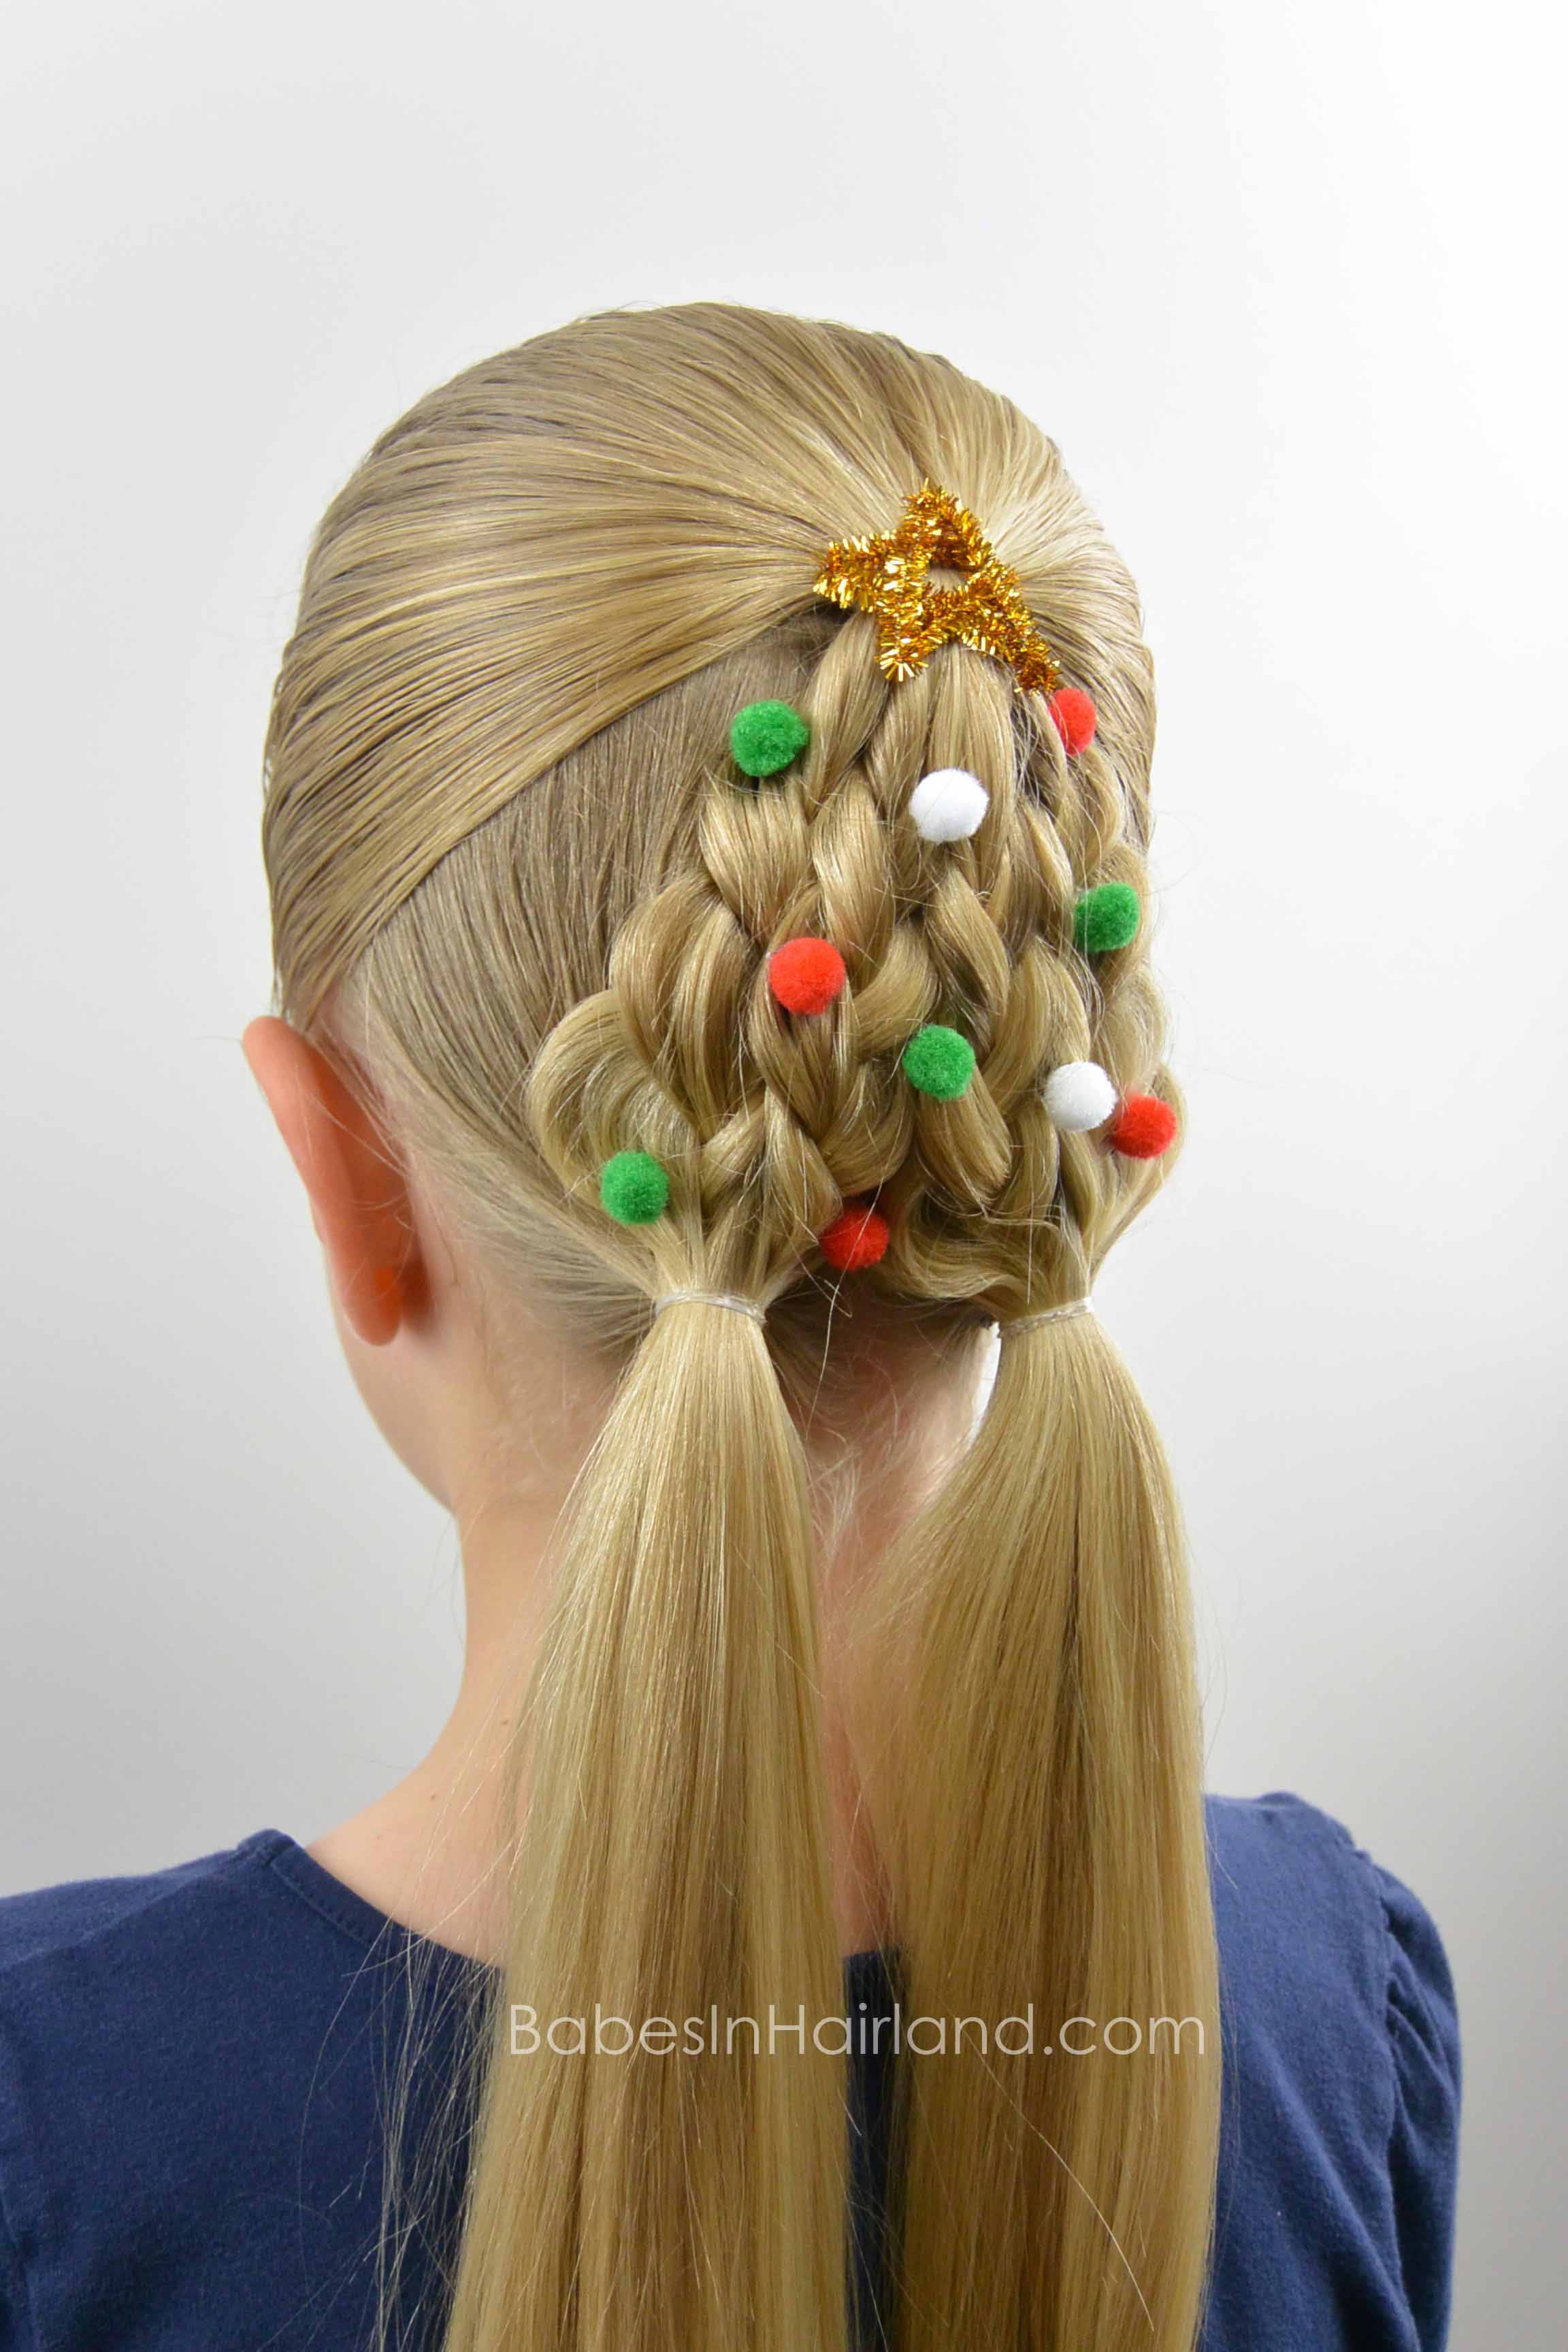
FINISHED!
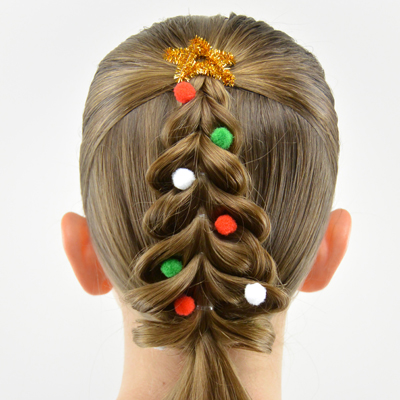
Here’s our Christmas Tree Pull-Through Braid from last week. Which one do you like best? This week’s tree, or the one from last week?
Regardless of which one you like best, they are both fun & festive just in time for Christmas. We’ve had people wearing these for Christmas parties, school activities, and even in Sydney Australia a group of girls participated in a “Reindeer Rowing Regatta” and they wore our Christmas Tree Pull-Through Braid! So fun!
And since it is Christmas time, if you’re still looking for that perfect gift – don’t forget about our book – “Amazing Hairstyle – from Easy to Elegant.” You can pick yours up HERE at Amazon today
! Or be sure to check out our post Gift Ideas for Hair Lovers for more great Christmas gift ideas!
