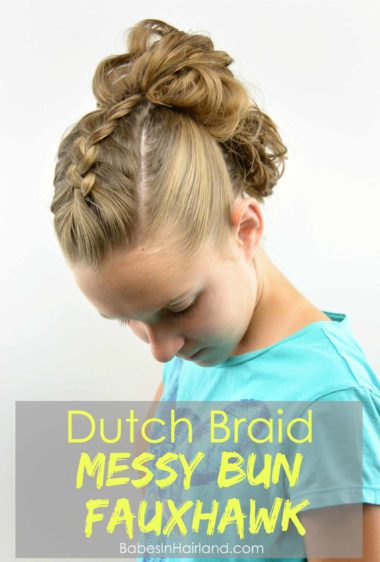
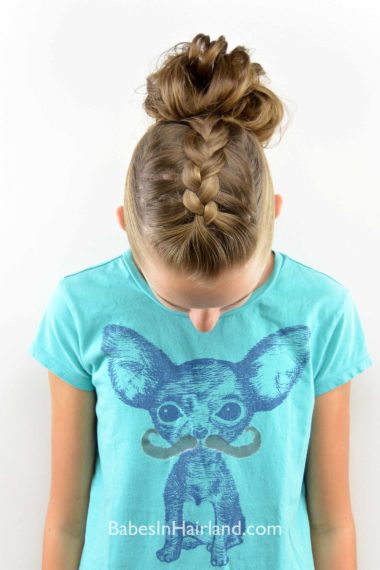
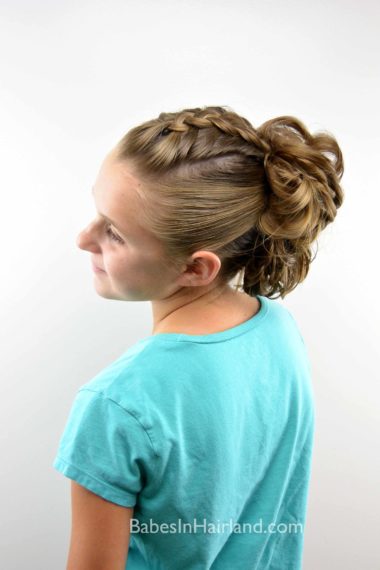
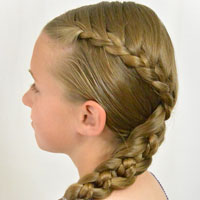
Where did the time go? Seriously can’t believe it’s already September! Since Bug cut her hair & donated it a couple months ago, we’ve had fun doing some different styles on her that aren’t necessarily “typical” of what she’d normally wear. I guess it also has to do with her getting a bit older as well. It’s fun to mix things up once & a while!
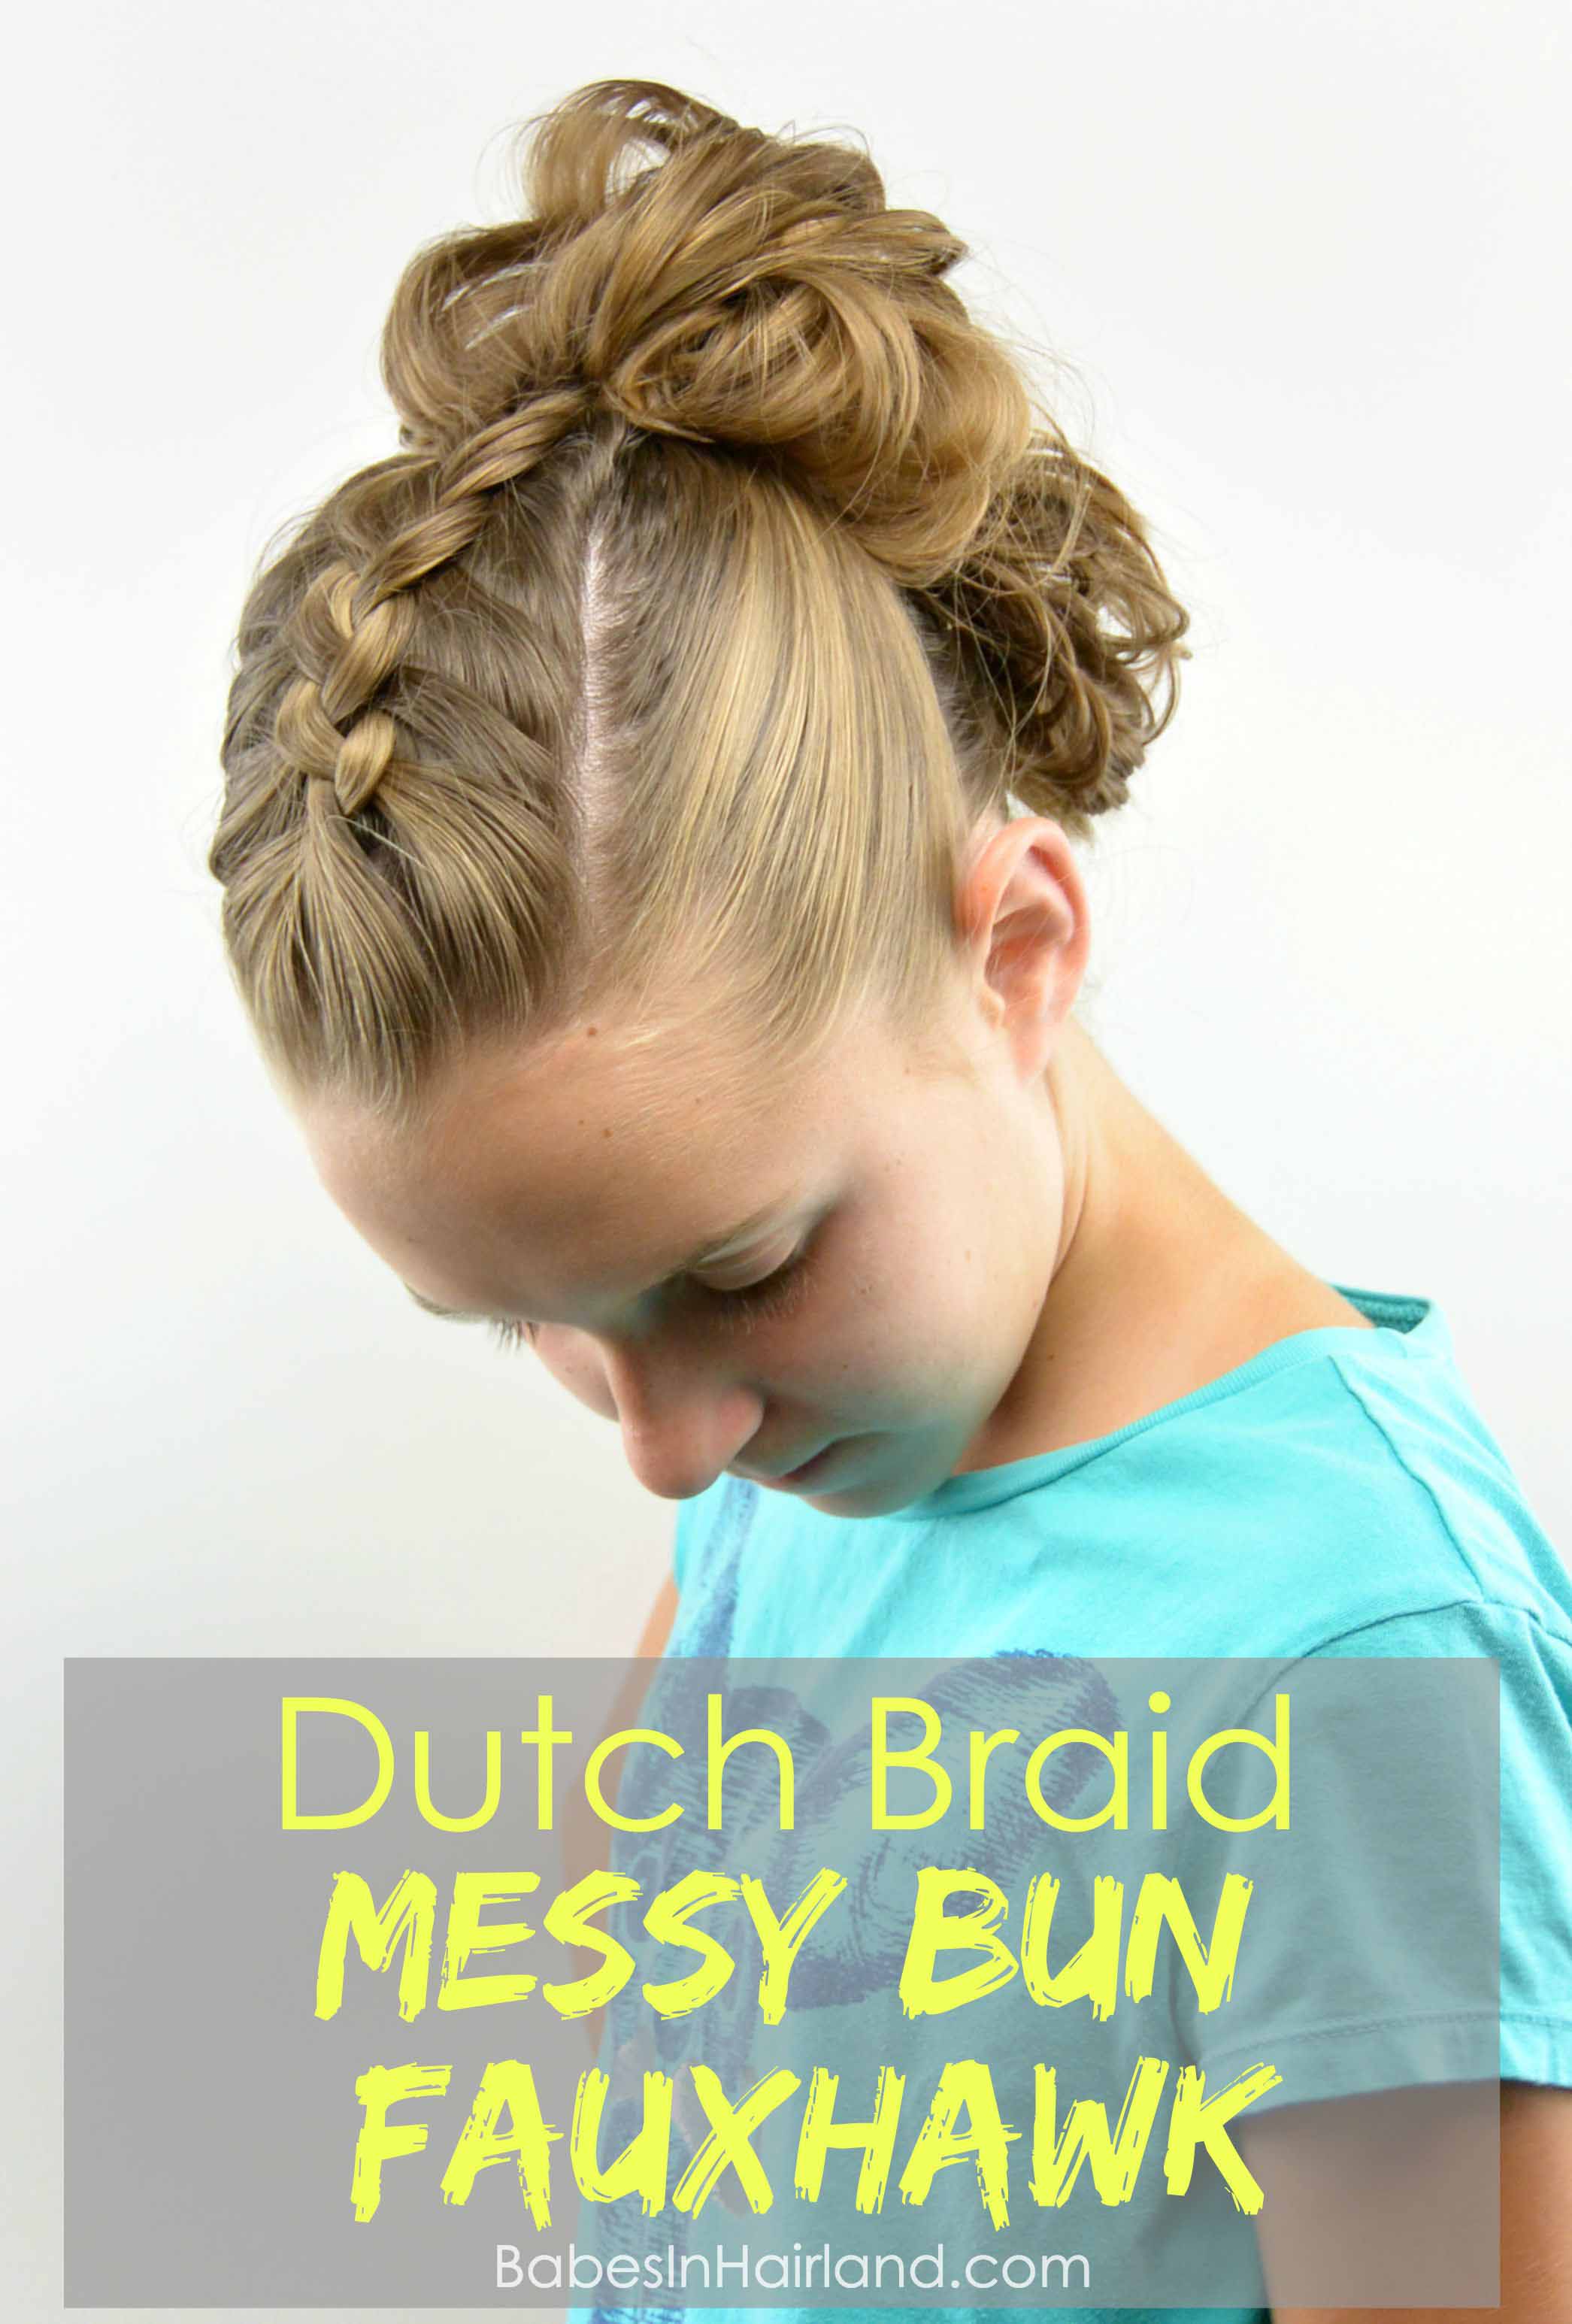
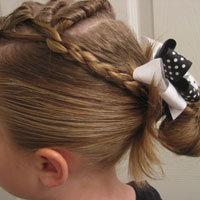
This style worked great on her since messy buns “done our way” work better in shorter hair. I’d say if her hair were a little bit shorter it would have worked even better. Watch our video to see how we do it:
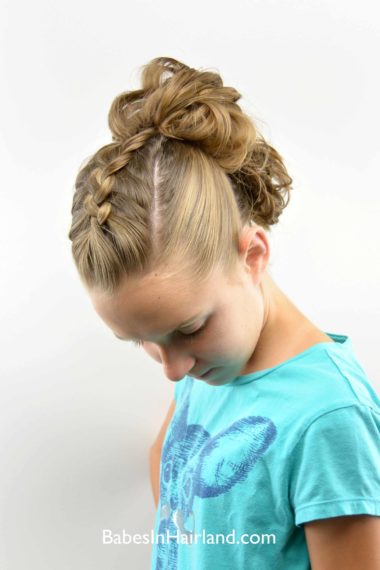
Step 1 – Part out a rectangular section of hair from the temples back and across the crown
Step 2 – Temporarily secure all the rest of the hair out of the way
Step 3 – Create a Dutch Braid or regular French braid in the area on top of the head from Step 1
You could even do a regular braid here if you prefer, but by doing a Dutch braid it gives it an “edgier” feel I think! You can watch our French braid video and all that you do different to create an “inside out” or Dutch braid is pass the hair under instead of over.
Step 4 – Braid back until you can no longer add hair to the Dutch braid and you are near the crown
Step 5 – Pancake the braid as much as desired to make it wider & flatter & temporarily secure the end
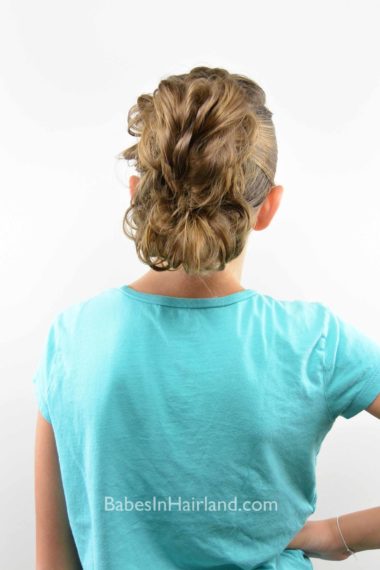
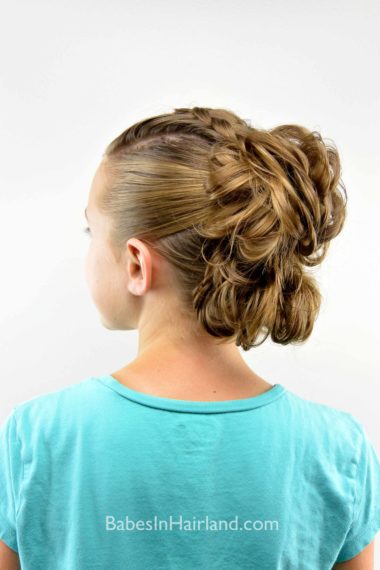
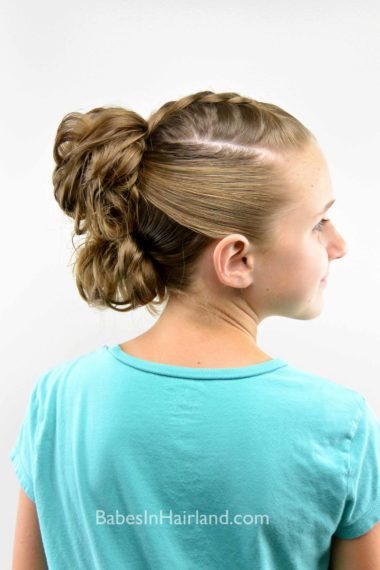
Step 6 – Part hair across the back of the head from the tip of each ear & combine into a ponytail just below where your braid stops at the crown
Step 7 – On the last wrapping of your elastic don’t pull the ponytail all the way through so it makes a loop
Step 8 – Pinch & pull on the loop to break it apart and mess it up pulling some hair up and some hair down
You can watch our messy bun video if you want a better look at how we create these.
Step 9 – Secure bun with bobby pins as needed
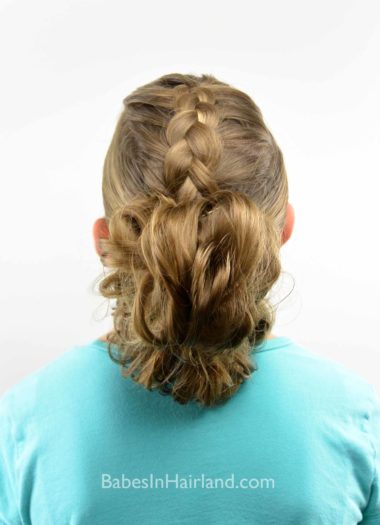
Step 10 – With remaining hair in back, create another ponytail that sits below your messy bun
Step 11 – Repeat steps 7-9 in this bottom ponytail
You can divide the hair into smaller sections down the back of the head to create more messy buns that are smaller if you wish, but we opted to go with just the two buns.
Step 12 – Spray with hairspray to secure and add more bobby pins as needed
FINISHED!
What do you think? Do you like the “fauxhawk” look? If so, be sure to check out some of our other fun & funky styles where we’ve created a “fauxhawk”. And really – is it faux-hawk or one word fauxhawk?! Either way I think they are fun. Maybe not for your every day look, but they have their place!
Click HERE for our Messy Side Swept Fauxhawk.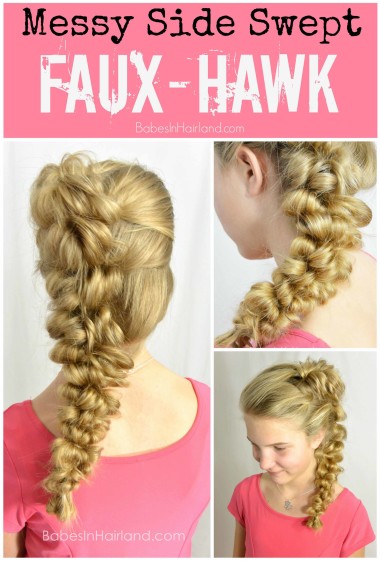
We recently posted this cute Braided Pull-Through Fauxhawk.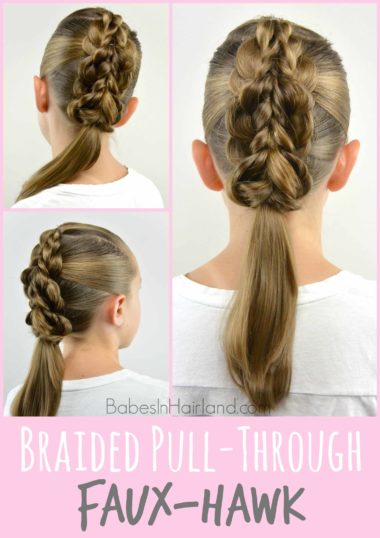
And pin this for later just in case! 😉 I could see this being great for Halloween if your daughter wants to be a rocker chick or something spunky like that!