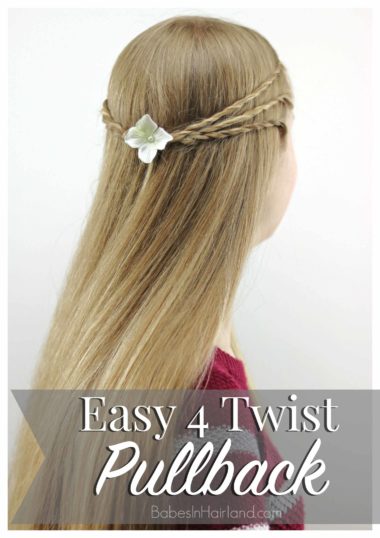
 You may or may not have noticed, but we didn’t get a new tutorial up last week. I got slammed with a major cold back at the beginning of the month, had no voice, felt plain awful, and to top it off, my husband was out of town so I barely kept my head above water, let alone got anything blog related taken care of! I still haven’t been feeling 100%, and am not caught up with many things, so my sweet 14 year old gladly stepped in for me. Months back, she taught us how she does Tight Dutch Braids on Herself, so if you missed it, go HERE.
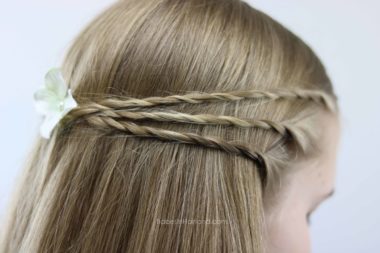
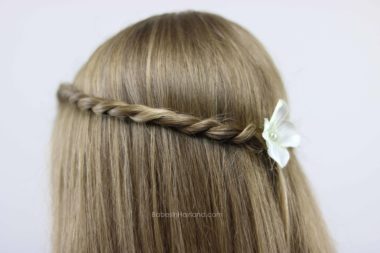
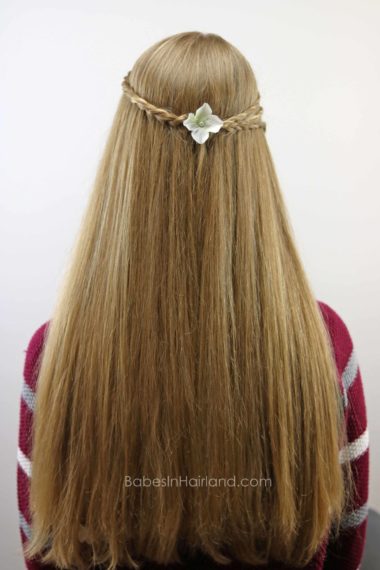
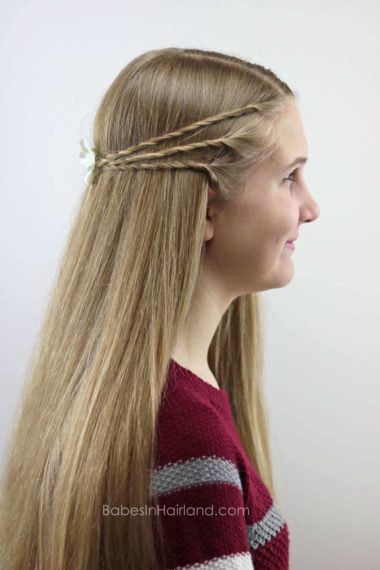
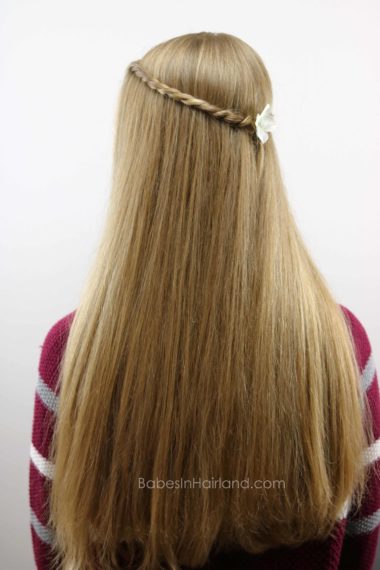
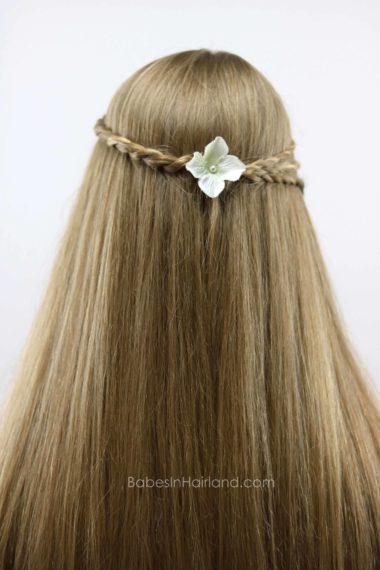
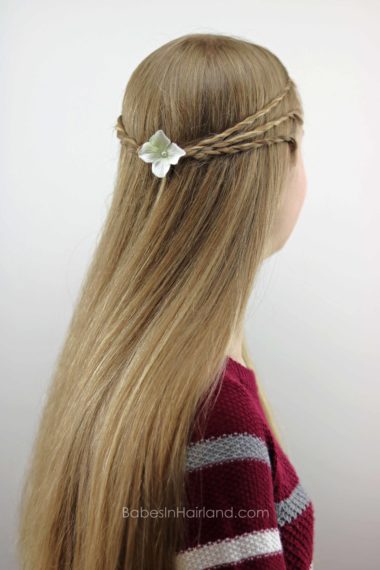
Today she’s sharing one of her quick hairstyles she does in the morning sometimes. It’s simple and easy – perfect for a morning when you don’t have much time or want something less complicated to do in your hair. The fun part is depending on which side you look at, it’s different! This takes her just a few minutes to do, but if you wanted to curl the remaining hair that is down, it obviously will require more time.
Watch her short video or follow the step-by-step instructions below. If you can’t get the video to play, go HERE.
Step 1 – Make an off-center part on the right side of your head
Step 2 – Beginning on the left side, section out a couple inch section of hair near your forehead and temple
Step 3 – Divide this section of hair into 2 pieces and twist the hair
She says she isn’t trying to create a rope braid/twist, but it sort of ends out looking like that. So if it just ends out being a simple twist, that is just fine. Need help with rope braid/twists? Go HERE for our rope braid/twist tutorial.
Step 4 – Twist until it reaches the center back of your head & temporarily secure the end. (She holds the end in her mouth rather than using a clip or elastic!)
Step 5 – Next on the right side, near the off-center part and above your right temple, part out a very small section of hair. Divide this hair into 2 pieces and create another twist.
Step 6 – Twist until it reaches the center back of your head and then temporarily secure the end. Again, she secures it in her mouth!
Step 7 – Just below that twist, back from your right temple, divide out the same amount of hair as above and create a 2nd mini-twist. Twist until it is as long as the one above it. Temporarily secure the end.
Step 8 – Just above your right ear, create another small twist as in previous steps and temporarily secure the end.
Step 9 – Take the 3 mini-twists from the right side, and the larger one from the left side and draw them backward to the center back of the head. Secure all 4 twists together with an elastic.
Step 10- Optional – Add an accessory to cover your elastic.
FINISHED!
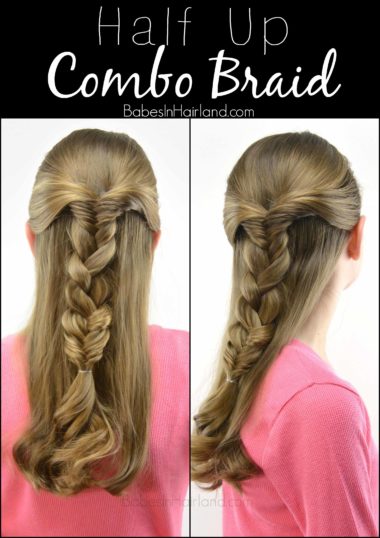
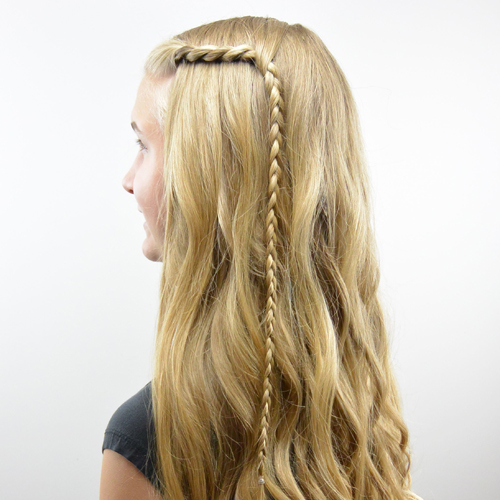
Be sure to check out more of our quick & easy hairstyles HERE. Here’s a few of our favs from the past – just click on the name of the hairstyle to be taken to the tutorial.
And be sure to add today’s cute style to your hair arsenal for those morning’s when you’re running short on time! Don’t forget to PIN it and SHARE it!
