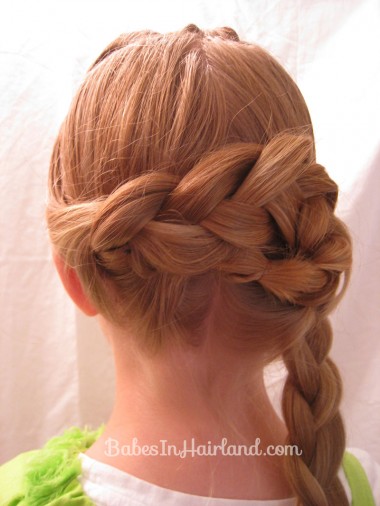
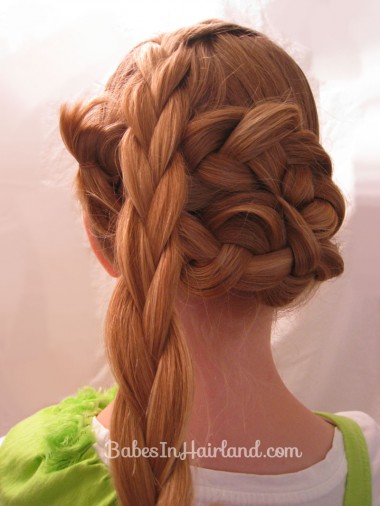
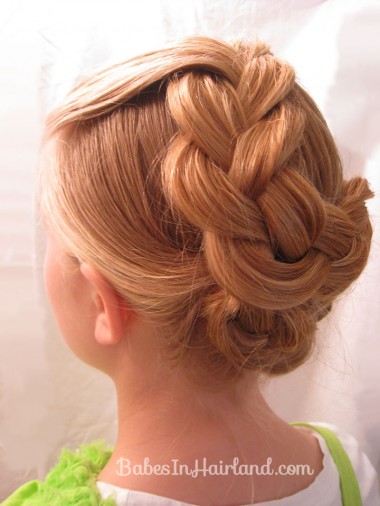
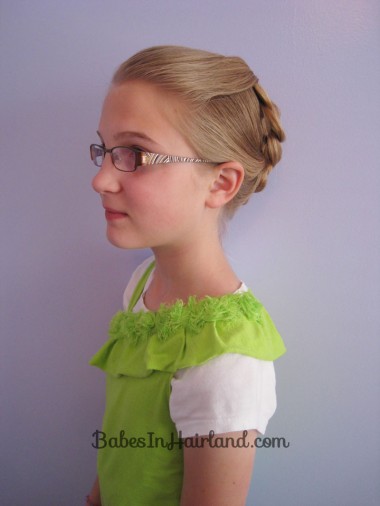
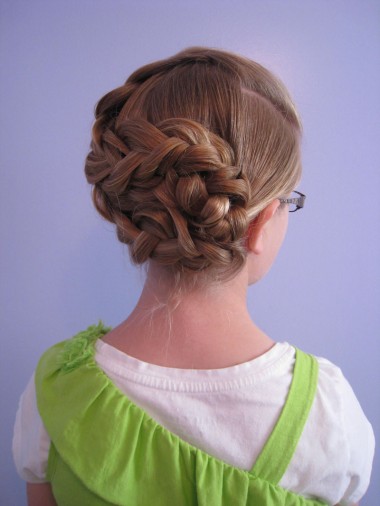
This was one of the very first hairstyles I did on Goose after she got her hair cut over Spring Break. I had so many pictures on my SD cards that I hadn’t uploaded, and these were some of them. I’d wanted to wait to post this one until I’d shared the “secret” of her haircut which led to me totally forgetting I’d done this style! It’s nothing complicated, but is a pretty one that can be done with shorter hair.
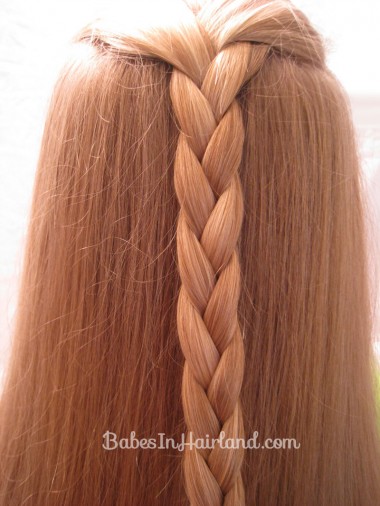
Step 1 – Part out hair on the crown
From the temples, part backward to the crown, parting out a square section of hair on the top of the head.
Step 2 – Braid that section of hair
Braid as far down as you can, and secure with a rubber band.
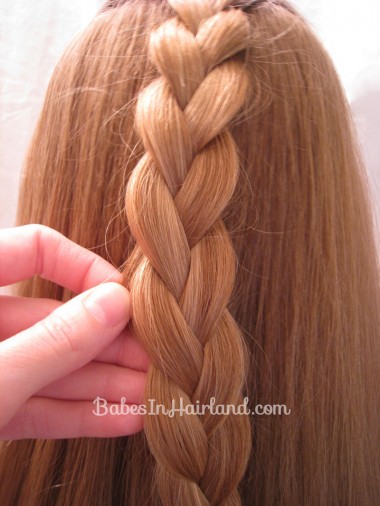
Step 3 – Make the braid wider
Pull on the edges of each plait of the braid to make it flatter or more pancake like. You can make it as wide as you like or as messy as you want.
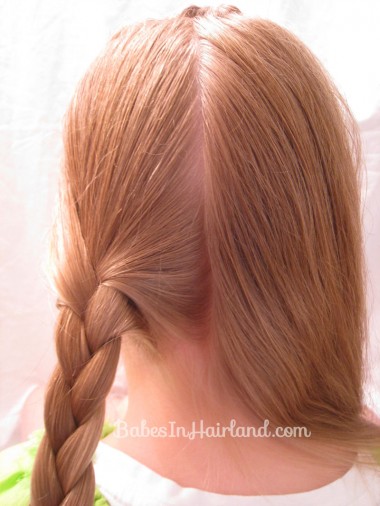
Step 4 – Part the hair down the middle & braid
It doesn’t matter if your part is exact or straight, because you really don’t want the part to show when you are done. I didn’t mist her hair with water when I did this because I didn’t care if it had a messier look or not.
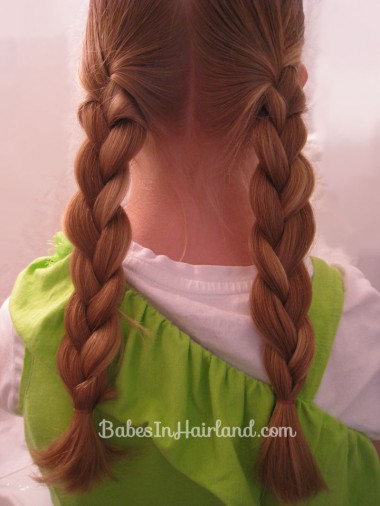
Step 5 – Make another braid
Be sure to make the plaits wider by pulling on these braids as well. Secure the bottoms with rubber bands.
Step 6 – Wrap the left braid
Take the braid on the left and drape it over toward the right side of the head. Secure it with a bobby pin over the top of the braid on the right.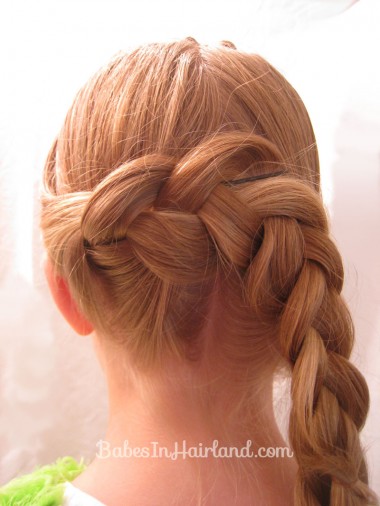
Step 7 – Secure the tail of the braid
Bring the tail of the braid and wrap it back toward the left. Secure with bobby pins as needed.
Step 8 – Wrap the right braid
Bring the right braid over to the left side of the head. Secure it underneath the braid from steps 6 & 7. Secure the tail by tucking it underneath wherever you can to hide it within the braids.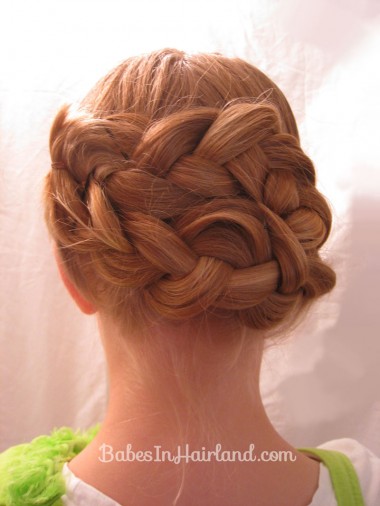
Step 9 – Drape the top braid
Bring the braid from on top down until it meets the braids on the left side. Anchor it with a bobby pin or hair pin. The tail from the right braid is sticking out in the picture below & so I wanted to cover that up with this braid from the top.
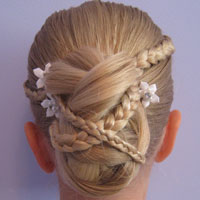
Anchor the braid as needed with bobby pins and pull on it a bit more to make it wider & flatter. You’ll basically be making an “L Shape” with this braid as it comes down & sits on the left side of the head and then snakes across the top to the right side.
Step 10 – Anchor the tail of the braid
Her braid just barely went across the whole back of her head & so we just tucked the tail in on the right side of the braids and anchored it with a bobby pin or two.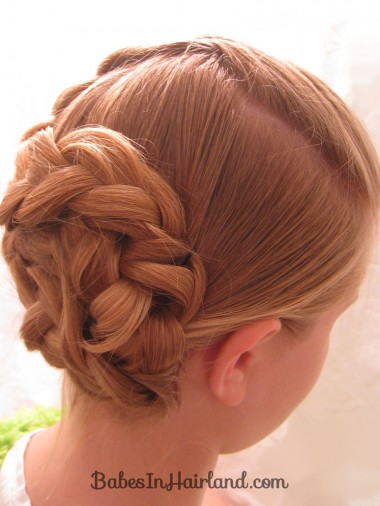
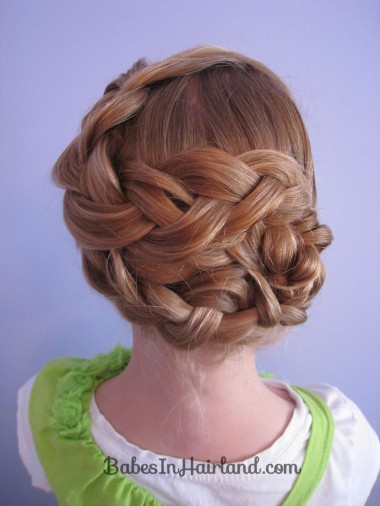
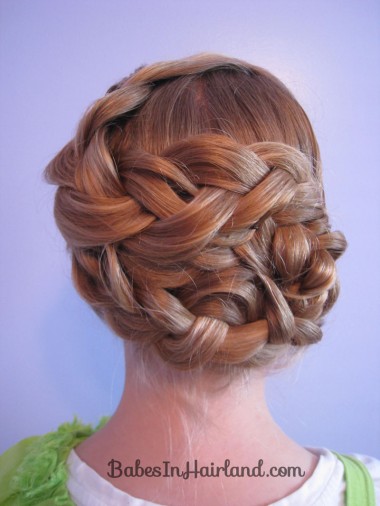
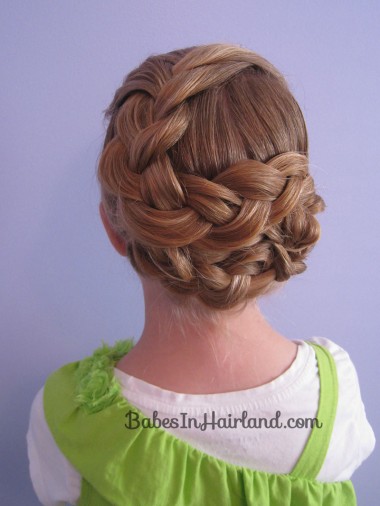
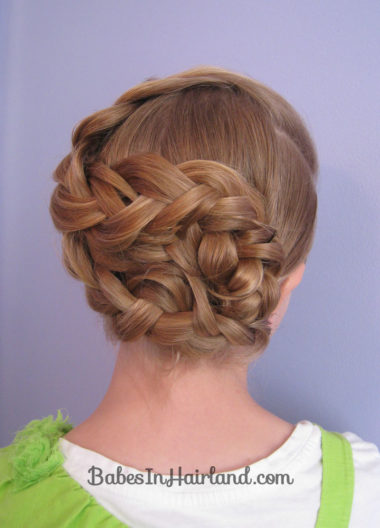
FINISHED!
Pretty simple, right? Once I’d anchored everything, I did pull on her braids here and there to make them wider in some places. Feel free to adjust the braids as you like. This style could easily be dressed up with flowers or other accessories for a bride or formal dance too!
Let us know what you think! Be sure to share these with the little buttons below!
This is so beautiful! I am sure the first time that I try to do it, it will be difficult. It is so great! I just found your blog and I love it!
Did this one and loved it.