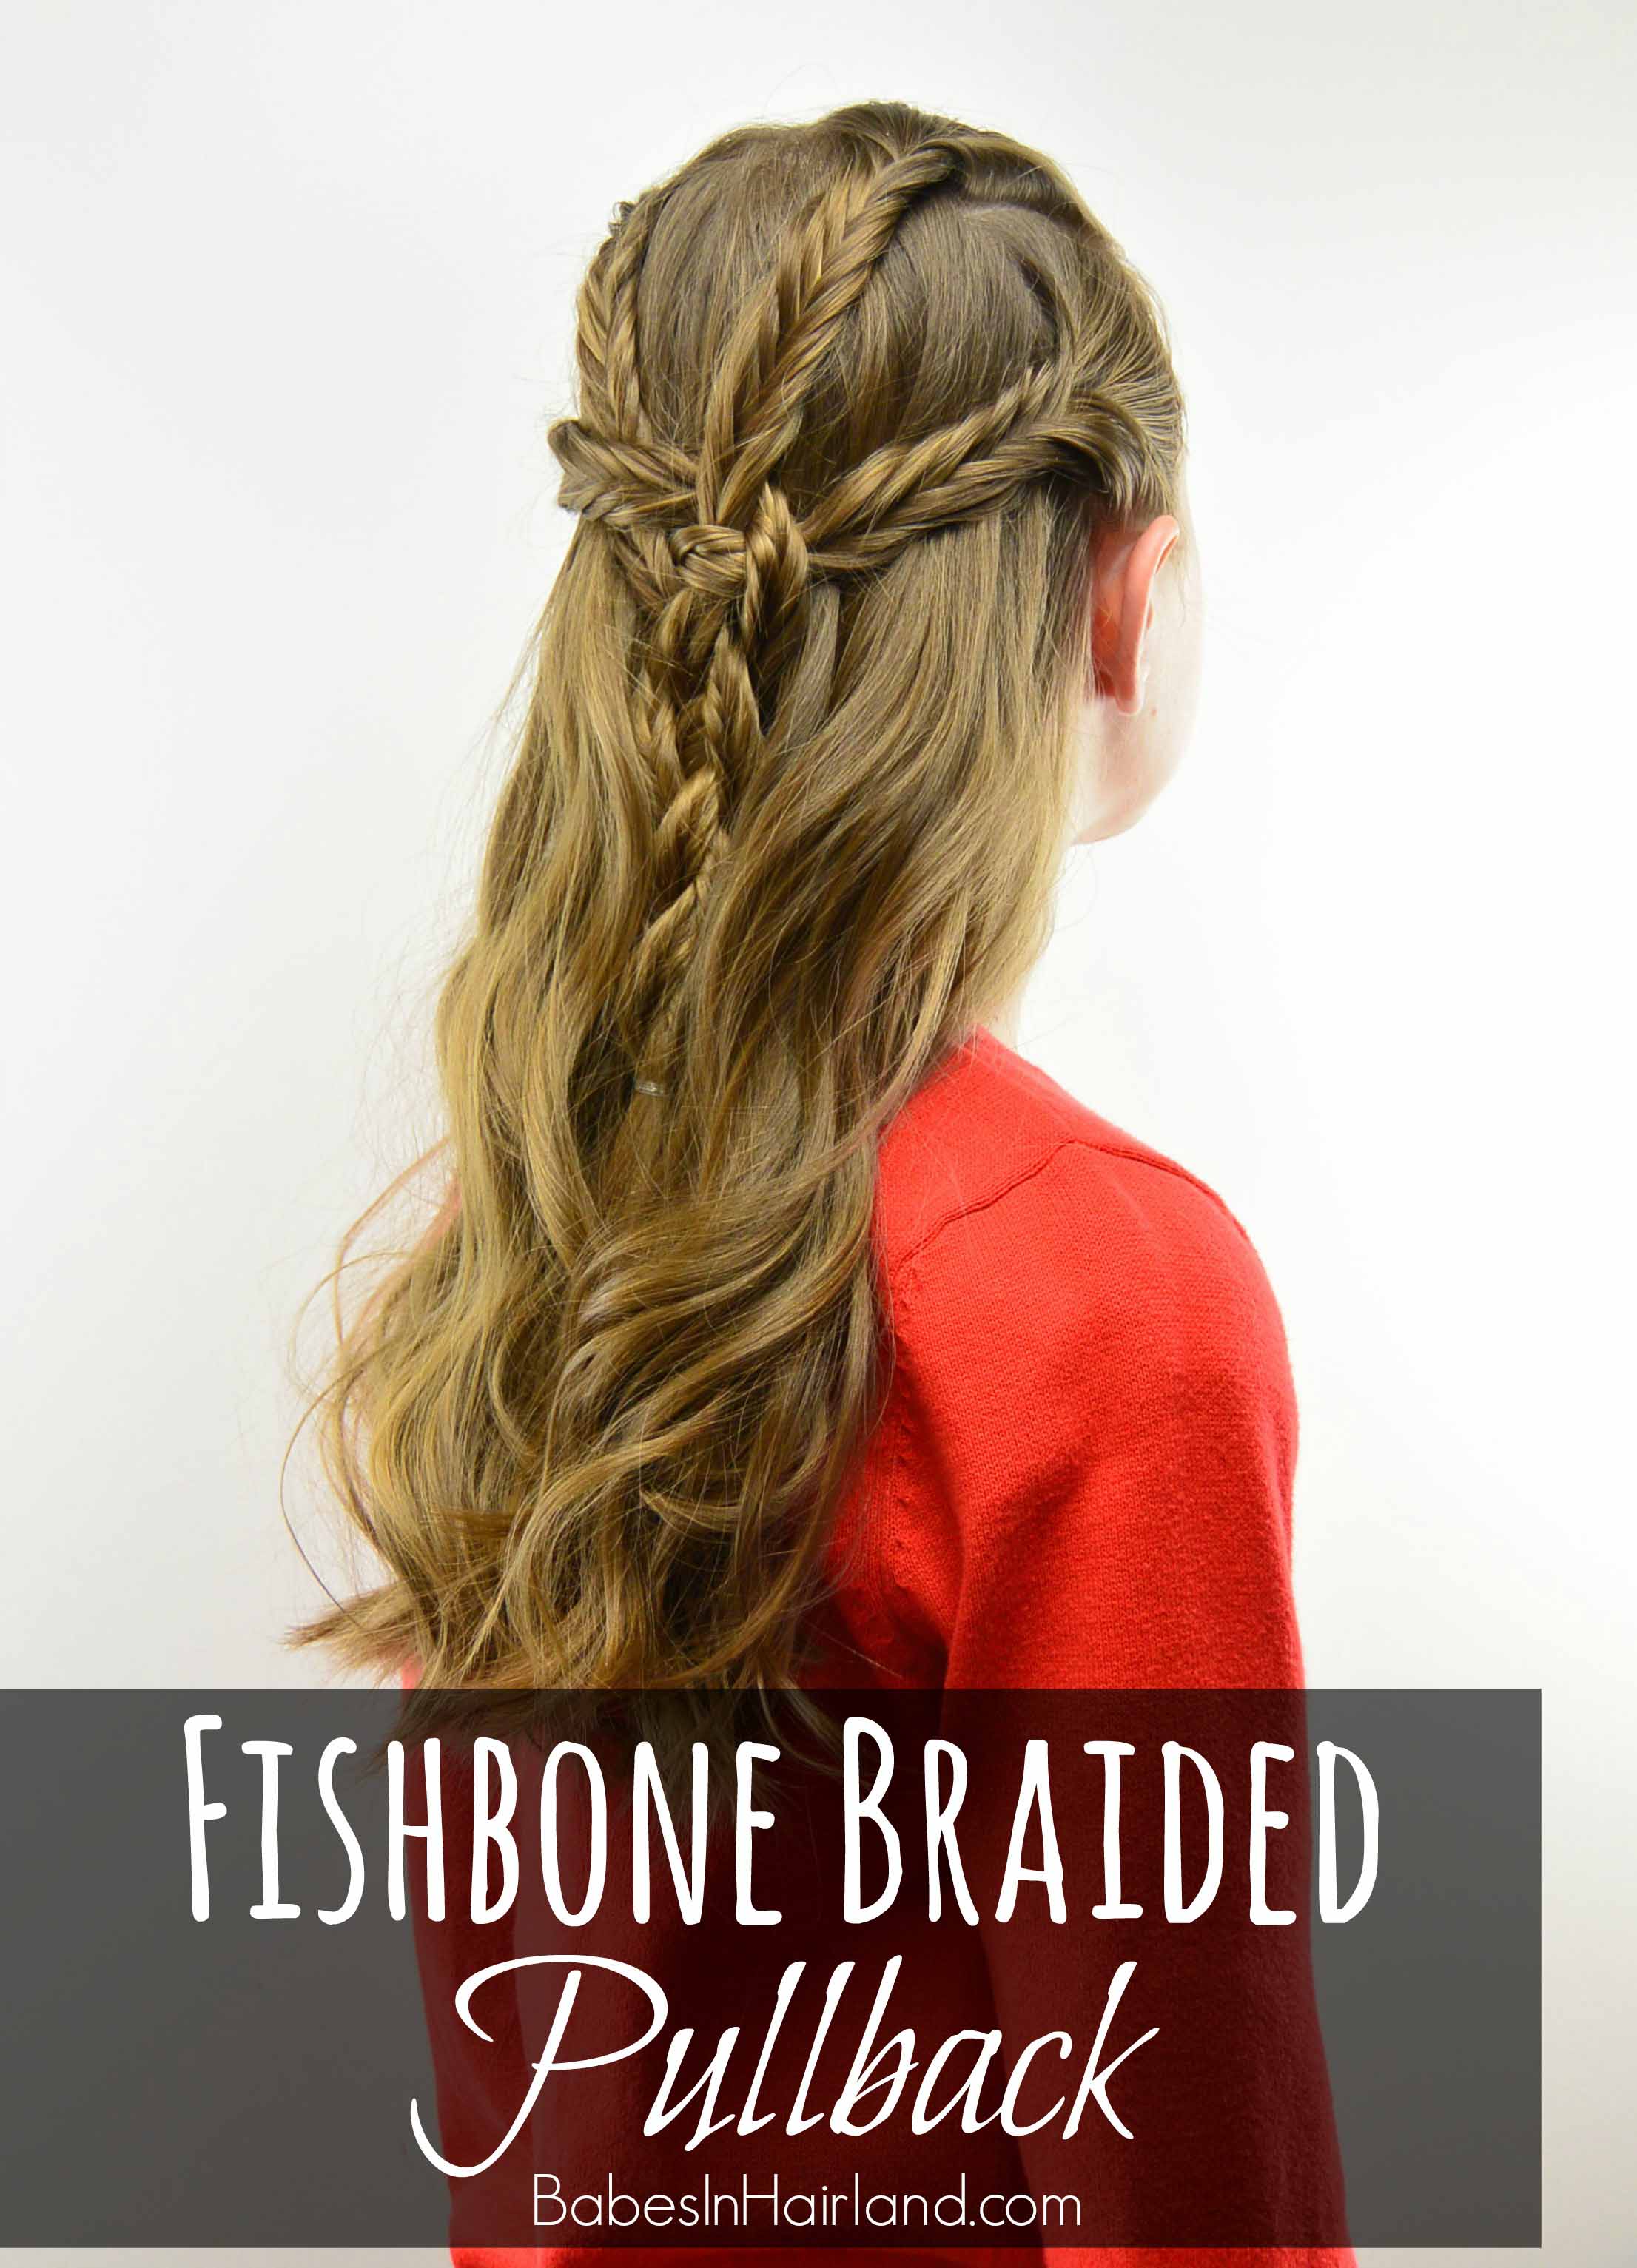
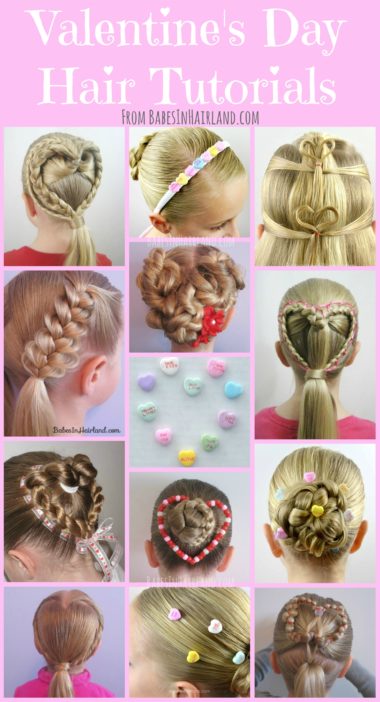
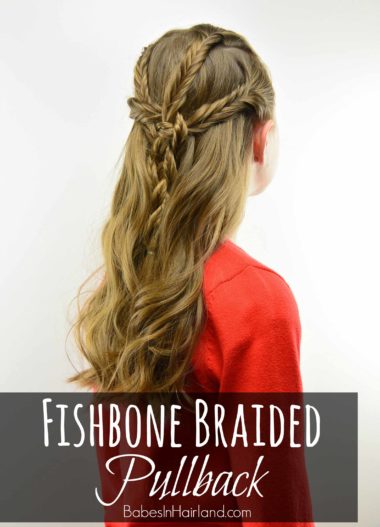
We’ve got a pretty fishbone braided style to share with you today. Sorry it’s not another Valentine’s Day or Heart style this week! But no worries, we have so many different heart hairstyles to choose from – even more than the ones pictured below! Check out all our Valentine’s Day / Heart hairstyles HERE.
This week’s style isn’t overly complicated, but I find fishbone braids seem to take a bit longer to do than a regular braid, so if that’s the case for you, you’ll want to leave yourself a little more time to create this one!
Step 1 – Part the hair from ear to ear and then a center part from the forehead back to the crown
Step 2 – Starting on the left side of the head, make another horizontal part from the temple back to the part running from ear to ear
Step 3 – You will now have 2 sections on the left of the center part. Temporarily clip off the section closet to the center part.
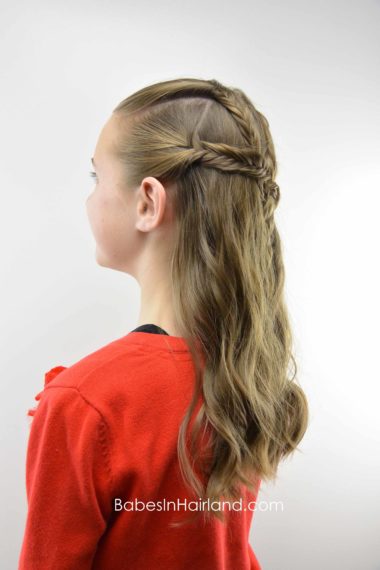
Step 4 – Create a fishbone braid with the section of hair nearest the ear & secure the end with a clear elastic
If you need help with fishbone braids, we have a more up close “how to fishbone braid” video HERE. Divide the hair into 2 even sections. Take a small amount of hair from the edge of the right section and cross it over to the left side. Next, take a small amount of hair from the edge of the left side and cross it over to the right side. It will create an X pattern. Continue that process over & over to create a fishbone braid.
Step 5 – Move to the next section that you’d clipped off. Create another fishbone braid and secure the end with an elastic.
Step 6 – Repeat the above steps on the right side of the head so in the end you have 4 fishbone braids
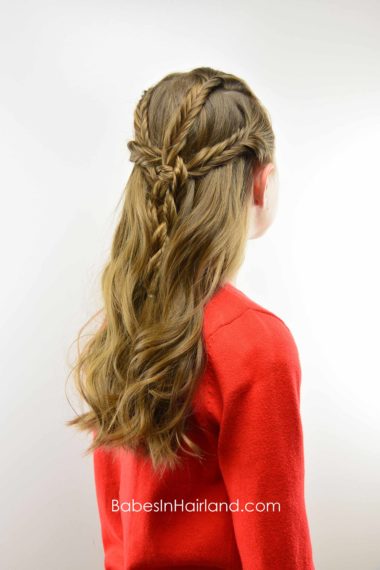
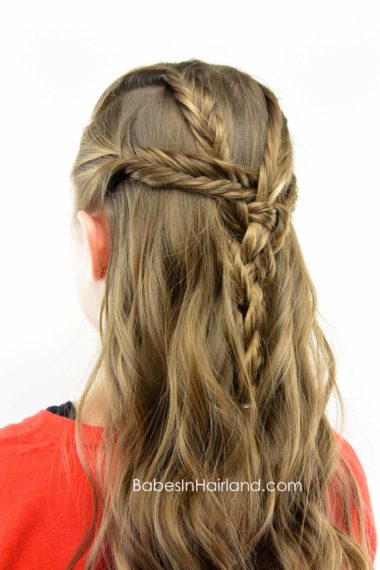
Step 7 – Draw all 4 fishbone braids toward the middle of the back of the head
Step 8 – Create a 4 strand braid with the fishbone braids
Don’t know how to make a 4 strand braid? Check out our 4 strand braid tutorial HERE. You can make a round/3D one if you want, but ours is a regular “flat” 4 strand braid.
Step 9 – Braid all the way down to the ends of the hair & secure with an elastic.
Step 10 – (Optional) Curl all remaining hair down in back
We used our 25mm NuMe Magic Wand to create the pretty curls in this style. Then I ran my fingers through the curls to loosen them up a little bit. Snag your NuMe Wand HERE
if you don’t have one yet! They create some gorgeous curls! Check out our NuMe Wand Review HERE.
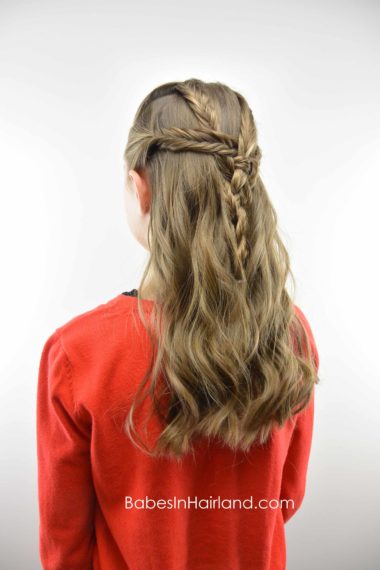
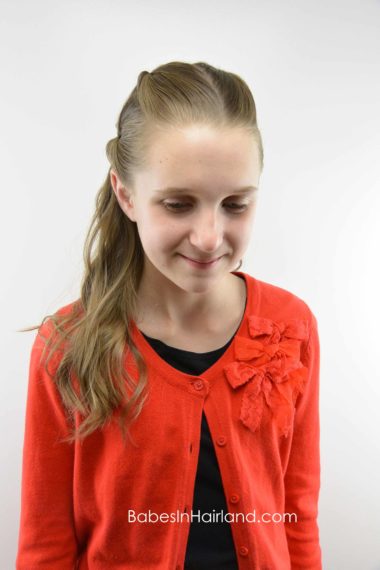
FINISHED!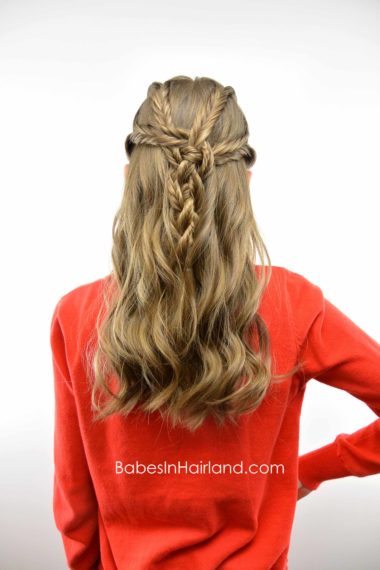
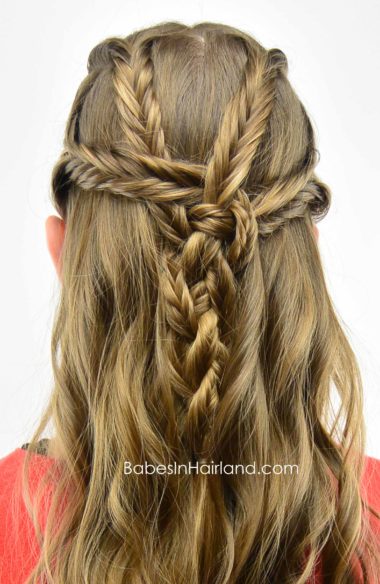
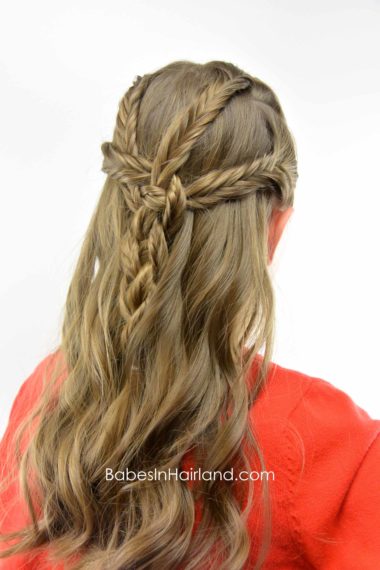
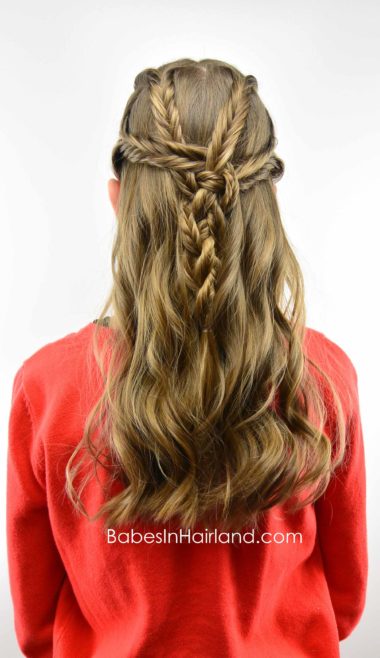
And if you missed our new Valentine’s Day / Heart hairstyles from this year, we did 2 totally cute ones!
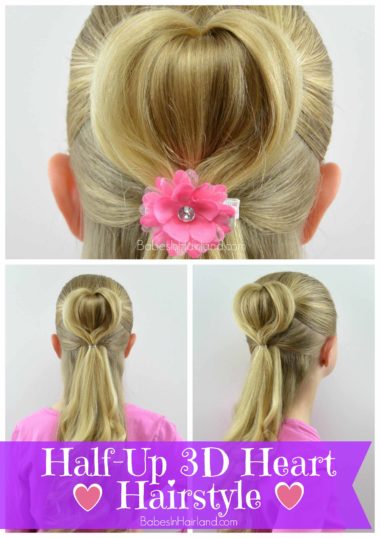
A couple weeks ago we shared our 3D Heart Hairstyle. It’s such a pretty style that can dressed up with a bunch of curls below the heart.
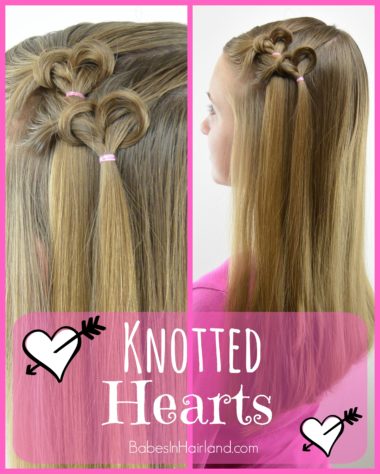
And then last week we shared our fun Knotted Hearts. You can make a whole bunch of these and finish the hairstyle off however you prefer. They are so cute!
Please pin and share these cute Valentine’s Day styles, as well as today’s pretty Fishbone Braided Pullback! Comment & let us know if you like fishbones or not! I find you either love them or avoid them at all costs! 🙂
