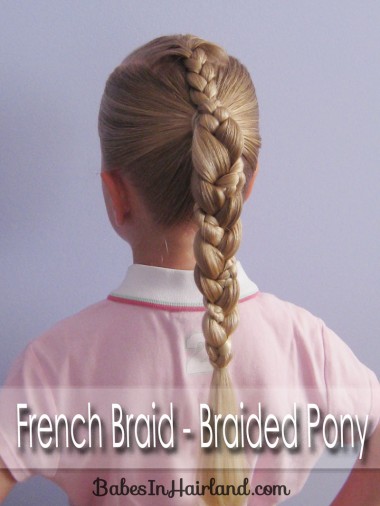
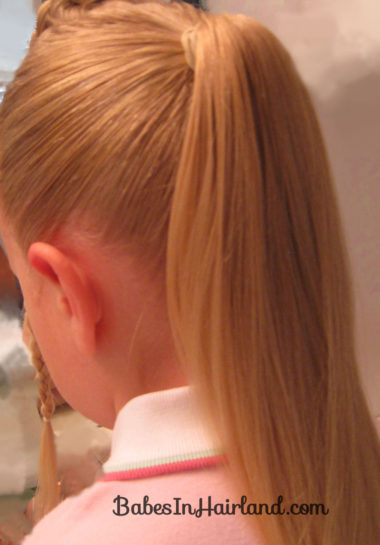
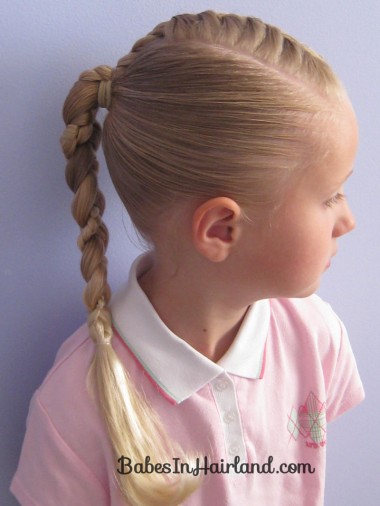
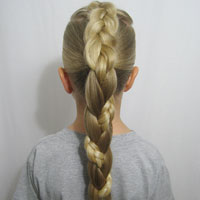
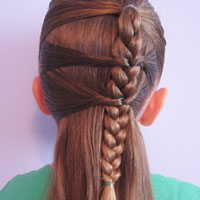
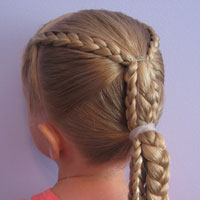
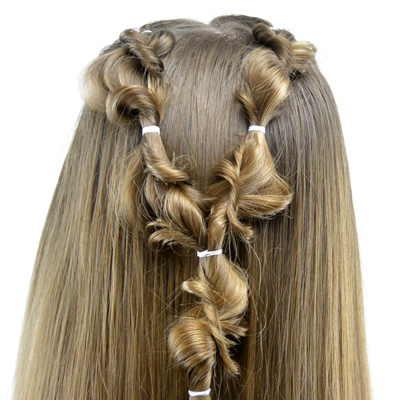
I had a hard time trying to name this one, but it’s rather self-explanatory once you break down the style! You can vary this according to your “skill” when it comes to braiding or twisting hair!
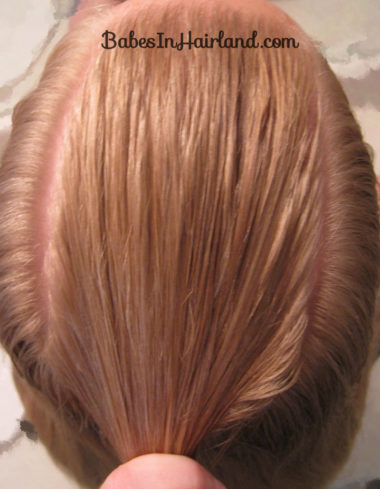
Step 1 – Part out crown
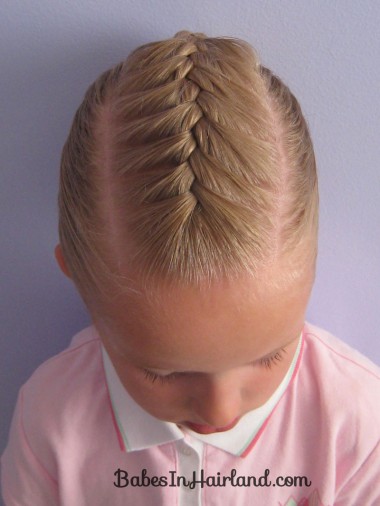
From the temples back to the crown of the head, part out the top section of hair. If it helps, but the remaining hair hanging down in a clip to keep it out of the way for now.
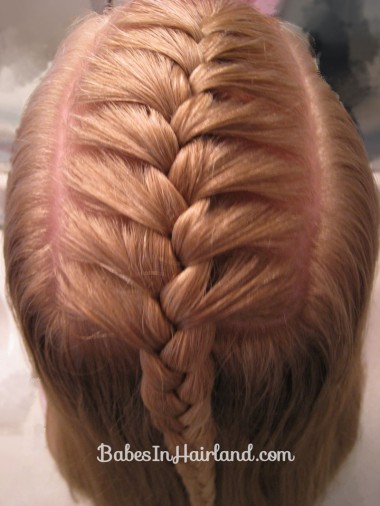
Step 2 – Make a braid
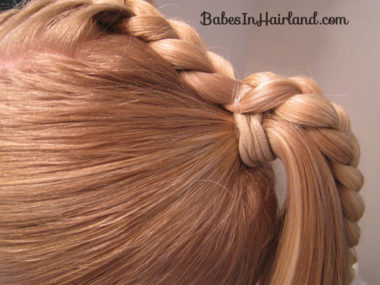
We opted for a French braid in this top crown section, but you could easily just make a normal 3 stranded braid, rope braid, or whatever you prefer. If you opt for a French braid, only add hair from that top area you parted out.
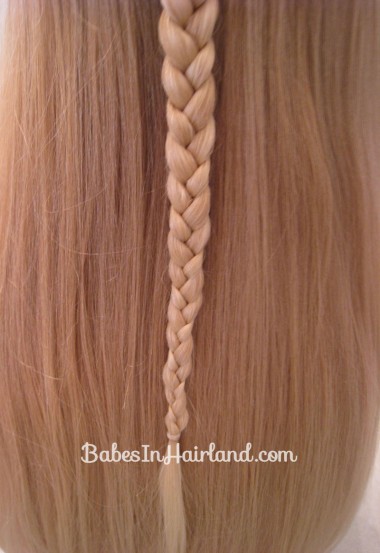
Step 3 – Complete braid
Once you’ve completed the French braid on top, braid the rest of the hair clear down to the tip of the hair. Secure with a clear rubber band.
Step 4 – Make a ponytail
Move the braid out of the way temporarily, and with all the rest of the hair, make a ponytail and secure with a rubber band.
Step 5 – Add the braid
With a 2nd rubber band, secure the braid to the ponytail.
Step 6 – Divide ponytail
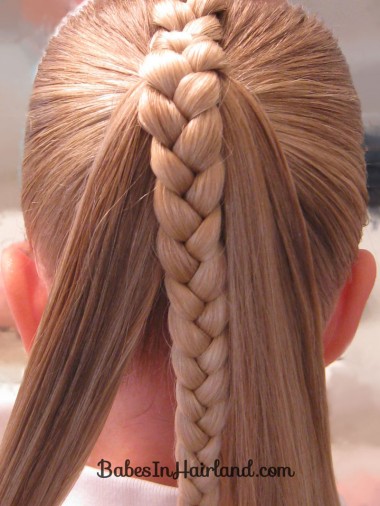
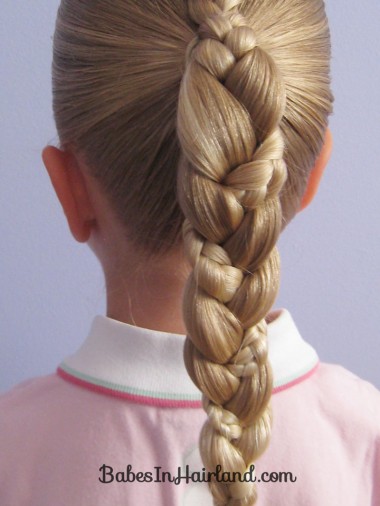
Divide the ponytail in half, making the braided hair the middle section of the ponytail.
Step 7 – Braid the ponytail
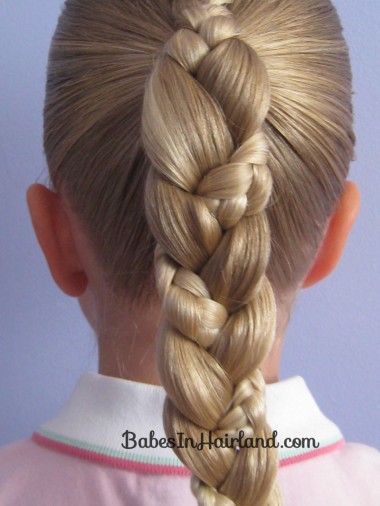
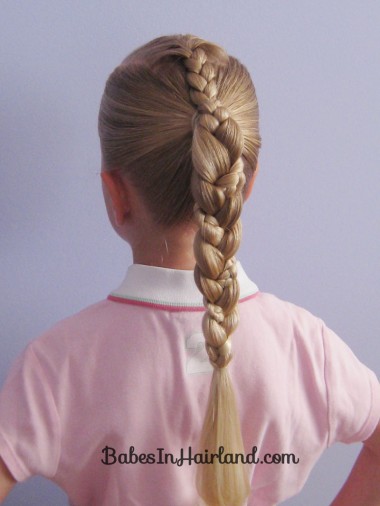
Using the braided section as your middle strand, make a regular 3 strand braid incorporating the braid into the ponytail. Braid down as far as you can and secure the end with another rubber band.
You’re done!
This ‘do is great for any age! Be sure to come back tomorrow for variation of this cute style!
