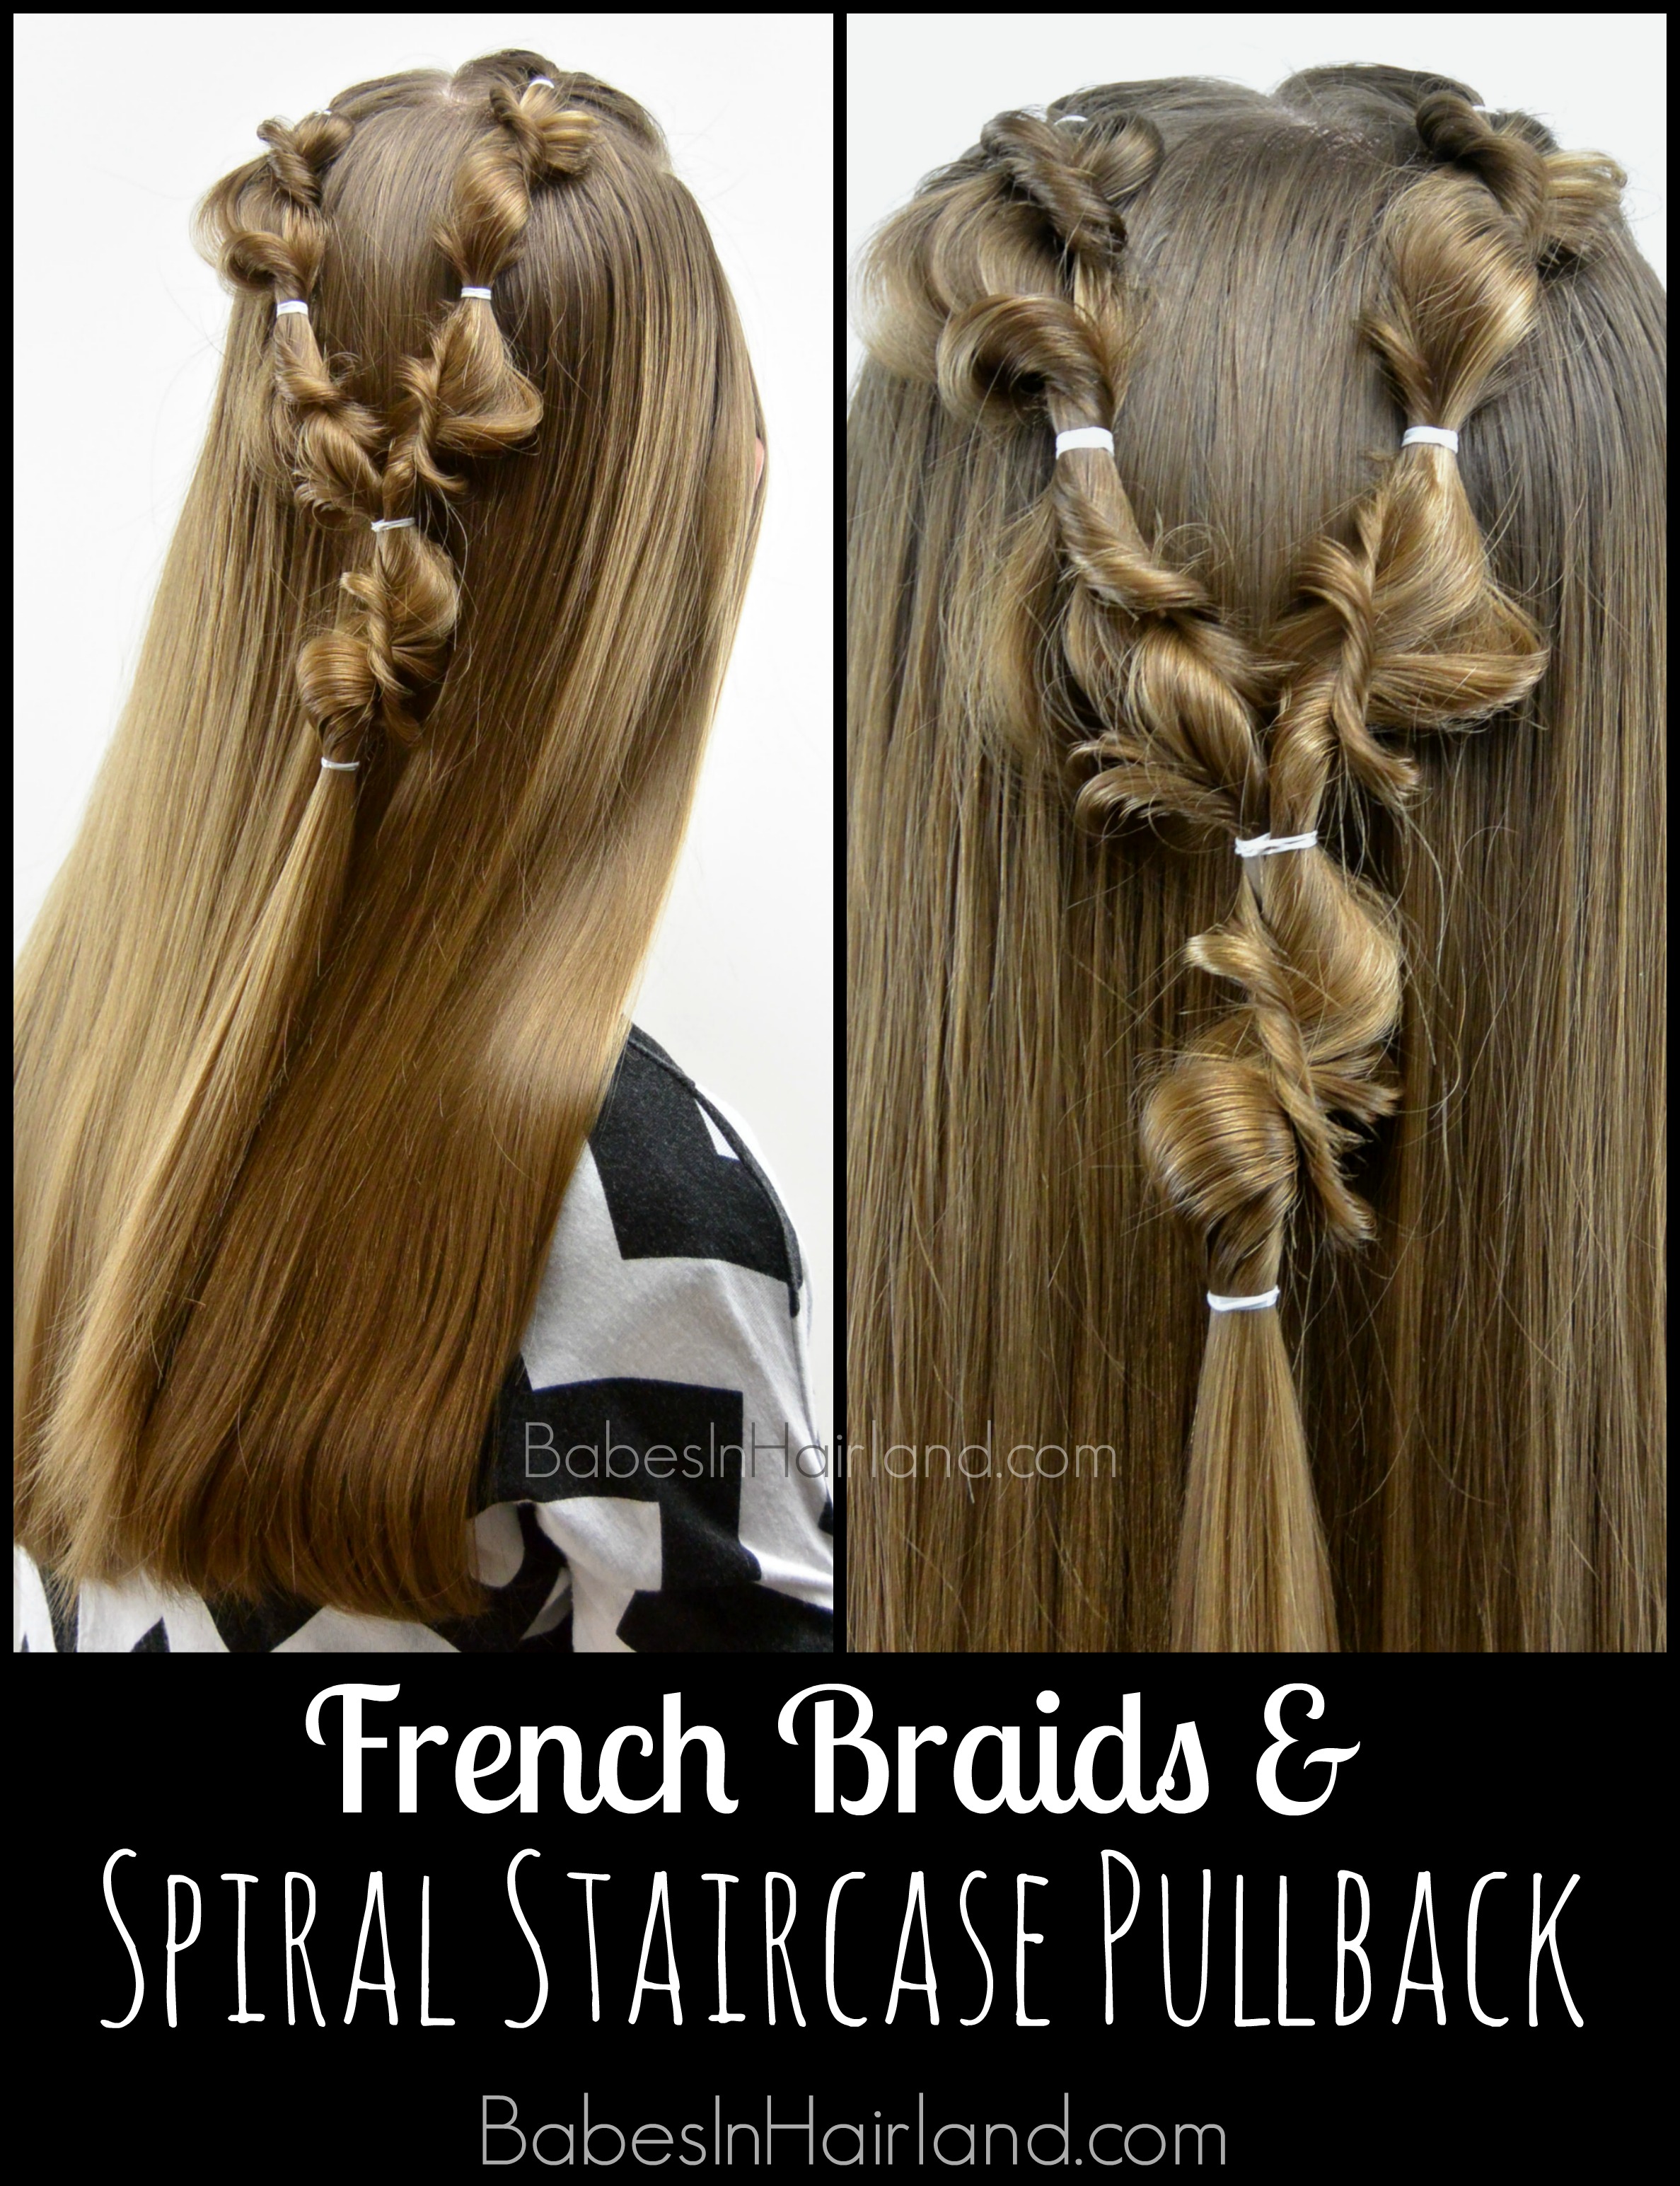
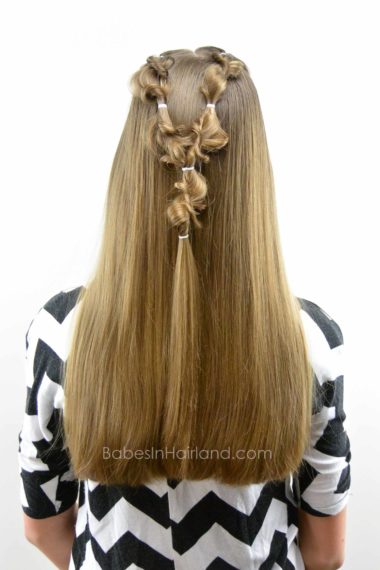
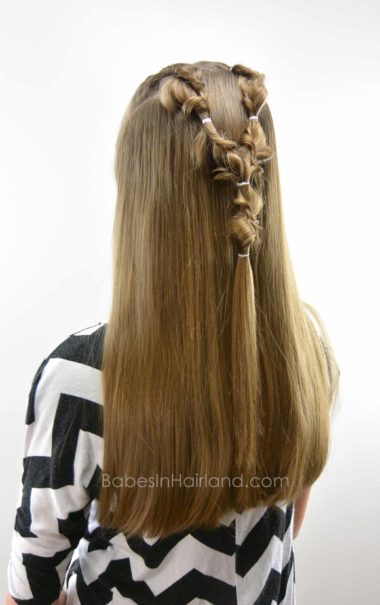
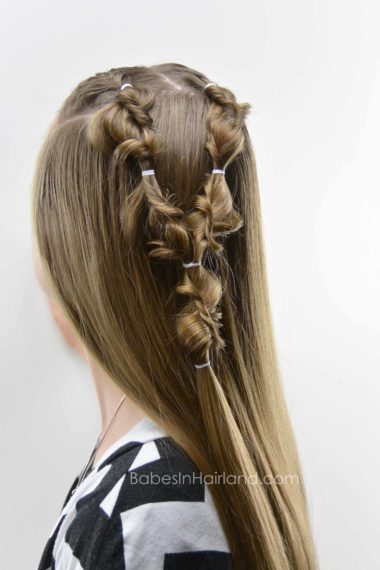
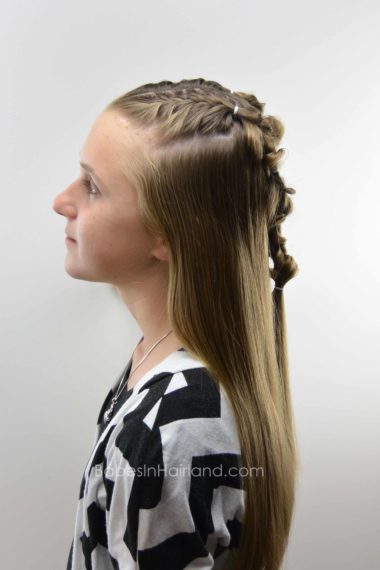
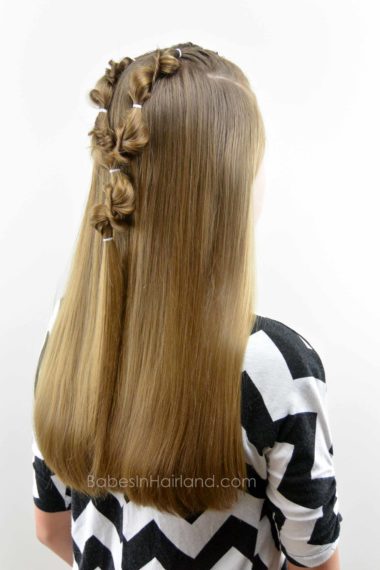
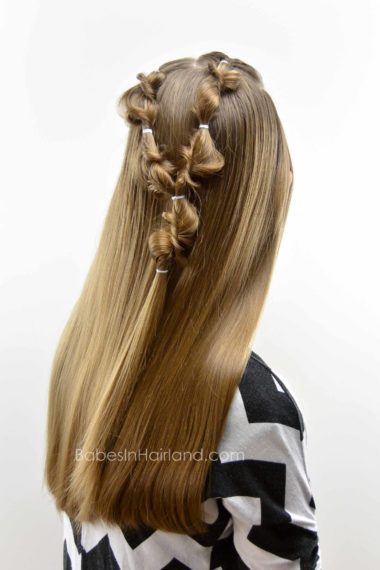
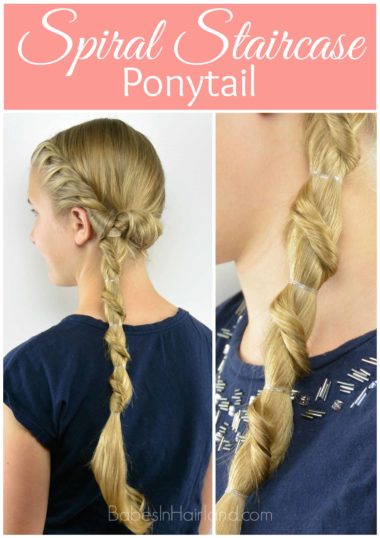
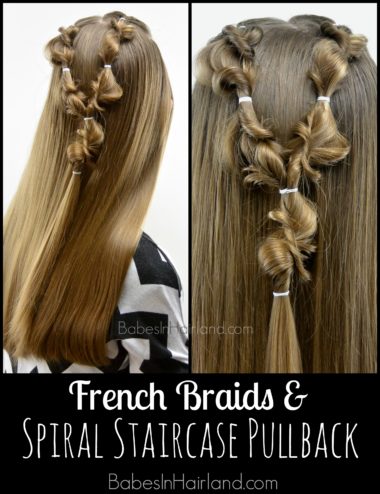
In today’s tutorial, we’ve used our Spiral Staircase technique and changed it up just a little to give it a bit of a different look. It isn’t anything hard, it’s just a bit different. I’ve got to admit though, this is one of those hairstyles that I had a hard time time getting pictures that showed how cool it looked. I think it looked better in person! But despite that, this is a great style & the spiral staircase technique can really be added anywhere in a ponytail, so it’s quite versatile.
Step 1 – If desired, make 2 small French braids on top of the head
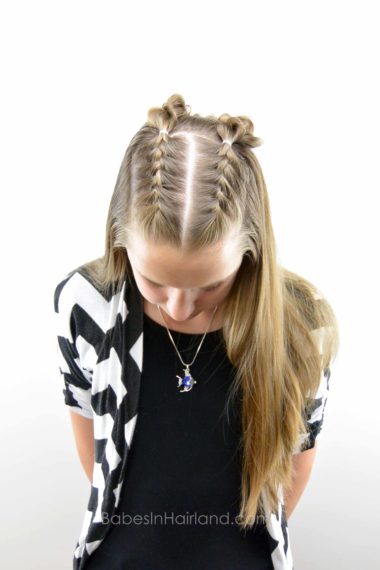
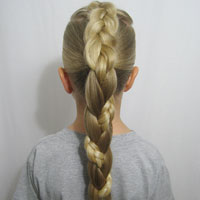
Part the hair down the center of the head back to the crown. Part out 2 narrow rectangular sections of hair on the top of the head and make small French braids in each of these sections. Stop braiding when you get to the back of the crown. Secure the French braids with an elastic. I chose white elastics so they’d “pop” and show well against her dark hair. If you need help with French braids, watch our French Braid tutorial HERE.
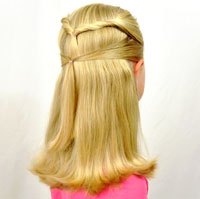
Step 1a – If skipping the French braids, part the hair down the center back to the crown. Then part out 2 small rectangular sections of hair on top of the head. Make 2 small ponytails so there is one on the left and right of the center part.
Step 2 – A couple inches below the ponytail/elastic on the left wrap an elastic around the ponytail
Step 3 – In the hair between the 2 elastics, stick your fingers through the hair, off-center. The left section of hair should be smaller than the section on the right.
Step 4 – Flip the ponytail up and over and then pull it through the hole.
Step 5 – Repeat again, flipping the ponytail up and over and pull it through the hole
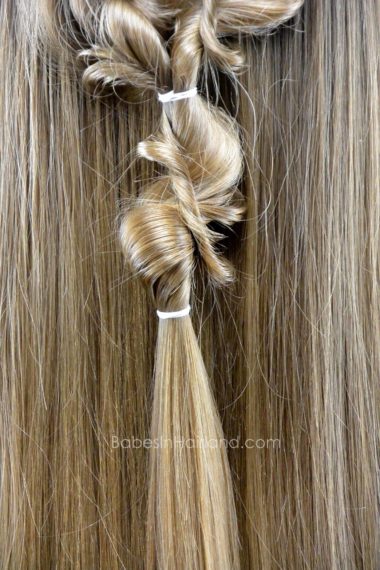
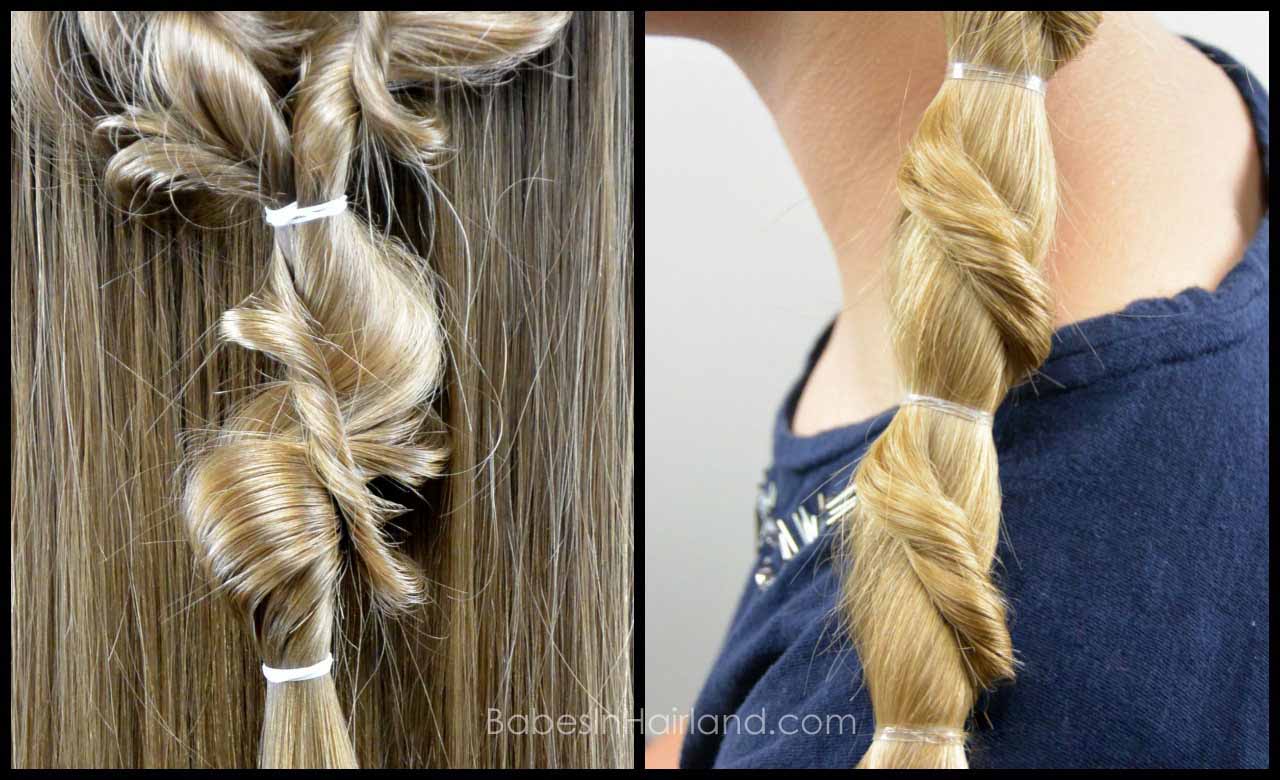
In the original Spiral Staircase Ponytail, the ponytail is only “flipped” once, but this version it’s flipped twice making that front twist a lot tighter.
Step 6 – Gently pull on the edges of the hair between the elastics to loosen and pancake the hair, making it a bit messier and giving the hair almost a wavy look.
Step 7 – Repeat the above process, adding another elastic a couple inches down from the elastic from Step 2.
Step 8 – Flip the ponytail through 2 times and again, gently pull on edges to make things a bit messier and looser.
Step 9 – Repeat the process in the hair below the elastic on the right side. Create 2 of these sections.
Step 10 – Join the 2 ponytails together in the center of the back of the head with another elastic
Step 11 – Create one last section, securing another elastic a couple inches below the last elastic
This is optional, you could technically be done with the hairstyle by just joining them together in the center.
Step 12 – Repeating the same process, flip the ponytail through 2 times and then tug on the edges of the hair to loosen it up
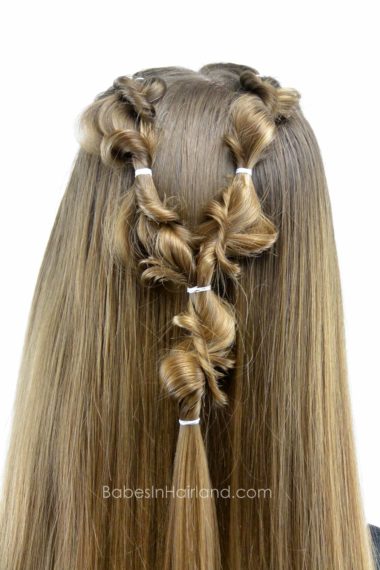
FINISHED!
Here’s a view from the top w/the French braids. As mentioned in the step-by-step instructions, you could easily omit the French braids, and just start with 2 ponytails back at the crown.
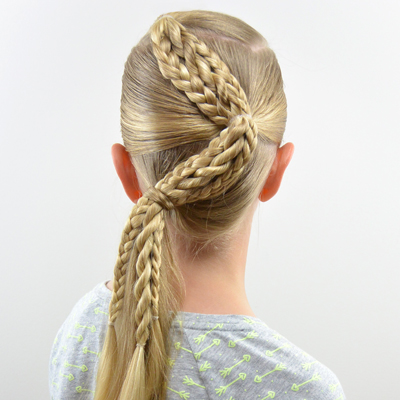
Here’s a more up close look at our version today vs. the original Spiral Staircase. As you can see today’s is a lot looser compared to the original. Comment & let us know which version you like better?
If you missed it, click HERE to see our original Spiral Staircase Ponytail hairstyle.
