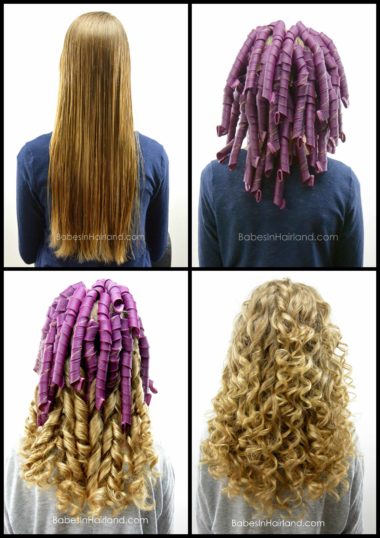
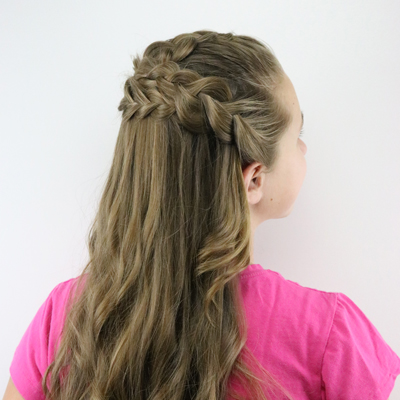
 Hopefully you saw our tutorial from last week where we showed how to use Curlformers and saw the amazing curls we get by using them. If not, click HERE to watch our How to Use Curlformers video.
We also had a giveaway for one of their salon packs of their new Deluxe Range of Curlformers. Thanks again to everyone who entered. Sadly, not everyone that enters could win, but Curlformers is offering 10% off everything you put in your cart for the next 2 weeks.
Receive 10% off your entire purchase on Curlformers.com
Use code: HAIRLAND10
Valid 5/10/16 – 5/24/16
And as promised, we have picked a winner. Congratulations Kat Penrod! You are the lucky winner of Curlformers new line of curlers! Please send me an e-mail asap with your mailing address so we can get those shipped off to you!
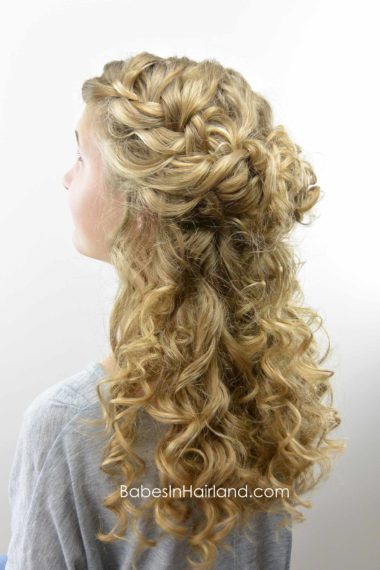
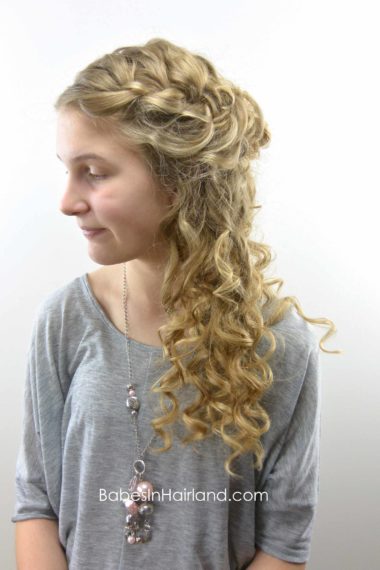
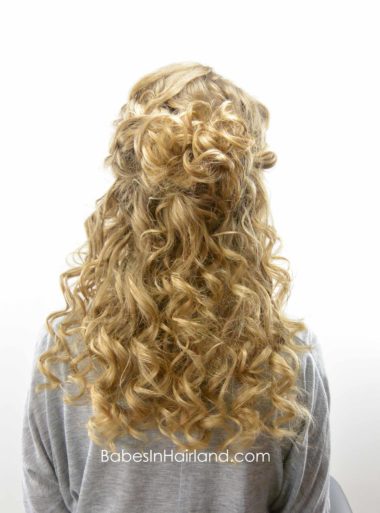
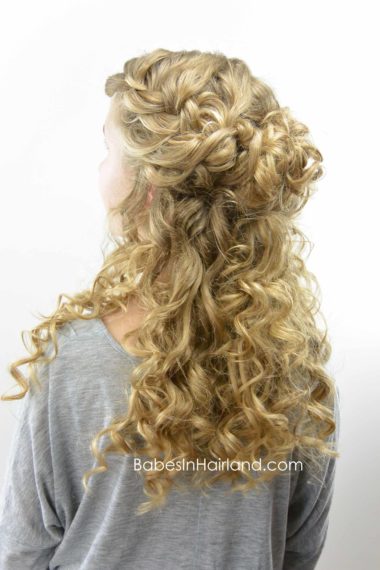
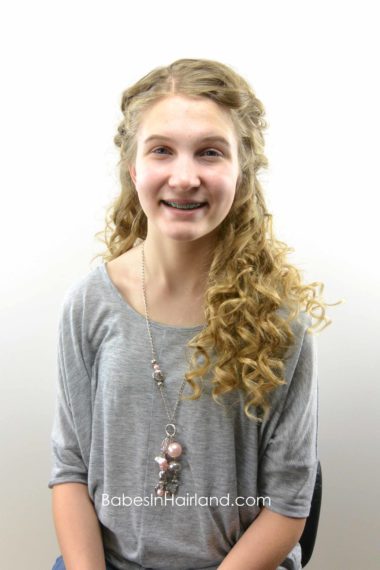
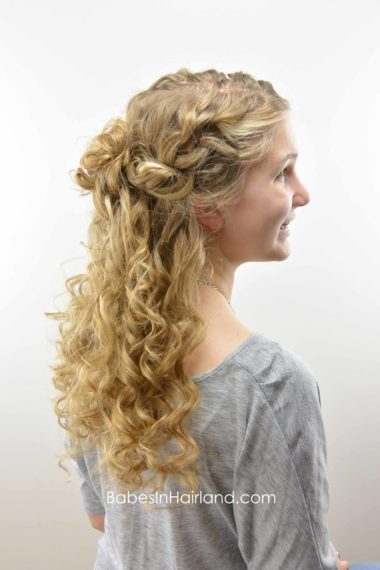
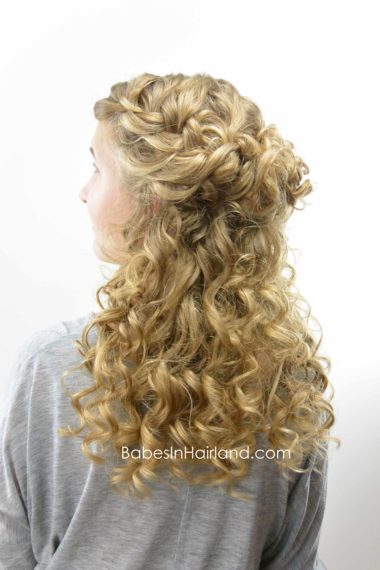
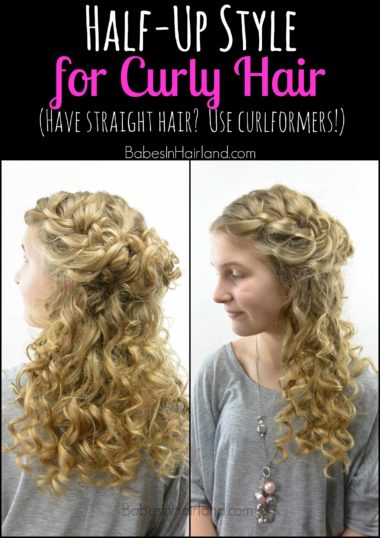
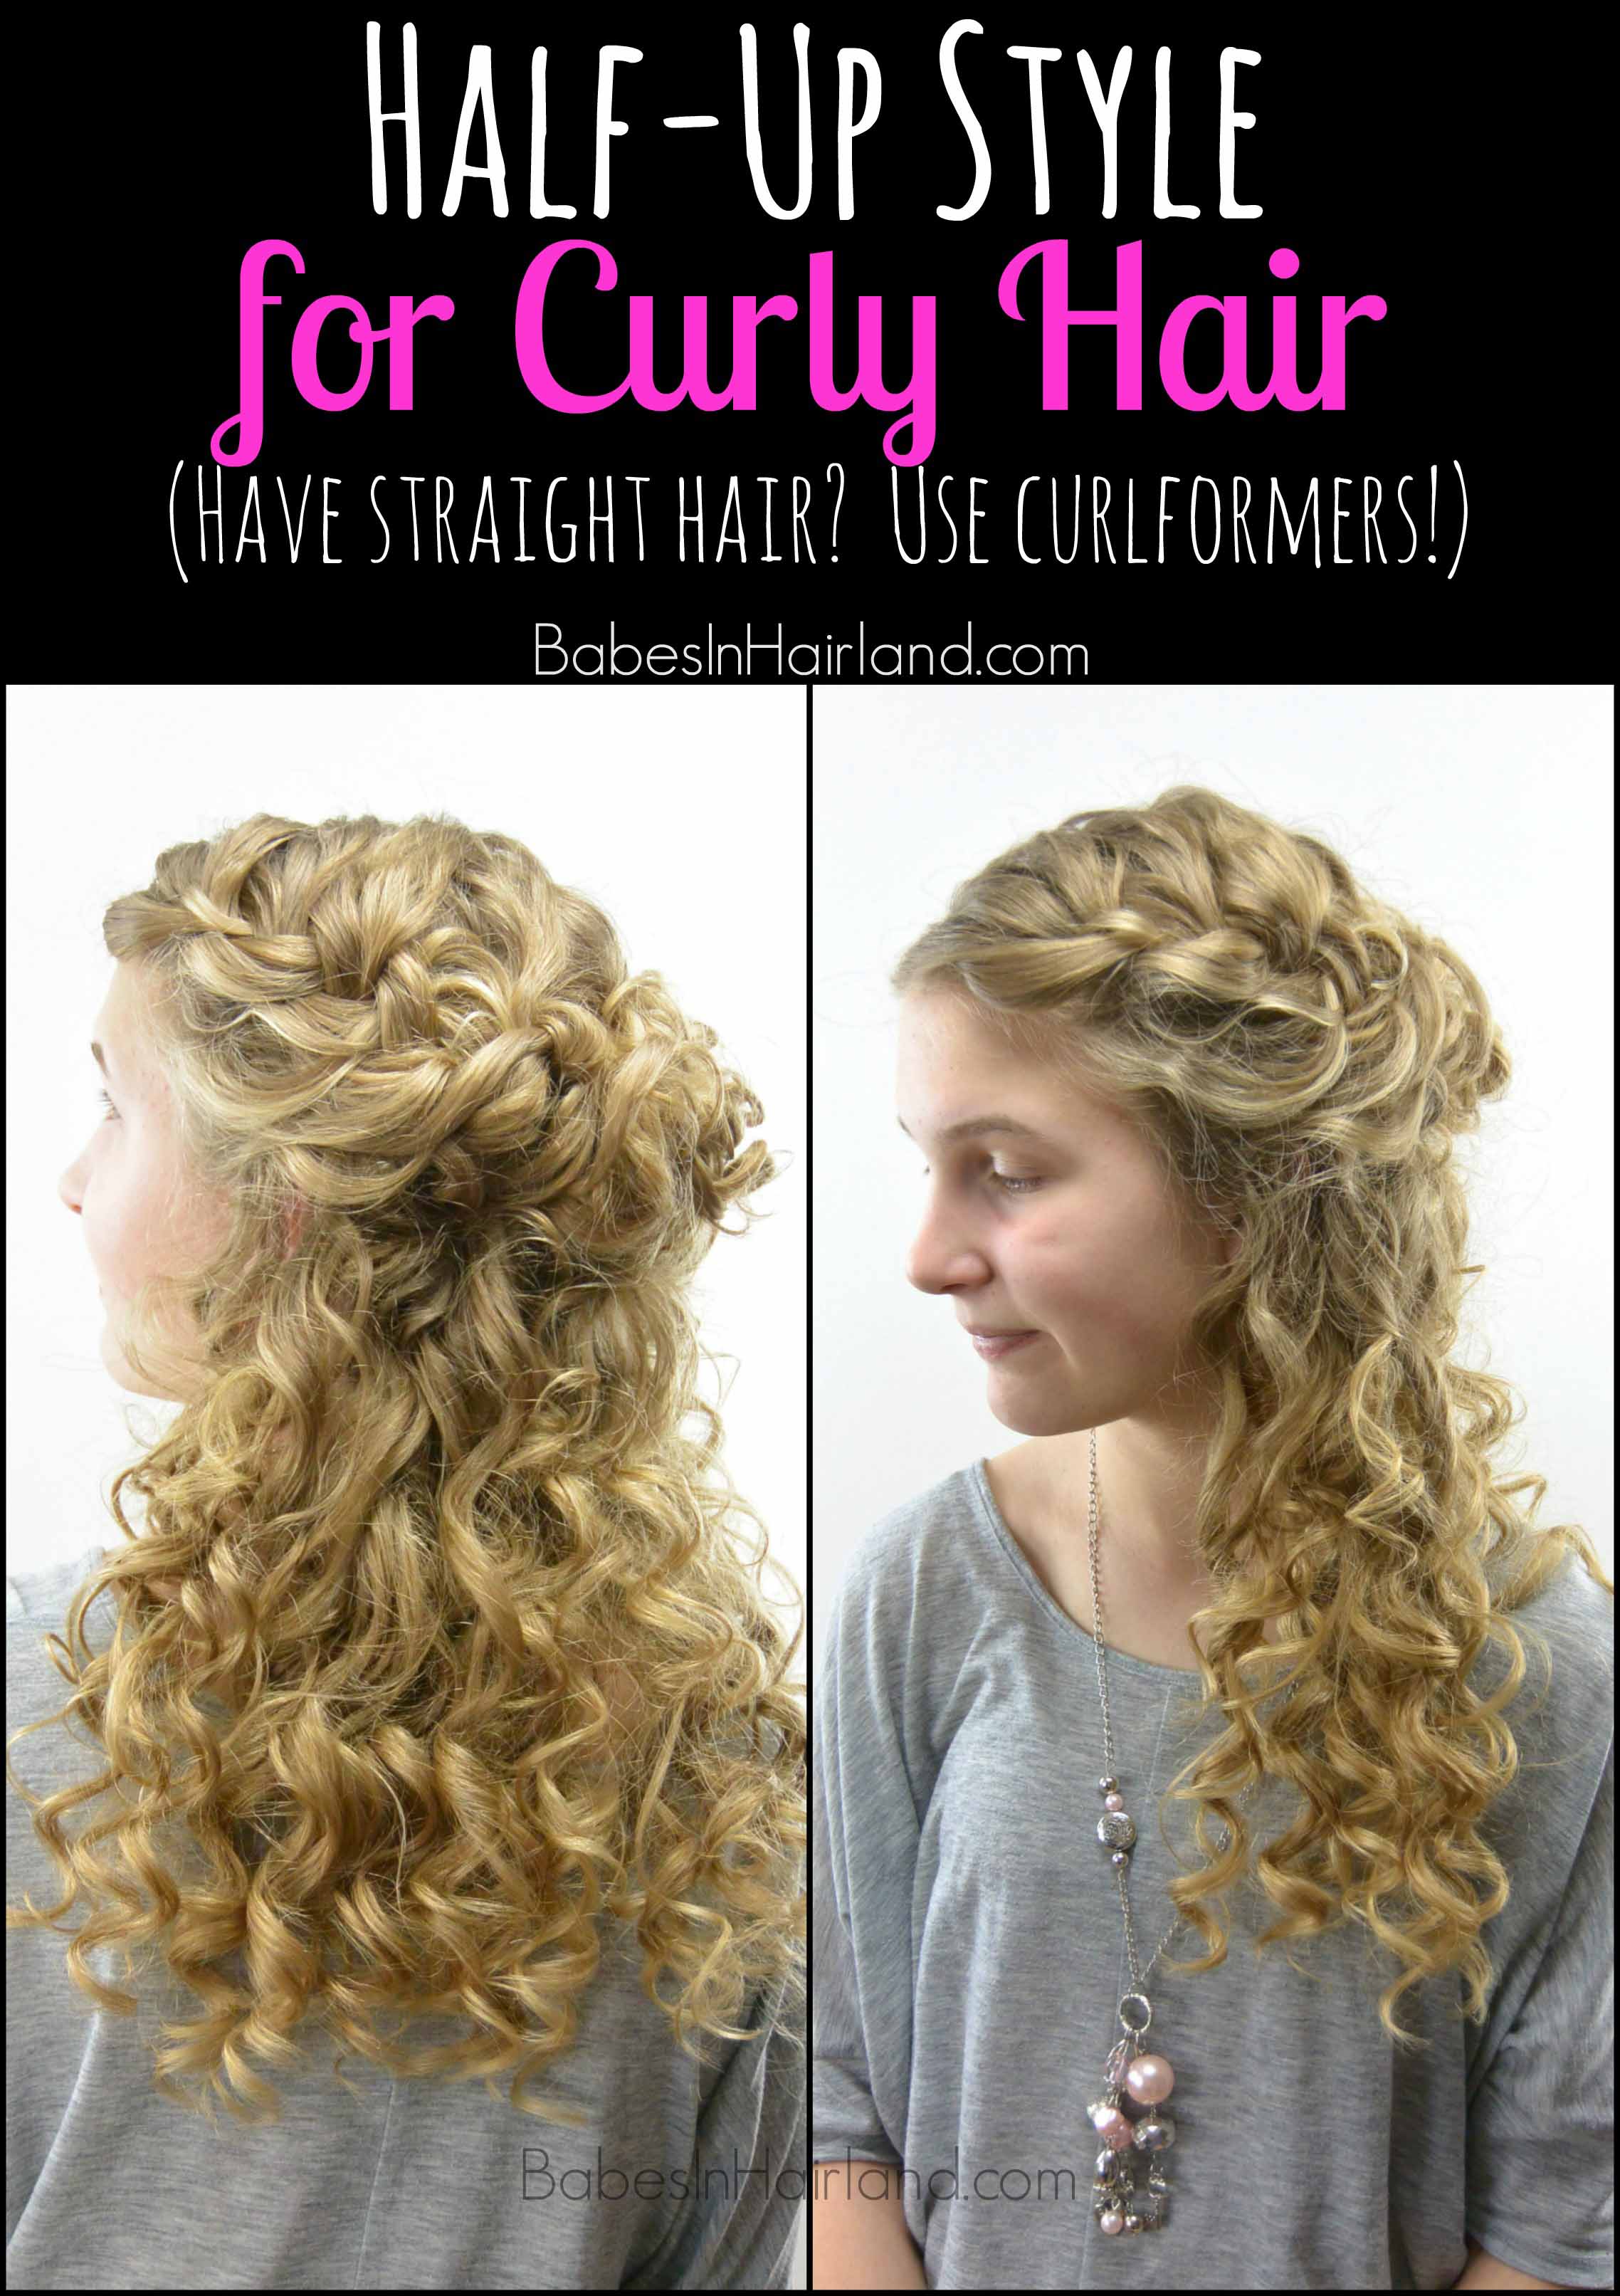
So on with our tutorial! This week is a continuation of last week’s post, in that we used the gorgeous curls we got using our Curlformers (the Deluxe Range Spiral Curls for Super Long Hair) to help add to this beautiful half-up style. If you have naturally curly hair, you can skip Step 1, but if, like my girl’s, you have straight hair, you’ll need to curl all the hair for this style.
Step 1 – Curl entire head of hair
Watch our How to Use Curlformers video from last week to see how we achieved the gorgeous curls for today’s tutorial. There are so many different lengths & widths of Curlformers, and for this style we used Spiral Curls for Super Long Hair. Click HERE to purchase Curlformers (the Deluxe Range Spiral Curls for Super Long Hair) or you can browse around to find the length/width you desire. On Curlformers website, you can also see the different widths/lengths that are available if you don’t know which one you’d need.
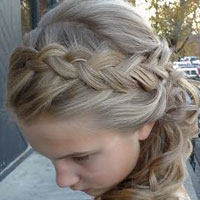
Step 2 – On the right side of the head, create a loose French braid
Stop adding hair to the French braid once you reach the ear, but braid until it reaches the center of the back of the head. If you need help French braiding, watch our “How to French Braid” video HERE.
Step 3 – Secure braid to the center of the back of the head with a few bobby pins
Step 4 – On the left side of the head, create another loose French braid
As before, stop adding hair once you reach the ear, but braid until it reaches the middle of the back of the head.
Step 5 – Grab a bunch of curls below the bobby pins from the center of the back of the head and divide into 3 sections
Just a side note, this isn’t a style that has an exact way it should look. Depending on your curls, hair length and thickness, results will vary!
Step 6 – Loosely, create a regular 3 strand braid with these curls
Step 7 – Roll the braid up toward the head so it creates a loose curly bun
Step 8 – Secure the bun with bobby pins as needed
Step 9 – Adjust curls and braids as desired and spray with hair spray
FINISHED!
We love how this pretty style turned out. If you are interested in more styles we’ve created and more tips & tricks using Curlformers, check out ALL our Curlformers posts HERE.
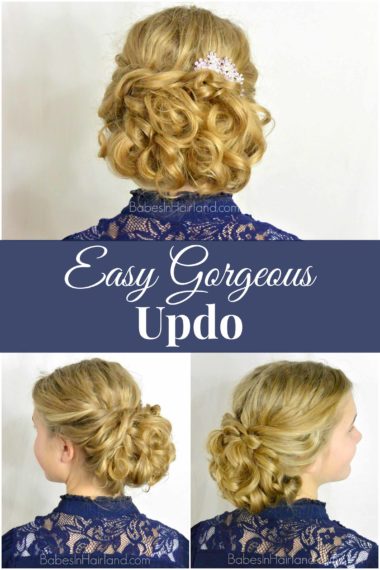
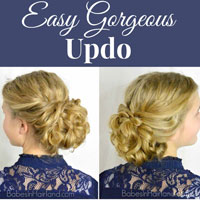
The picture below is of our Easy Gorgeous Updo is one of my favorite updo’s we’ve created, and it was made using left over curls from our Curlformers.
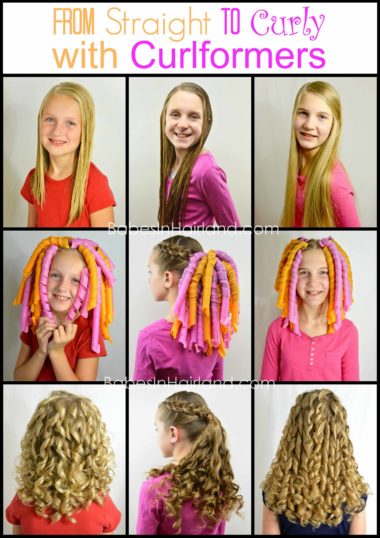
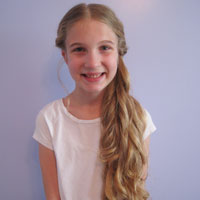
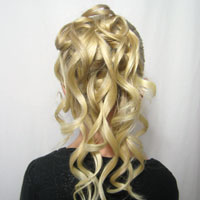
And just a quick peek at a few times we’ve used Curlformers on the girls. I can’t say enough of how much we love them!
