Today is the first day of school for all my girls. I can hardly believe summer is over and this next chapter of our life has started. It’s strangely quiet and I already miss them being here! Anyway, if you follow us on Instagram, you probably saw the picture that is below, that I shared a couple weeks ago. If you don’t follow us yet, go HERE to follow us now, or search for us @babesinhairlandblog.
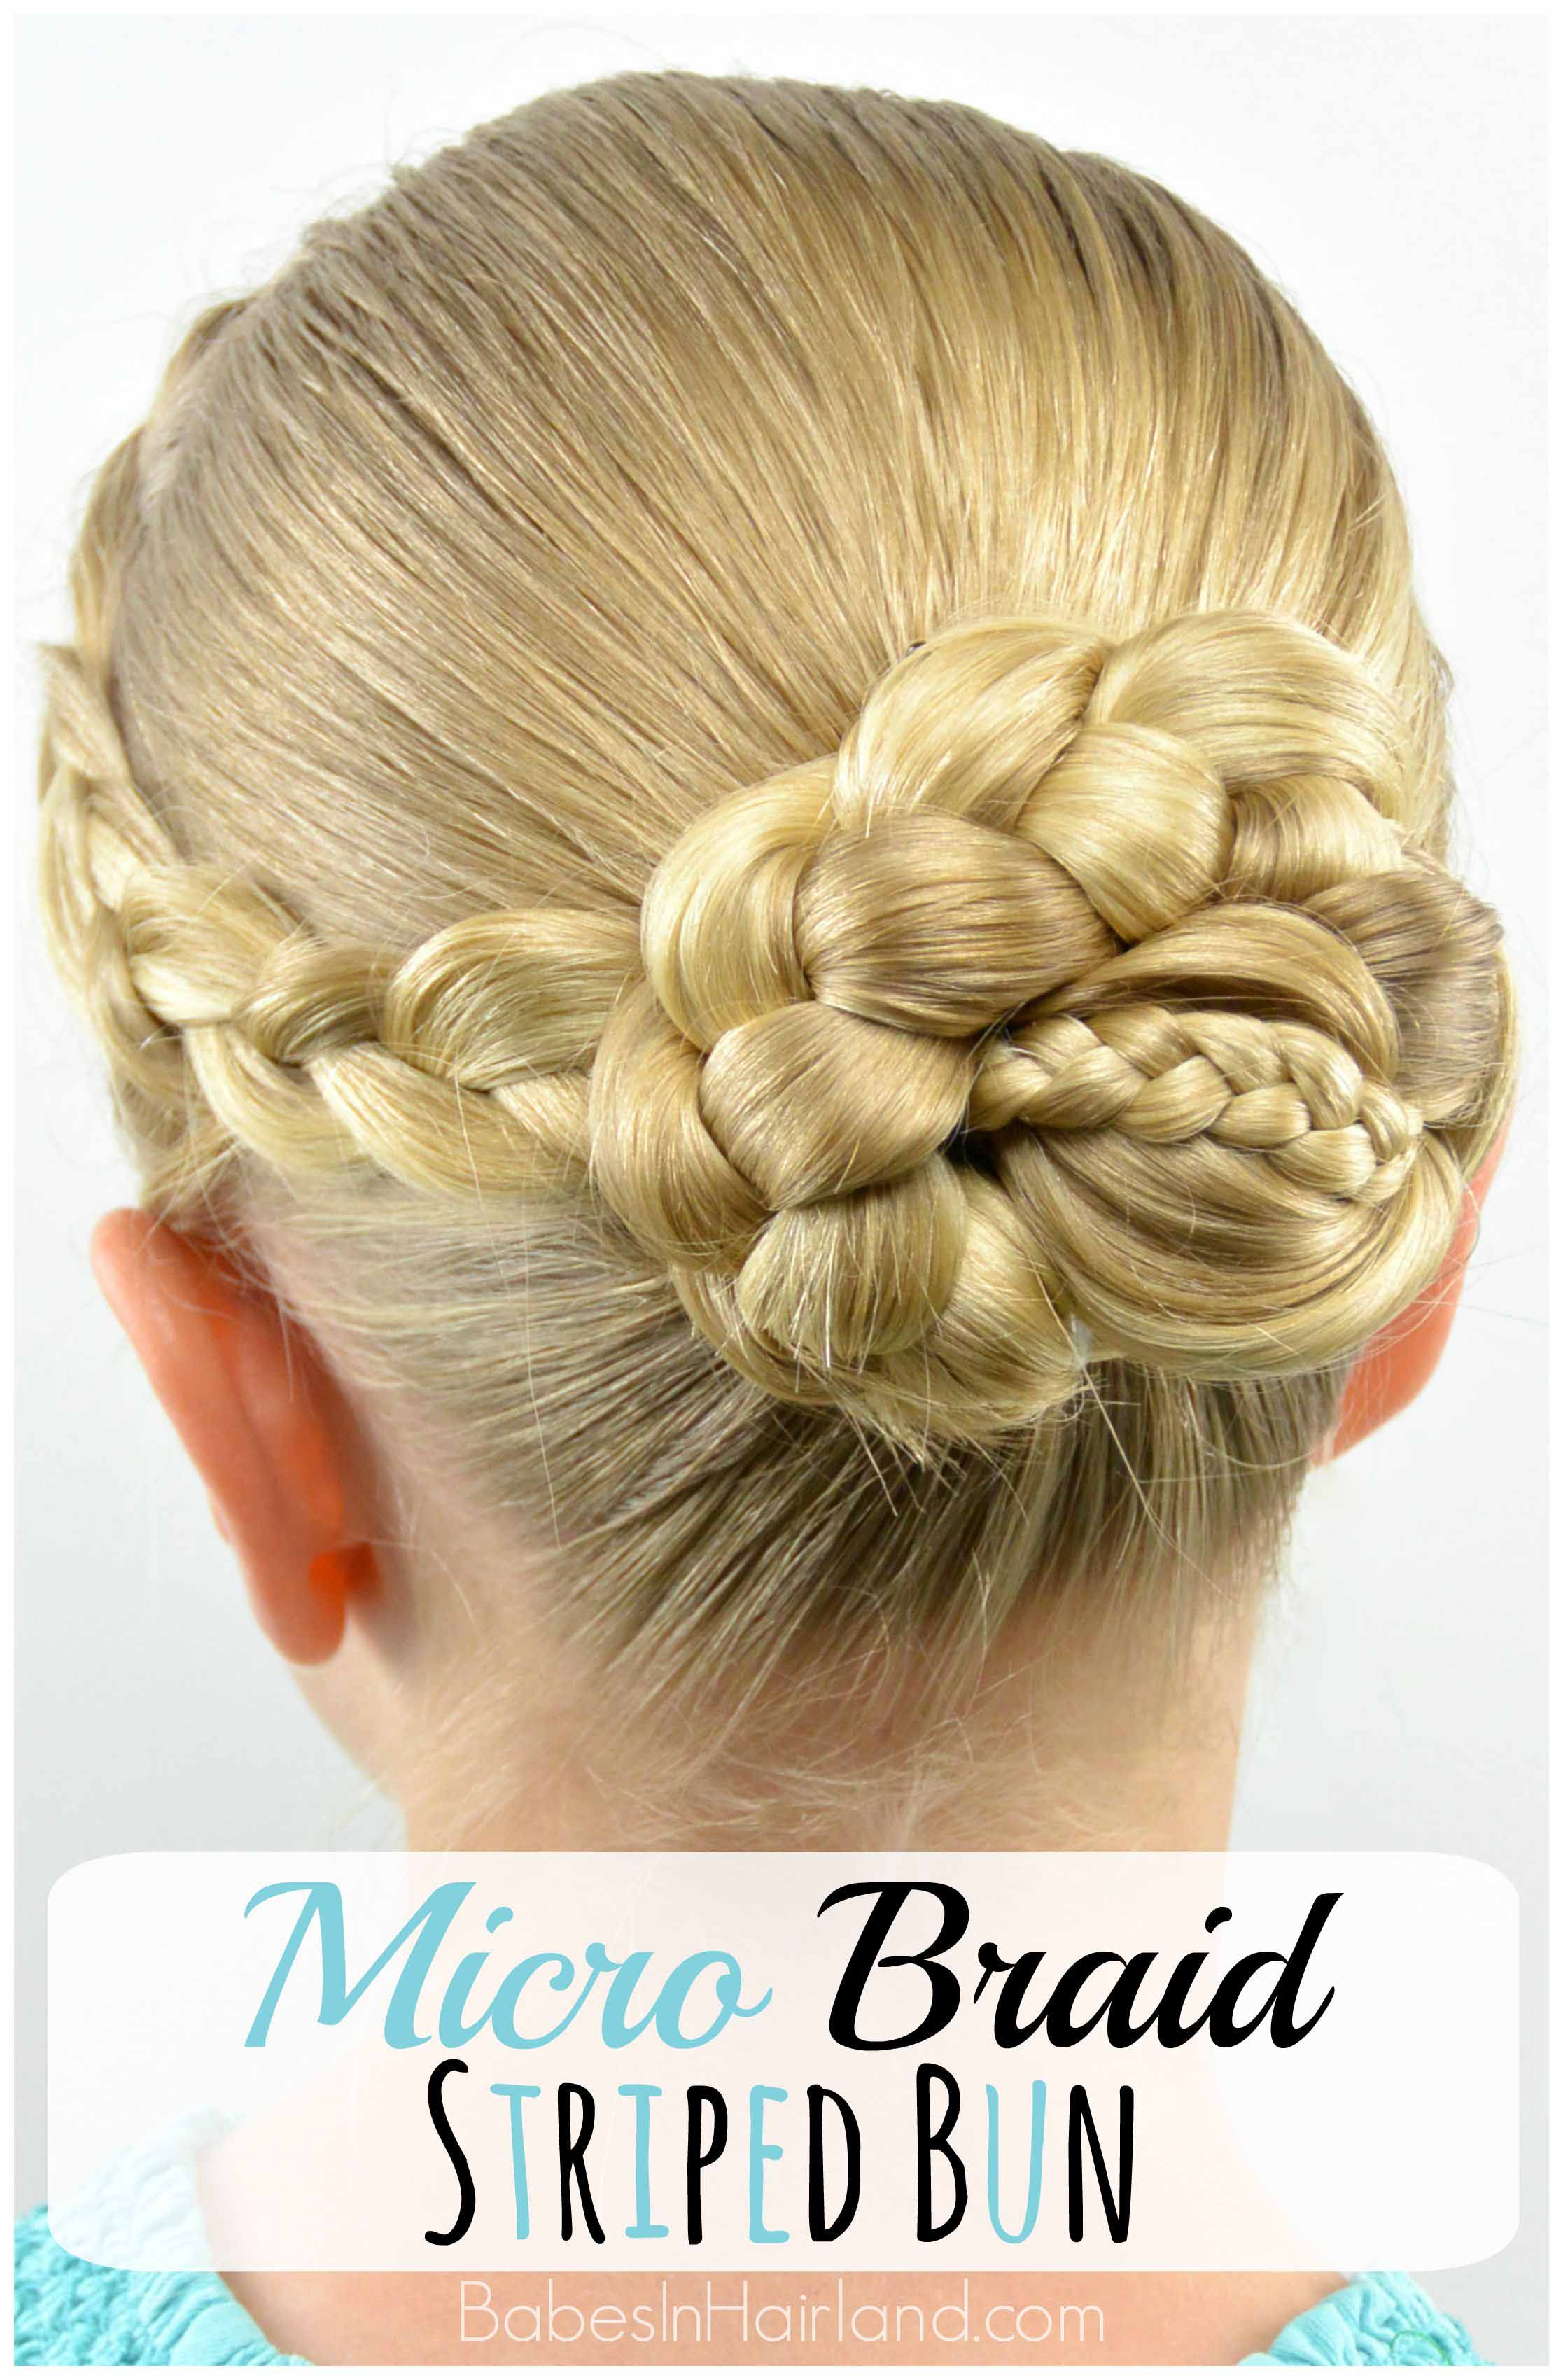
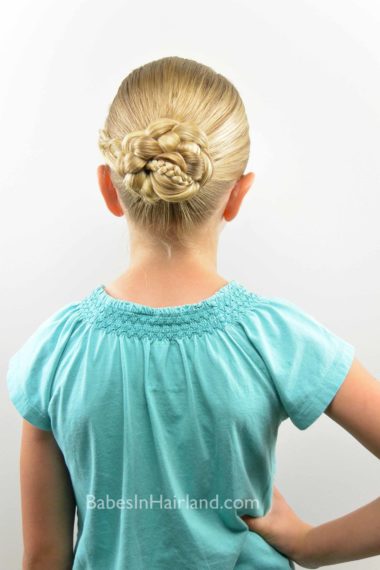
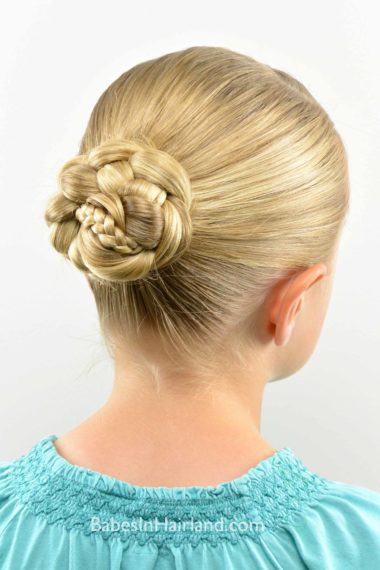
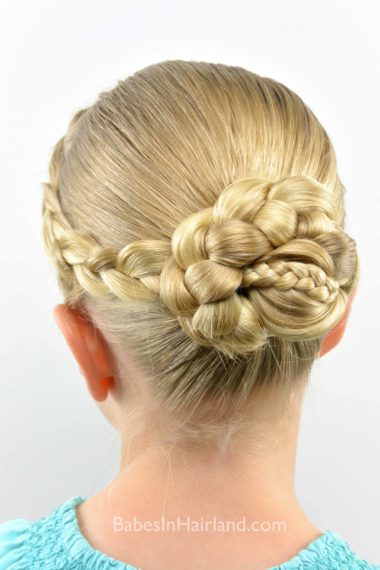
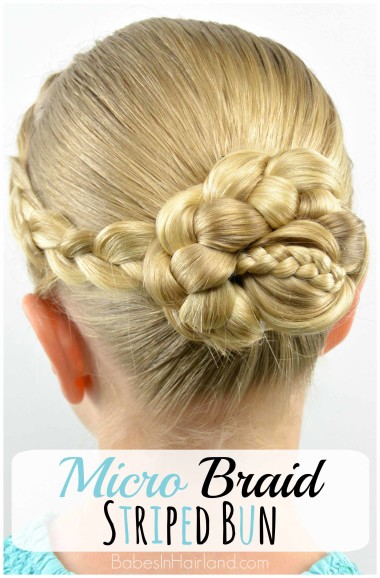
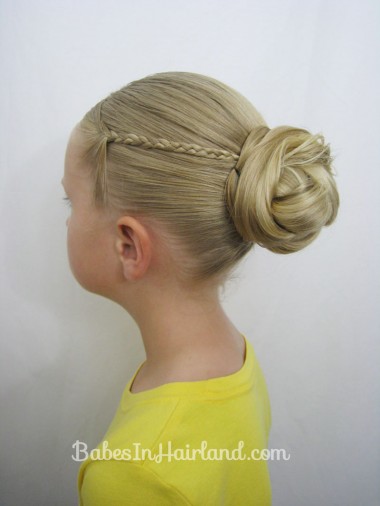
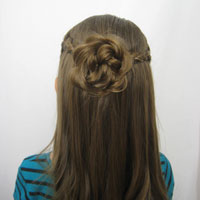
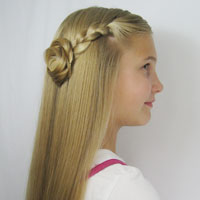
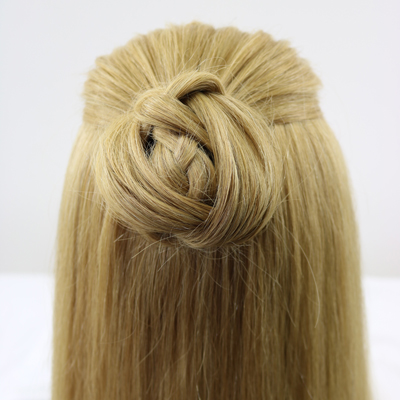
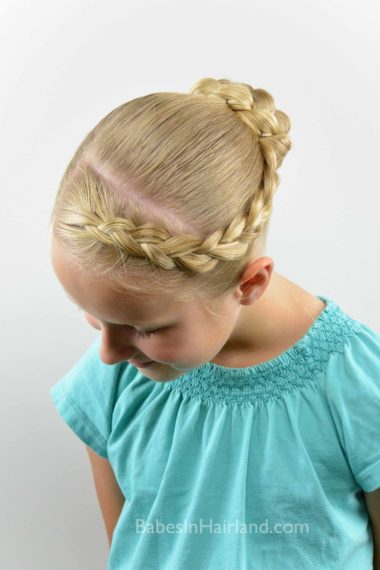
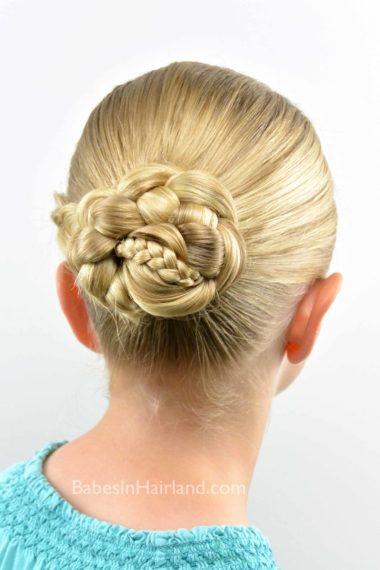
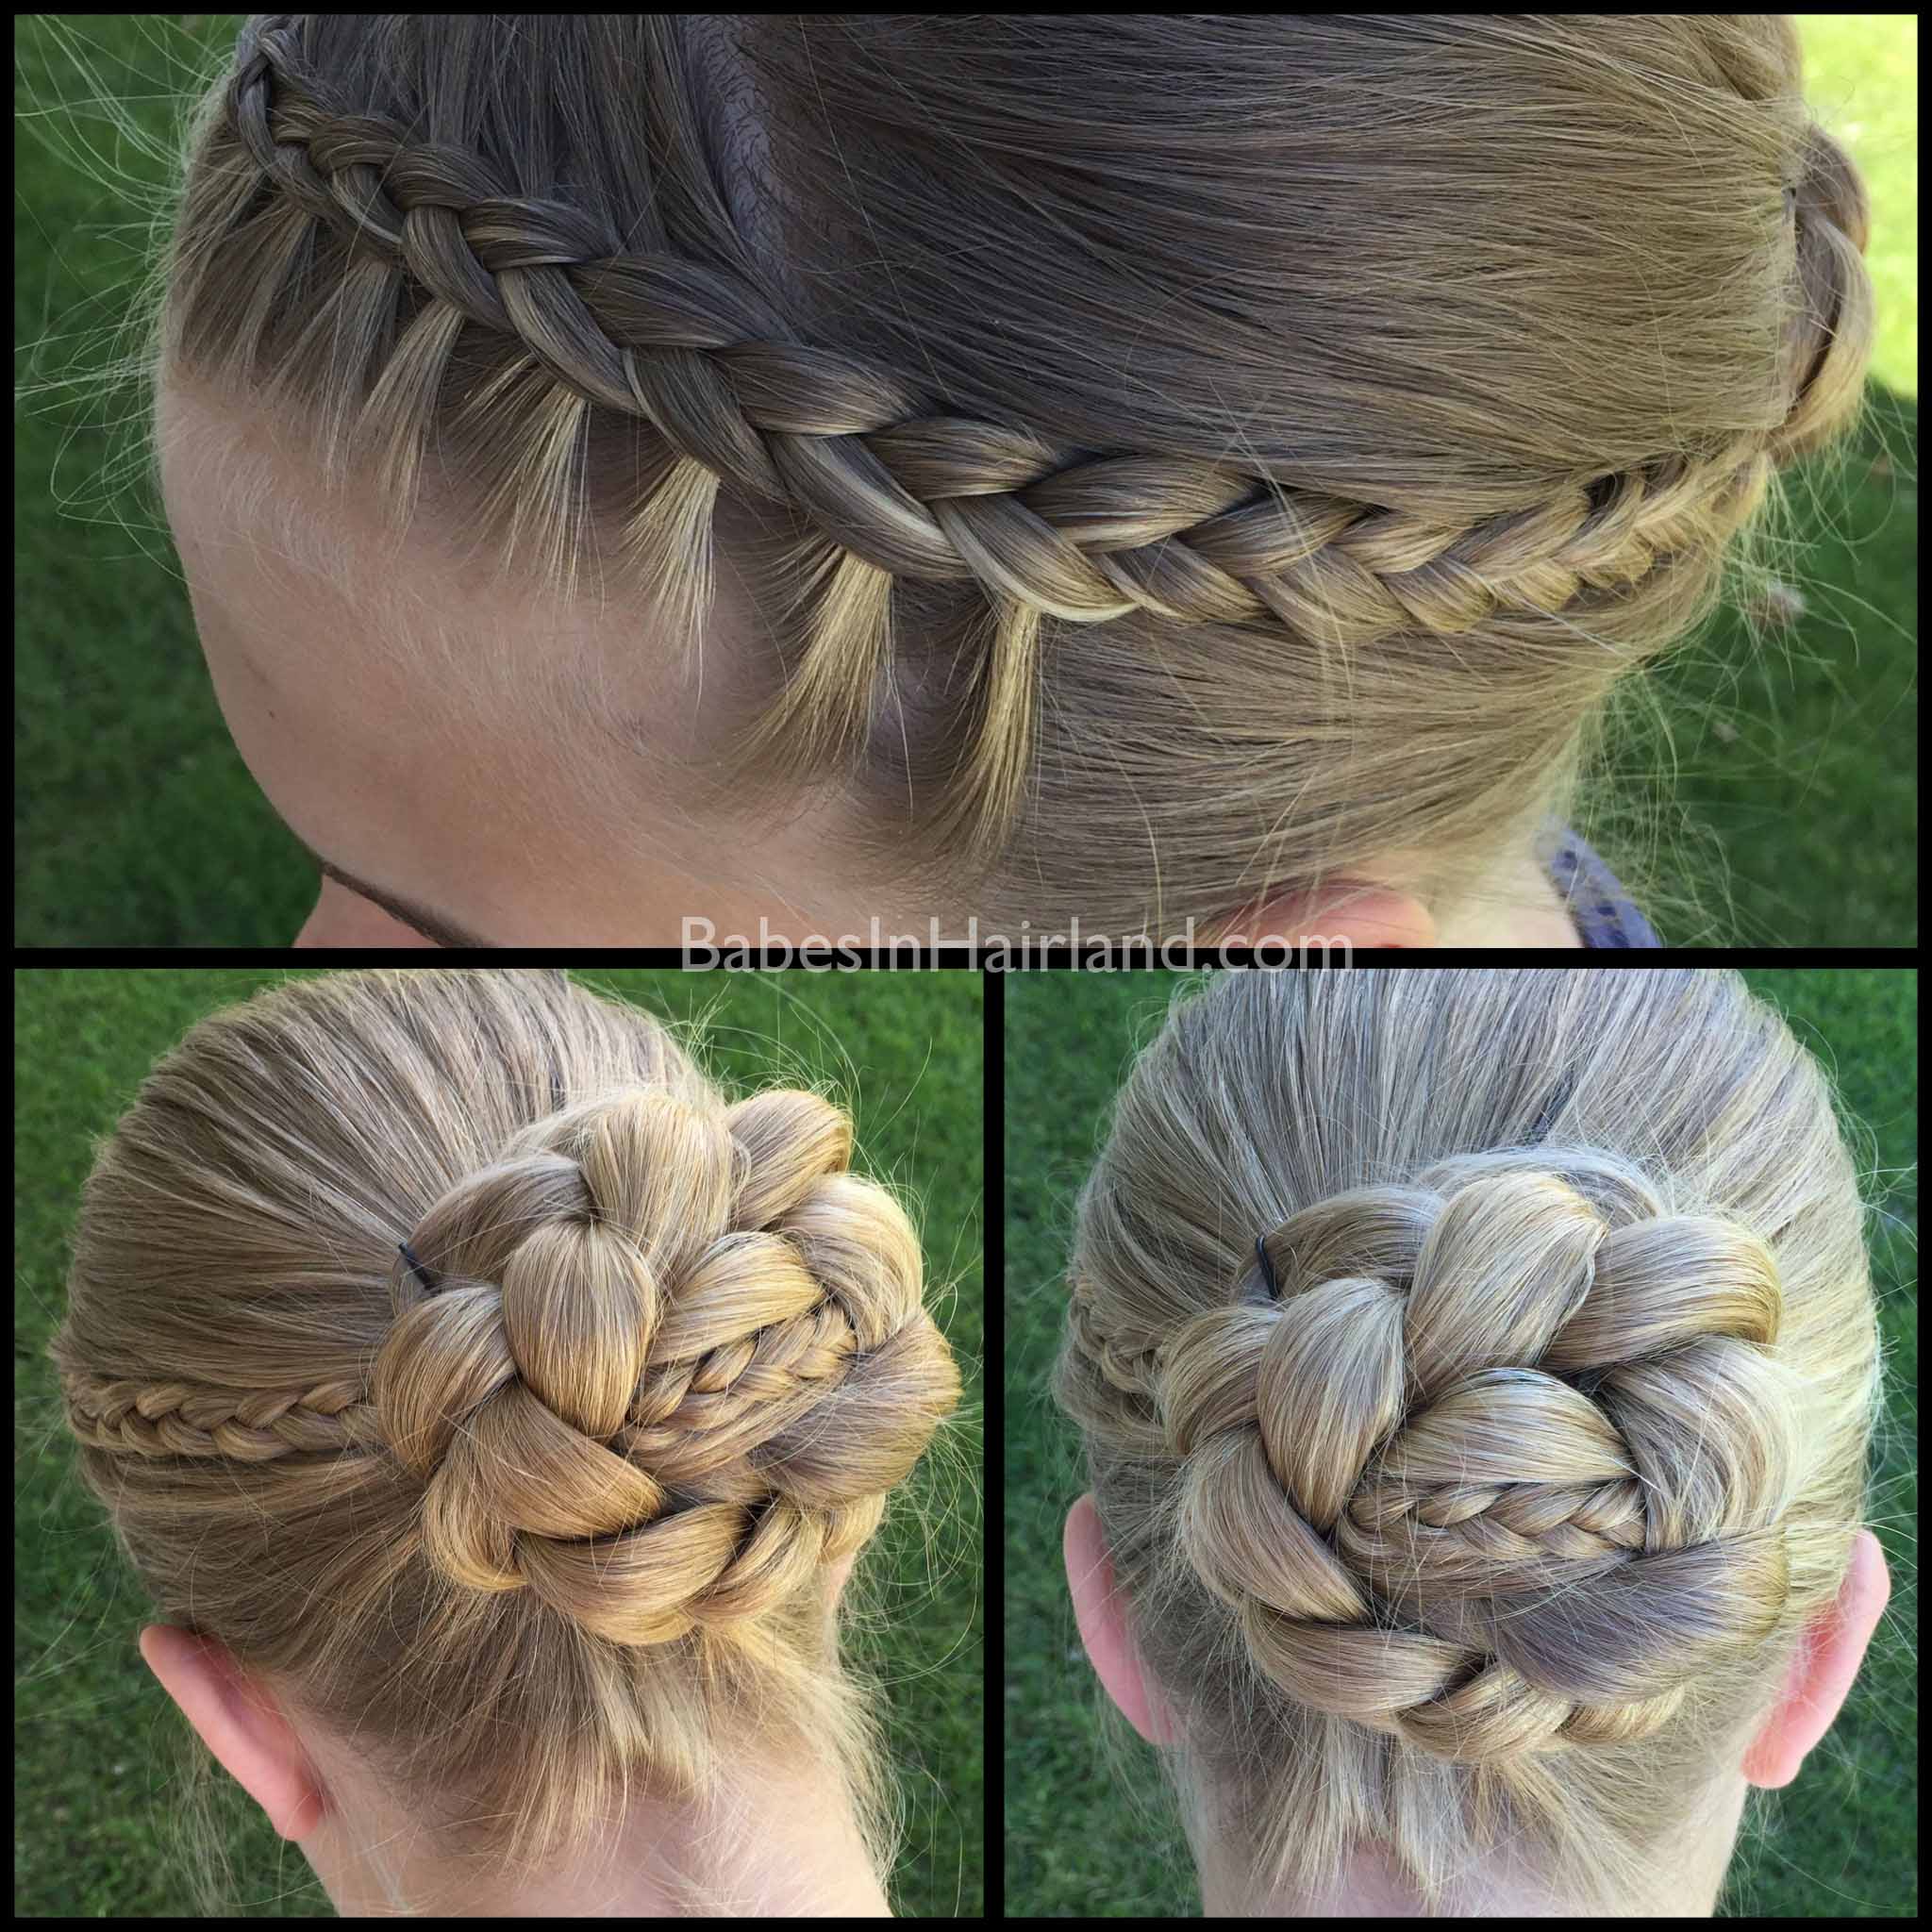 My oldest daughter, who’s 13, created this style on herself (which turned out awesome if I do say so myself!) and the way it turned out was purely by accident! She was so excited when she got done and saw the little braid made a stripe across the center of her bun. We got tons of people asking how she did it and so that’s what we’re recreating for you today. Bee loved the style when she saw her older sister’s hair, she promptly chose it as her 1st day of 3rd grade hairstyle! So we’ve recreated the micro braid striped bun on Bee for you today.
Step 1 – Make an off-center part on the right side of the head about 2 inches back, then part down the left side of the head to the left ear.
Step 2 – With remaining hair, make a ponytail in the center of the back of the head.
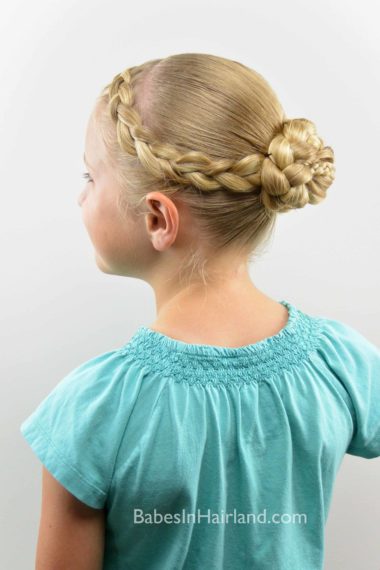
Step 3 – With the hair near the face, create a Dutch French braid.
You can make a regular braid or even a normal French braid, or even completely omit this step if you just want the bun. If you need help French braiding, you can watch our French braiding video HERE.
Step 4 – Stop adding hair to the French braid once you reach the ear and braid the rest of the hair back until it reaches the ponytail.
Step 5 – Secure the braid to the base of the ponytail with a clear elastic
** Note ** We opted to create a thicker/pancaked Dutch braid up front, as compared to what my 13 year old did up front with her braid. Because our braid from the front was thicker, we didn’t carry that braid through the ponytail as she did. If you make your braid up front small like she did, you can continue braiding all the way down and secure it into your ponytail. I wanted the contrast of the thick braid up front vs. the micro braid in the bun. If you make your braid small, you can skip Steps 6-8. ***
Step 6 – Section out a small amount of hair on the left side of the ponytail
Step 7 – Create a very small, tight braid with this section of hair
Step 8 – Braid until your braid is a couple inches long & temporarily secure the end with a clip.
You can braid all the way to the end if you want, but then you run the risk of having this tiny braid show through in the rest of the bun, which will detract from the stripe of a braid running across the center.
Step 9 – With the remaining hair in the ponytail divide it into 3 pieces to create a regular 3 strand braid
Step 10 – Cross the right section over the middle section
Step 11 – Cross the left section over the middle section
Step 12 – Lay the micro braid on top of the straight section of hair you just crossed over from Step 11
Step 13 – Continue braiding down to the end of the ponytail & secure the end with a clear elastic
If you’re looking for good clear elastics, we use Goody Clear Elastics & you can get some HERE.
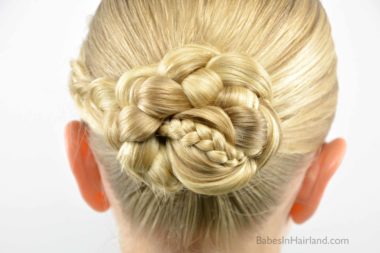
Step 14 – Wrap the braid into a bun in a counter-clockwise direction keeping the micro braid visible running left to right in the center of your bun.
Step 15 – Secure bun as needed with bobby pins
We buy bobby pins by the pound (yes I’m a hair nerd & I’m ok with it 😉 ) and we have found that THESE Marianna Bobby Pins work fabulous, so if you don’t own them, we highly recommend you do! 😉
FINISHED!
And just so you know, half my pictures end out looking like the next couple shots! She was pretending she was Popeye for this one! 😉 She loves to goof around when we do these, and she’s taught me so much patience over the years! haha 🙂
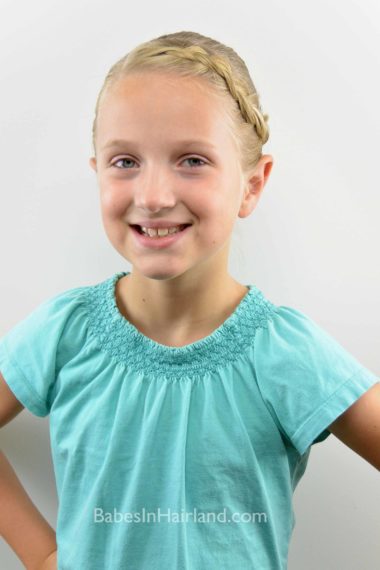
 Let us know what you think of this one? Do you like the wider braid (like we did) or thinner braid (like my daughter did on herself) better? Please share & pin this if you like it! If you like micro braids, you can see several other micro braid styles HERE.
We love our Knotted Bun & Micro Braids we did a couple years ago around back-to-school time. And if you love buns, this one incorporates both!
