I figured since I’d done uneven 3 strand braids, why not try it with rope braids? And once again, I think I came out with something that looks pretty cool in the end!
The concept is not rocket science – if you can do a regular rope/twist braid you can do this altered version of it. It’s just using a small and a large section of hair. If you don’t know how to do a basic rope braid, you can view our video HERE. But here is the video with our new way of doing them:
So hopefully you get the concept – here’s the style we did on Bug that I show pictures of in the video. It also isn’t anything too tricky.
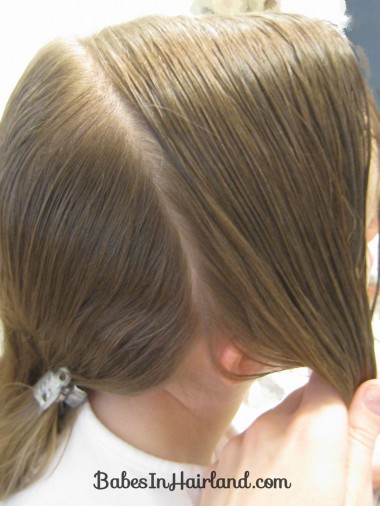
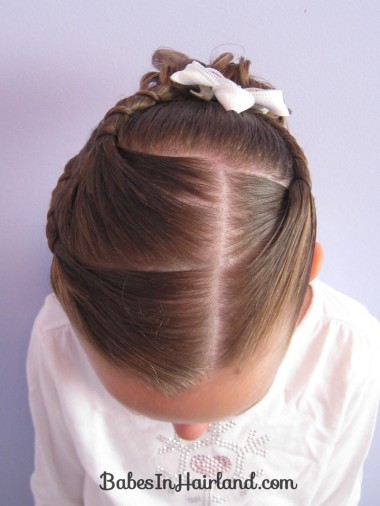
Make a side part on the left side of the head. Then part the hair from ear to ear.
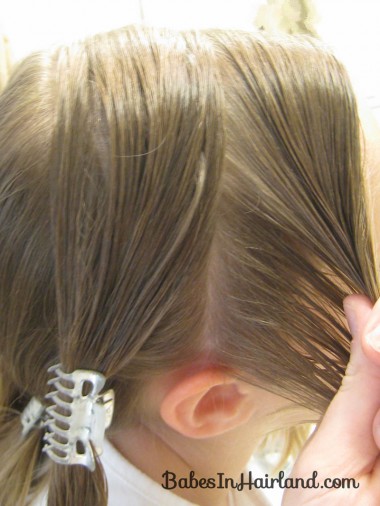
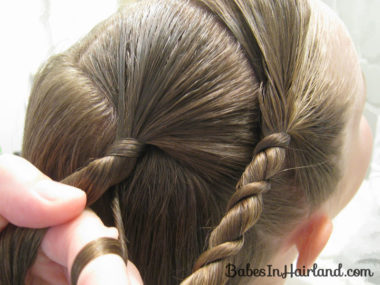
On the right side of the head divide the hair in front of the ear into 2 sections.
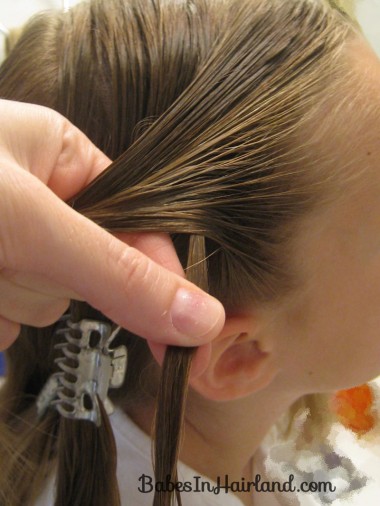
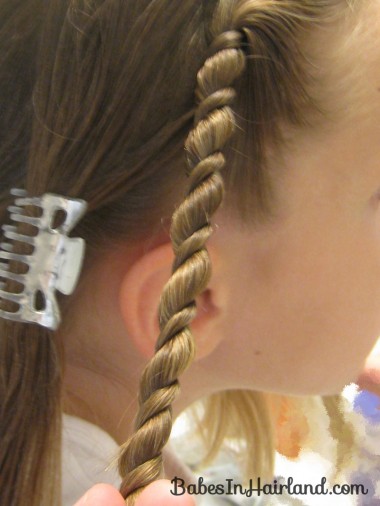
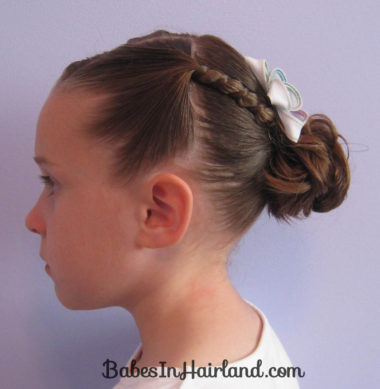
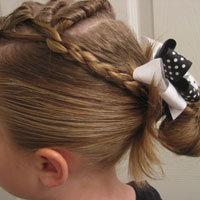
Make an uneven rope/twist braid in the section in front of the ear.
When you have twisted all the way down to the end, temporarily secure it with a clip or rubber band.
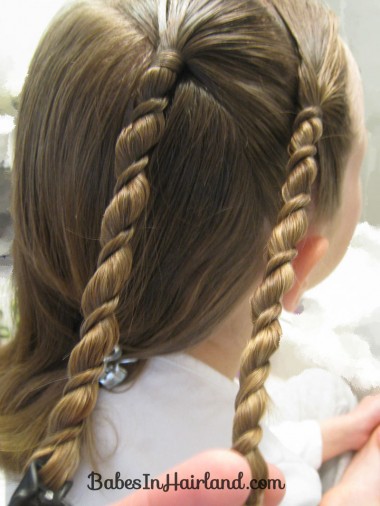
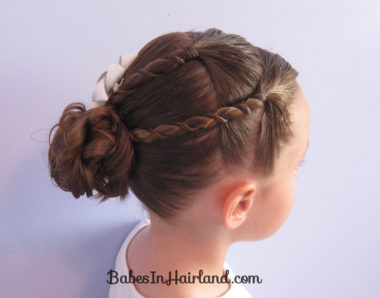
With the second section of hair you’d parted out that is behind the ear, make a 2nd uneven rope/twist braid. Be sure to make it a bit higher than the one in front so they will not be right on top of each other when you pull them back later in the style.
Twist it all the way down & secure it temporarily at the end too.
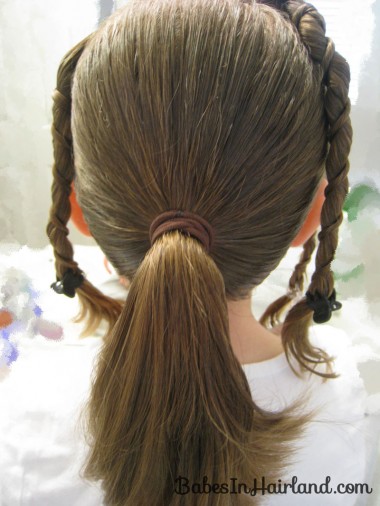
On the left side of the head make a 3rd twist and secure it too. Take the remaining hair hanging down in back & make a pony tail.
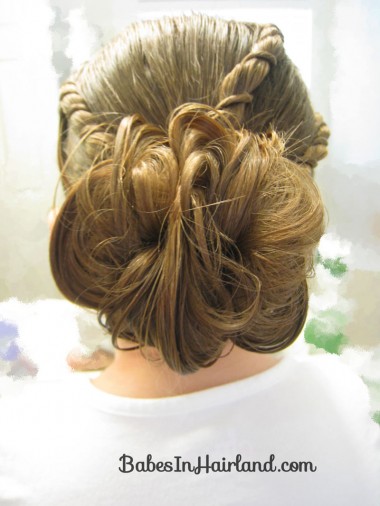
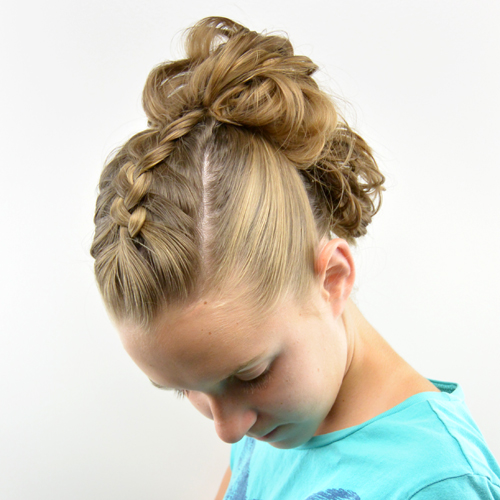
Add your 3 rope braids and secure with a rubber band. You could be done at this point if you want.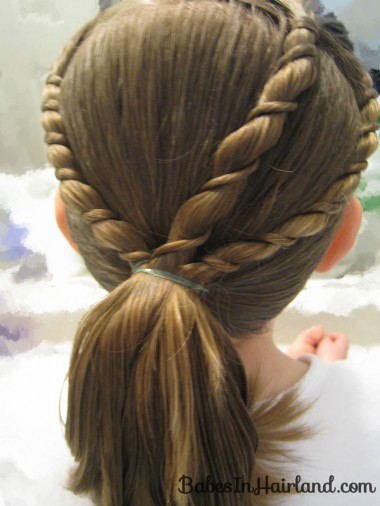
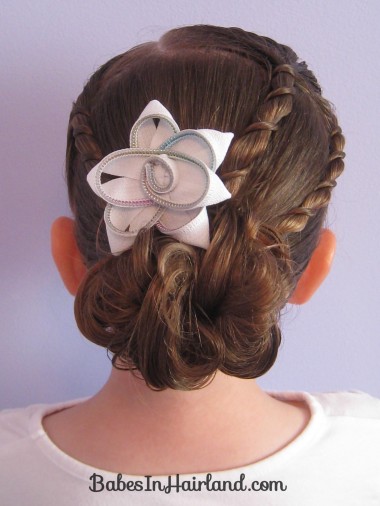
We made a messy bun. You can see our messy bun version HERE.
View from the top:
We added this fun little zipper flower clip from Gimme Clips & it added the perfect finishing touch!
Not only did she loose 12 inches off her hair in the last couple months, but she lost her 2 front teeth recently too! It’s changed her whole look all together!
Let us know what you think of this new “twist” on the rope braid! If you end out doing this, we’d love it if you’d post pictures on our Facebook page!
