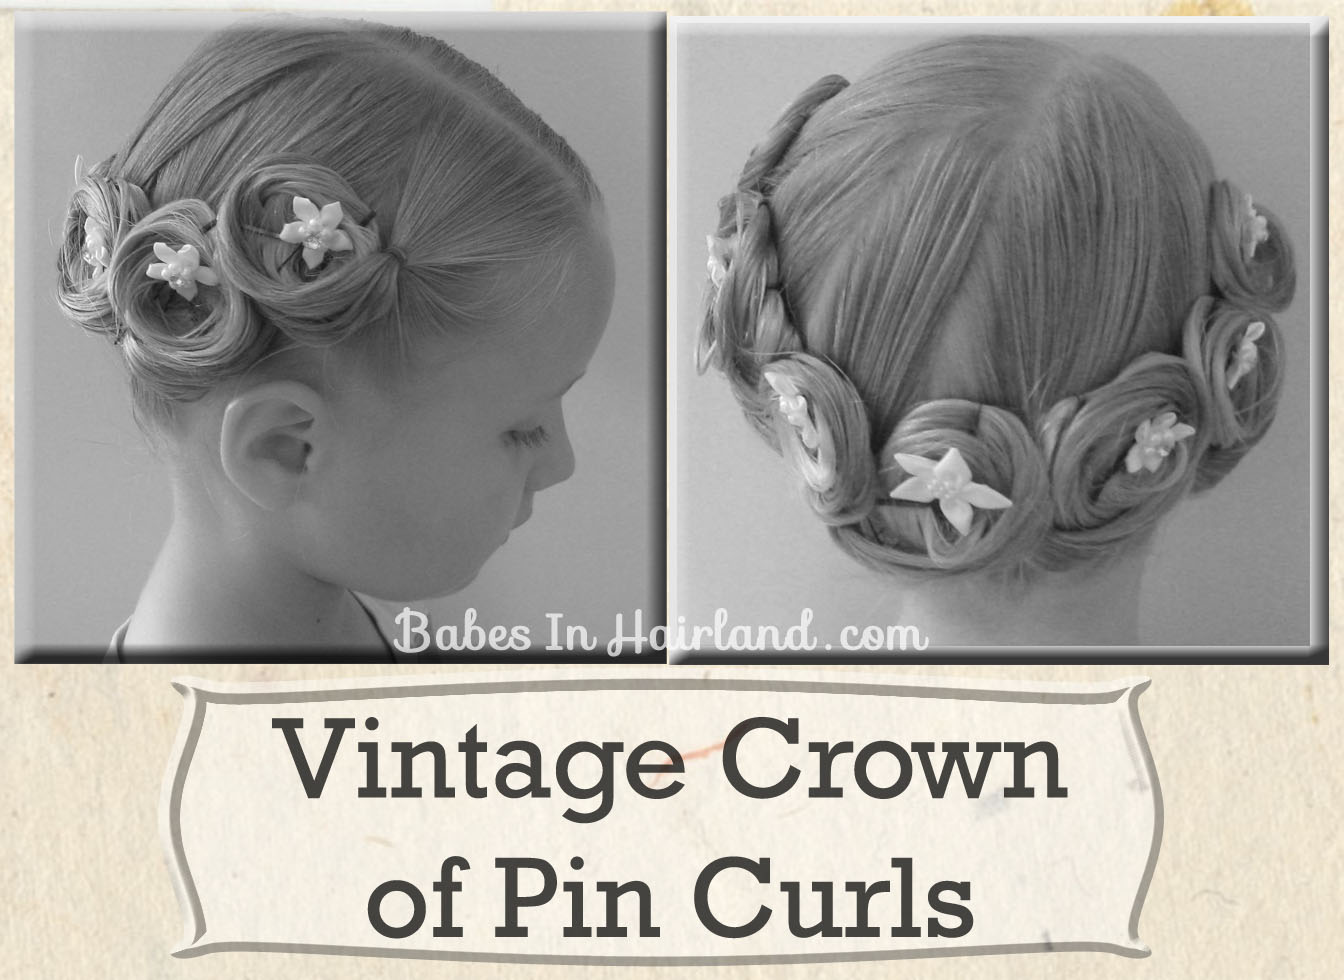
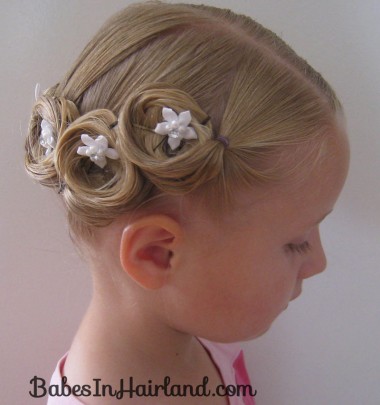
I’ve got to say thatI just loved this style on Bee, but I just don’t feel the pictures do it justice. Hopefully you get the idea though.
You’ll be making a lot of parts. There was no method to this – so just section the hair out as you see fit. If you are working with a smaller head & less hair, you can totally cut down on the number of pony tails you make, etc.
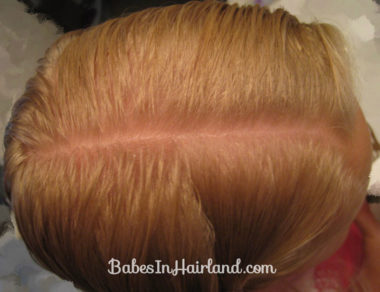
Begin by parting the hair off-center on the right – from the front of the head to the back of the crown.
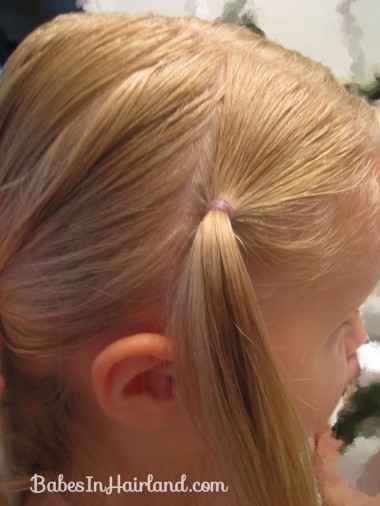
From that part, make another part vertically down towards the ear. Form a little ponytail with that hair & secure it with a rubber band.
Start working your way around the head to the left side, sectioning out hair & making little pony tails. In the end I had 7 – but do what works for you.
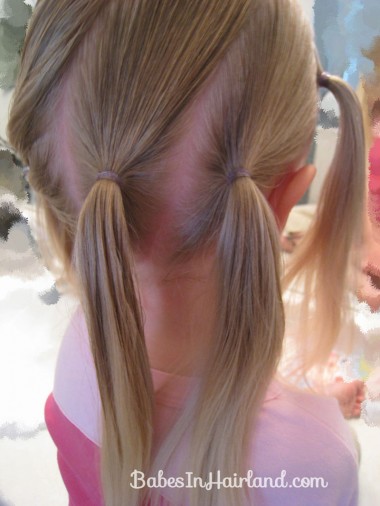
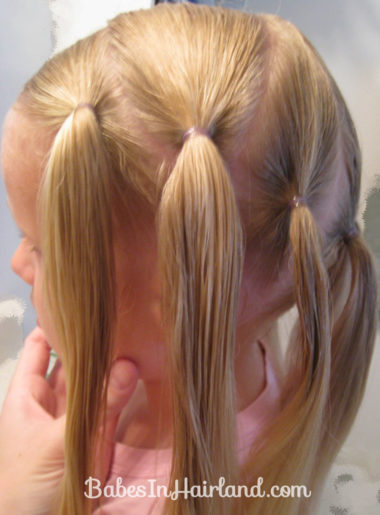
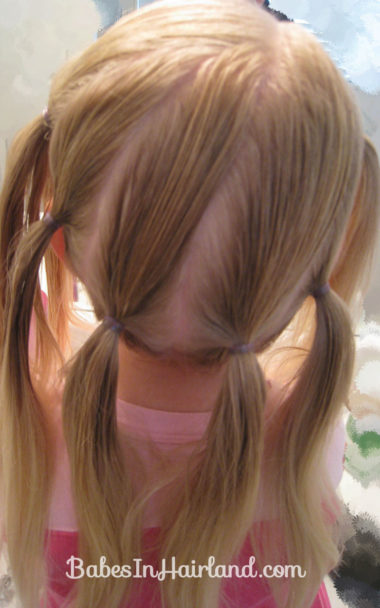
She was being so wiggly when I did this. Had to hold her head still for this shot! I basically made 3 ponies on each side of the head and sort of one in the back. The hair was not equally parted out into even sections though. I didn’t want that. Try keep the ponies lower down towards the neckline – you don’t want them too high.
Once you’ve got all the hair in little ponies, it’ll resemble this:
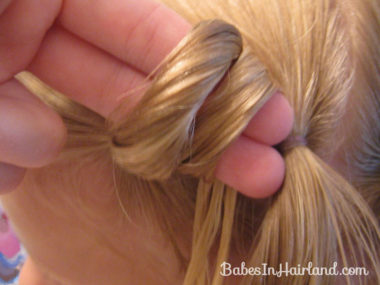
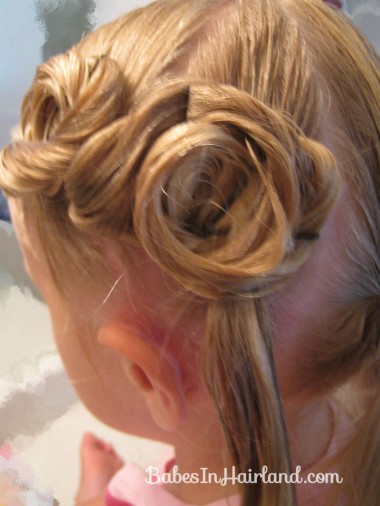
Once you’re ponies are done, start on the left side and take the little pony closest to the face. Make sure the pony tails are good & damp or you’ve sprayed them well with hairspray to cut down on fly aways. Wrap the hair around your fingers a couple times trying to keep the ends of the pony towards the back so they can get tacked down against the head & don’t stick out. You’re basically making a pin curl.
Carefully pull your fingers out of the circle of hair & tack it down with bobby pins above the next pony tail’s rubber band. I used 2-3 for each pin curl. Ideally I’d have the same color bobby pins – but I don’t. Oh well!
Move on to the next ponytail in line. Repeat the process, looping it around your fingers & tacking it down over the next ponytail’s base. She was being so wiggly, some of these circles of hair look less than perfect. Sorry.
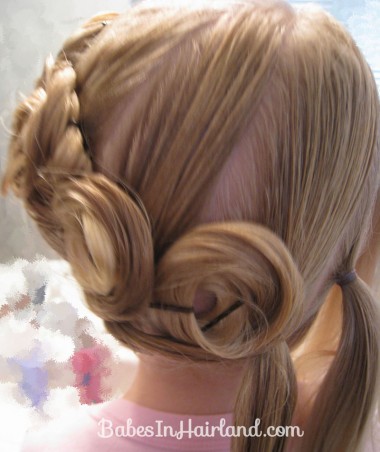
Continue the process, making pin curls and securing them – working back around to the right side of the head.
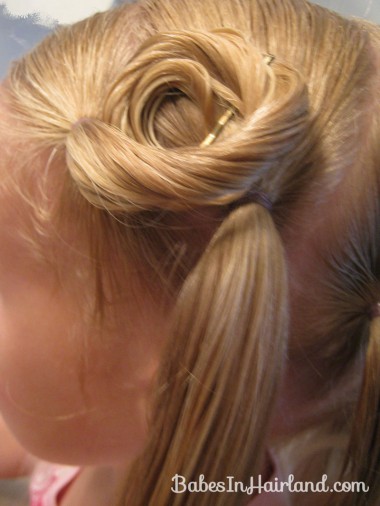
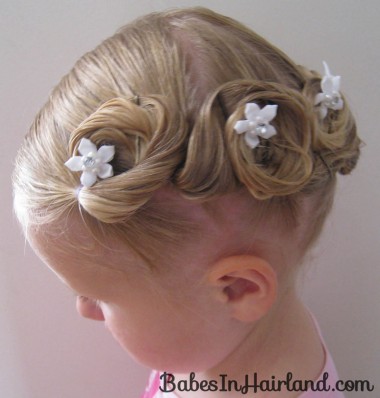
You can’t see it too well, but when you get to the last ponytail on the right side – loop it backwards since you have no more ponytail bases to cover up. As you get close to the last circles, make sure you space things accordingly so you have room for that last pony tail to come backwards. Hope that makes sense.
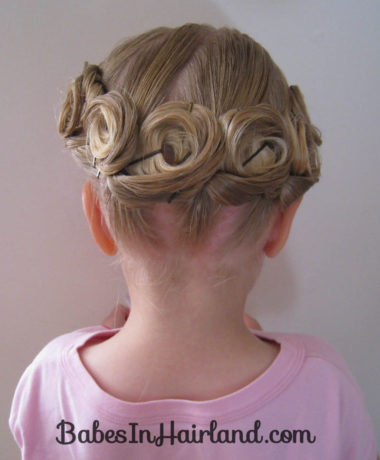
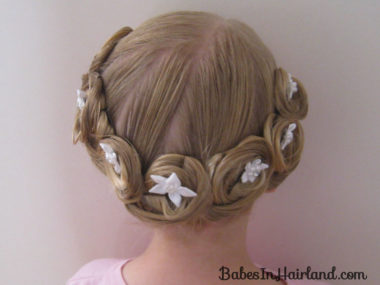
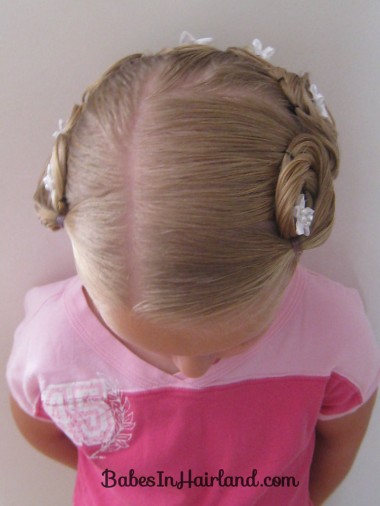
Here’s a view of things from the back when I got all done.
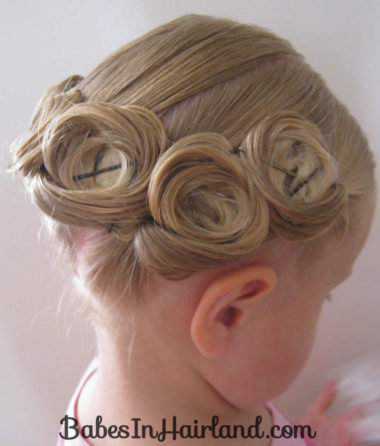
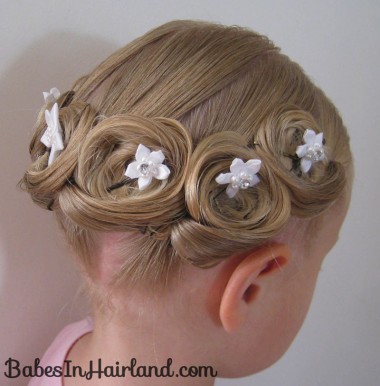
Then I added some of the flower hair pins I’d made this Spring to try detract from all the bobby pins & add some extra flair. You can see a bit better in this picture how the last ponytail on the right has its pin curl going “backward” instead of the way you’d done the rest of them. I also sprayed each individual circle with hairspray when I was all done to ensure things would stay put.
You can add as few or as many flowers or accessories to dress this up. I just stuck one in each circle. Fresh flowers of baby’s breath (the flower) would look beautiful in something like this I think!
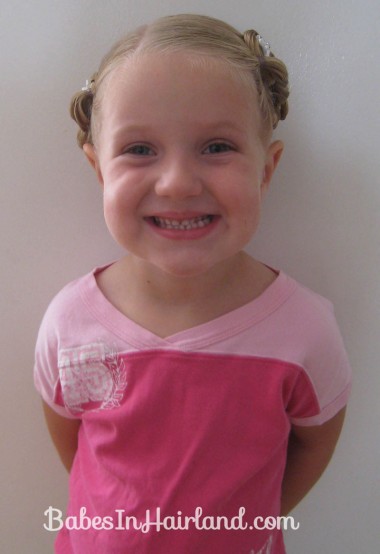
In the end you have one happy little girl that feels like a princess! This hairdo held up all day, even after time at the park – it was the jumping up and down in a play tent & rubbing her head around in the top of it that things started to come loose! If you were to use this as a formal hairstyle, you won’t have that problem!
Oh, and of course, don’t forget about our 3rd pack of circus tickets that we’re giving away. Go HERE to enter. The odds look pretty good! 🙂
After you took the pin curls out did you get some nice curls or waves? Do you have pictures of the after results?
ah, man… just tried this on myself.. did not quite work, but hey, I’m gonna leave it for now & hope for good curls tomorrow!!!
This is so pretty! I just love it.