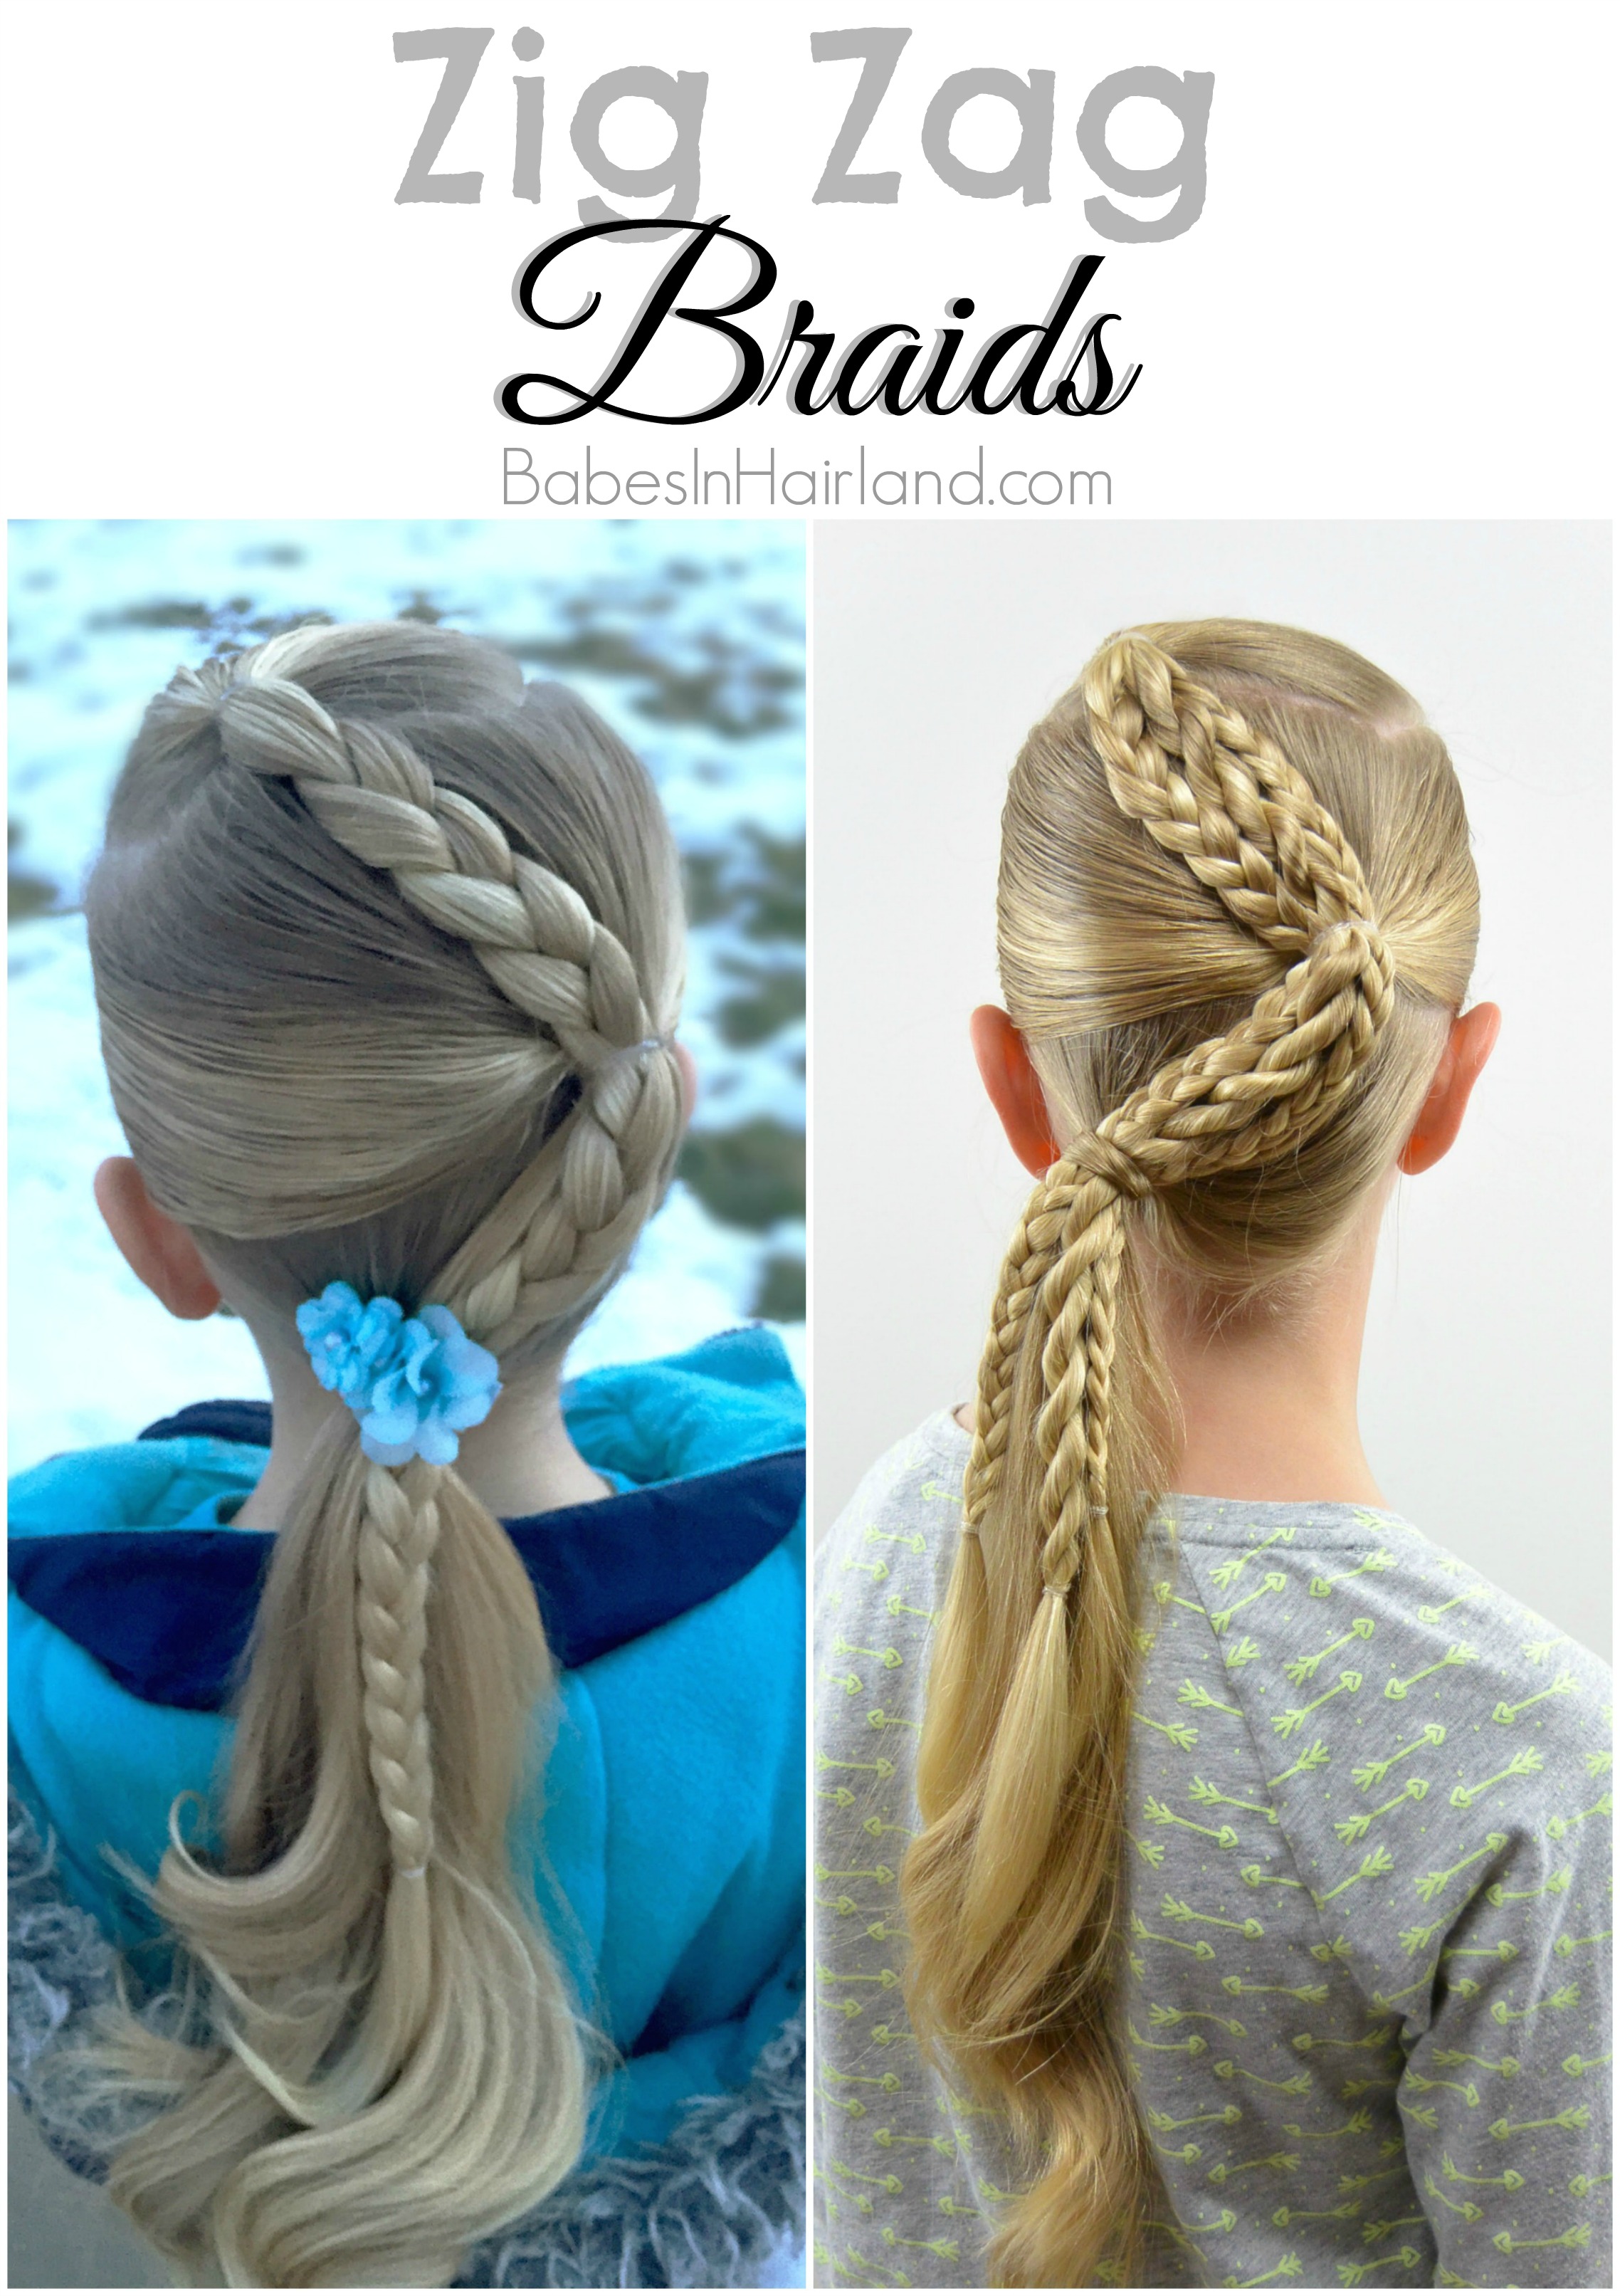
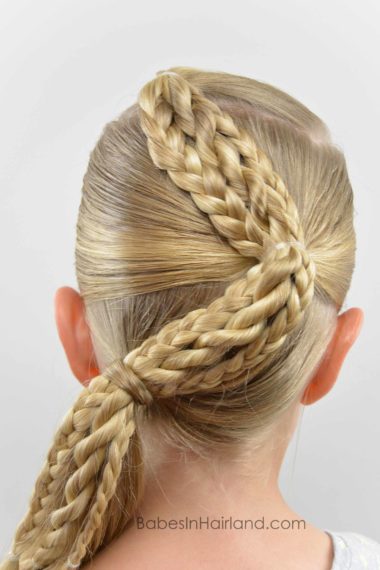
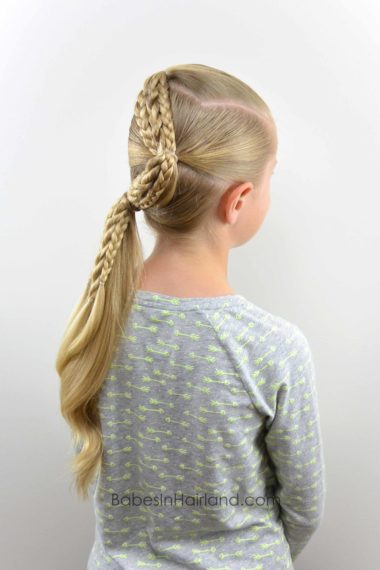
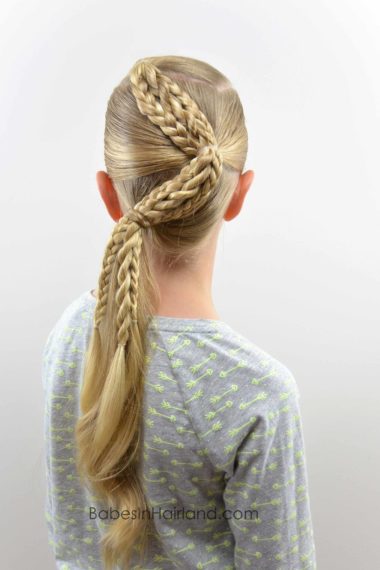
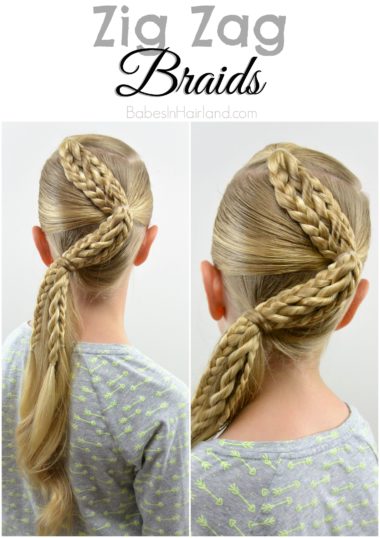
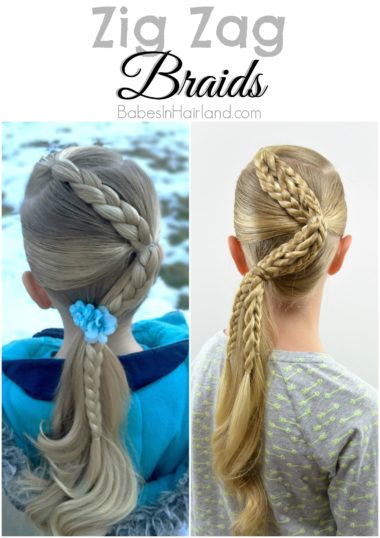
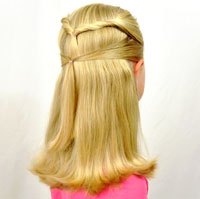
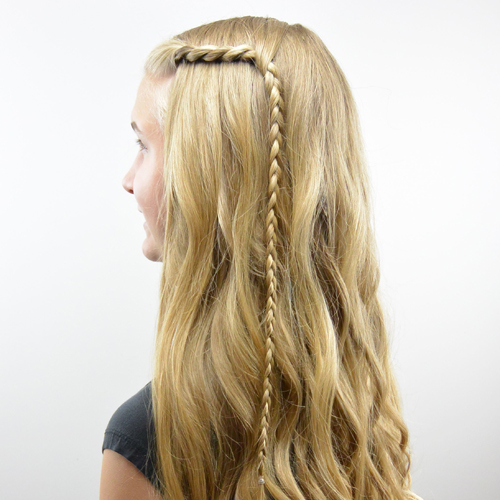
Several weeks back, I posted a hairstyle I’d quickly done on Bee one morning (pictured on the left). It’s a quick & simple style, but the response was overwhelming on how many people liked it, as well as several people asking how exactly I did it. While I deemed this one to be pretty straight forward, it was a good reminder that everyone is on different levels of what they can do with hair. So ladies, for those of you that asked, this is how we did it! However, I did mix things up a little bit and instead of just doing 1 braid for the “zig zag portion” I stepped things up just a little bit.
As a disclaimer, you can make this hairstyle “your own” and do any number or variety of braids & twists. So depending on how you choose to do the style is up to you, so just skip steps that don’t apply to the way you choose to do the style.
Step 1 – Part out a rectangular section of hair on top of the head
Step 2 – Gather that hair into a ponytail on the left side of the crown & secure with a clear elastic
If you’re in need of some good elastics, we use Goody Clear Elastics. I love these because the pack comes with 3 different sizes, and depending on what I’m doing they all come in handy. You can buy Goody Clear Elastics by clicking HERE
.
Step 3 – Divide the ponytail into 3 even sections
You can do 1 braid as shown in the picture I shared on Instagram & FB where she’s in her coat. Or you can do any variety of braids, twists, and any number of them as well. As mentioned, I decided to mix things up a little and add some more braids.
Step 4 – With the 2 outer sections, create regular 3 strand braids & secure the ends with small elastics
Step 5 – With the center section of the ponytail, create a rope/twist braid & secure the end with an elastic
If you need help with rope braids, we’ve got a great tutorial showing it upclose and slower! Check out our rope/twist braid tutorial HERE.
Step 6 – Try get all your braids to be about the same length so they all lay uniformly in the style
Step 7 – Flip the braids up out of the way temporarily & part the hair from the tip of the left to the tip of the right ear
Step 8 – Draw all that hair into a ponytail over on the right side of the head & secure with a clear elastic
Step 9 – Lay the braids & twist back down and draw them over to the ponytail you just made & secure them to the ponytail with another elastic
Step 10 – Again, move the braids out of the way & draw the remaining straight hair over to the left side of the head
Step 11 – With a clear elastic, secure all that hair into a low ponytail on the left side of the head
Step 12 – Add the braids & twist to this last ponytail and secure them with a clear elastic
Step 13 – If desired, wrap the ponytail with a bit of hair to cover the last elastic, or add a pretty flower or other hair accessory
Watch a slower & more up close tutorial of how to wrap a ponytail HERE.
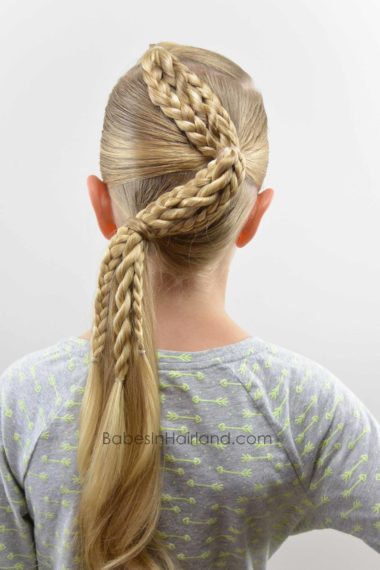
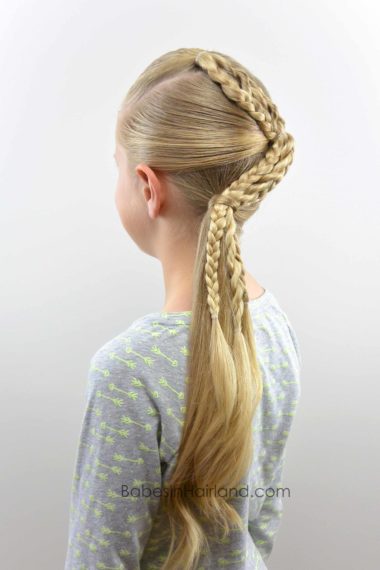
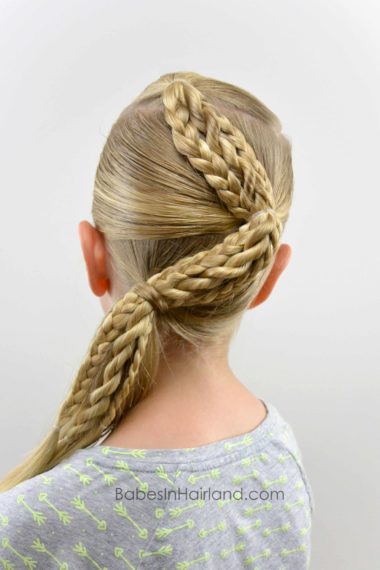
FINISHED!
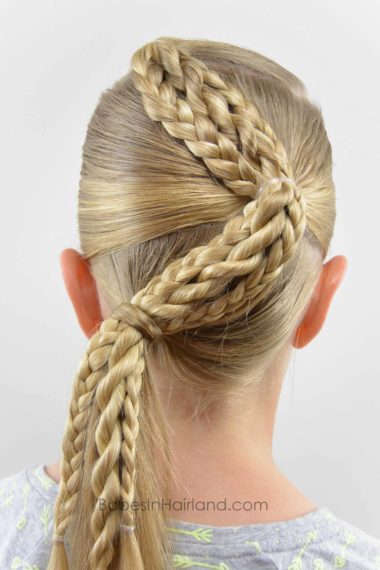
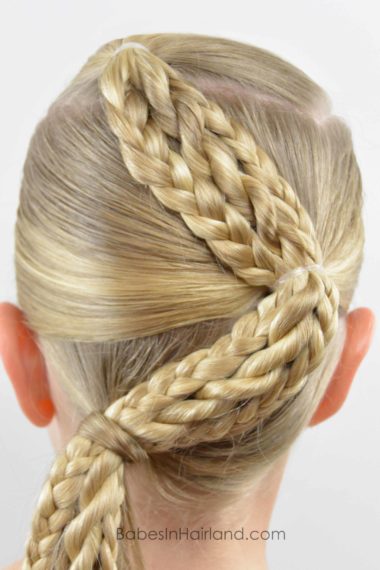
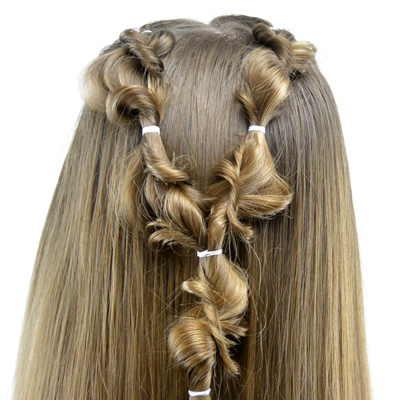
Here’s a little closer-up look at the braids & twist. Looks pretty cool, right?!
I’m not sure which version I like best. Comment & let us know which one you like the most? Don’t forget to pin these to recreate later!
