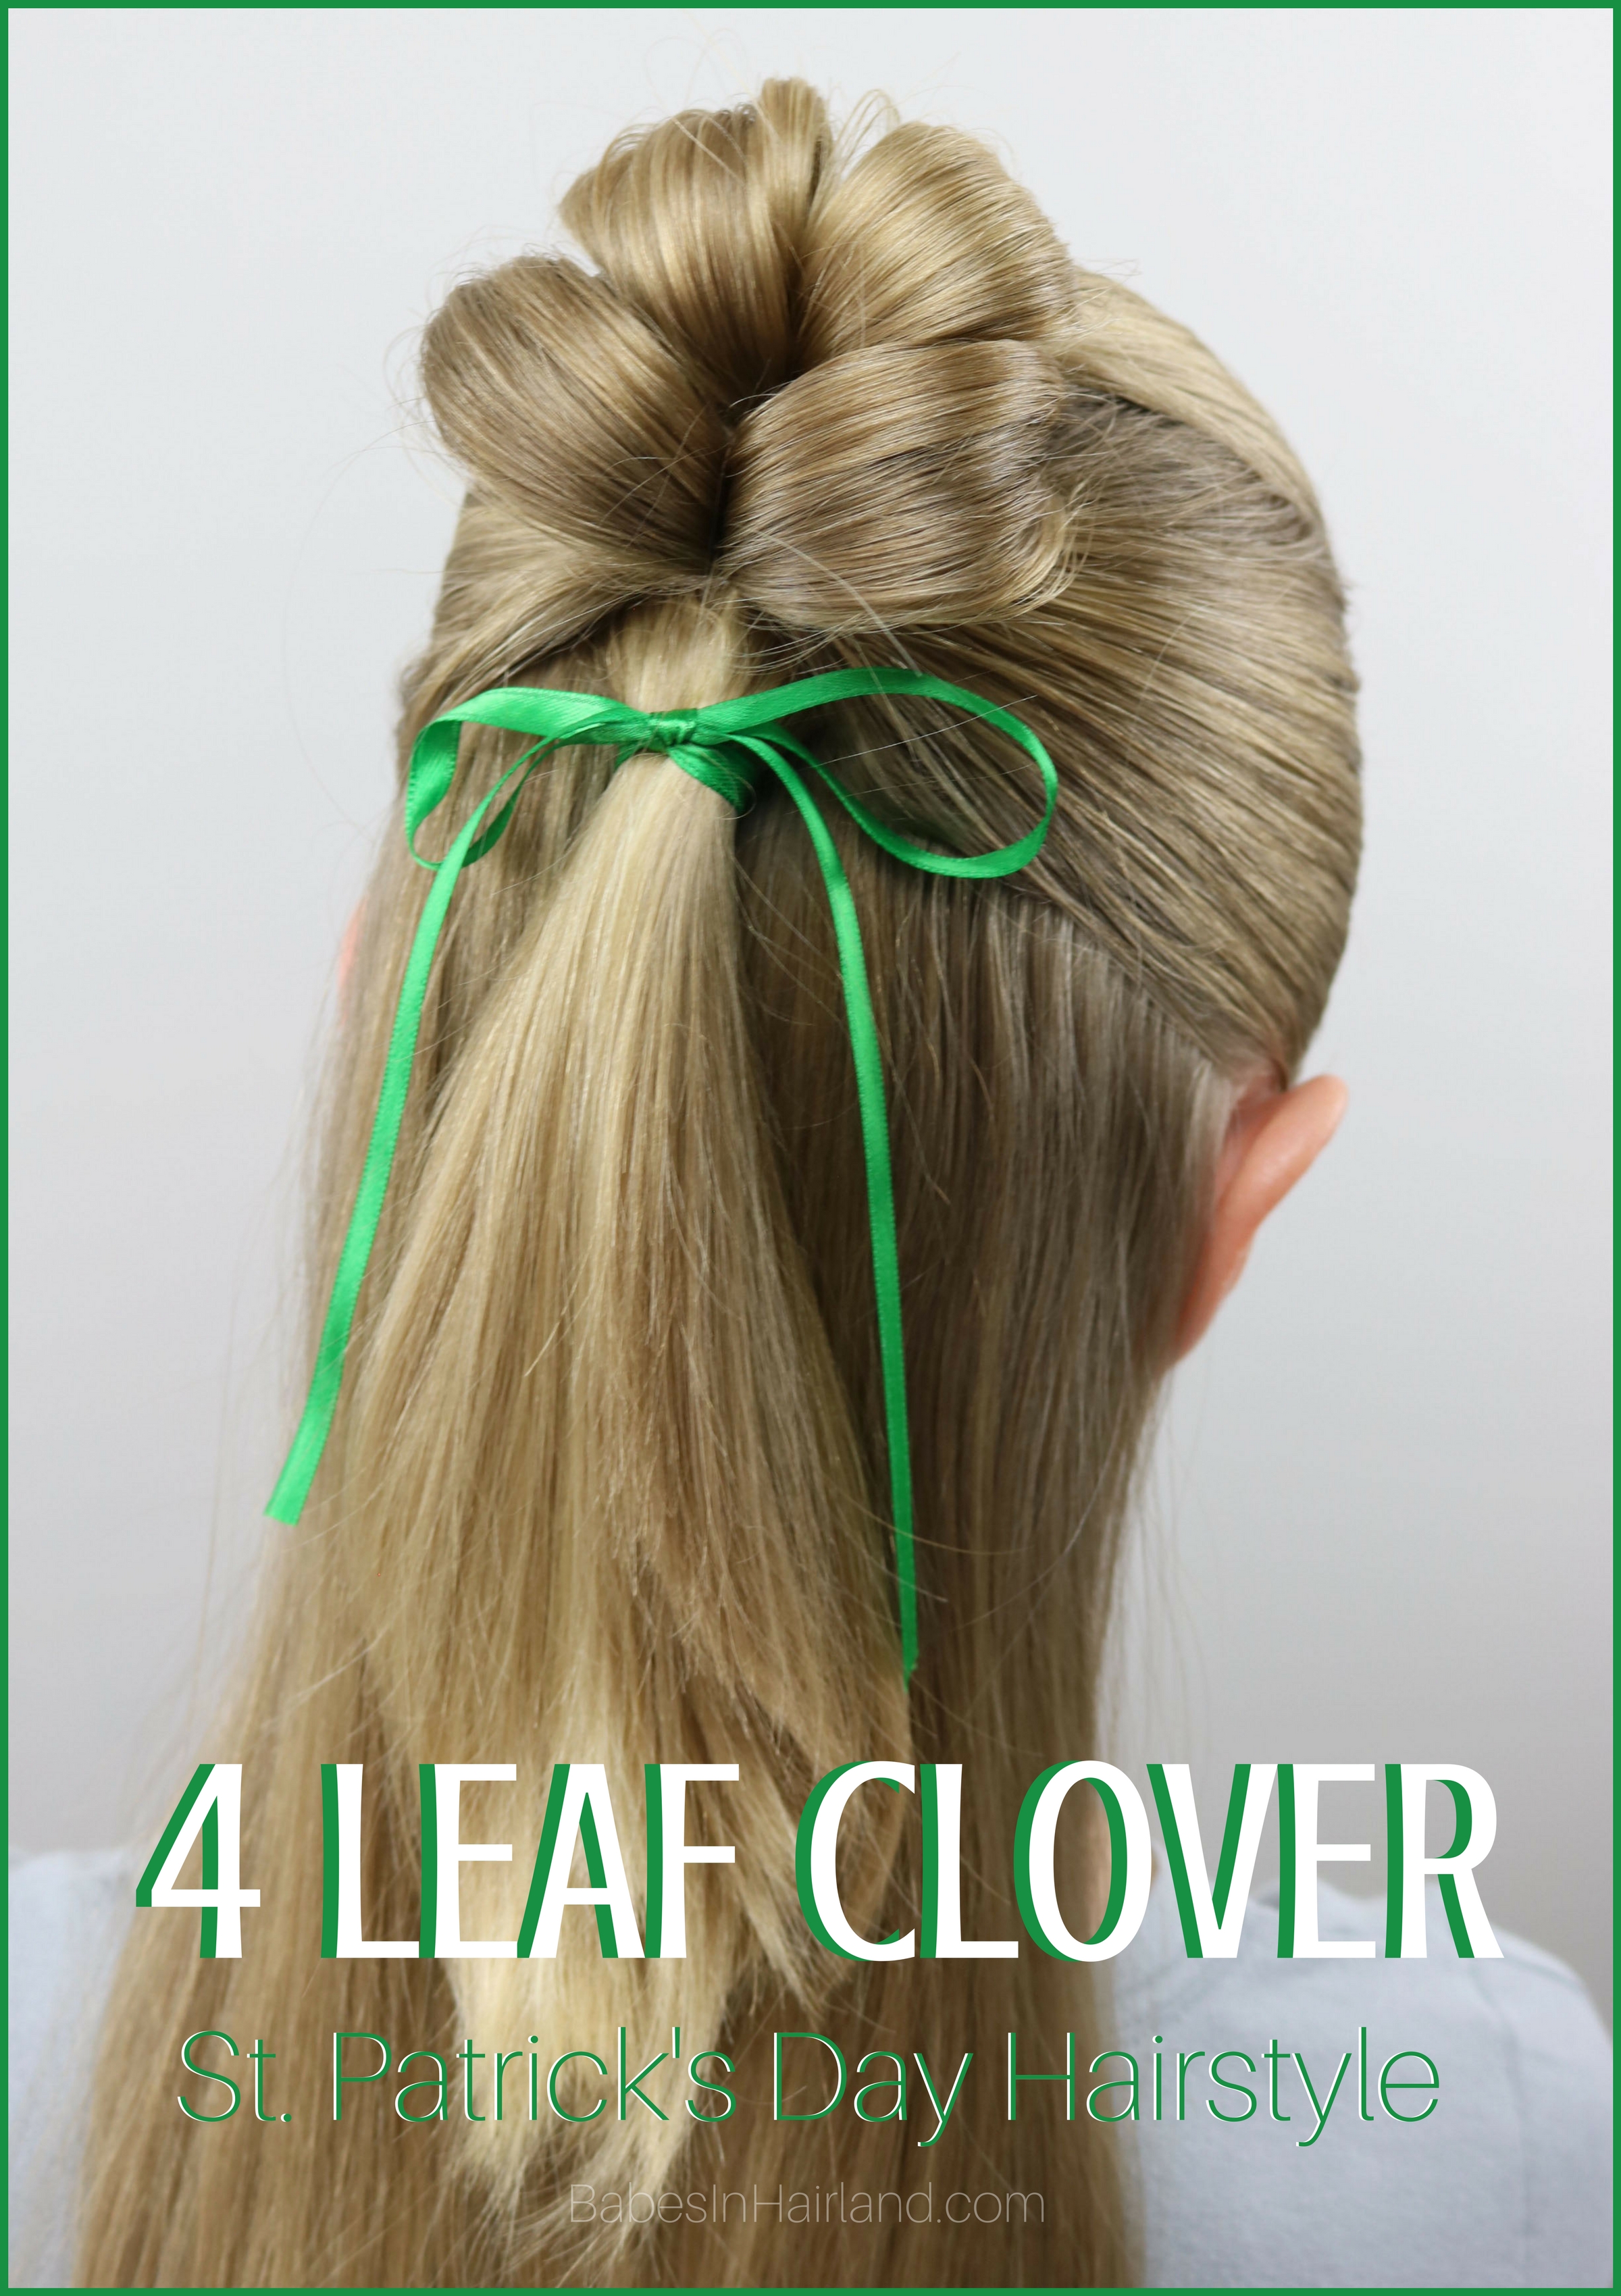
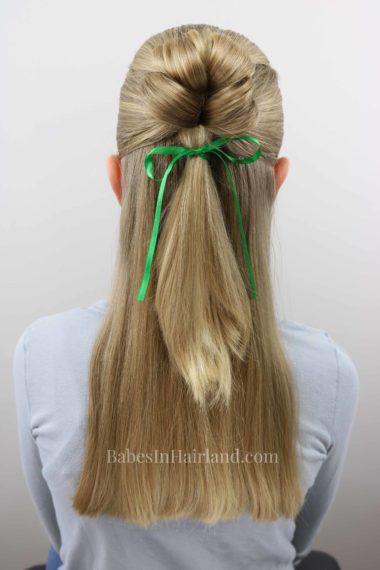
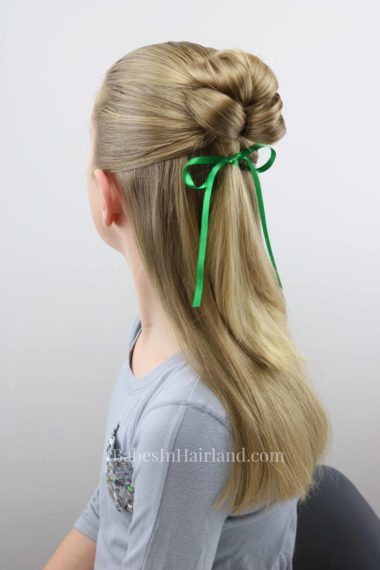
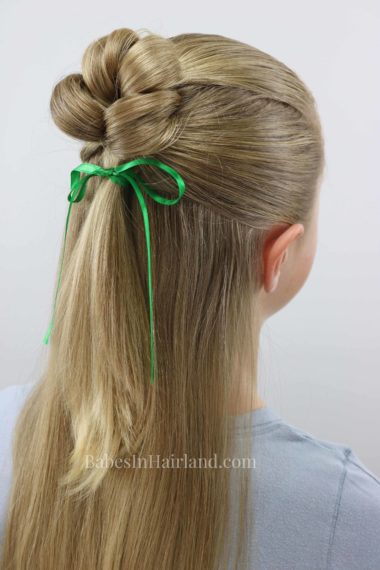
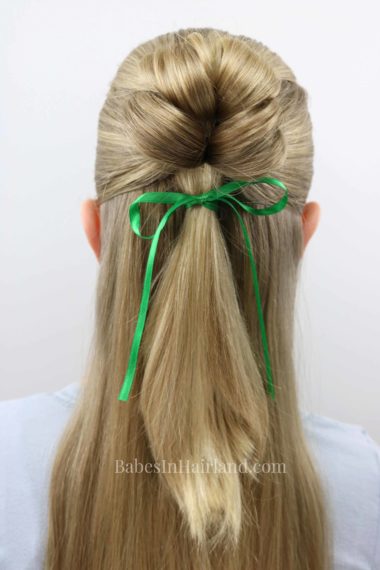
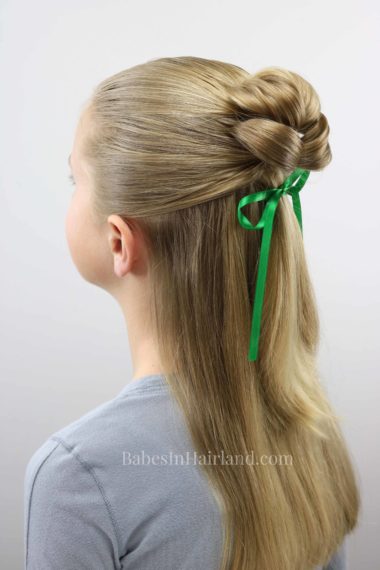
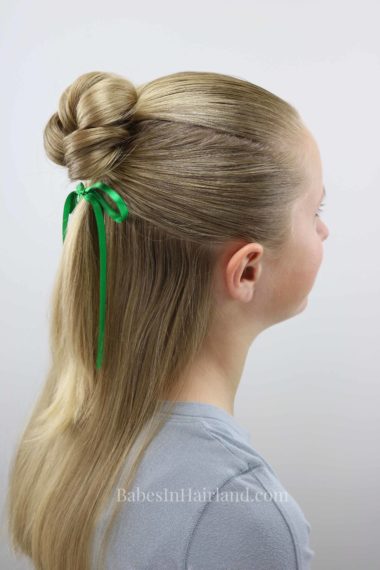
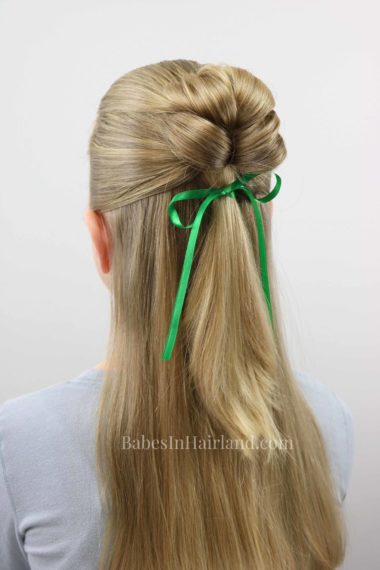
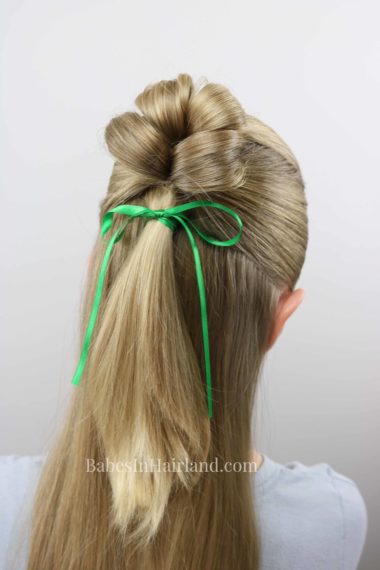
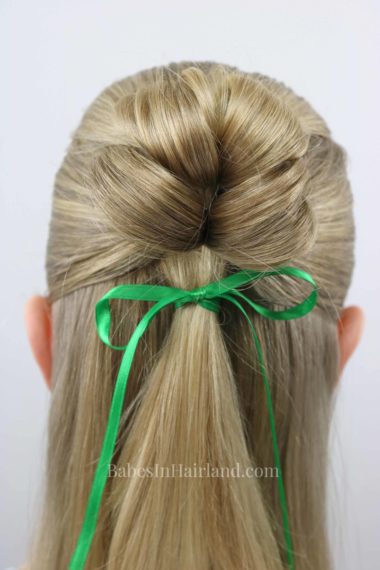
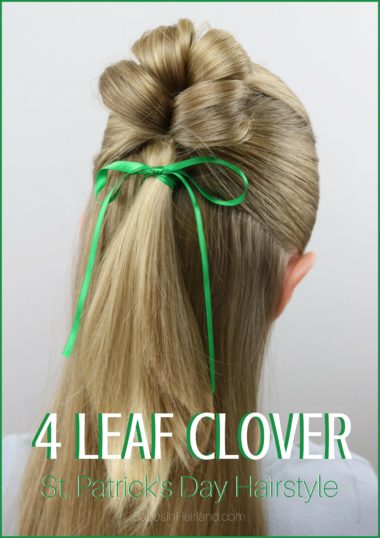
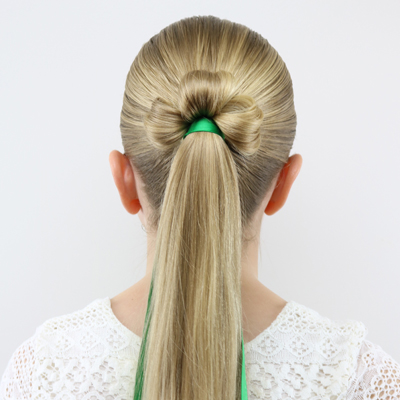
Ever since I posted our Quick & Easy St. Patrick’s Day hairstyle last year, I’ve got to admit I was a bit bothered by it! This probably sounds silly, but it sort of bugged me that it wasn’t a 4 leaf clover!! I remember trying to create it with 4 different loops, but no matter what I did it didn’t look right to me. So we created the tutorial with just 3 loops to create the shamrock or clover and left it at that. But this year I did things a little different and was able to create our lucky 4 leaf clover. Victory! The leprechauns must have been smiling down on me when I tried again this year! Or maybe it was the “luck fo the Irish!” that day! No matter … because today’s your lucky day and we’re sharing our 4 leaf clover or shamrock tutorial today!
This is our 1st tutorial we’ve done on Bee since she cut her hair. So if you missed that post and are wondering where her hair went, be sure to check out her haircut video here. If you can’t view the video here on our blog, head to our YouTube channel and watch it HERE.
You will need a Topsy Tail for this hairstyle. Don’t have one? Buy a Topsy Tail kit HERE. This is the one we purchased, and while the picture doesn’t show it, it does come with a big and small Topsy Tail.
1- Part out a section of hair from the temples back to the crown. Secure it with a clear elastic into a ponytail in the center of the crown.
2- Divide this ponytail in a left and a right section.
3- Place the pointed end of your topsy tail just above the elastic, off to the left side. Draw the left section of the ponytail up through the Topsy Tail and pull it down and through. Don’t pull the hair all way way through. Leave the hair so it creates a loop. This creates the 1st “leaf” for your clover.
4- Next move to the right section of hair from the ponytail. Place the pointed end of the Topsy Tail above the elastic and off to the right side. Don’t pull this through the same spot you did in Step 3. Pull the hair through as in Step 3, creating a 2nd “leaf” or loop.
5- You can leave the loops small right now, you will go back and adjust them later.
6- Now part the hair from ear to ear to create a second ponytail. Draw all the hair into a ponytail that is just below the first elastic and loops you’ve created.
7- Divide this ponytail into a left and right section.
8 – Place the pointed end of the Topsy Tail into the hair just to the right and below the loop on the right side. This will make the loops on the sides sit more diagonally if you don’t go right next to this ponytail.
It’s important to place things fairly close together or you will end out with big gaps in your 4 leaf clover. And obviously if there are big gaps, it doesn’t look much like a 4 leaf clover when you’re through!
9 – As before,pull the hair through with the Topsy Tail but don’t pull it through completely. This creates a 3rd loop, or your 3rd leaf to the clover.
10 – Repeat on the left side to create the 4th loop or “leaf” of the clover. Be sure to insert the Topsy Tail just down and to the left of the top left clover loop.
11- Combine all the hair from the ponytails and loops together and wrap a green ribbon around it to secure everything in place.
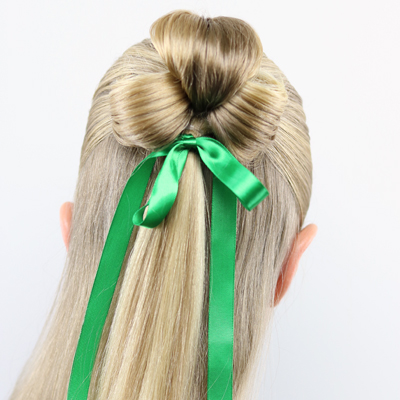
FINISHED 4 LEAF CLOVER HAIRSTYLE!
Also, don’t forget our roundup of “Pinch Proof” St. Patrick’s Day accessories we’ve shared:
Comment and let us know which one you like best —
last year’s 3 leaf clover, or this year’s lucky 4 leaf clover.
Quick & Easy 3 Leaf Clover
Or this year’s lucky 4 Leaf Clover hairstyle:
Be sure to PIN & SHARE these to ensure you have good luck this year! 😉 Thanks for stopping by & we’ll see you with another St. Patrick’s Day tutorial next week!
