W is for Wishing Well
I can’t believe how quickly the time has passed since we started doing our ABC hair series back when school started in the fall. And now the kids barely have a month left! So exciting that we’re nearly done with the alphabet!
There were several different ways I could have done this, but we opted for one that was a bit more “free floating” than some of the other letters in the past have been. No bobby pins or anything required in this one and it was pretty quick. It also isn’t as big as most of the other letters have been that have taken up the whole back of her head. You can adjust this to your liking – this is just what we did.
Step 1 – Part the hair
Part the hair out in front almost like an upside down T – right down the middle, and then from ear to ear.
Step 2 – Make ponytails
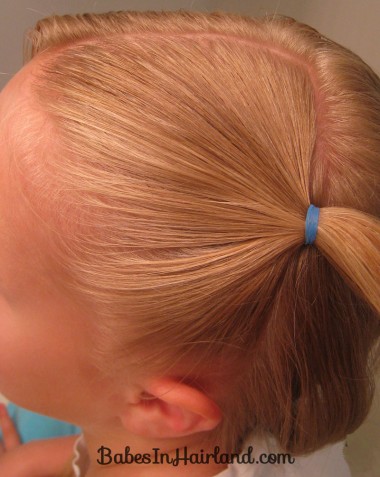
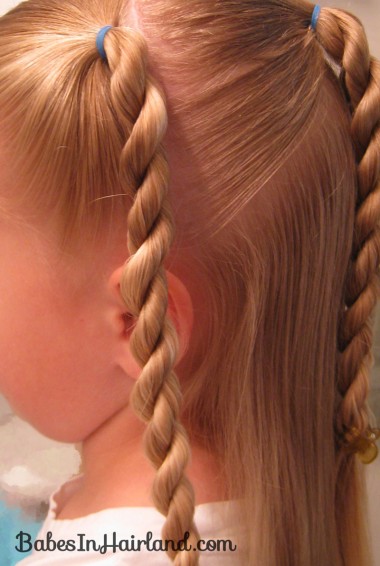
With the 2 sections of hair in front of the ears, make small pony tails and secure them with rubber bands.
Step 3 – Part out half the hair in back
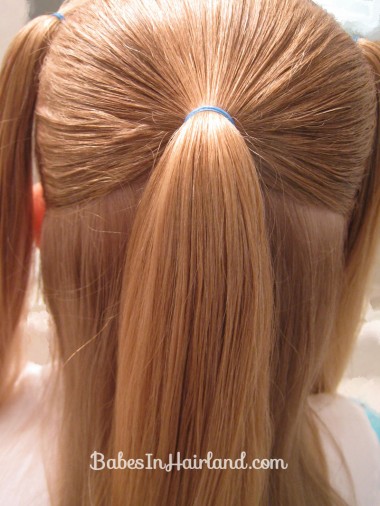
Starting at the top of the ears, part out about half of the remaining hair in back and make a half pony, securing it with a rubber band. Depending on where you want the middle of the W to hit will determine how high or low you make this ponytail. You can add more or less of the hair for this section.
Step 4 – Divide back ponytail in half
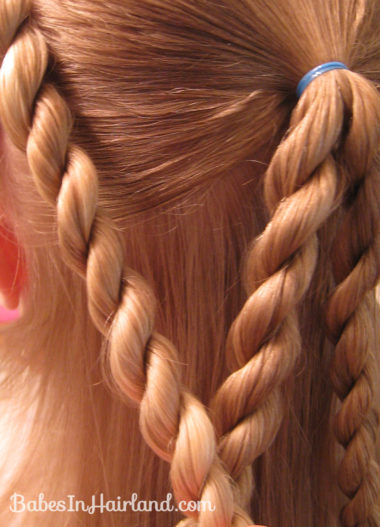
Divide the ponytail into 2 sections and make a rope braid in each of them. Temporarily secure them at the bottom with a clip or rubber band.
Step 5 – Make rope braids in right & left front ponytails
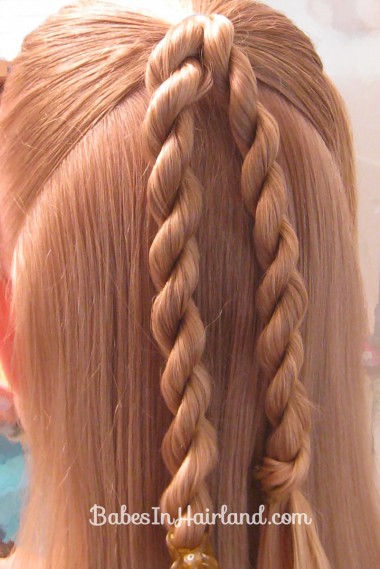
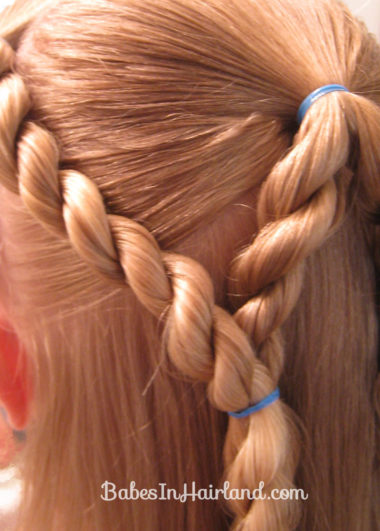
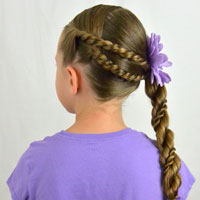
Step 6 – Join rope/twist braids together
Starting on the left side, join the left rope braid from up front and the left rope braid from the back section together and secure with a rubber band.
Step 7 – Repeat with the twists on the right side
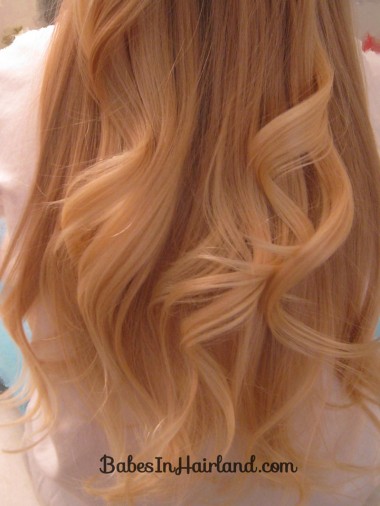
Step 8 (optional) – Curl the ends of the hair
Finished! 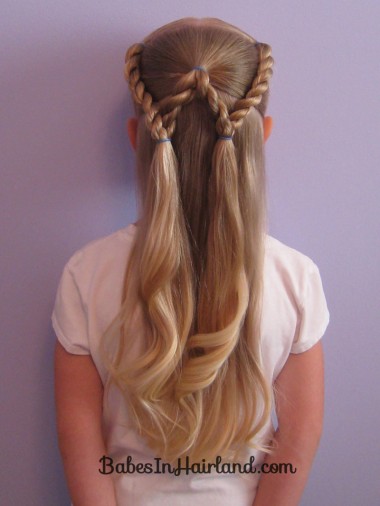
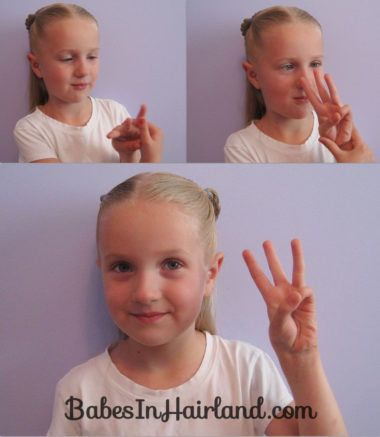
I just had to share a couple of the pictures I got of Bee trying to make the letter W in sign language. She just couldn’t get her ring finger to stay up (it is the weakest finger ya know!) and so she tried several different methods to get it to stay up straight, long enough for a picture! She found if she smiled too big it broke her concentration & down it’d go! She finally succeeded – with a crooked little ring finger! We had a good laugh taking a whole bunch of pictures for her sign language picture!
I realized we’ve done a couple other styles in the past (one when Bee was really small) where we made the letter W (not really on purpose though!) Feel free to check them out here and one on Goose here. 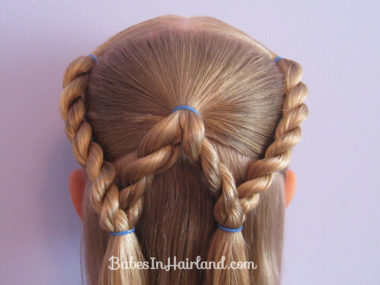
We hope you have a Wonderful Week!
AWESOME!!!! We will be sporting this tomorrow for Wildcat Wednesday!